 by
by Sure! Here’s a detailed step-by-step guide on how to make an adorable and easy crochet baby onesie, perfect for beginners or intermediate crocheters. This guide includes everything from materials to finishing touches.
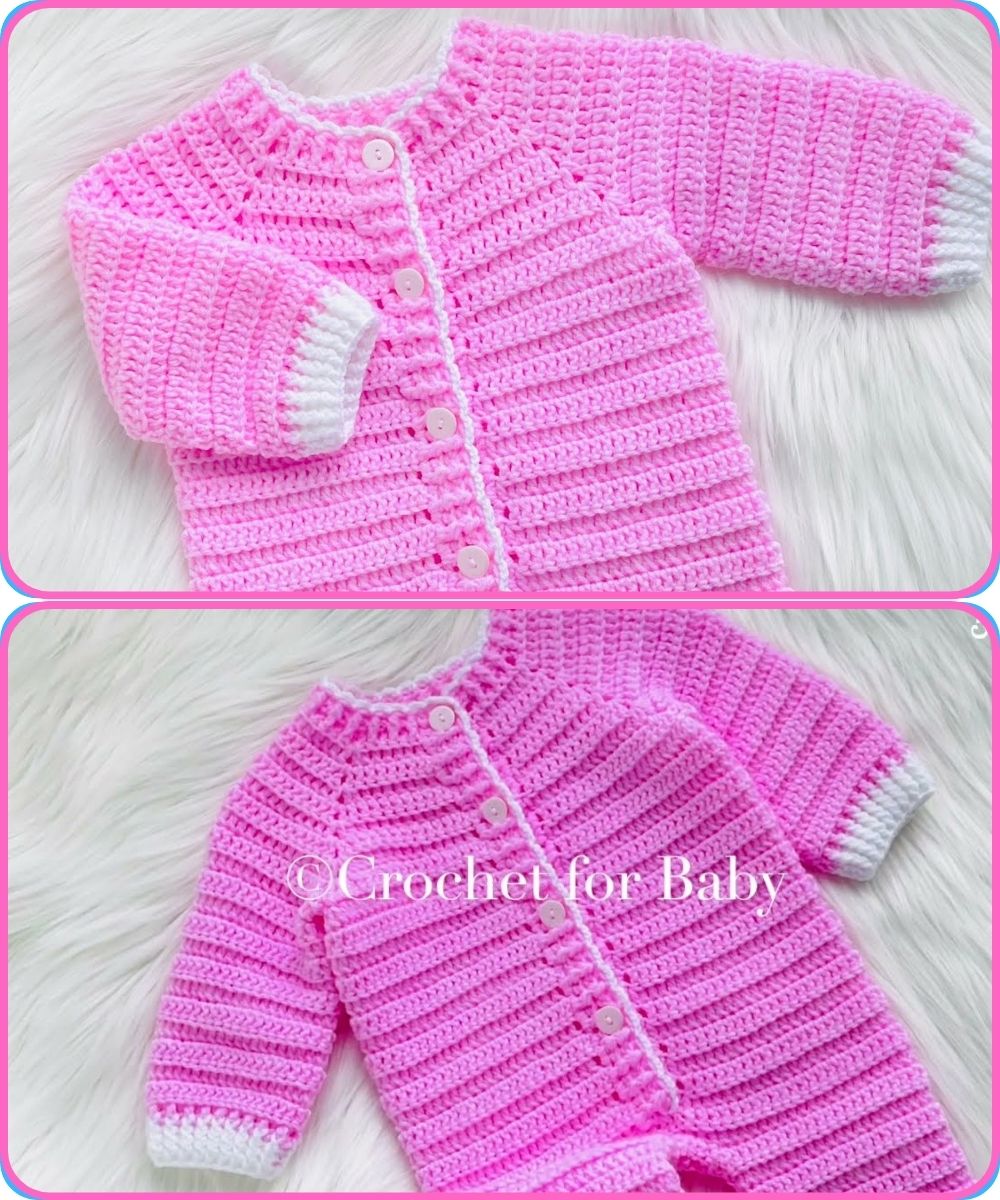
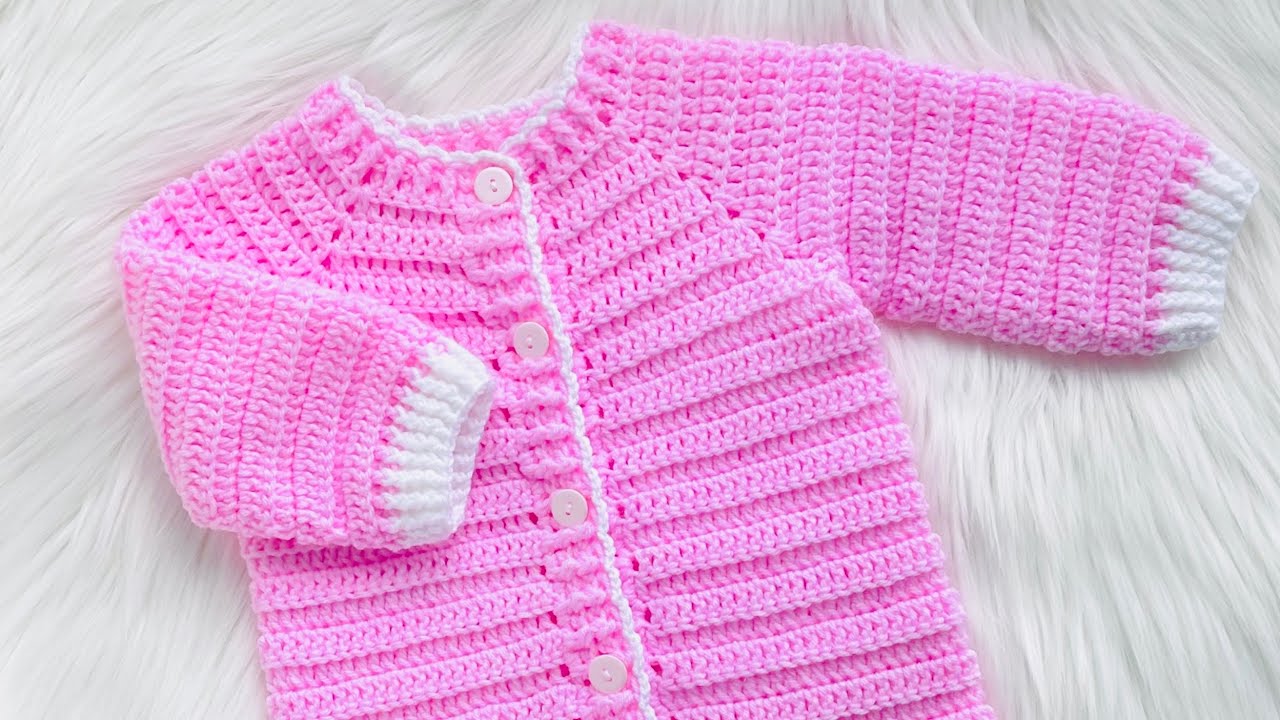
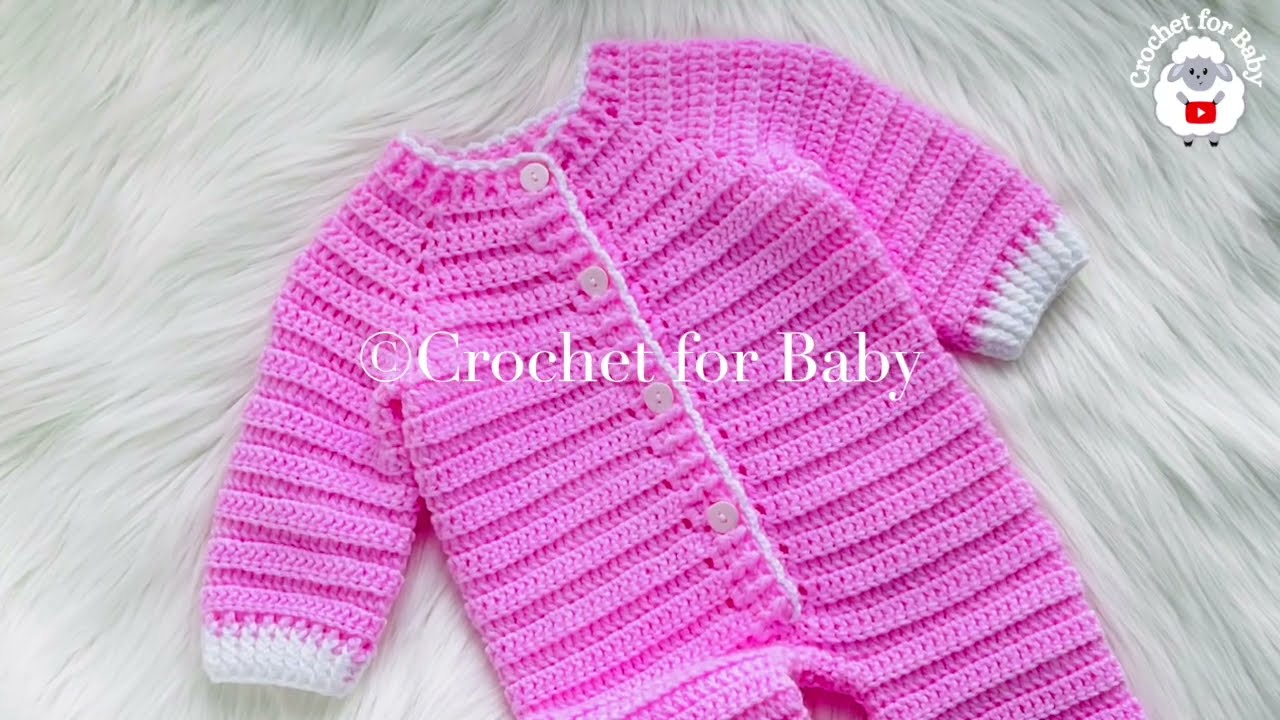
How to Make an Adorable & Easy Crochet Baby Onesie
Ideal for:
-
Newborn to 12-month-old babies
-
Baby showers, gifts, or keepsakes
Supplies You’ll Need:
-
Yarn: Soft, baby-safe yarn (e.g., 100% cotton or acrylic blend)
-
Weight: Light worsted (#3 or #4 depending on pattern)
-
Color: Any preferred baby-friendly color
-
-
Crochet Hook: Size 3.5mm to 5.0mm (Check yarn label)
-
Scissors
-
Tapestry needle (for weaving in ends)
-
Buttons (optional for closures)
-
Stitch markers (helpful for shaping)
-
Measuring tape
Sizing Chart (Estimate)
| Age | Chest | Onesie Length |
|---|---|---|
| 0–3 mo | 16 in (41 cm) | 14 in (36 cm) |
| 3–6 mo | 17 in (43 cm) | 15 in (38 cm) |
| 6–12 mo | 18 in (46 cm) | 16 in (40 cm) |
Basic Crochet Stitches Used:
-
CH – Chain
-
SC – Single Crochet
-
HDC – Half Double Crochet
-
DC – Double Crochet
-
SL ST – Slip Stitch
-
INC – Increase (2 stitches in one)
-
DEC – Decrease (crochet 2 together)
Step-by-Step Instructions
STEP 1: Create the Yoke (Top Part)
-
Chain enough to fit the chest width (usually 48–56 stitches).
-
Work in HDC or DC rows (depending on preference).
-
Begin increases at the ends to create a rounded shape (for shoulders).
-
Continue until yoke measures 3–4 inches tall.
Tip: Use stitch markers to divide front, back, and sleeves for easy shaping.
STEP 2: Shape the Armholes
-
Divide the stitches into 4 sections: Front, Back, and 2 Sleeves.
-
Chain a few stitches to bridge underarms when joining the front and back.
-
Skip sleeve stitches and connect front and back.
-
Continue crocheting the body in the round (or rows if you prefer seams).
STEP 3: Crochet the Body
-
Work in DC or HDC rounds until the onesie reaches the desired length (approx. 8–10 inches from armpit).
-
Try a ribbed stitch pattern (like front post/back post DC) for a snug fit near the waist.
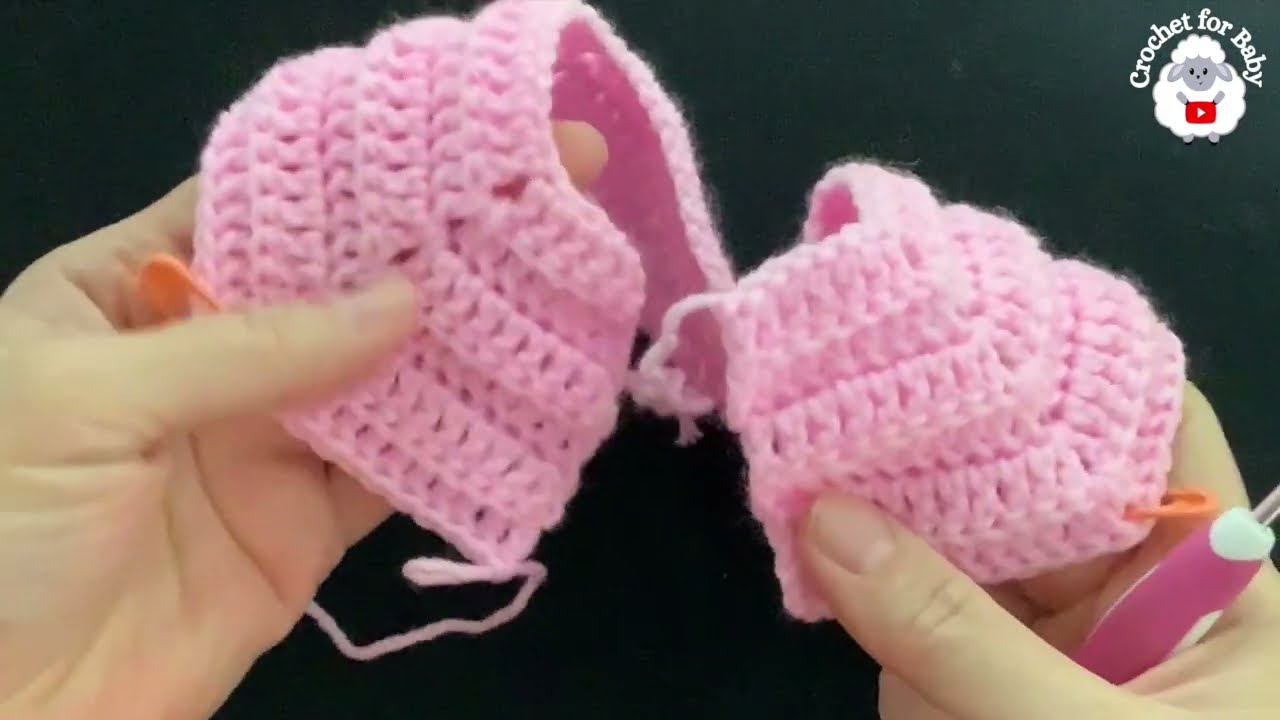
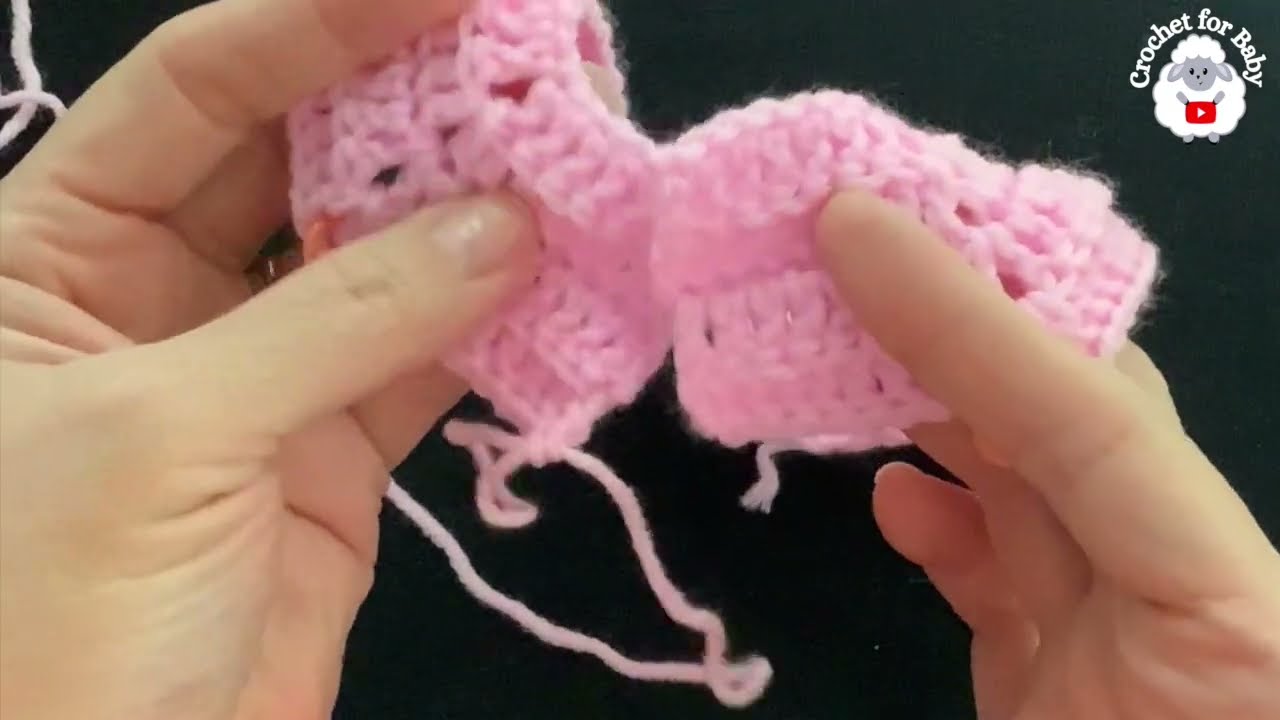
STEP 4: Make the Leg Openings
-
Split the body tube in half for each leg.
-
Crochet each leg separately in rounds or rows.
-
Make each leg about 3 inches long.
-
Add a ribbed or scalloped edge for a cute finish.
STEP 5: Add Button Crotch Closure (Optional)
-
Leave a 2–3 inch gap between the legs unseamed.
-
Crochet a small button band and sew it in place.
-
Add 2–3 small buttons for easy diaper changes.
STEP 6: Finishing Touches
-
Weave in all ends using a tapestry needle.
-
Block your onesie gently to shape it.
-
Add details:
-
Appliqués (e.g., hearts, stars, animals)
-
Edging (picot or shell stitch around neckline and sleeves)
-
Embroidery (baby’s initials or cute motifs)
-
Care Instructions (if gifting):
Include a note for the recipient:
-
Wash in cold water, gentle cycle
-
Lay flat to dry or tumble dry low
Optional Add-ons:
-
Matching baby hat or booties
-
A tag with baby’s name
-
A soft lining or snap buttons (for comfort)
Example Patterns to Try:
Want some pattern references? Look for:
-
“Easy Baby Onesie Crochet Pattern” by Daisy Farm Crafts
-
“Crochet Romper” from Yarnspirations
-
Etsy patterns under “baby onesie crochet PDF”
Let me know if you’d like a free written pattern based on this or a visual chart!
Watch tutorial: