 by
by Below is a clear, detailed, beginner-friendly guide for making a “Four Stitch Hoodie” for girls using crochet. Since different designers use the name differently, this version uses a widely accepted four-stitch pattern foundation (repeat of 4 stitches) and builds a comfy, customizable hoodie.
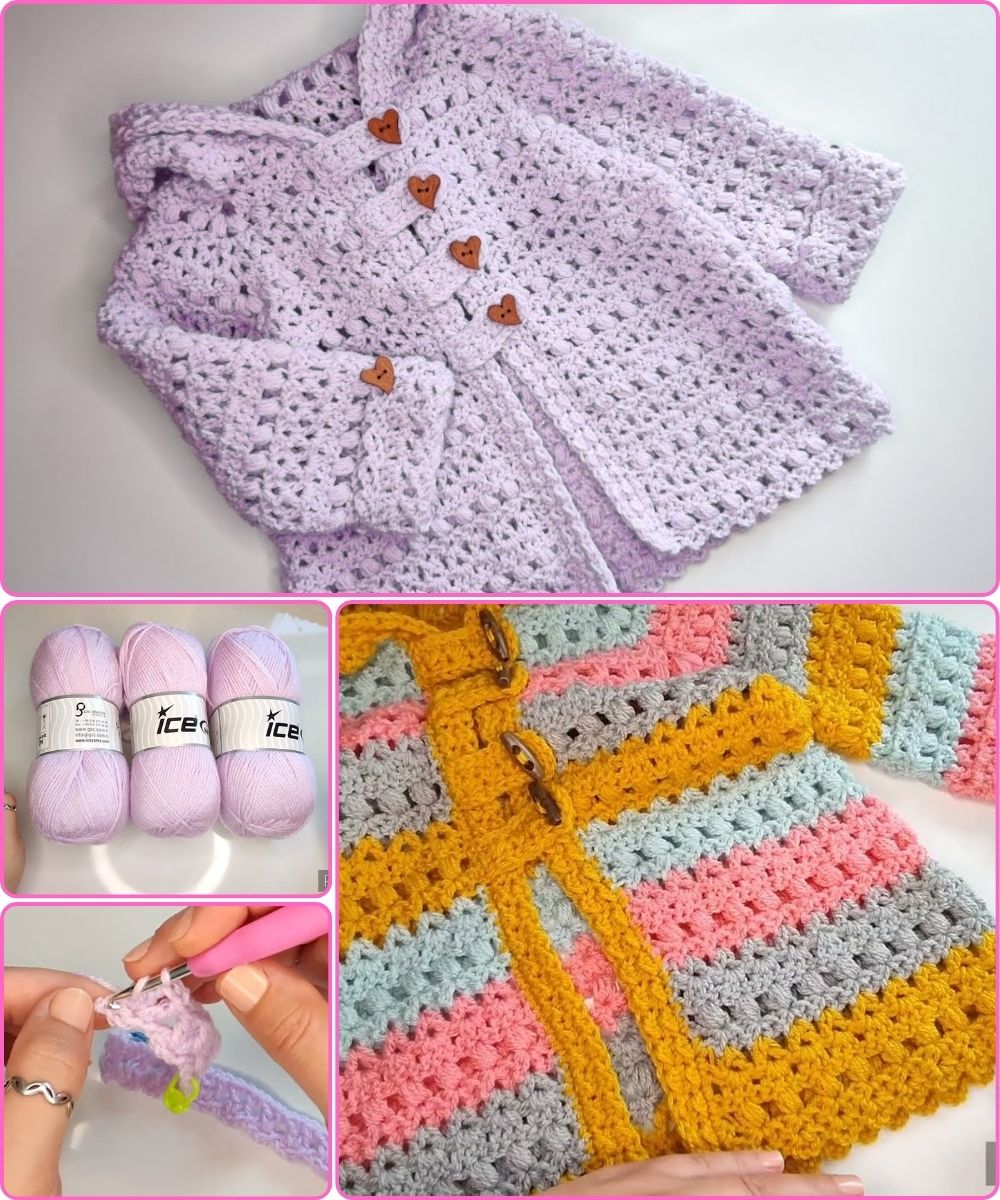
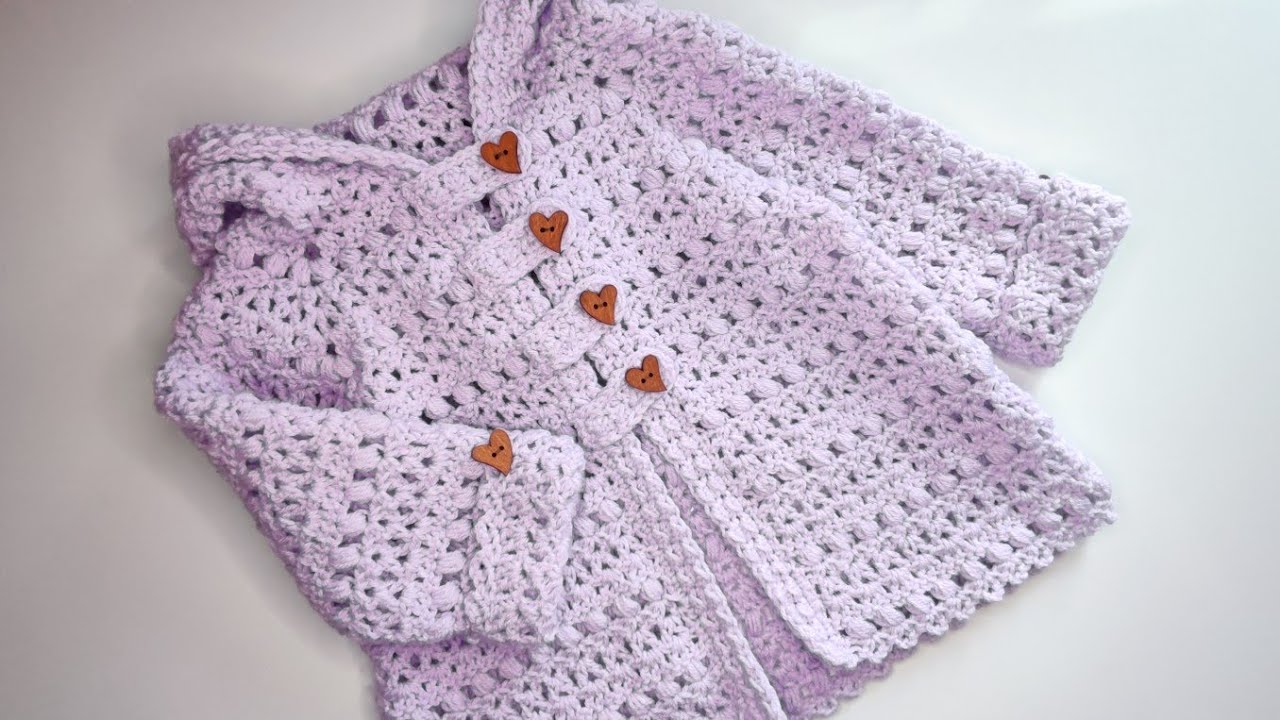
🧶 How to Crochet a “Four Stitch Hoodie” for Girls
A step-by-step crochet pattern and guide
⭐ Skill Level:
Beginner–Intermediate
⭐ Sizes Included:
Toddler (2–4 yrs) • Child (5–8 yrs) • Pre-teen (9–12 yrs)
(You can adjust easily using the size guide below.)
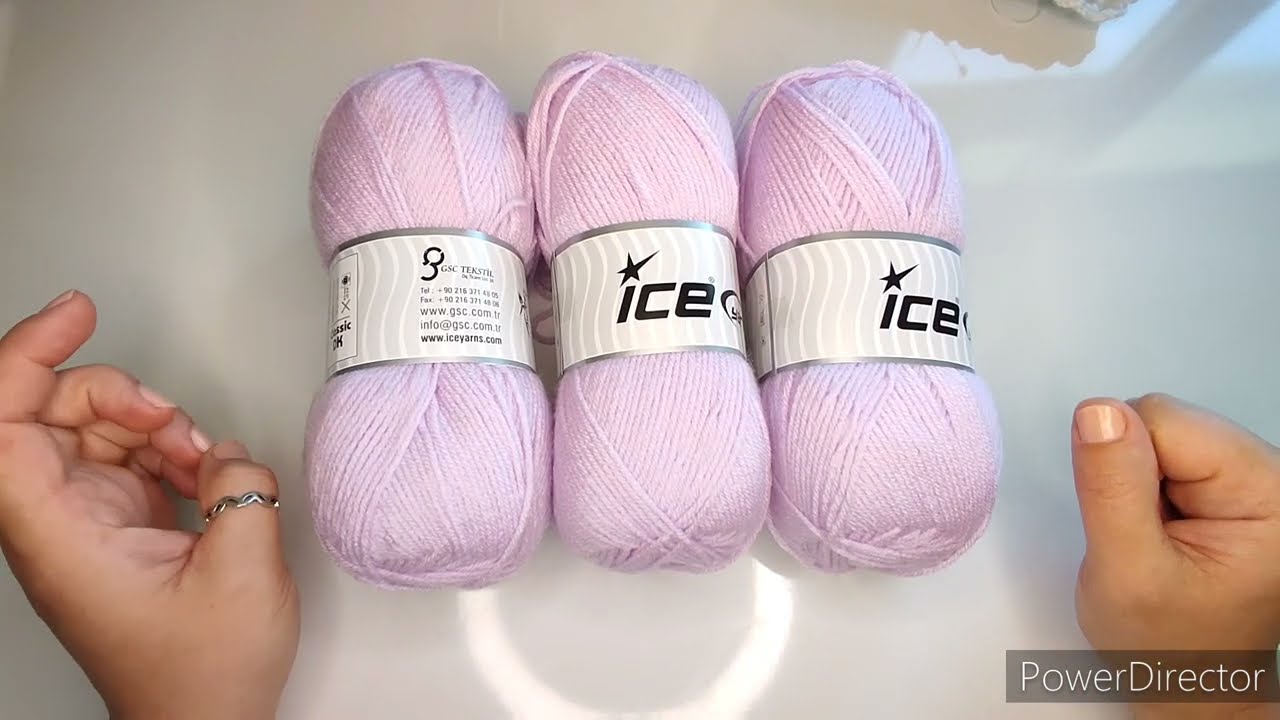
🧵 Materials
| Item | Recommendation |
|---|---|
| Yarn | Worsted Weight (Medium #4) — 500–900g depending on size |
| Hook | 5.0 mm (H/8) or size needed for gauge |
| Notions | Scissors, tapestry needle, stitch markers, measuring tape |
| Optional | Buttons or zipper for closure |
📏 Gauge (Important!)
16 stitches × 12 rows = 4″ × 4″ in the four-stitch repeat pattern.
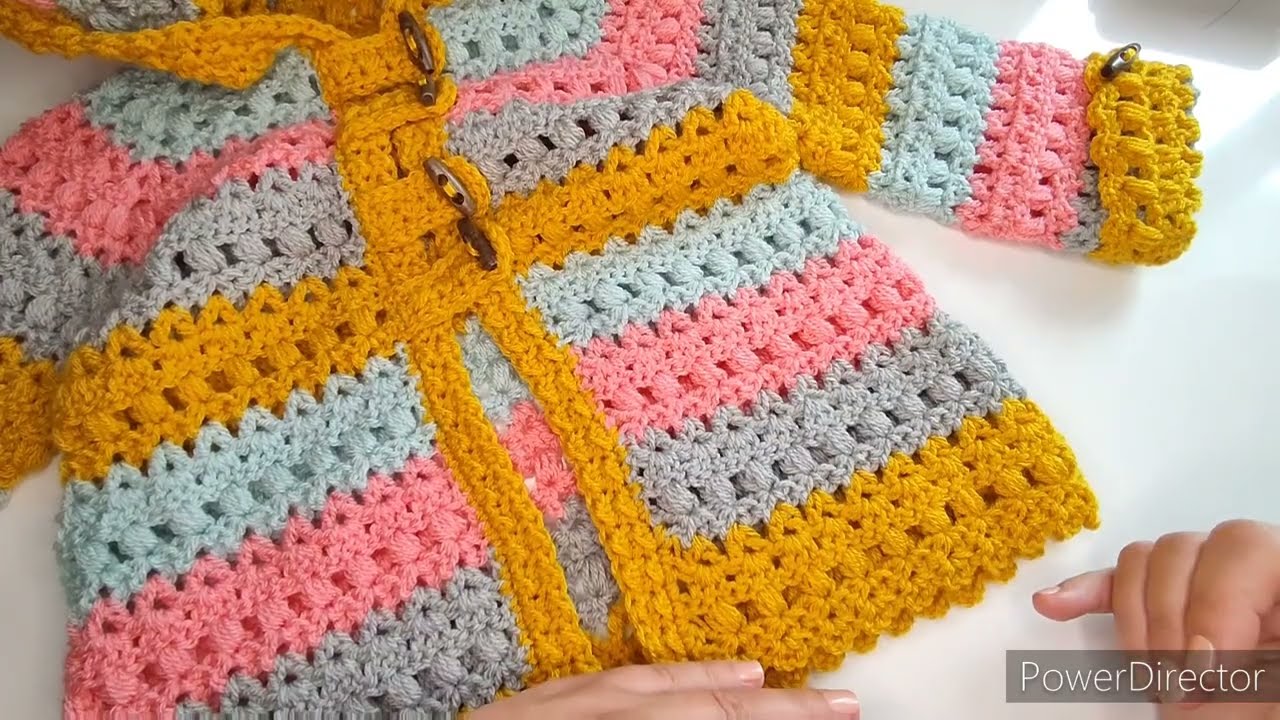
🧩 About the “Four-Stitch Pattern”
This hoodie uses a simple repeat of 4 stitches:
💠 Row repeat pattern:
[HDC, DC, DC, HDC] → repeat across
(You can also use [SC, HDC, DC, HDC] for a tighter fabric.)
This gives a stretchy, textured, cozy hoodie fabric.
✨ SIZE GUIDE (Chest Width)
| Size | Chest Width | Length | Hood Depth |
|---|---|---|---|
| Toddler | 11–12 in | 13–14 in | 8–9 in |
| Child | 13–14 in | 16–17 in | 10 in |
| Pre-teen | 15–16 in | 19–20 in | 11 in |
You can measure the child or use general clothing size charts.
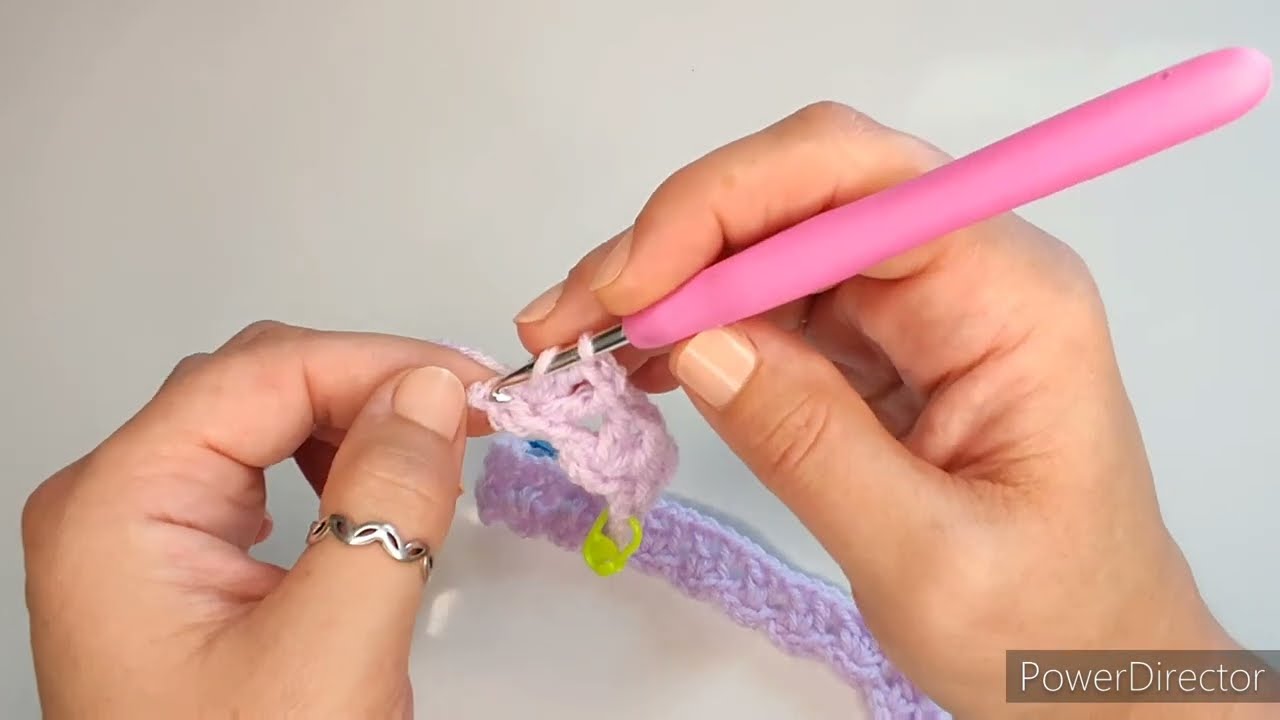
🧶 PATTERN
1. Back Panel
-
Foundation chain:
Chain a multiple of 4 + 2 until it reaches the needed width
(e.g., Child size: Ch 54). -
Row 1:
HDC in 2nd ch from hook, DC, DC, HDC across.
Ch 1, turn. -
Row 2:
Repeat the 4-stitch pattern across.
Ch 1, turn. -
Continue until the panel reaches the desired length.
👉 Do NOT shape armholes — this is a drop-shoulder hoodie.
2. Front Panels (Make 2)
-
Foundation chain:
Make each front panel half the back panel’s width, minus 1 inch for overlap. -
Work the same four-stitch repeat as the back.
-
Neck shaping (last 2 inches of height):
-
Stop 2 stitches earlier at the neck side of each row.
-
This creates a gradual sloped neckline.
-
Make both left and right sides mirror each other.
3. Join Shoulder Seams
Lay the back and both fronts together.
Sew (or slip stitch crochet) the shoulders together, leaving the neck hole open.
4. Sleeves
-
Measure armhole depth.
-
Attach yarn to the bottom of the armhole.
-
Foundation:
Chain 2, then work the 4-stitch pattern evenly around the sleeve opening. -
Work in rounds using the 4-stitch repeat.
-
Shaping:
Every 4–6 rows, decrease 2 stitches evenly (optional).
Stop when sleeve reaches wrist length.
Finish with 3–4 rows of ribbing:
Ribbing:
Front post DC, Back post DC repeat around.
5. Hoodie (Hood section)
-
Attach yarn around the neckline.
-
Work the four-stitch pattern back and forth.
-
Make the hood height:
| Size | Hood Height |
|---|---|
| Toddler | 11–12 in |
| Child | 13 in |
| Pre-teen | 14–15 in |
-
Once long enough, fold the hood in half and seam the top closed.
Optional: Add a drawstring channel using SC stitches.
6. Finishing the Front Edge
You can choose:
Option A: Zipper
-
Attach a zipper down the front edges using whip-stitch.
Option B: Buttons
-
Crochet buttonholes by skipping 2 stitches on the row.
Option C: Pull-over (no closure)
-
Simply seam the front halfway down, leaving a neck opening.
7. Edging (Optional but recommended)
Work SC or HDC around all edges (hood, cuffs, bottom) for a clean finish.
🧵 Final Touches
✔ Weave in all ends
✔ Block lightly with steam or spray
✔ Add pockets if desired (simple squares using the four-stitch pattern)
🎉 Your Four-Stitch Crochet Hoodie is Ready!
This pattern is customizable — adjust width, length, colors, and closures to suit any girl’s style.
If you’d like, I can also provide:
✨ A printable PDF
✨ Step-by-step photo guide
✨ A version using only basic stitches (SC + HDC)
✨ A video tutorial script
✨ Sizing for teens or adults
Just tell me!
Watch tutorial: