 by
by Below is a clear, detailed, and beginner-friendly guide on how to crochet a pullover for boys. I’ll walk you through materials, measurements, stitch patterns, construction, and assembly.
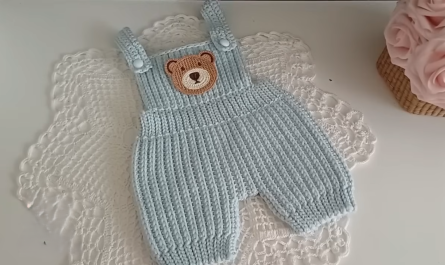
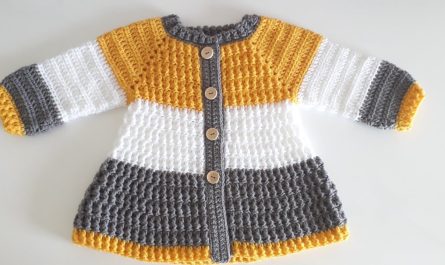
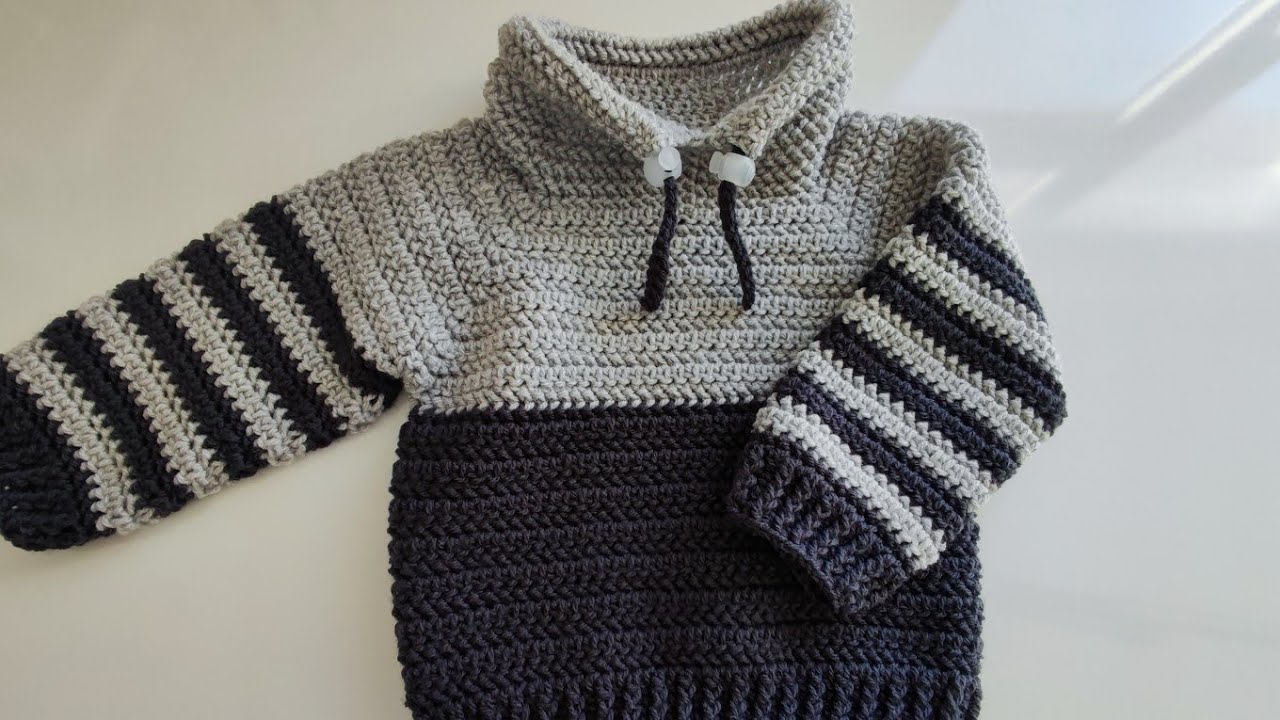
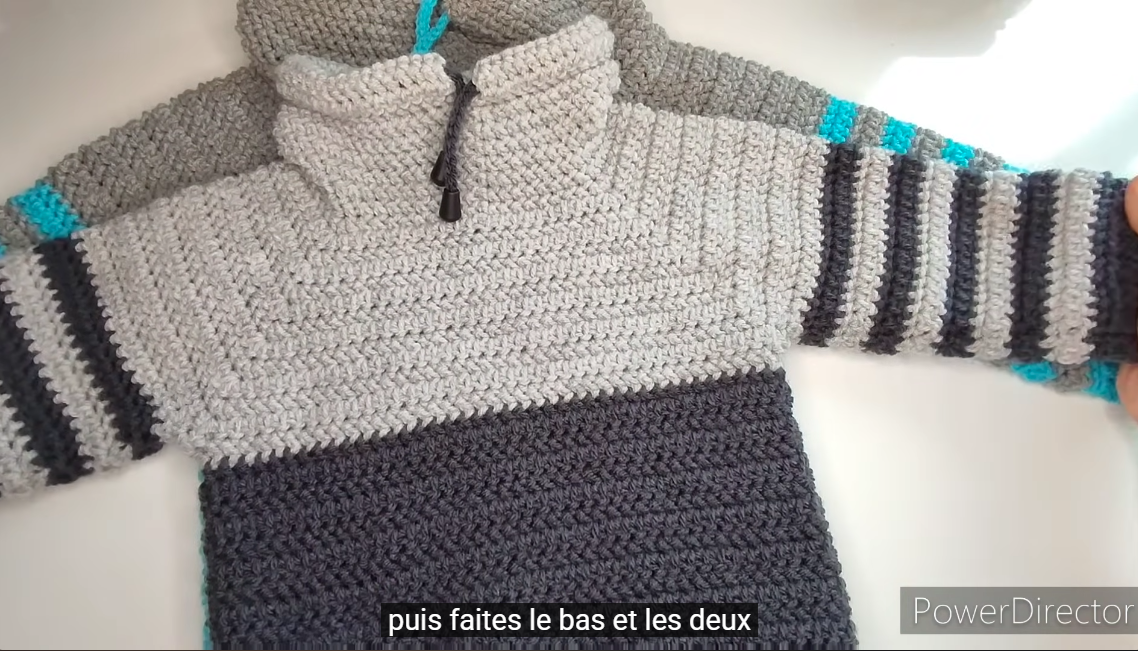
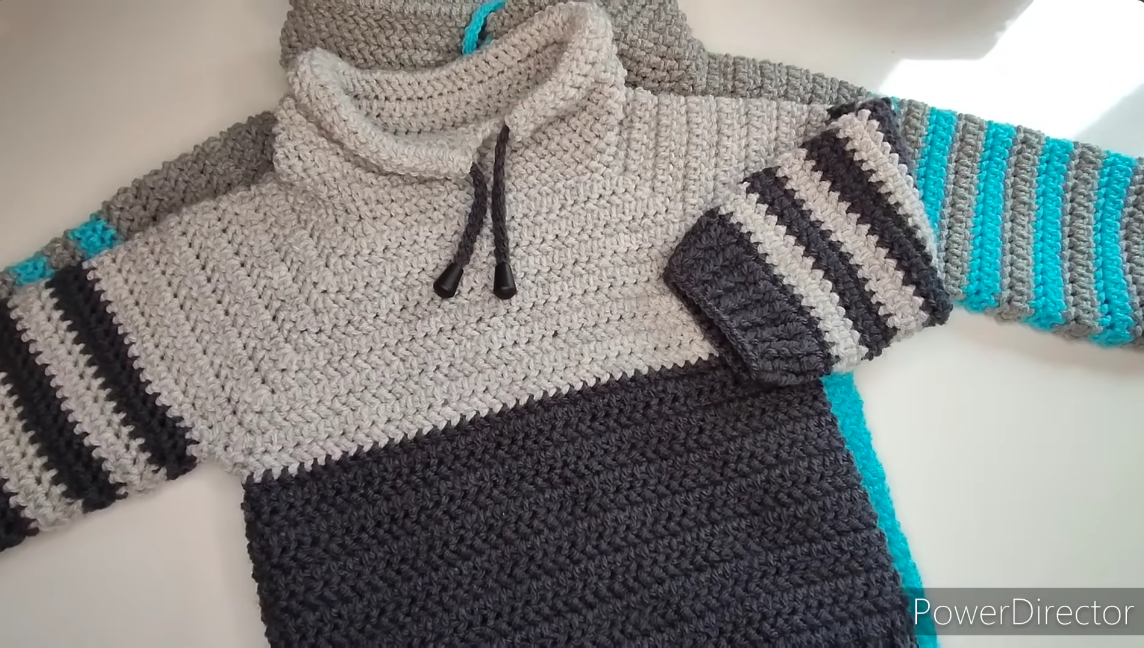
🧶 How to Crochet a Pullover for Boys (Step-by-Step Guide)
Crocheting a boy’s pullover is easier than it seems! Most beginner-friendly sweaters are made in flat panels that are sewn together. You can customize the size, color, yarn weight, and style.
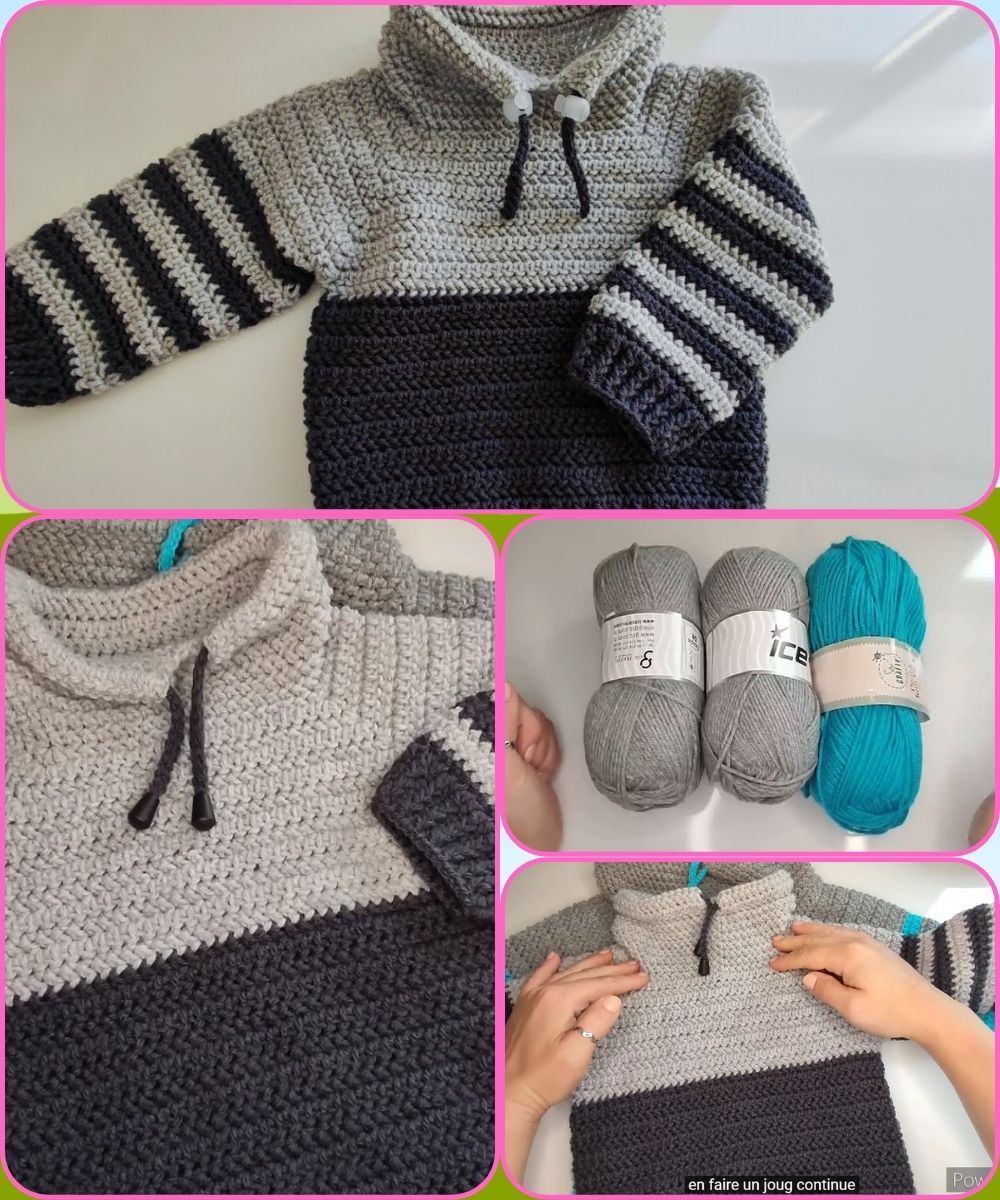
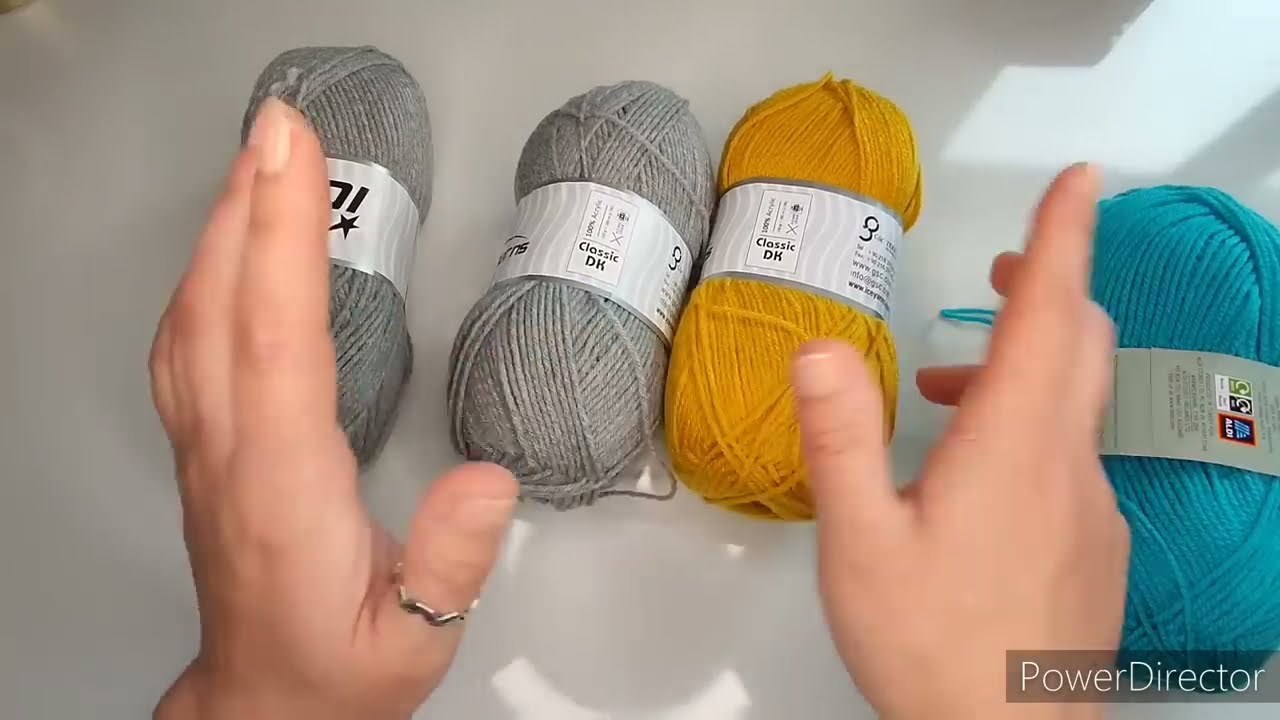
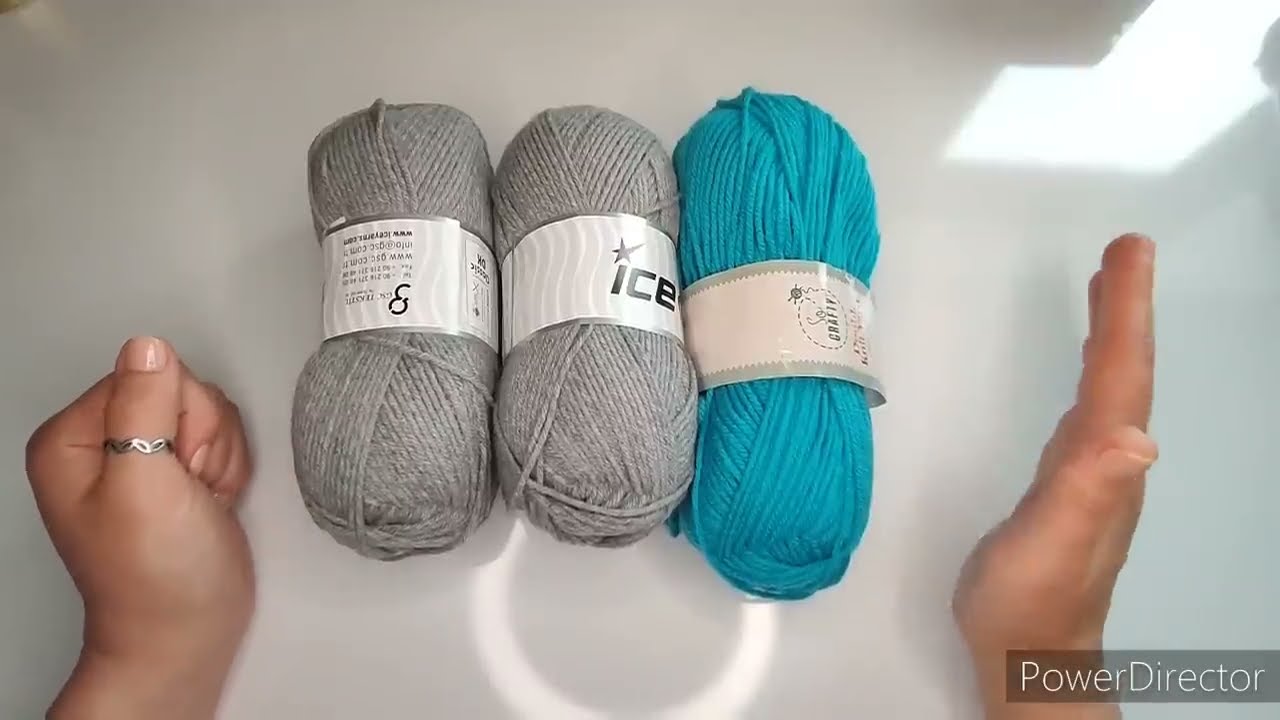
✅ 1. Materials Needed
Yarn:
-
Worsted weight (Medium #4) acrylic or wool-blend
-
Approx. 600–900 yards depending on size (2–6 years)
Hook:
-
5.0 mm (H-8) or size needed to obtain gauge
Other Supplies:
-
Yarn needle
-
Scissors
-
Stitch markers
-
Measuring tape
📏 2. Measurement Guide (General Kids Sizes)
| Age | Chest Circumference | Sweater Width (Flat) | Length |
|---|---|---|---|
| 2–3 yrs | 21–22″ | 11″ | 14″ |
| 4–5 yrs | 23–24″ | 12″ | 16″ |
| 6–7 yrs | 25–26″ | 13″ | 18″ |
(Add extra width if you want a loose, cozy fit.)
🧵 3. Gauge (Very Important!)
-
14 stitches × 16 rows = 4 inches using half double crochet (HDC)
Make a 4×4″ swatch and adjust your hook if needed.
🧱 4. Construction Method
This pattern uses four flat panels:
-
Front Panel
-
Back Panel
-
Two Sleeves
-
Optional ribbed bottom, cuffs, and neckline
Panels are sewn together along shoulders and sides.
🪡 5. Step-by-Step Instructions
A. Back Panel
-
Chain the foundation:
-
Chain enough stitches to reach your desired width
(Example: For a 4–5-year-old: ch 48)
-
-
Rows 1–desired length:
-
Row 1: HDC in 2nd ch from hook, HDC across. Turn.
-
Row 2–until length is reached:
Ch 1, HDC across.
-
-
Stop when the piece measures:
-
Example: 16″ long for a 4–5-year-old.
-
B. Front Panel (with neck shaping)
-
Work same as back until you reach 2 inches before final length.
-
Divide for neckline:
-
Find center stitches and mark.
-
Work one shoulder at a time.
-
Left Shoulder:
-
HDC to center marker, turn.
-
Continue for 3–4 rows to shape neckline.
Right Shoulder:
-
Rejoin yarn at the opposite side.
-
HDC to edge for same number of rows.
C. Sleeves
-
Start at wrist width:
-
Chain approx. 26–32 (depending on age).
-
-
Increase to shape the sleeve:
-
Row 1: HDC across.
-
Every 6 rows, increase 1 stitch on both ends for a slightly tapered shape.
-
-
Work until the sleeve length is reached:
-
11–14″ depending on size.
-
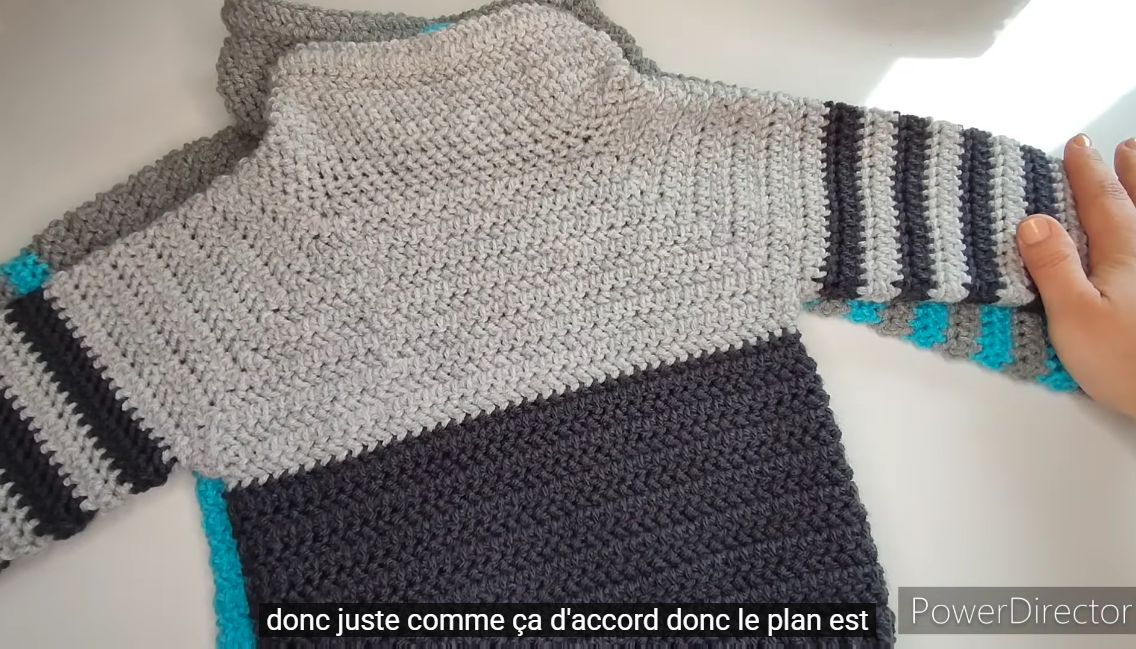
🧵 6. Assembly
-
Join Shoulders:
-
Lay front and back panels together.
-
Sew shoulders using whip stitch or slip stitch.
-
-
Attach Sleeves:
-
Find midpoint of sleeve top.
-
Align with shoulder seam.
-
Sew sleeve around the armhole.
-
-
Sew Side & Sleeve Seams:
-
Fold sweater.
-
Sew from sleeve cuff to armpit, then down the side of the body.
-
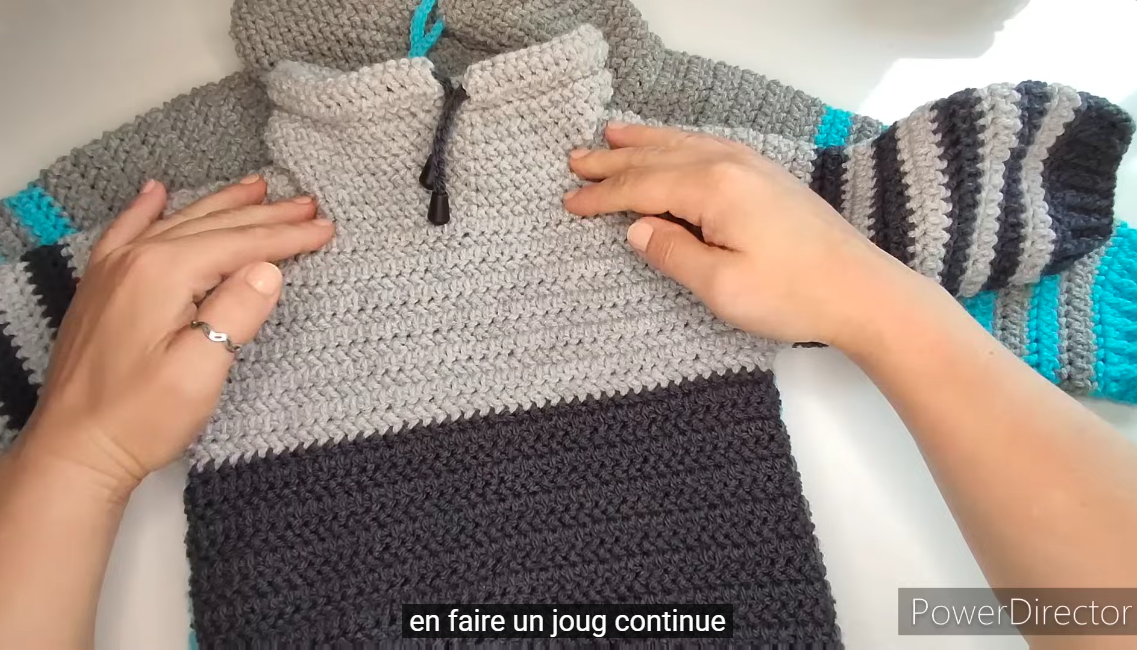
🧶 7. Adding Ribbing (Optional but Recommended)
Bottom Hem:
-
Attach yarn to the bottom edge.
-
Work single crochet or front/back post double crochet ribbing for 4–6 rows.
Sleeve Cuffs:
-
Same stitch pattern for 3–5 rows.
Neckline:
-
Attach yarn around neckline.
-
Single crochet 1–2 rounds OR rib for a thicker collar.
🎨 8. Customization Ideas
-
Add stripes (change color every 4–6 rows)
-
Use textured stitches (e.g., waffle stitch, moss stitch)
-
Add a chest pocket
-
Use contrasting colors for cuffs and neckline
🧼 9. Care Instructions
-
Machine wash gentle (if using acrylic)
-
Lay flat to dry
-
Avoid high heat to maintain shape
🏁 10. Beginner Tips
-
Keep your tension consistent.
-
Use stitch markers for sleeves and neckline.
-
Always measure the child or compare to a well-fitting sweater.
If you want, I can also provide:
✅ A written full pattern in one size
✅ A multi-size chart pattern (ages 2–12)
✅ A diagram / schematic
✅ A video-style step list
Just tell me what you prefer!
Watch tutorial: