 by
by Below is a clear, detailed, beginner-friendly guide on how to crochet a “Cool Baby Hoodie.”
It includes materials, sizing guidance, stitch explanations, and full step-by-step instructions.
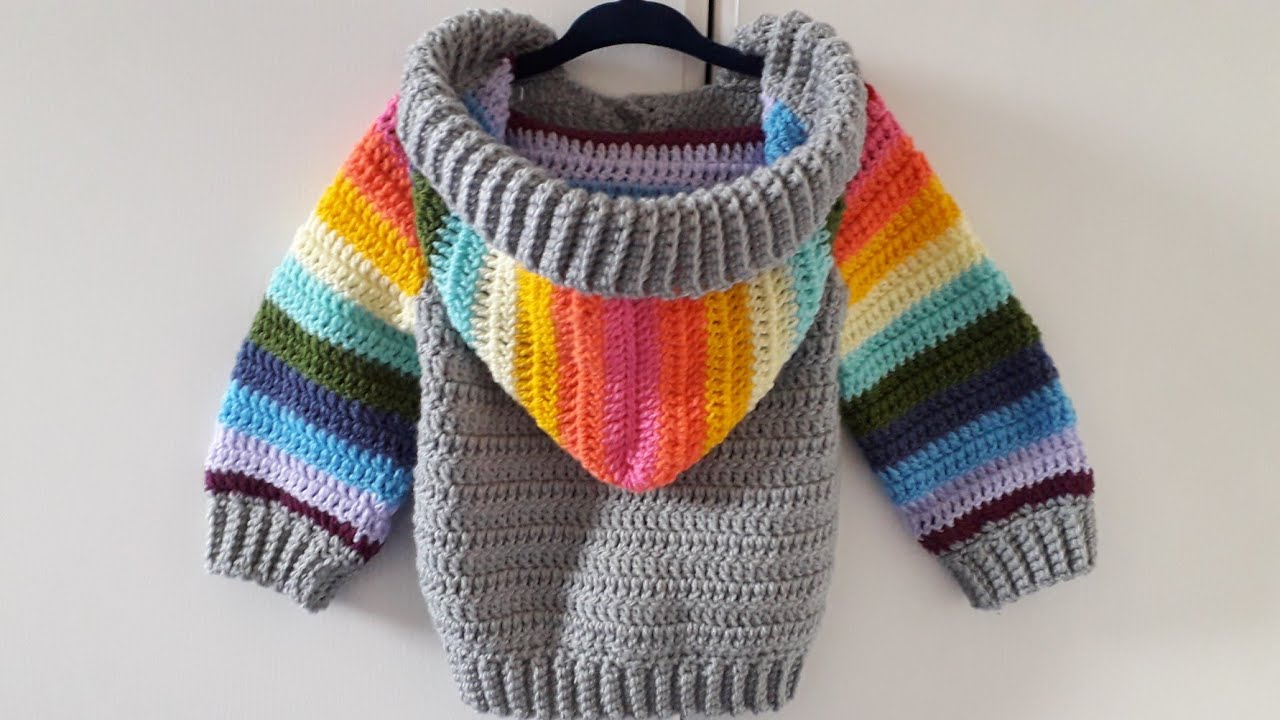
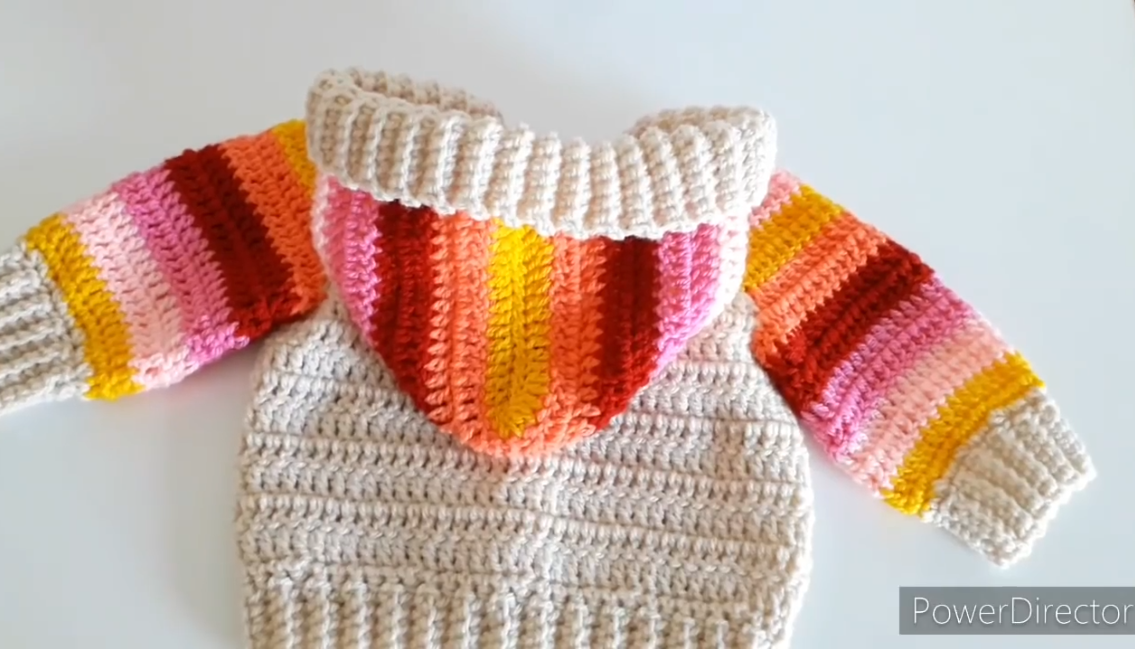
🧶 How to Crochet a Cool Baby Hoodie (0–12 Months)
This pattern produces a soft, stylish hoodie with a roomy hood and easy-to-wear fit. You can adjust sizing by changing yarn weight or hook size.
⭐ Materials Needed
-
Worsted weight yarn (Medium #4) – approx. 300–450 yards (depends on size)
-
Crochet hook size H/5.0 mm
-
Yarn needle (for sewing seams and weaving ends)
-
Scissors
-
4 stitch markers
-
Buttons (optional, if making a button-up hoodie)
📏 Sizing Guide (Approximate)
| Size | Chest Width | Hoodie Length |
|---|---|---|
| 0–3 months | 16–17 in | 9–10 in |
| 3–6 months | 17–18 in | 10–11 in |
| 6–12 months | 18–19 in | 11–12 in |
You can size up or down by adding/removing rows or stitches.
🔤 Stitches Used
-
CH – chain
-
SC – single crochet
-
HDC – half double crochet
-
DC – double crochet
-
SL ST – slip stitch
-
INC – increase (2 stitches in same stitch)
-
DEC – decrease (stitches worked together)
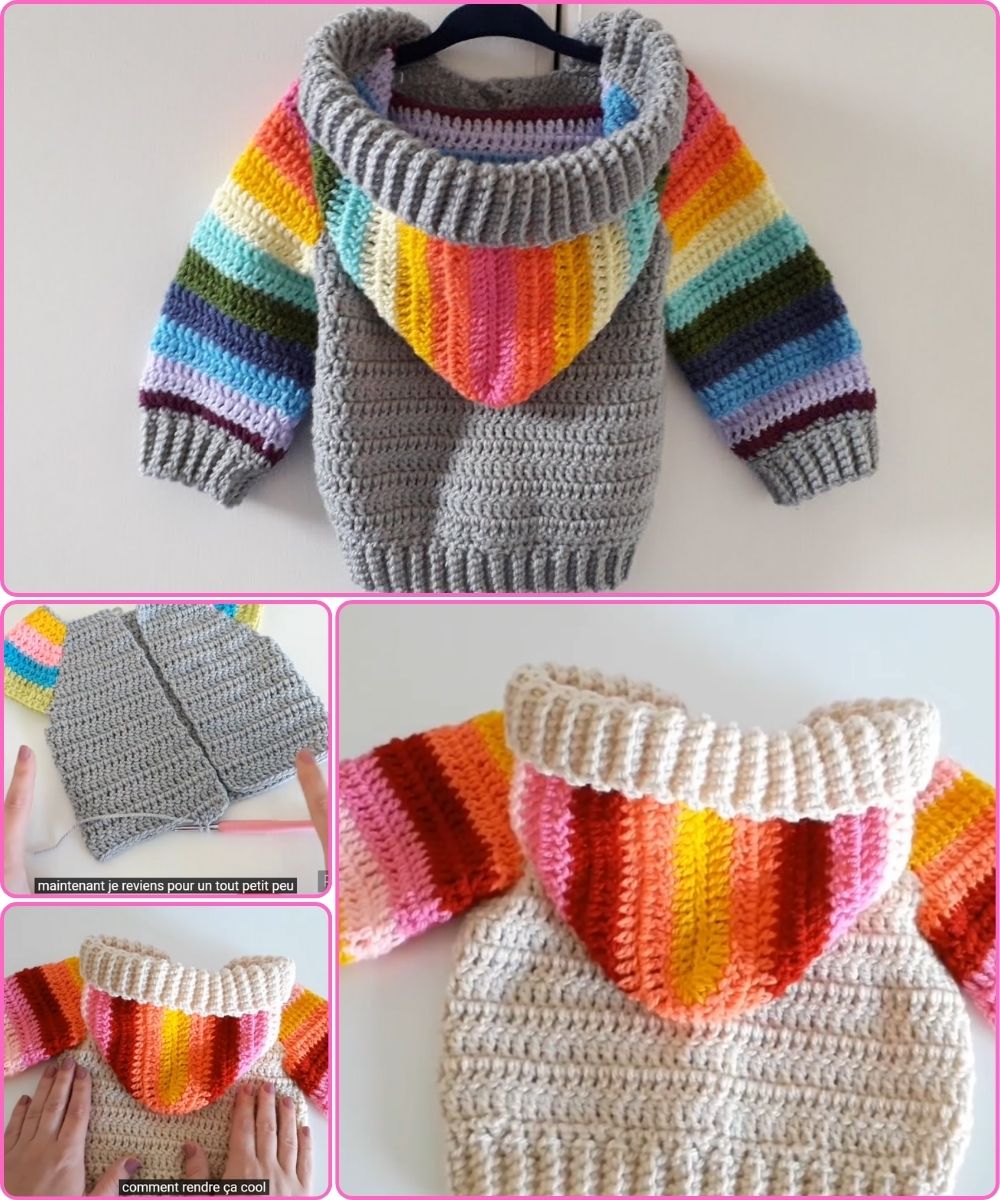
🧩 Construction Overview
This hoodie is built in 4 main parts:
-
Top-down yoke (raglan style)
-
Body section
-
Sleeves (crocheted in the round or flat)
-
Hood and finishing trim
✨ STEP-BY-STEP INSTRUCTIONS
1️⃣ YOKE (Neckline to Underarm)
-
Foundation:
CH 56 (for 6–12 mo; subtract 4 chains per size down). -
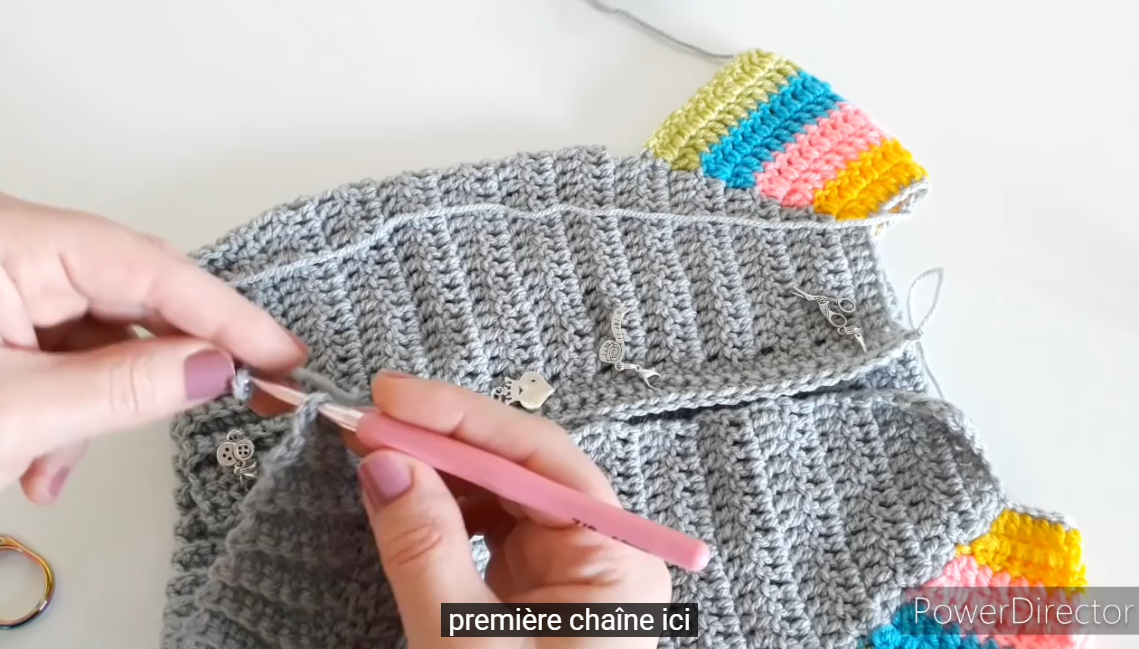
Row 1:
HDC in 3rd chain from hook and each stitch across.
(You now have 54 HDC.) -
Place Stitch Markers:
Mark stitches at positions:
8 – 20 – 34 – 46
These divide the front, back, and sleeves. -
Rows 2–12:
Increase at each stitch marker on every row:
-
HDC to marker
-
INC (HDC 2 in same stitch)
-
Move marker to first HDC of the increase
-
Continue across
By Row 12, your yoke should measure approx. 6.5–7 inches deep.
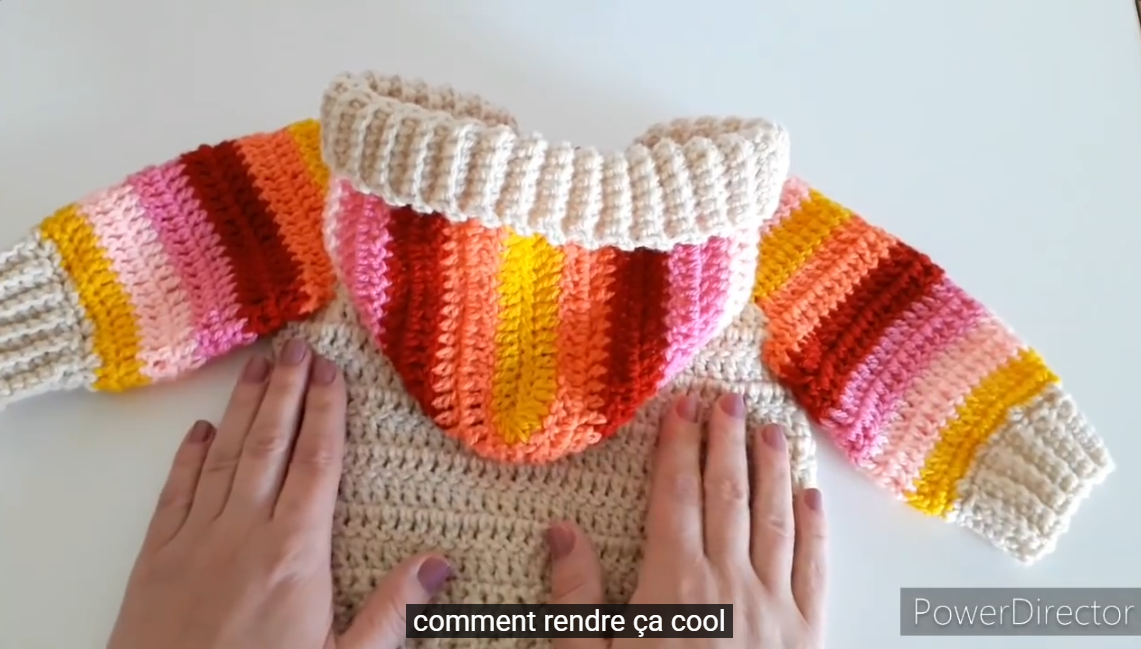
2️⃣ JOINING FOR THE BODY
-
Fold the yoke slightly to see sleeve separation.
-
Skip sleeve stitches, chaining 5–6 under the arm.
-
Continue working HDC across the front, underarm chain, back, and other underarm chain.
You now have a complete circular body.
3️⃣ BODY SECTION
-
Work HDC in rounds until the body reaches desired length (approx. 7–8 inches).
-
Add ribbing:
-
Rib Row: CH 1, SC around bottom edge.
-
Repeat: For 4 rows.
-
Optional stretchy rib: Alternate SC and front-post SC.
-
Fasten off and weave ends.
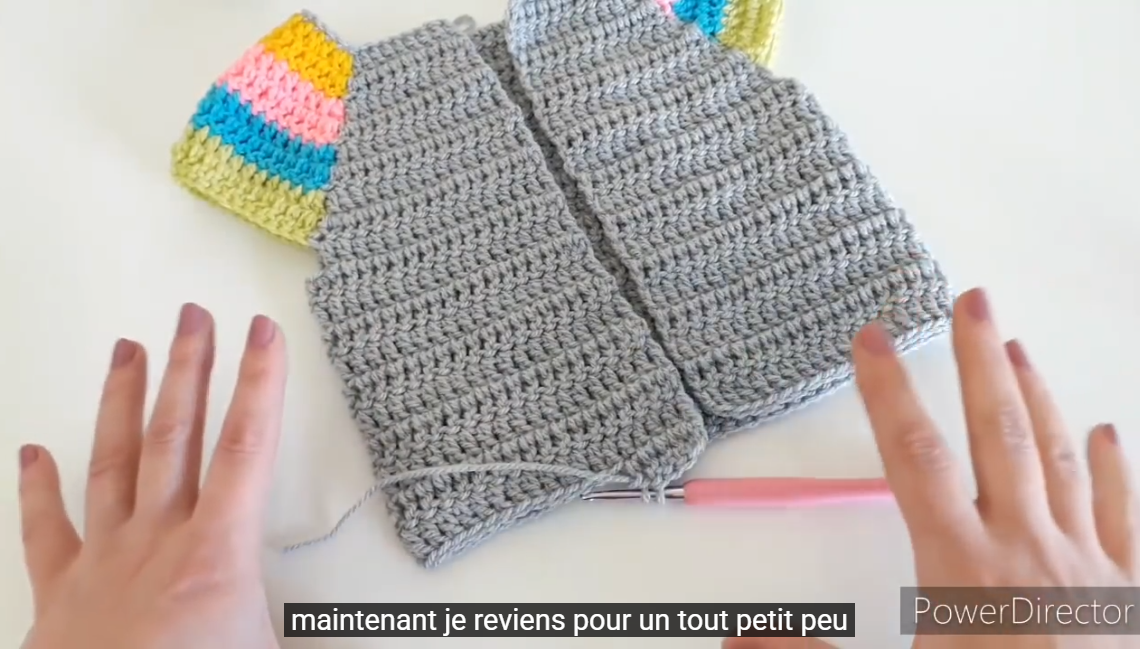
4️⃣ SLEEVES
-
Attach yarn at underarm.
-
Work HDC around, decreasing 2 stitches evenly every 3–4 rows for tapering.
-
Continue until sleeve length is 6–7 inches.
-
Add matching ribbing (4 rows of SC).
Repeat for second sleeve.
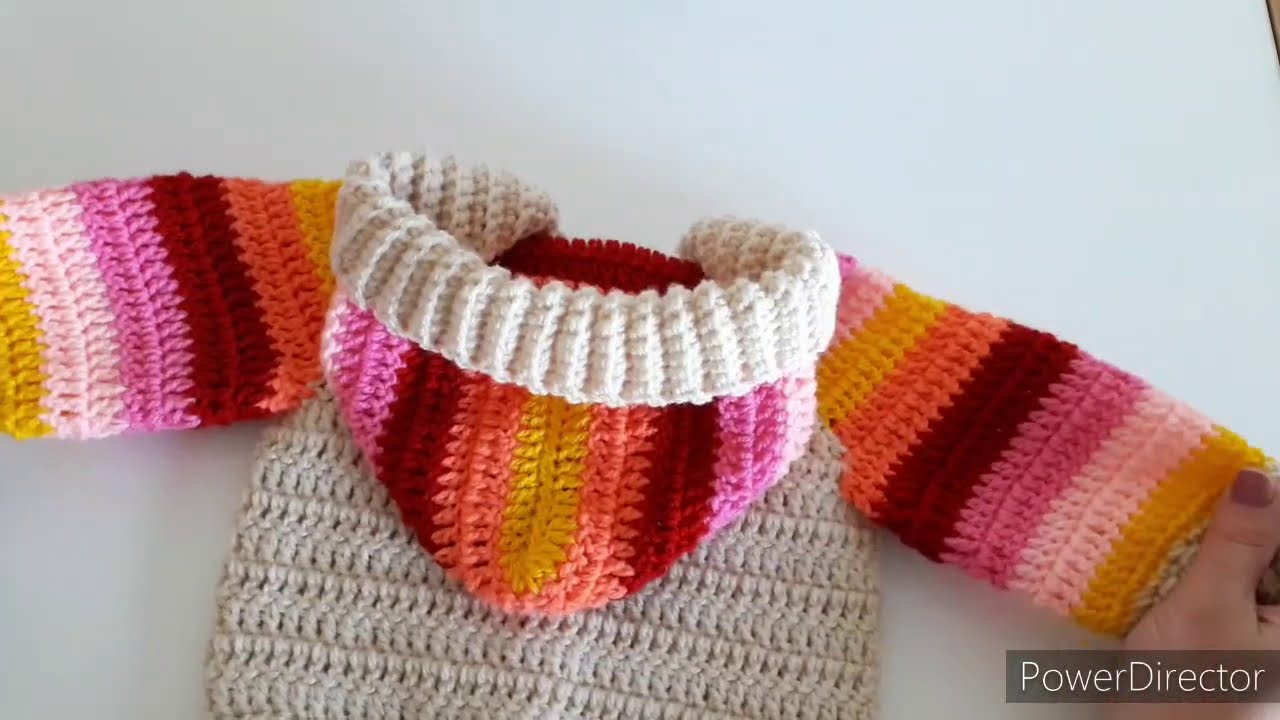
5️⃣ HOOD
-
Attach yarn along the neckline.
-
Foundation Row: HDC evenly across back neckline (approx. 44–48 stitches).
-
Work HDC rows until hood measures 8–9 inches deep.
-
Shaping the Back:
-
Fold hood and SL ST the top edges together to close.
-
6️⃣ EDGING & FINISHING TOUCHES
-
Work SC evenly around the front opening and hood edge for 2–3 rows.
-
Optional: Add buttonholes or zipper.
-
Weave in all yarn ends.
-
Add a pom-pom or ears if you want a “cute baby hoodie.”
🎨 Customization Ideas
-
Use striped yarn for a sporty look
-
Add a kangaroo pocket
-
Add bear or bunny ears on hood
-
Use soft baby cotton for warm weather
-
Use thick plush yarn for winter
🌟 Want a printable PDF?
I can format this into a clean, printable PDF-style pattern or customize it for a specific age (newborn, toddler, etc.).
Would you like:
➡️ A diagram?
➡️ Photo-style steps?
➡️ A version using different stitches (like all DC or all SC)?
Watch tutorial: