 by
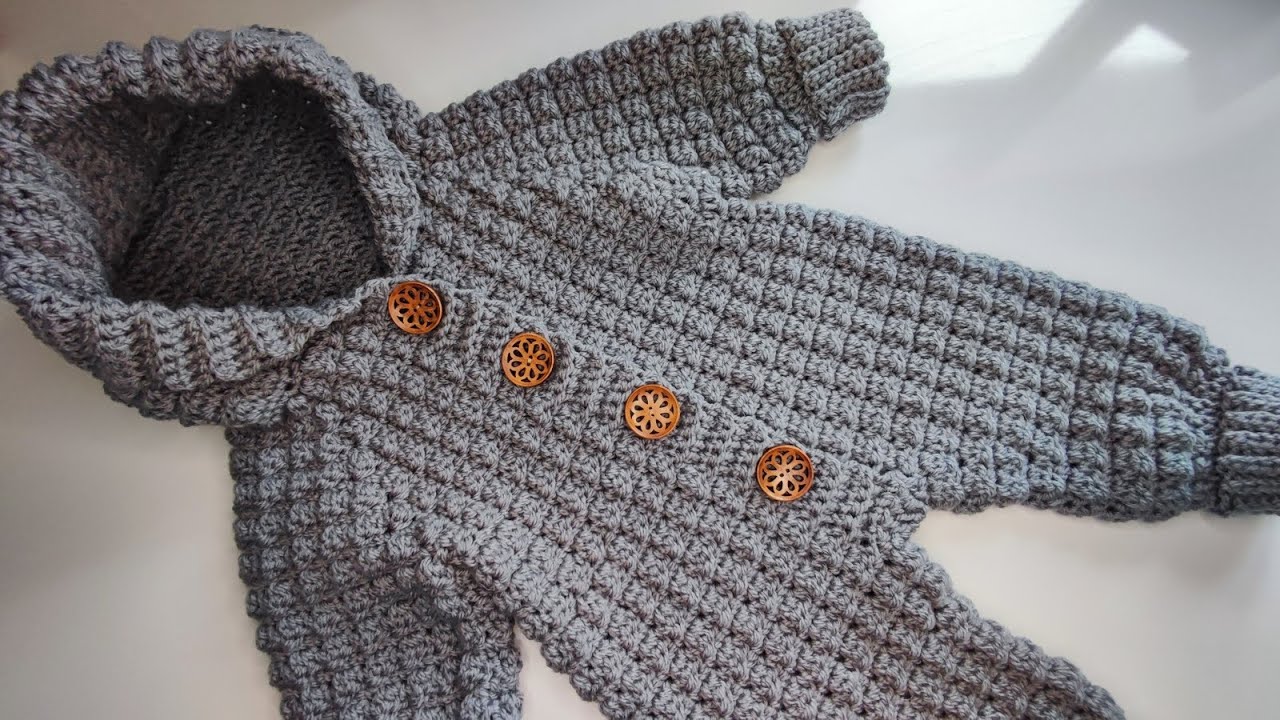
by Below is a detailed, step-by-step guide for crocheting a warm baby bodysuit, including materials, sizing tips, stitch instructions, assembly, and optional variations. I can also turn this into a printable PDF-style format if you want.
🧶 How to Crochet a Warm Baby Bodysuit (Beginner–Intermediate)
A crocheted baby bodysuit is a cozy garment designed to fit snugly, keep a baby warm, and layer easily under other clothing. This guide uses soft, baby-safe yarn and simple stitches.
🧵 Materials Needed
Yarn
-
DK (Light #3) or Worsted (Medium #4) weight yarn
Choose soft, hypoallergenic yarn:-
Baby acrylic
-
Cotton blend
-
Merino baby wool (if baby is not wool-sensitive)
-
Hook
-
4.0 mm (G) for DK
-
4.5–5.0 mm (H–I) for worsted
Notions
-
Stitch markers
-
Yarn needle
-
3–5 small buttons/snaps (for shoulder or crotch opening)
-
Scissors
-
Measuring tape
Stitches Used
-
Ch – chain
-
Sl st – slip stitch
-
Sc – single crochet
-
Hdc – half double crochet
-
Dc – double crochet
-
Inc – increase (2 stitches in one stitch)
-
Dec – decrease (work 2 stitches together)
📏 Sizing Guide
You can follow these general measurements:
| Size | Chest Width | Body Length | Armhole |
|---|---|---|---|
| Newborn | 16–17 cm | 34–36 cm | 8–9 cm |
| 0–3 mo | 18–19 cm | 36–38 cm | 10 cm |
| 3–6 mo | 20–21 cm | 40 cm | 11–12 cm |
(You can adjust by adding/subtracting rows or stitches.)
🪡 Step-by-Step Instructions
1. Make the Yoke (Top of Bodysuit)
We will work top-down in rows, then join later.
-
Foundation Chain:
Ch 52 (newborn) / 56 (0–3 mo) / 60 (3–6 mo) -
Row 1:
Hdc in 3rd ch from hook and across. Turn. -
Row 2 (Start raglan increases):
Place markers at four raglan points:-
After 8 sts (right front)
-
Next 10 sts (right sleeve)
-
Next 16 sts (back)
-
Next 10 sts (left sleeve)
-
Remaining 8 sts (left front)
-
-
Row 2 repeat:
Hdc until first marker, inc, move marker, hdc to next marker, inc, etc. Continue across. Turn. -
Rows 3–10:
Continue hdc with inc at each raglan point.
Yoke will widen into a rounded shape. -
Check fit:
When the width fits baby’s chest + 2 cm, stop increases.
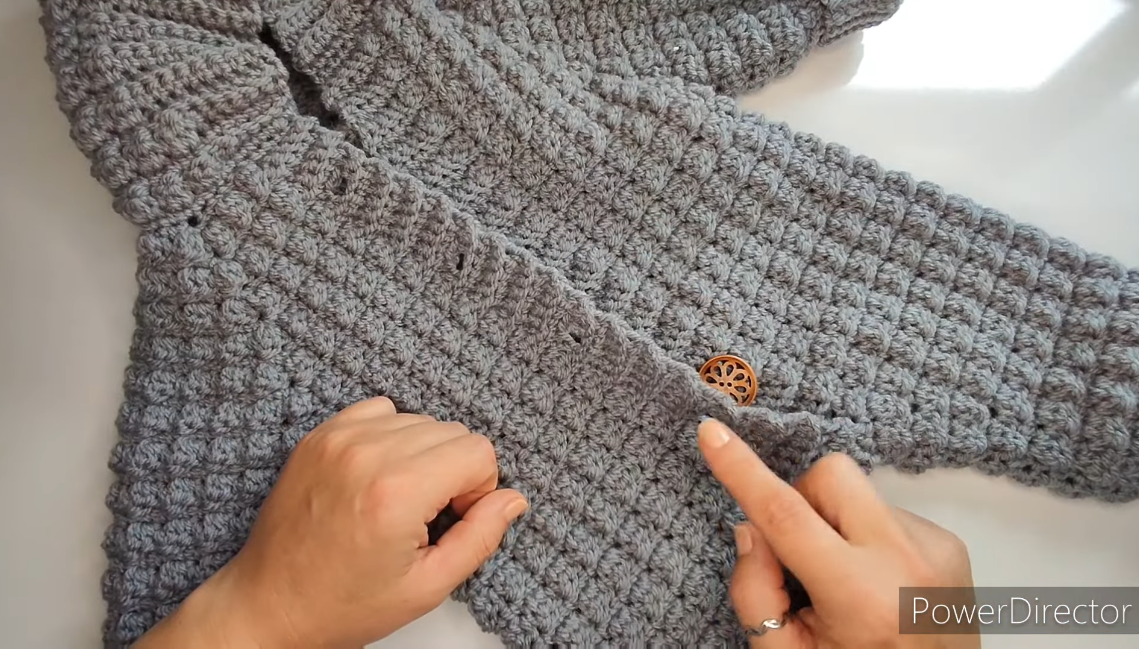
2. Separate Sleeves and Body
-
Hdc to first marker.
-
Ch 4–6 (for underarm space).
-
Skip sleeve stitches, hdc to next marker.
-
Repeat for the second sleeve.
-
Continue around to join into one continuous body piece.
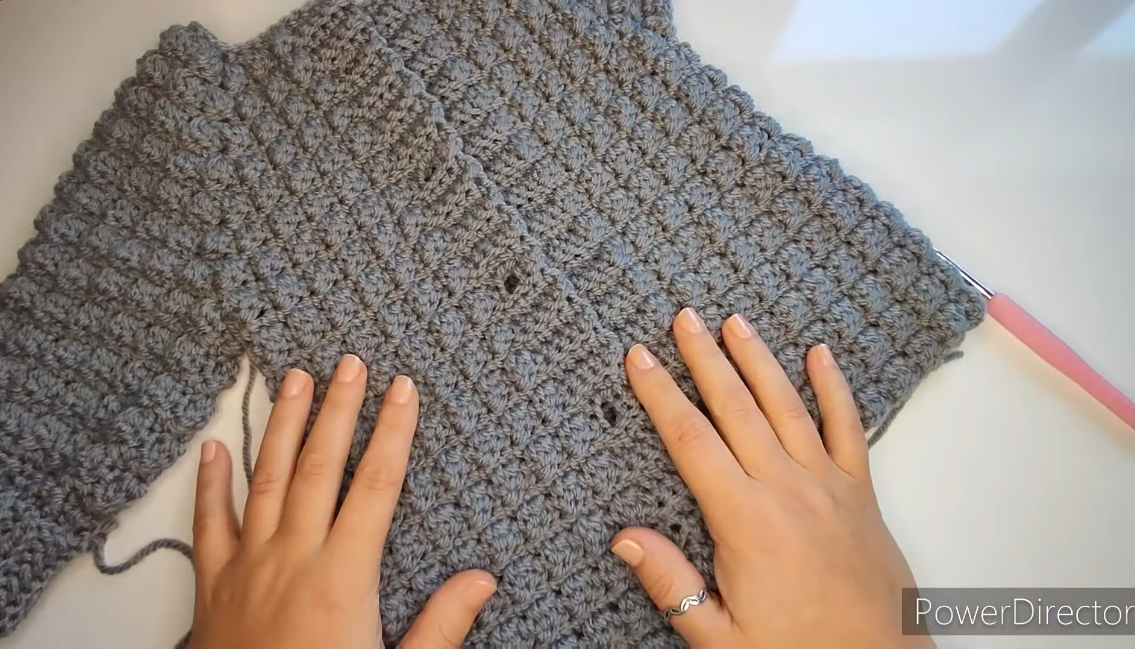
3. Crochet the Body
-
Body rows:
Hdc in each stitch around. Work in the round or back and forth. -
Shaping the waist (optional):
-
Row: [8 hdc, dec] repeat around for slight shaping
-
Next row normal hdc
-
-
Length:
Work until the torso measures:-
Newborn: 22–24 cm
-
0–3 months: 25–27 cm
-
4. Shape the Leg Openings
-
Divide the bottom opening into two halves.
-
Work front section first:
-
Hdc rows across half the stitches for 4–6 rows.
-
Fasten off.
-
-
Work back section:
-
Same number of rows but add 2 extra rows for extra diaper space.
-
-
Crotch piece:
-
From the bottom of the front panel, ch 20–24
-
Sl st to the back panel
-
Work 3–5 rows of sc
-
Add buttonholes if desired
-

5. Ribbing (Optional but recommended)
Add ribbing around the leg openings, neckline, and sleeves.
Ribbing method:
-
Attach yarn, ch 6
-
Sc in each ch, sl st into bodysuit
-
Repeat around using sc ribbing technique.
👶 6. Crochet the Sleeves
-
Reattach yarn at the sleeve underarm.
-
Sc or hdc around.
-
Decrease every 4th row for tapered fit.
-
Add ribbing at the wrist (optional).
-
Make sleeves as long as desired (short, long, or ¾ sleeves).
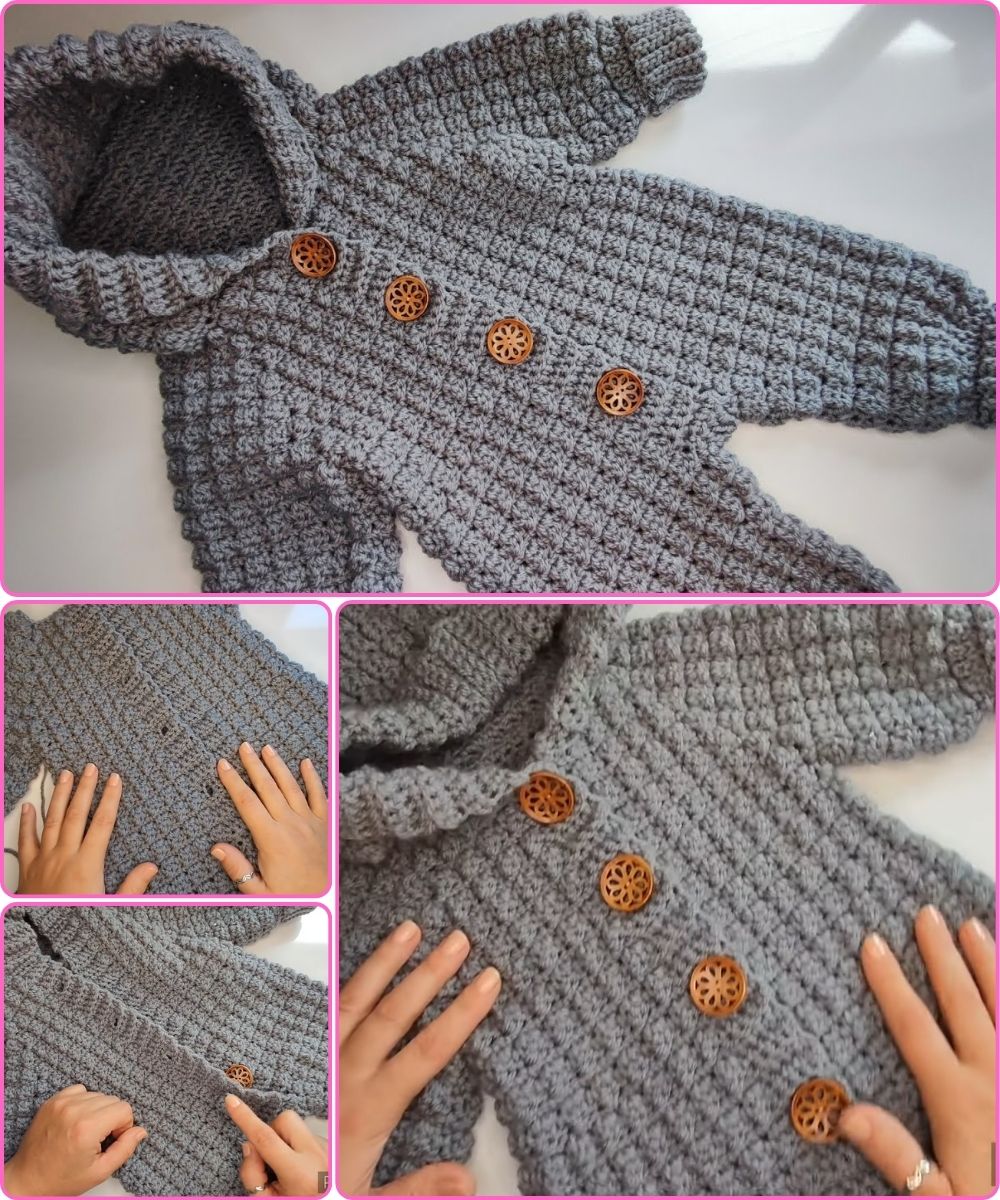
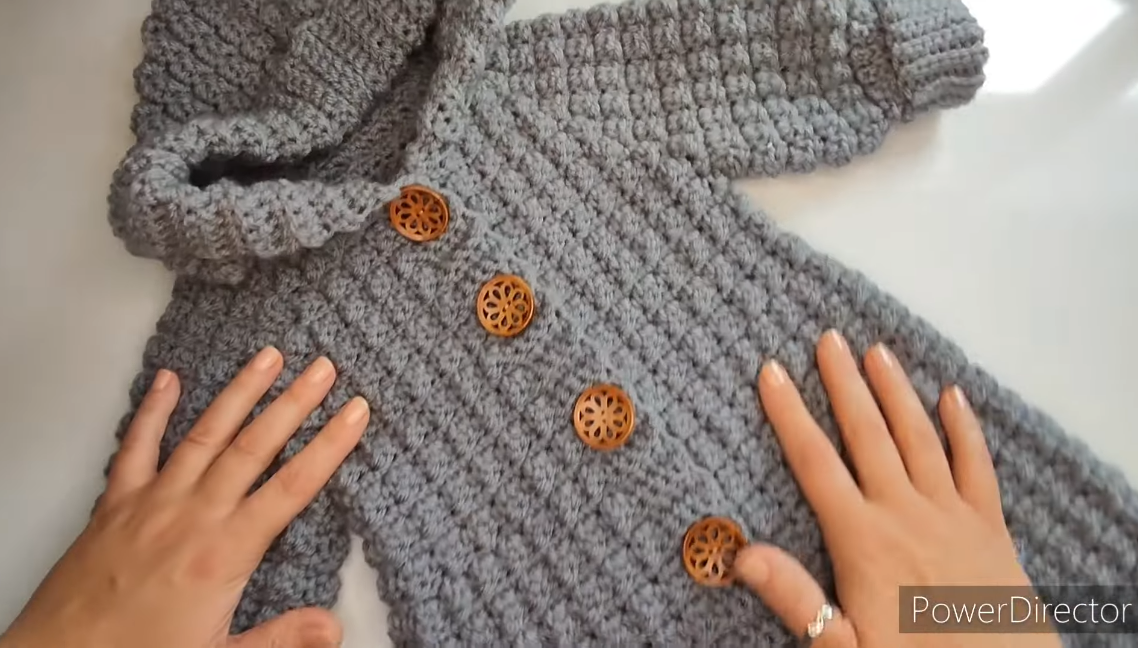
🔘 7. Add Buttons or Snaps
Recommended placements:
-
At one shoulder
-
At the crotch (for diaper changes)
Button row:
-
Work 1 row sc
-
Next row: sc, ch 2, skip 2 for buttonholes
✨ 8. Finishing
-
Weave in all ends
-
Block lightly (steam or cold-water block)
-
Add embellishments:
-
Little ears
-
Pockets
-
Surface embroidery
-
Shell edging
-
🧸 Beginner Tips
-
Always check gauge—baby clothes must fit safely.
-
Avoid loose buttons that can detach.
-
Use soft yarn to prevent irritation.
-
Seamless bodysuits are more comfortable.
-
Add extra rows in the diaper area for comfort.
⭐ Want a Printable Pattern?
I can format this into a:
-
PDF sewing-style pattern
-
Step-by-step photo guide
-
Video-style instructions
-
Or customize it for your yarn, size, or style (hooded, furry, fluffy, winter-weight, etc.)
Would you like a fully written pattern for a specific size (newborn, 0–3 mo, 3–6 mo, 6–12 mo)?
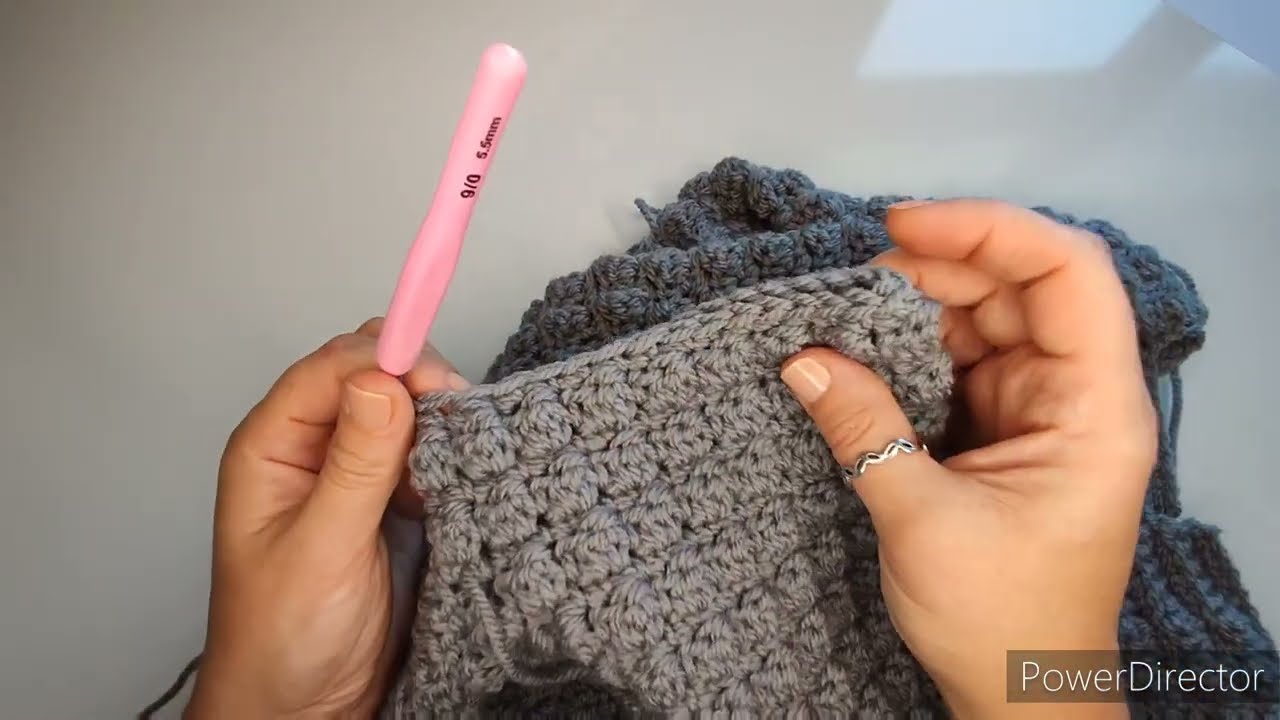
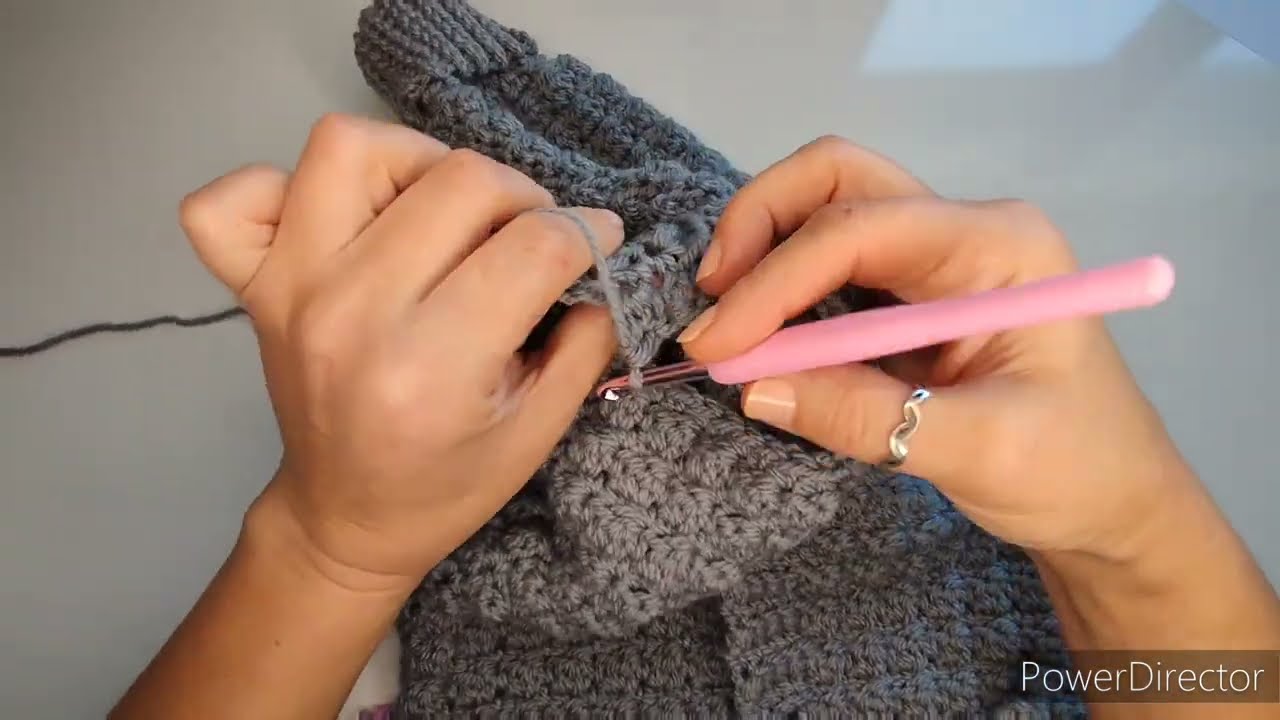
watch tutorial: