 by
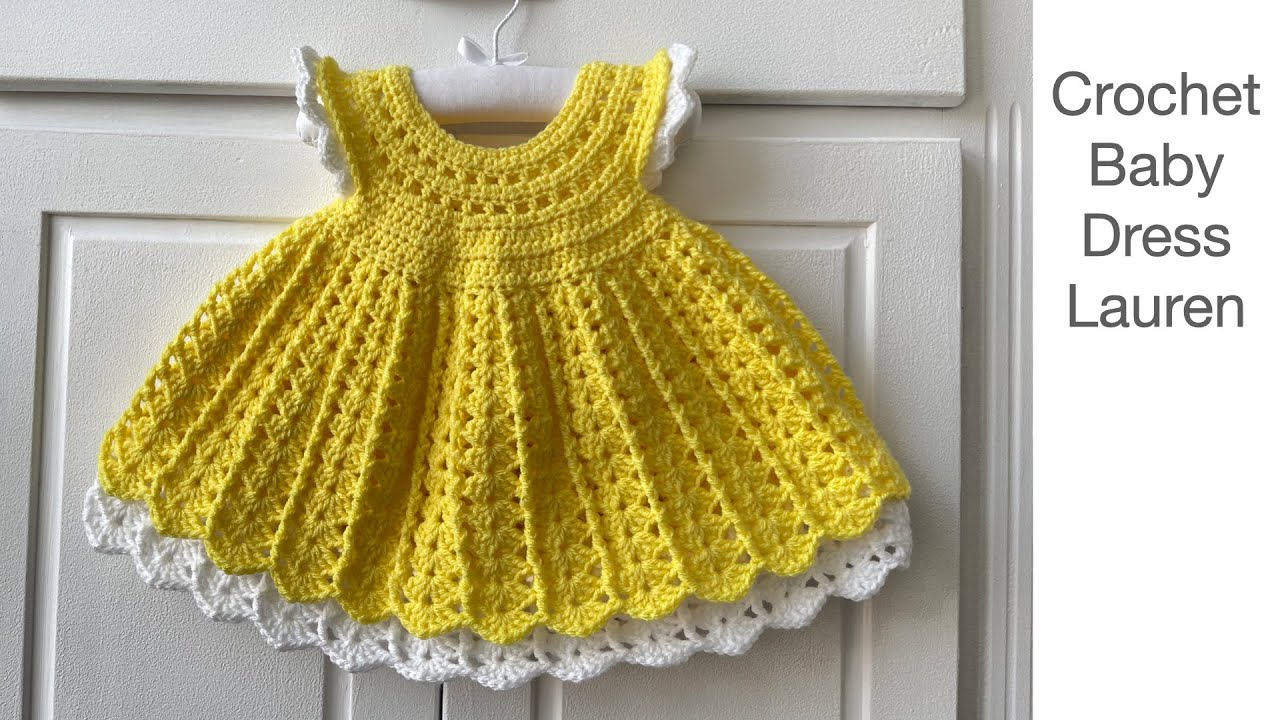
by Sure! Here’s a detailed guide on how to make a crochet baby dress named “Lauren”. This will include everything from materials needed to step-by-step instructions for crafting a classic-style baby dress suitable for a beginner to intermediate crocheter.
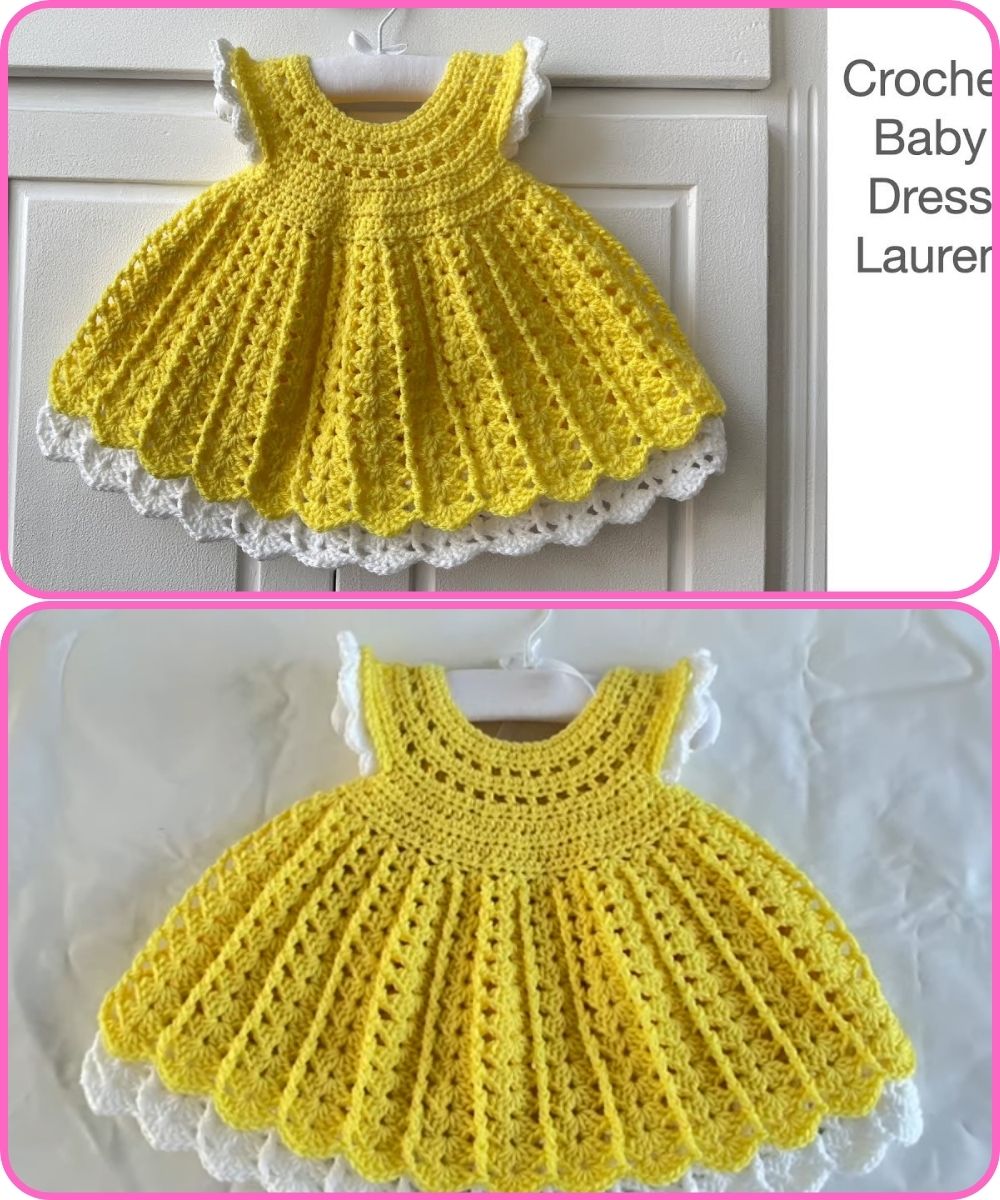
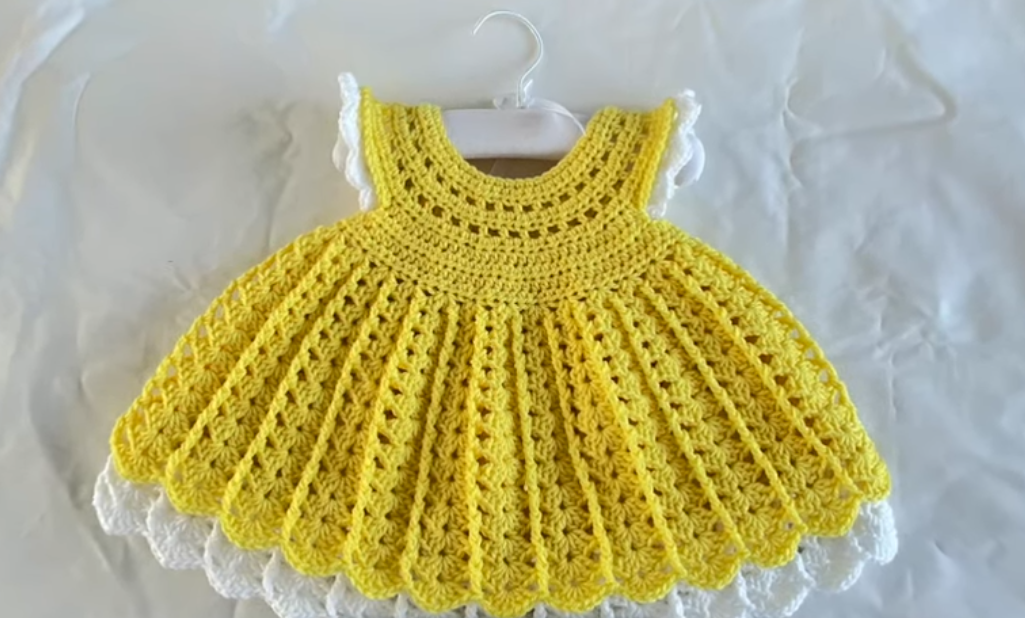
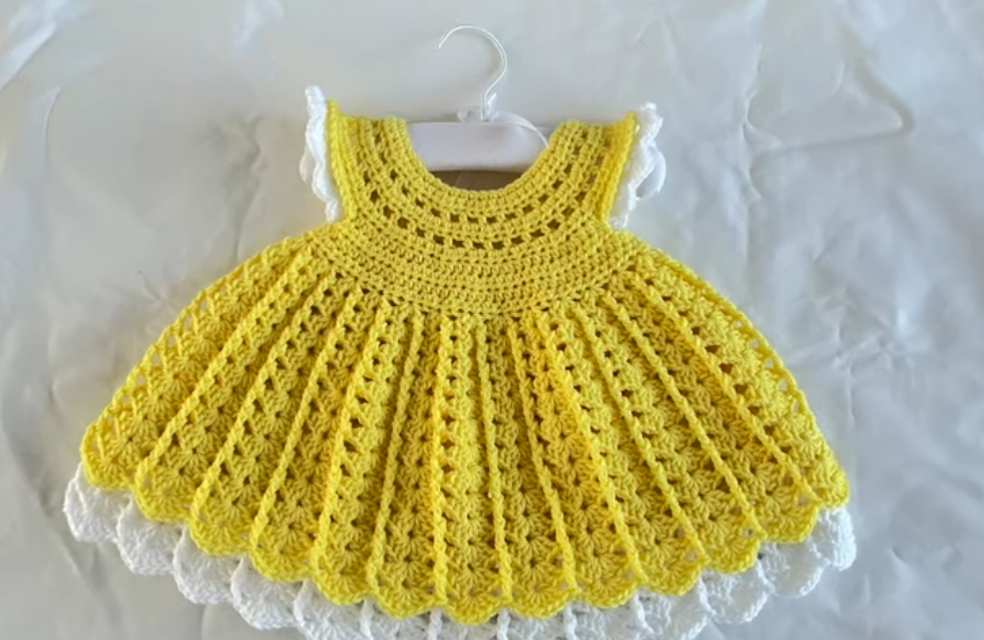
Crochet Baby Dress “Lauren” – Step-by-Step Guide
Size:
-
0–3 months (with guidance to adjust for larger sizes)
Materials Needed:
-
Yarn: DK (light worsted weight / category 3) cotton or soft acrylic yarn
– Approx. 150–200g (depending on size) -
Hook: 4.0 mm (G/6) crochet hook
-
Notions: Yarn needle, stitch markers, scissors, 1–3 buttons
-
Optional: Ribbon or decorative flower appliqués
Stitches & Abbreviations (US terms):
| Abbreviation | Meaning |
|---|---|
| ch | chain |
| sl st | slip stitch |
| sc | single crochet |
| dc | double crochet |
| hdc | half double crochet |
| st(s) | stitch(es) |
| inc | increase (2 dc in one st) |
| dec | decrease (2 dc together) |
Construction Overview:
The “Lauren” baby dress is worked top-down in one piece:
-
Yoke (neckline to armholes)
-
Skirt (flaring down from yoke)
-
Finishing touches (edging, buttons, etc.)

Step-by-Step Instructions
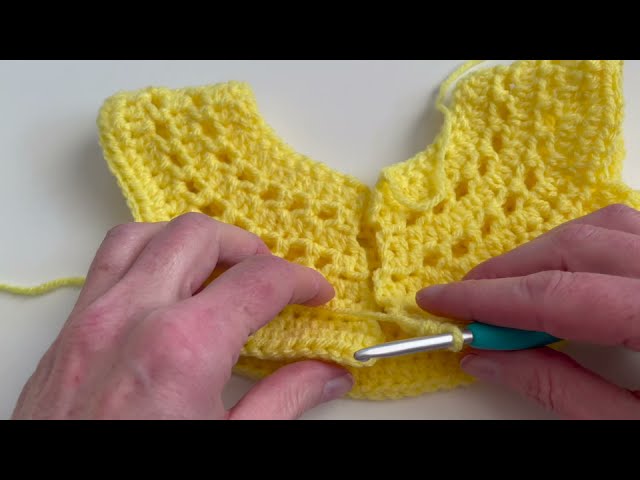
Step 1: Create the Yoke
Row 1:
Ch 52.
Row 1: Dc in 4th ch from hook and each ch across. (50 dc)
Ch 2, turn.
Step 2: Shaping the Yoke with Raglan Increases
Row 2:
-
Dc in first 7 sts, ch 1 (place marker – this is first raglan corner)
-
Dc in next 12 sts, ch 1 (2nd raglan corner)
-
Dc in next 12 sts, ch 1 (3rd raglan corner)
-
Dc in next 7 sts, ch 2, turn
Row 3–8:
Continue working dc in each stitch and 2 dc in each ch-1 space (corners). Add 1 extra stitch between increases every row (forming sleeves).
By Row 8, you should have shaped the yoke enough to create armholes.
Step 3: Joining for the Body
Row 9:
Work dc to first ch-1 space, skip the sleeve section (skip from ch-1 to next ch-1), dc across front, skip next sleeve, dc to end.
You now have a body tube formed.
Body Round 10–20 (or desired length):
Work dc in rounds. Use stitch markers to keep count. You can add increases every few rounds to give the skirt a flare.
Optional – Shell Stitch Skirt (from Round 15):
-
Shell pattern: (2 dc, ch 1, 2 dc) in same st, skip 2 sts, sc in next st, skip 2, repeat.
This gives a lacy look.
Step 4: Edging & Finishing
Neckline Edging:
Work a round of sc around neckline. You can add a small scallop:
(sc, skip 1, 5 dc in next st, skip 1) repeat.
Armhole Edging (Optional):
Sc around armholes for a neat finish.
Back Opening:
If you want a back button opening, leave a 2-inch opening at the back while working yoke.
Add 1–2 buttonholes with ch-spaces. Sew buttons accordingly.
Step 5: Optional Additions
-
Sew a ribbon just below the yoke line and tie it at the front
-
Add crocheted or satin flowers
-
Add a ruffled hem by increasing stitches in last 2 rounds
Washing Instructions
-
Hand wash in cold water
-
Dry flat
-
Do not bleach
Notes:
-
Always check gauge if you want a precise fit.
-
Adjust size by adding chains to the starting yoke or increasing rounds.
-
Use stitch markers to mark raglan points – very helpful.
Watch tutorial: