 by
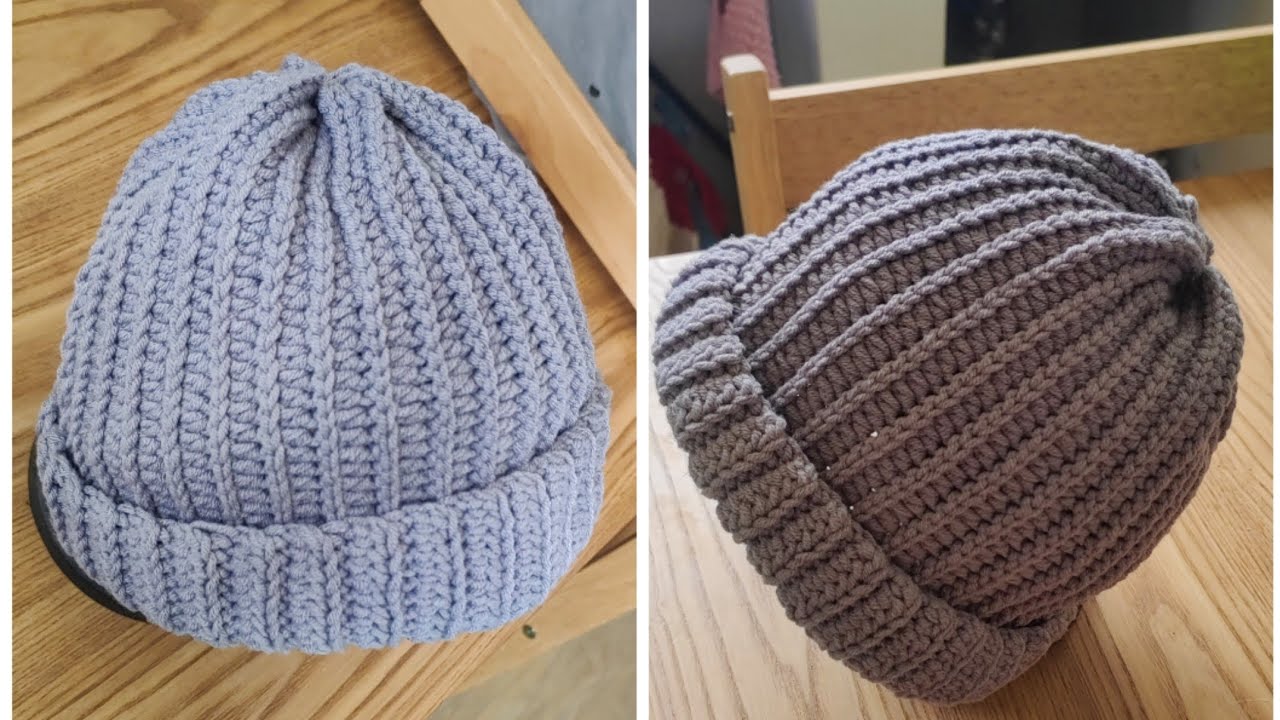
by Sure! Here is a detailed, beginner-friendly crochet tutorial on how to make a 2-way beanie hat — a versatile hat that can be worn two different ways: as a slouchy beanie or with the brim folded up for a snug fit.
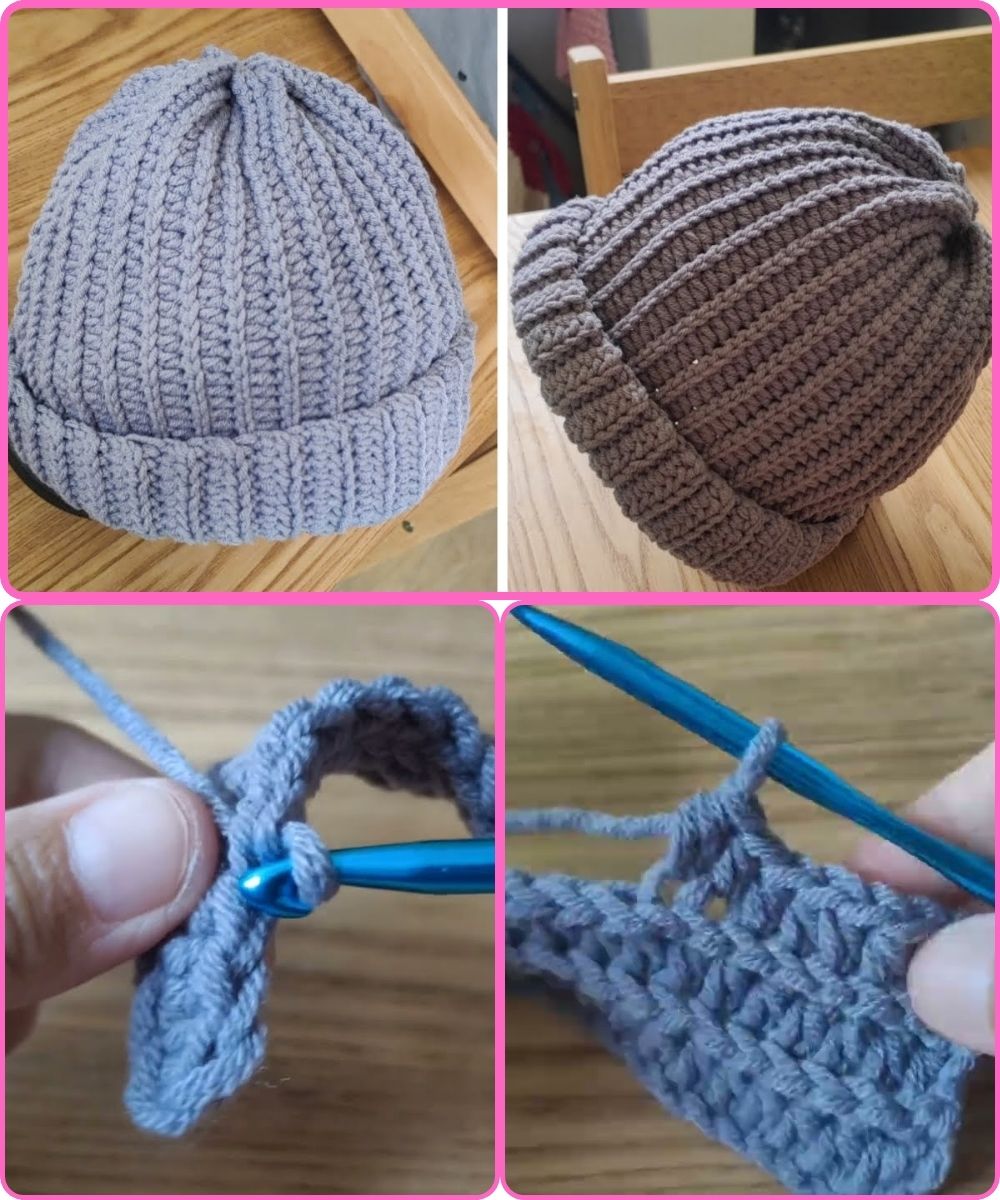
Beginner’s Beanie Crochet Tutorial – 2-Way Beanie
What You’ll Learn:
-
How to crochet a simple, stylish beanie suitable for beginners
-
How to use basic stitches: chain (ch), single crochet (sc), and slip stitch (sl st)
-
How to shape a beanie using rows and seams
-
How to finish and customize your hat
Materials Needed:
| Item | Description |
|---|---|
| Yarn | Medium weight (Category 4) yarn, ~150g |
| Hook | 5.0mm (H-8) crochet hook |
| Tapestry needle | For sewing the seam and closing the top |
| Scissors | For cutting yarn |
| Measuring tape | To measure hat size |
| Stitch marker (optional) | For marking rows |
Sizing Guide (Adult Medium):
-
Height: 10–11 inches (25–28 cm)
-
Width (flat): 9–10 inches (23–25 cm)
Adjust size by adding/subtracting rows or chains


Abbreviations (US Terms):
-
ch = chain
-
sc = single crochet
-
sl st = slip stitch
-
st(s) = stitch(es)
-
rep = repeat
Instructions:
Step 1: Create the Ribbed Band (Brim)
This creates the stretchy bottom edge of the hat.
-
Ch 40 (for ~10″ tall hat, adjust if needed)
-
Row 1: Sc in second ch from hook and in each ch across. (39 sc)
Ch 1, turn. -
Row 2: Sc in the back loop only (BLO) across.
Ch 1, turn. -
Repeat Row 2 until your band measures 18–20 inches wide (stretch to fit head).
Usually around 60–70 rows, depending on tension.
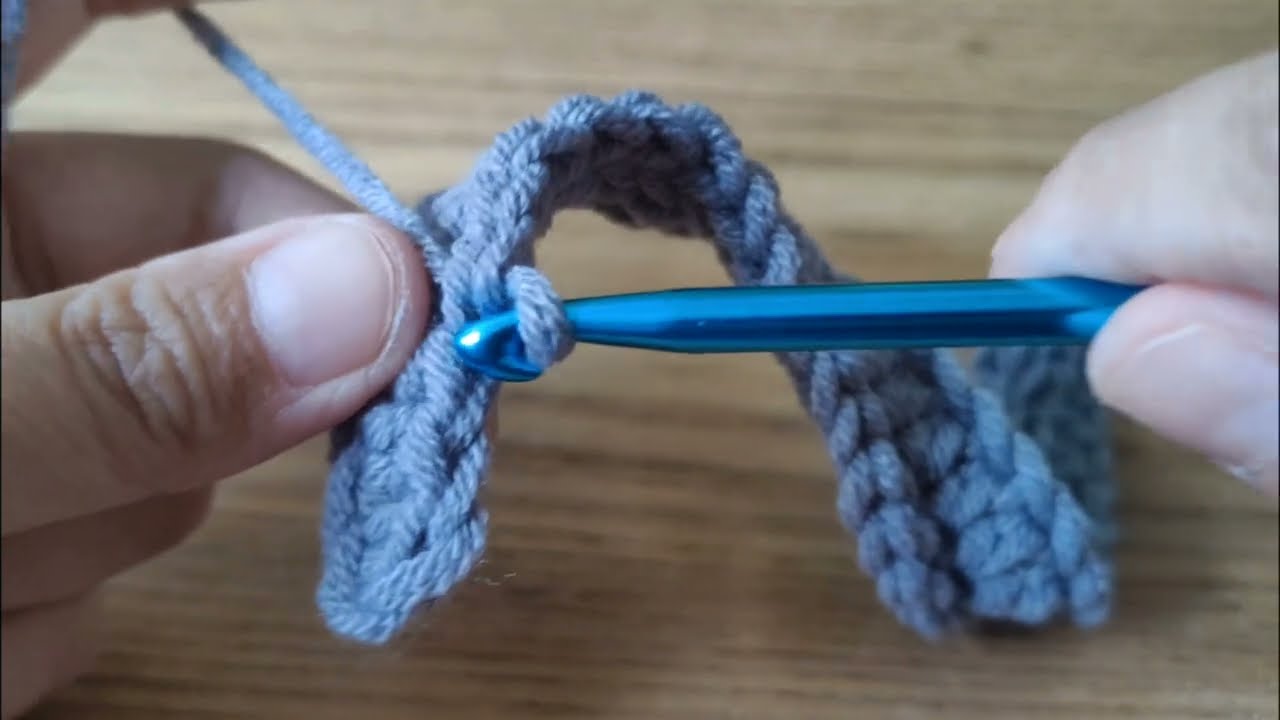
Step 2: Join to Form a Tube
-
Fold the band in half (short ends together).
-
Sl st through both loops of each stitch to seam the edges.
-
Do not fasten off. Turn the tube inside out — the seam will be hidden.


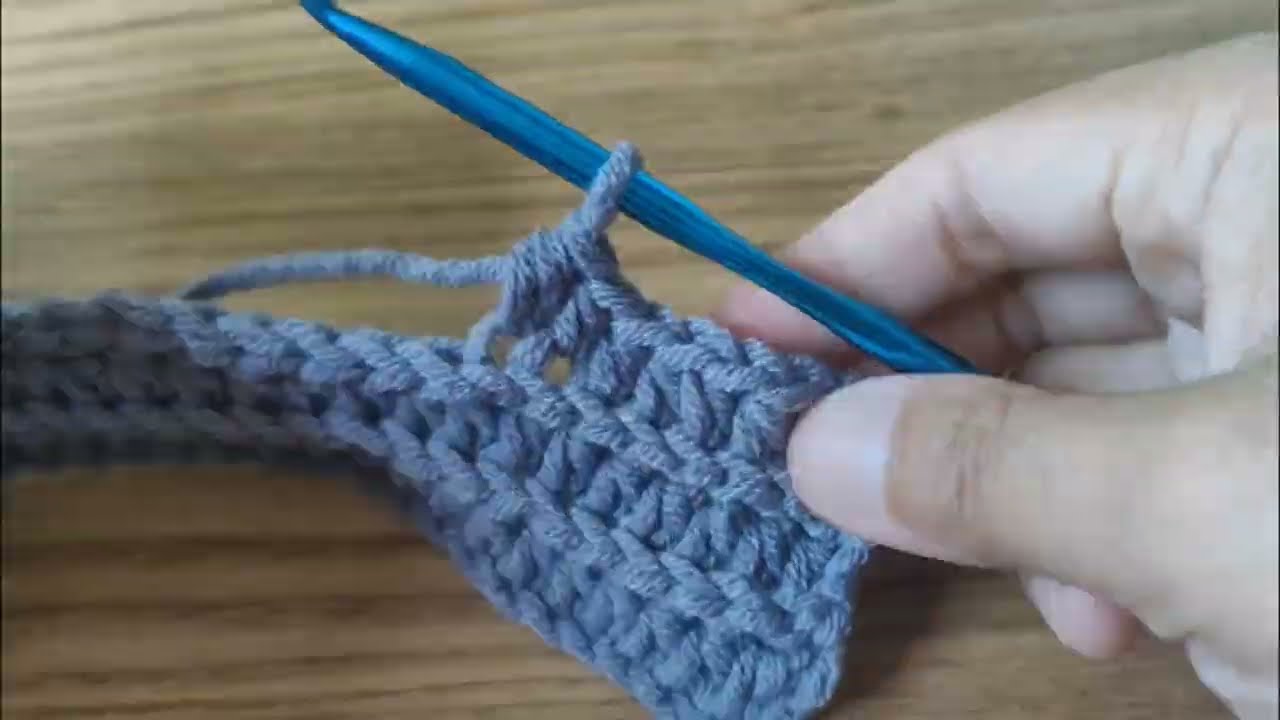
Step 3: Work the Body of the Hat
Now crochet around the tube’s edge to form the height of the hat.
-
Round 1: Ch 1. Work 1 sc into the side of each row around the brim.
You should have one sc per rib — ~60–70 sc.
Sl st to join. -
Rounds 2–15 (or desired height): Ch 1, sc in each st around. Sl st to join each round.
(Add more rounds for a slouchy hat, fewer for a snug one)
Step 4: Shape the Crown (Top)
Start decreasing to close the top.
-
Round 16: Sc in next 8 sts, sc2tog, rep around. Sl st to join.
-
Round 17: Sc in next 6 sts, sc2tog, rep around. Sl st.
-
Continue decreasing in this pattern (spacing 2 fewer sc each round) until ~8–10 sts remain.
Step 5: Close the Top
-
Cut the yarn leaving a long tail (about 10 inches).
-
Thread tail through tapestry needle and weave through the remaining stitches.
-
Pull tight like a drawstring and secure with a knot.
-
Weave in all ends.
Finishing & Style Tips:
-
Turn brim up for a snug fit or wear slouchy for a relaxed look
-
Add a pom-pom for flair
-
Try stripes or variegated yarn for extra style
Beginner Tips:
-
Keep your tension even — not too tight or loose.
-
Use stitch markers to track rounds if needed.
-
Count your stitches each round to stay consistent.
Optional: Video Tutorial
If you’d like, I can help you write a YouTube-style script or recommend video tutorials.
Would you like a printable PDF pattern version of this guide or a visual step-by-step diagram?
Watch tutorial: