 by
by Absolutely! Here’s a detailed, step-by-step guide on how to make a crochet blouse from start to finish. I’ll break it down into easy, manageable steps with explanations for beginners or anyone wanting a thorough understanding.
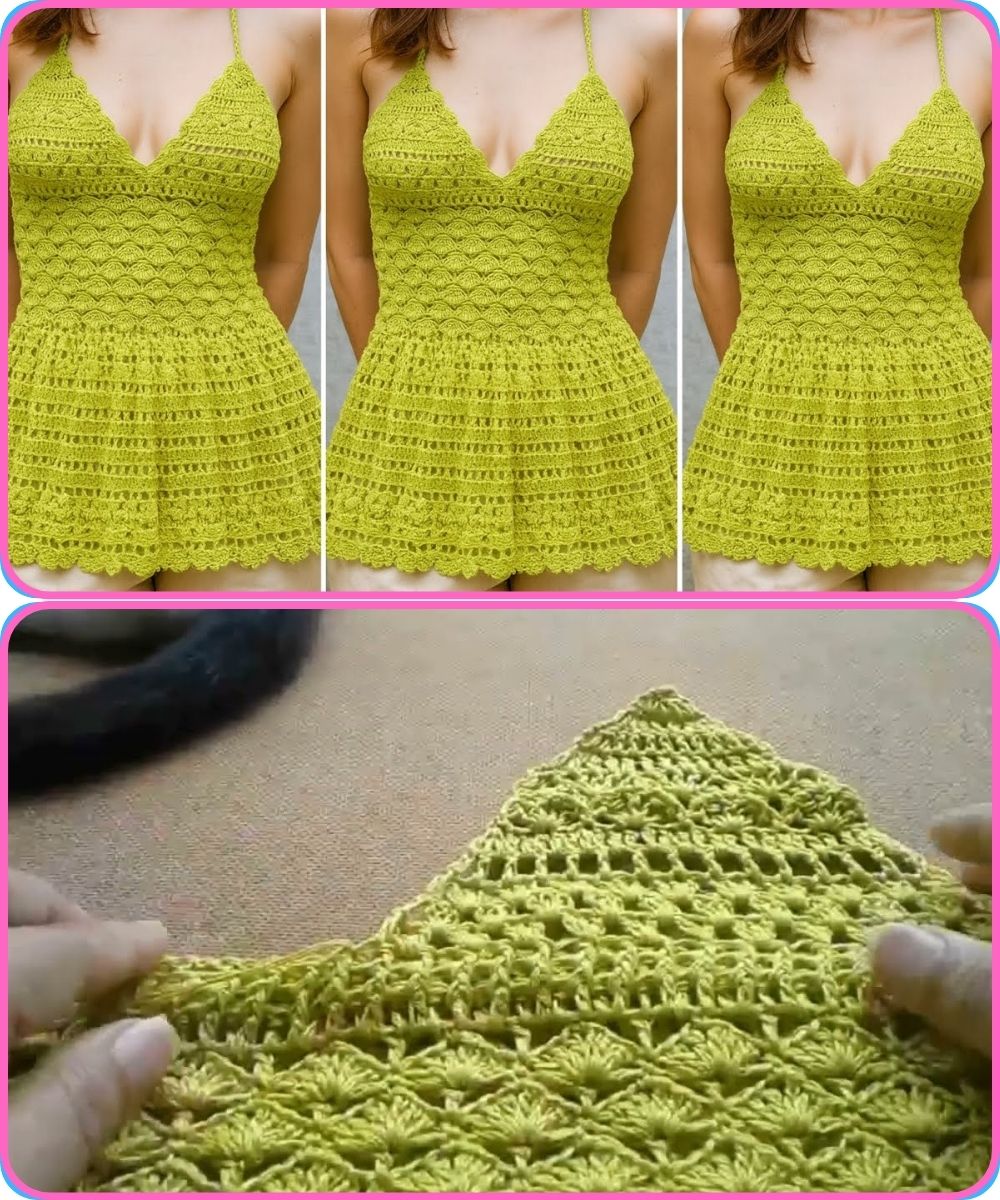
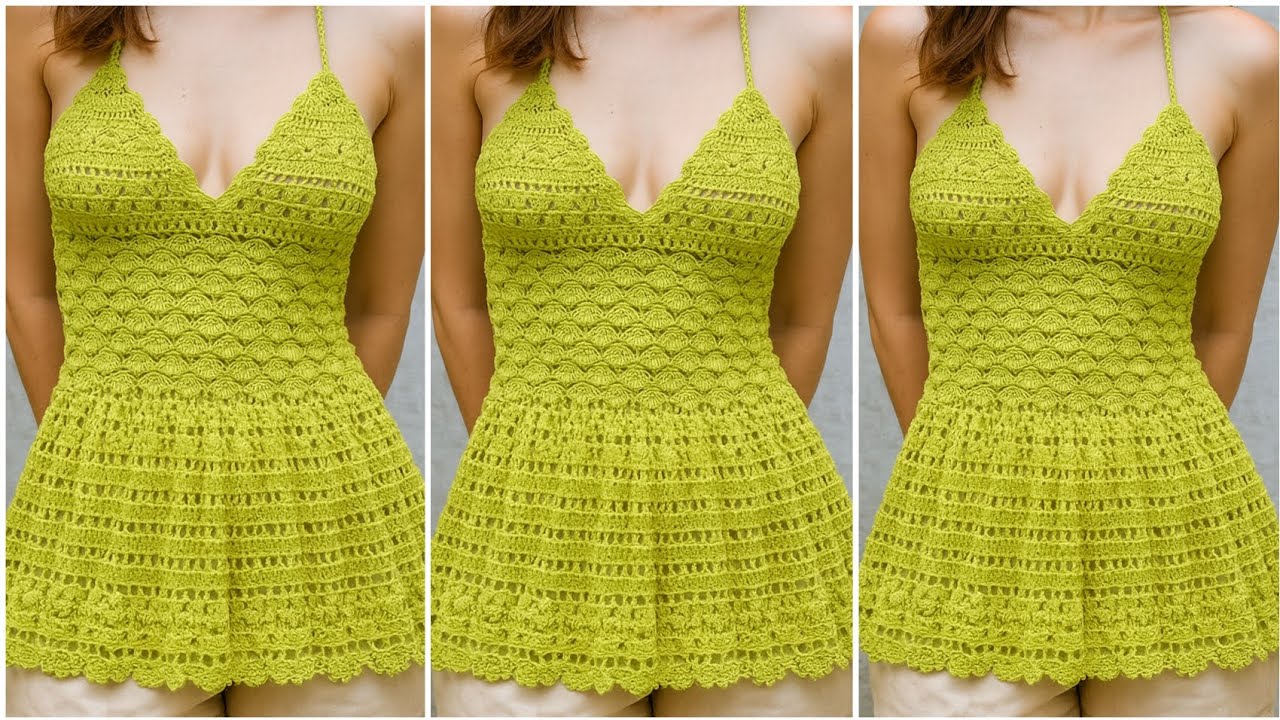
How to Make a Crochet Blouse: Complete Step-by-Step Guide
Materials Needed:
-
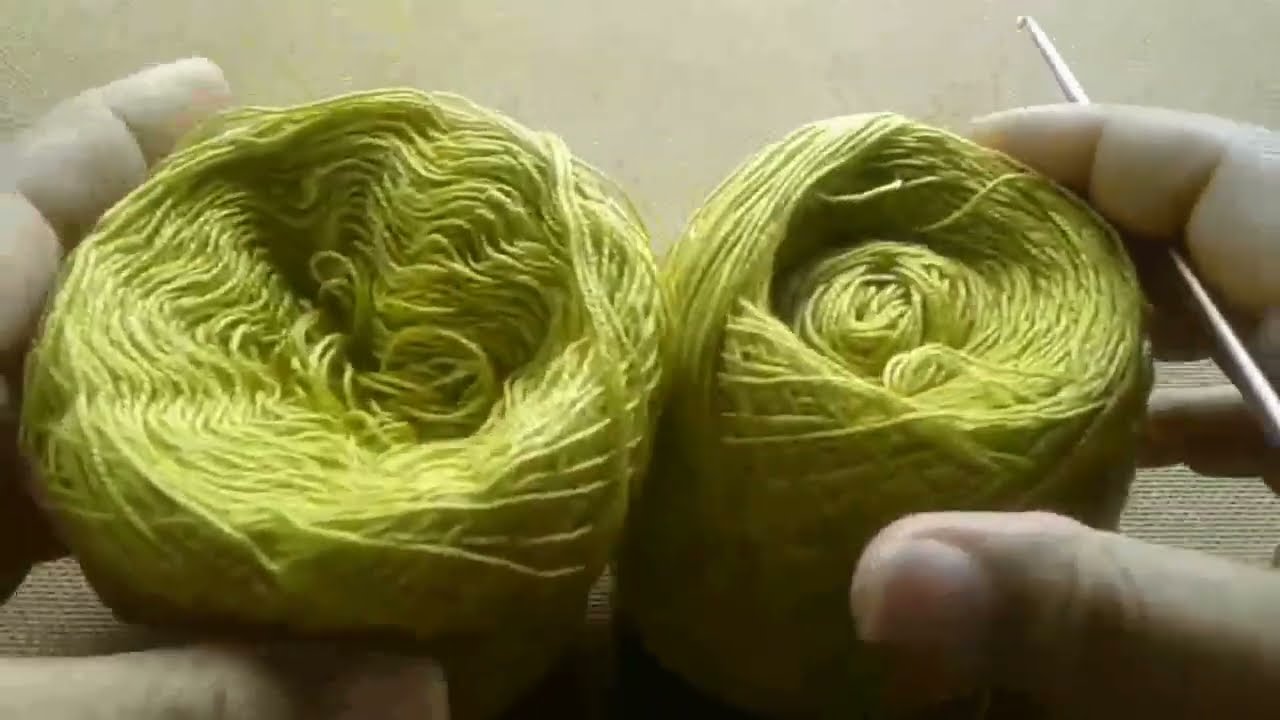
Yarn (choose a soft, breathable yarn like cotton or a cotton blend)
-
Crochet hook (size depends on your yarn, check the yarn label)
-
Measuring tape
-
Scissors
-
Stitch markers (optional, but helpful)
-
Tapestry needle (for weaving in ends)
-
Pattern or design idea (optional)
Step 1: Choose Your Pattern or Design
Before starting, decide on the style of blouse you want:
-
Fitted or loose?
-
Sleeveless, short sleeve, or long sleeve?
-
Lace pattern or solid stitches?
If you’re a beginner, starting with a simple stitch like double crochet or half double crochet is easier.
Step 2: Take Your Measurements
Measure yourself or the person who will wear the blouse:
-
Bust circumference
-
Waist circumference (if you want it fitted)
-
Length from shoulder to desired hemline
-
Sleeve length (if applicable)
-
Shoulder width
Write these down to customize your blouse size.
Step 3: Make a Gauge Swatch
Crochet gauge is essential to ensure your blouse fits right.
-
Crochet a small square (4×4 inches or 10×10 cm) using your yarn and hook.
-
Measure how many stitches and rows fit into those 4 inches.
-
Compare with the pattern gauge or use this to calculate how many stitches you need to reach your bust measurement.
Step 4: Start with the Back Panel
Most crochet blouses are made in pieces and then sewn or crocheted together.
-
Chain the number of stitches based on your bust width and gauge.
-
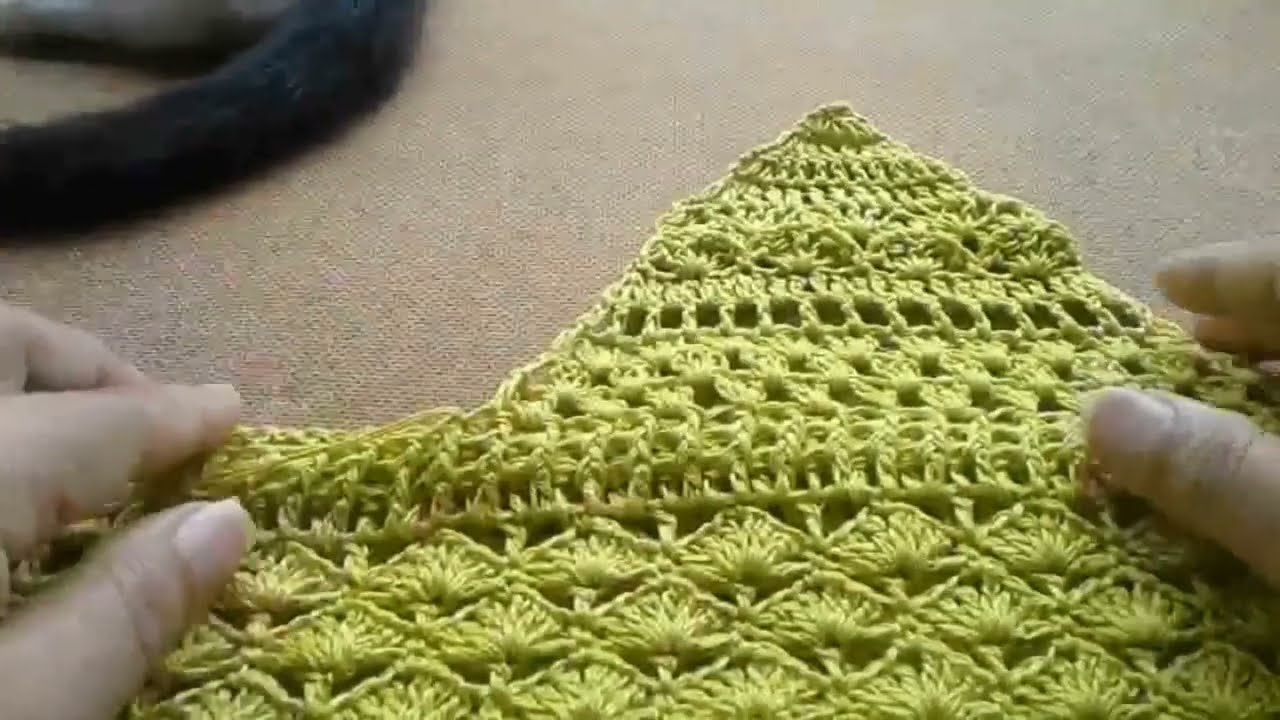
Work in your chosen stitch pattern, row by row.
-
Continue until you reach your desired length from shoulder to bottom.
Step 5: Crochet the Front Panel
Repeat the same process as the back panel.
-
If your blouse has a neckline shape (V-neck, scoop, etc.), decrease stitches gradually in the center or sides to form the shape.
-
For more advanced designs, you can follow a lace or motif pattern.
Step 6: Make the Sleeves (If Applicable)
-
Chain the width of the sleeve cuff.
-
Work in rounds or rows, increasing gradually for sleeve width.
-
Crochet until the sleeve reaches the desired length.
Step 7: Assemble the Blouse
-
Use stitch markers to align shoulder seams.
-
Join the front and back panels at the shoulders using slip stitches, single crochet, or sewing with a tapestry needle.
-
Attach the sleeves to the armholes.
-
Join side seams and sleeve seams.
Step 8: Add Neckline and Edges
-
Pick up stitches along the neckline and crochet a border: single crochet or a decorative edging like shell stitches.
-
Do the same for sleeve edges and the bottom hem if desired.
Step 9: Weave in Ends and Block Your Blouse
-
Use the tapestry needle to weave in all loose yarn ends neatly.
-
Block the blouse by gently wetting and shaping it on a flat surface to even out stitches and improve fit.
Step 10: Final Adjustments and Styling
-
Try on the blouse and check the fit.
-
Adjust edges or seams if needed.
-
Add embellishments like buttons, beads, or ribbons for extra flair.
Tips for Success:
-
Always check your gauge.
-
Use stitch markers to keep track of rows and shaping.
-
Practice complicated stitch patterns on a swatch first.
-
Use lightweight yarn for summer blouses, or wool blends for cooler weather.
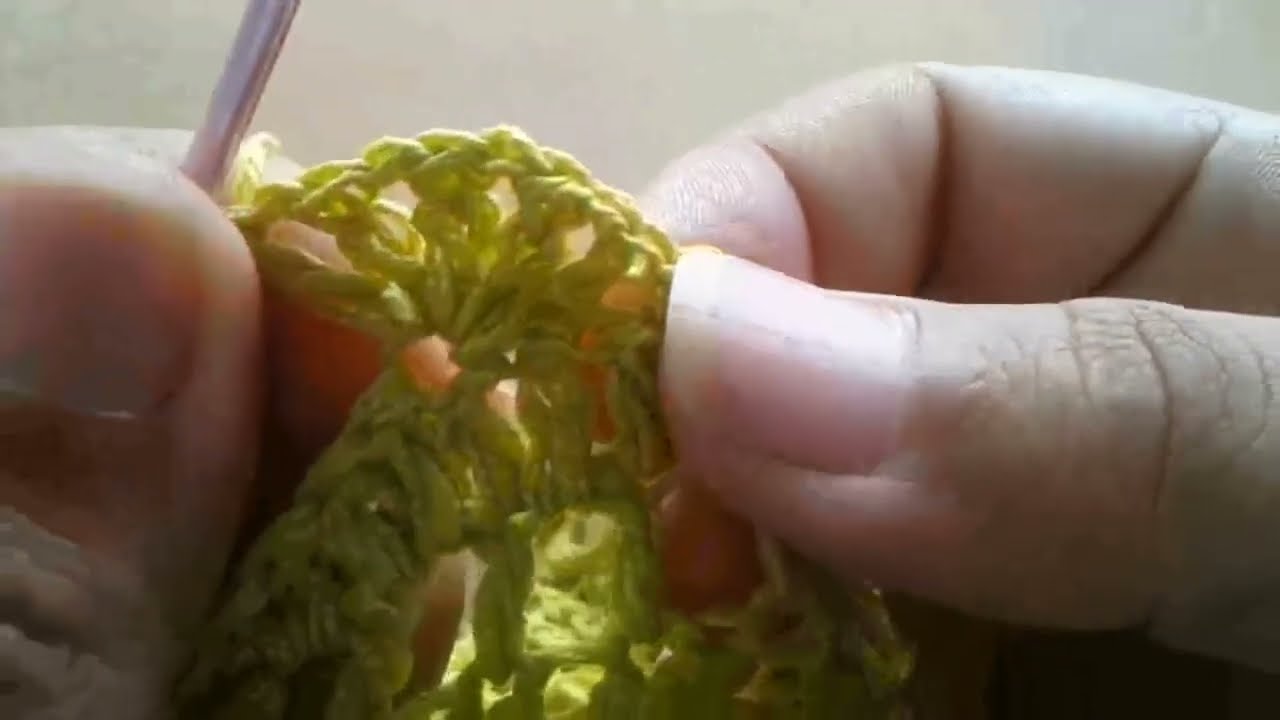
Watch tutorial: