 by
by Sure! Here’s a detailed and beginner-friendly tutorial on how to make a simple crochet bag. This guide will walk you through everything from tools and materials to step-by-step instructions. You don’t need any advanced skills — just basic crochet knowledge and a bit of patience.
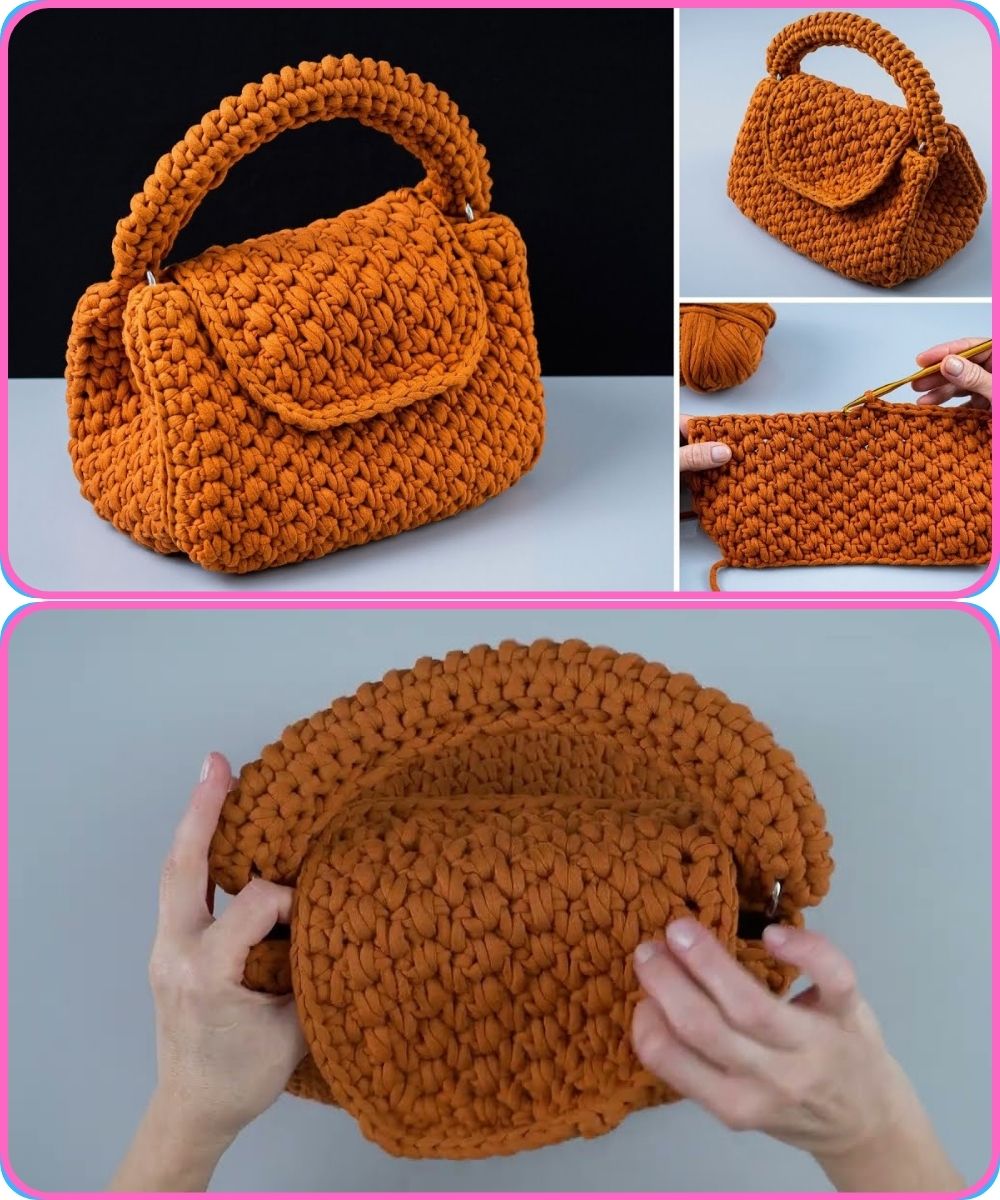
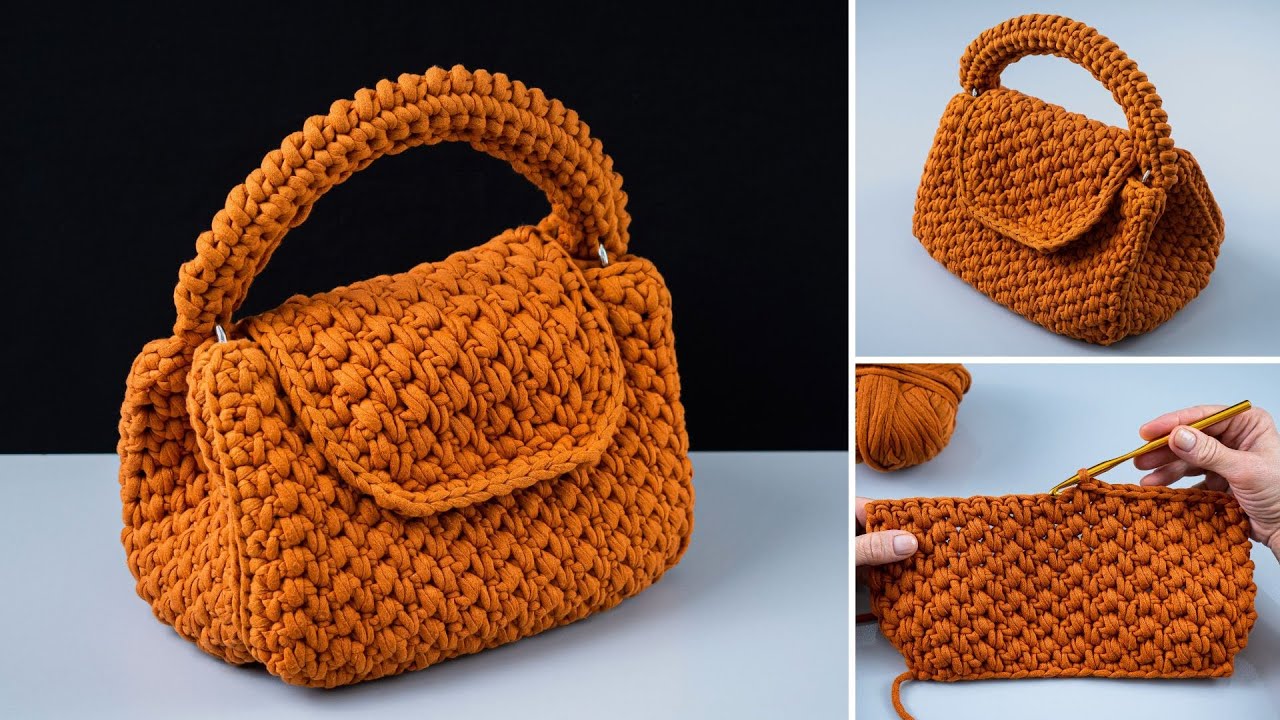
How to Make a Crochet Bag (Simple Tutorial for Beginners)
✨ What You’ll Learn:
-
How to crochet a simple tote-style bag
-
Basic crochet stitches (chain, single crochet, slip stitch)
-
How to create and assemble flat crochet pieces
Materials You’ll Need:
| Item | Details |
|---|---|
| Yarn | Medium (worsted weight) cotton yarn (about 200g) |
| Crochet Hook | Size 5 mm (H-8) or recommended for your yarn |
| Scissors | For cutting yarn |
| Yarn Needle | For weaving in ends |
| Stitch Marker (optional) | To mark your rounds or stitches |
| Lining fabric (optional) | For inner lining (use cotton or canvas) |
| Buttons/Zipper (optional) | To close the bag (if you want a secure closure) |
Crochet Stitches You Need to Know:
-
Chain (ch)
-
Single Crochet (sc)
-
Slip Stitch (sl st)
If you’re unfamiliar with these, let me know and I can explain them or link diagrams.
Step-by-Step Instructions:
Step 1: Make the Base of the Bag
-
Start with a foundation chain
-
Chain 31 stitches (this will be the width of your bag).
-
-
Row 1
-
Single crochet in the 2nd chain from the hook.
-
Continue single crocheting across (30 stitches).
-
Chain 1 and turn your work.
-
-
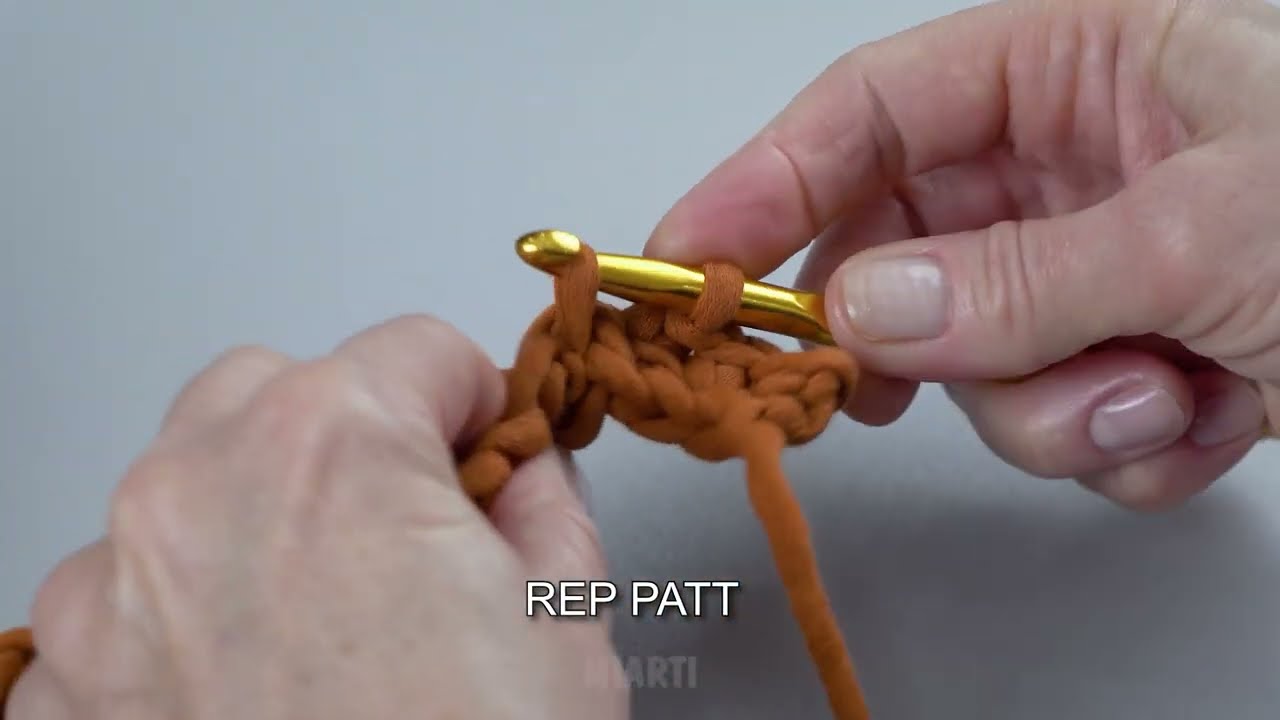
Rows 2–35
-
Single crochet in each stitch across.
-
At the end of each row, chain 1 and turn.
-
Repeat until your base is a rectangle about 12 inches wide and 10 inches tall (adjust to your liking).
-
Step 2: Create the Side Panels (Optional for More Depth)
-
Chain 11 (for a 4-inch depth)
-
Row 1: SC in 2nd chain from hook and across. (10 stitches)
-
Rows 2–35: SC in each stitch, chain 1, turn.
Make two of these side panels, or just skip this and make a flat tote.

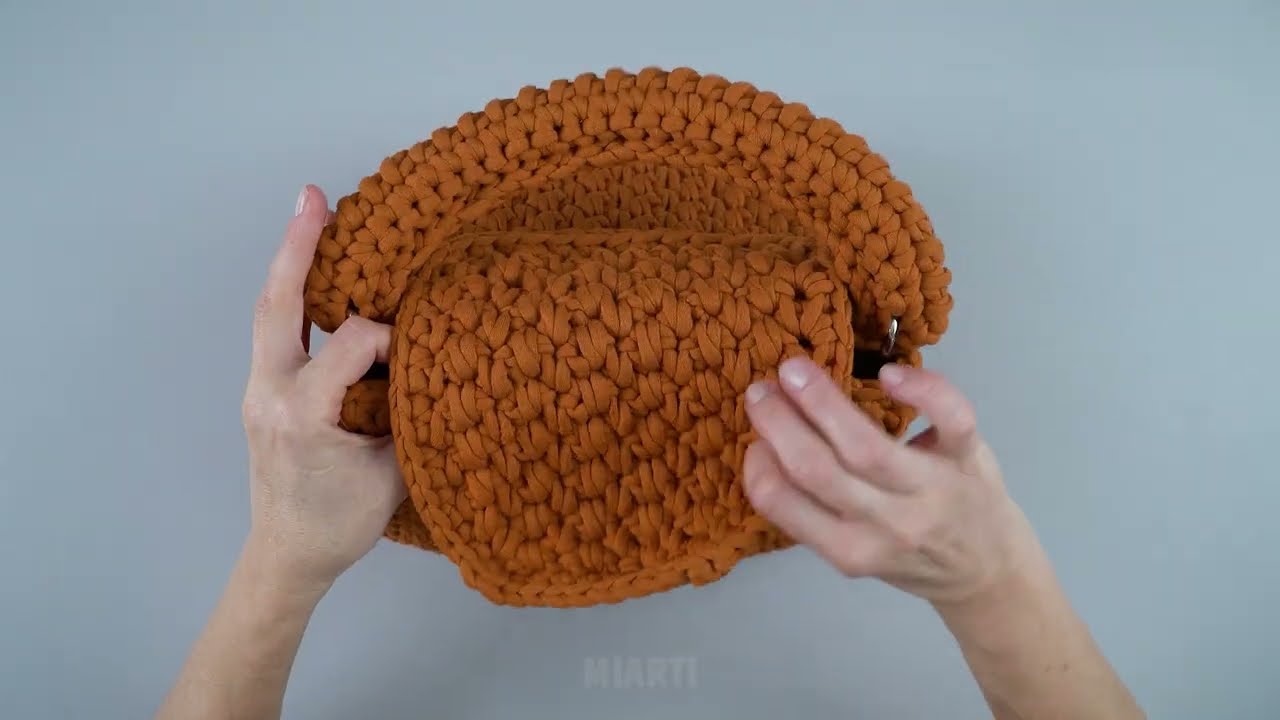
Step 3: Assemble the Bag
-
Fold the main rectangle in half (like a taco) — this forms the front and back of the bag.
-
Use slip stitch or whip stitch to sew the sides together.
-
If using side panels:
-
Attach one side panel to each side of the folded bag using a whip stitch or slip stitch.
-
Step 4: Add the Handles
Option A: Crochet Handles
-
Chain 60–70 (depending on desired length).
-
SC back along the chain to make it thicker.
-
Attach one end of the handle to the inside of the front top edge, and the other end to the back top edge.
-
Repeat for the second handle.
Option B: Use Ready-Made Handles
-
Sew them securely to the bag using a needle and thread or yarn.
Step 5: Finishing Touches
-
Weave in all yarn ends with a yarn needle.
-
(Optional) Add lining:
-
Cut fabric the same size as your bag and sew it in by hand or with a sewing machine.
-
-
(Optional) Add closure:
-
Sew on a button, magnetic snap, or zipper.
-
Care Instructions
-
Hand wash in cold water
-
Lay flat to dry
-
Avoid bleaching or high heat
✅ Tips for Beginners:
-
Use lighter-colored yarn — easier to see your stitches.
-
Keep your tension relaxed — not too tight, not too loose.
-
Don’t worry if your stitches aren’t perfect — it improves with practice.
-
Count your stitches regularly to make sure you stay on track.
And You’re Done!
You now have a handmade crochet bag! Perfect for:
-
Shopping
-
Gifting
-
Storing your yarn
-
Everyday use
Watch tutorial: