 by
by Sure! Here’s a detailed, beginner-friendly guide on how to make a simple and elegant medium crochet bag — it’s easy, quick, and perfect for first-time bag makers.

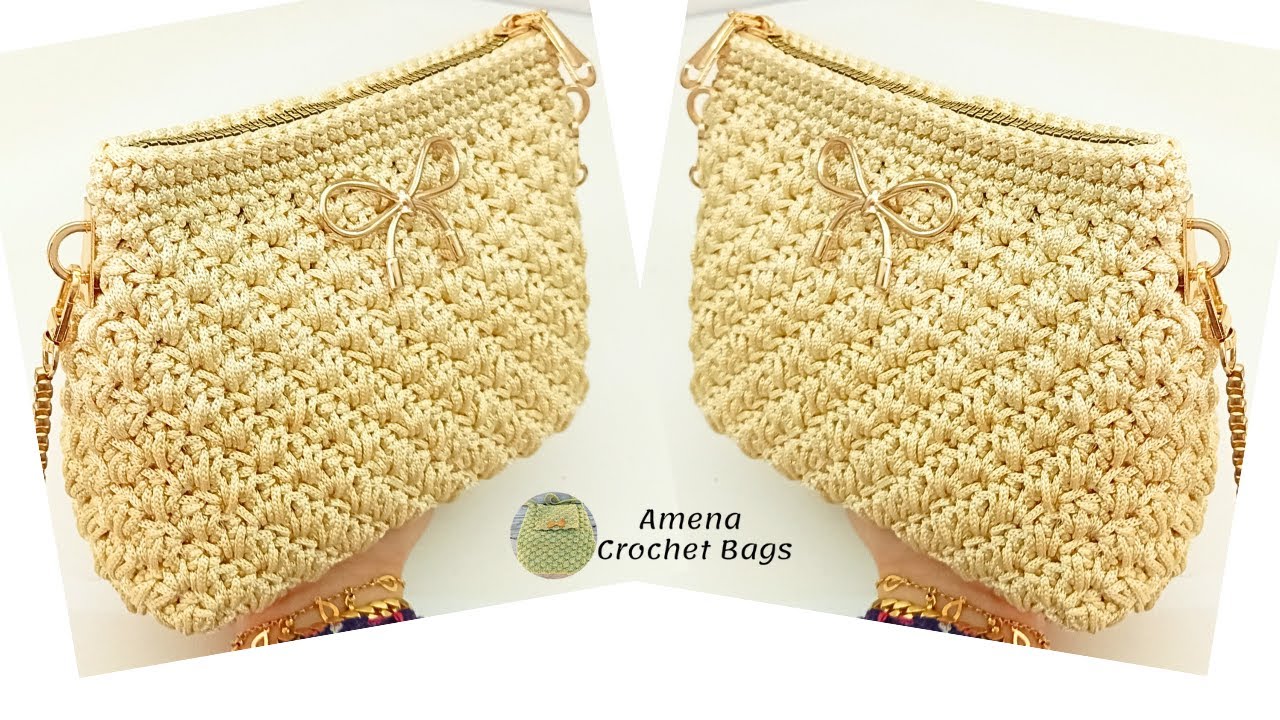
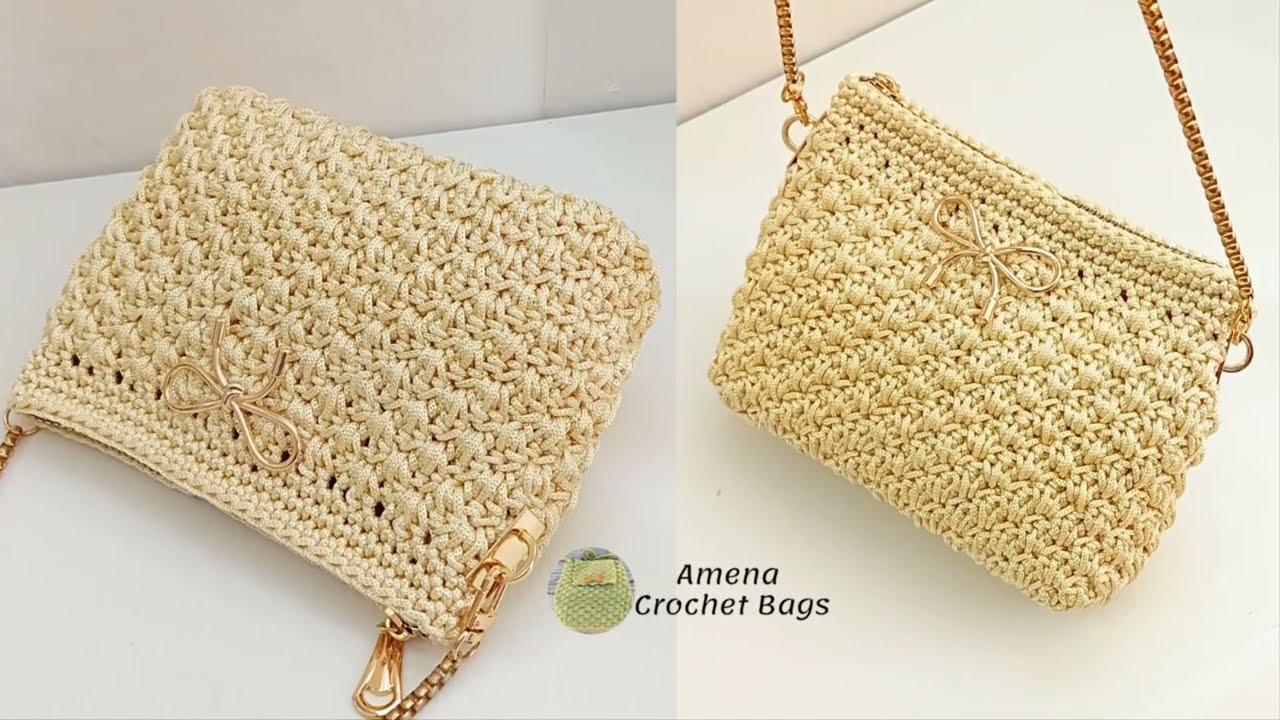
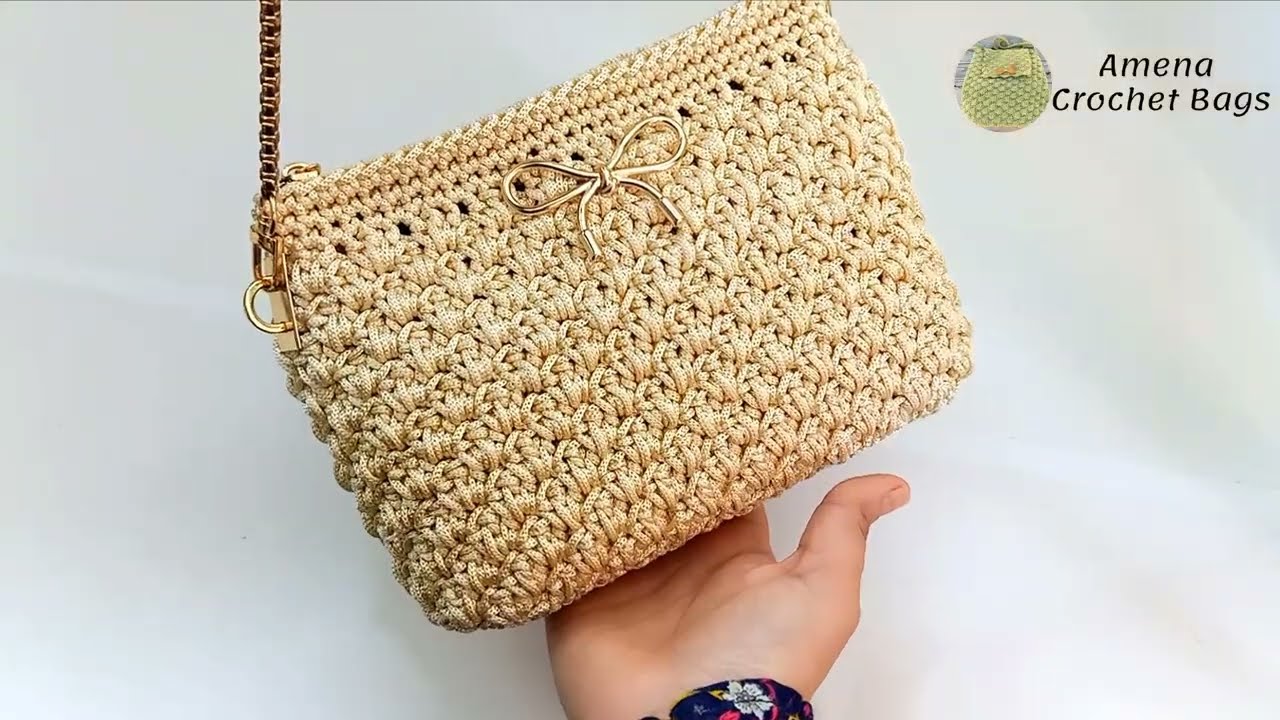
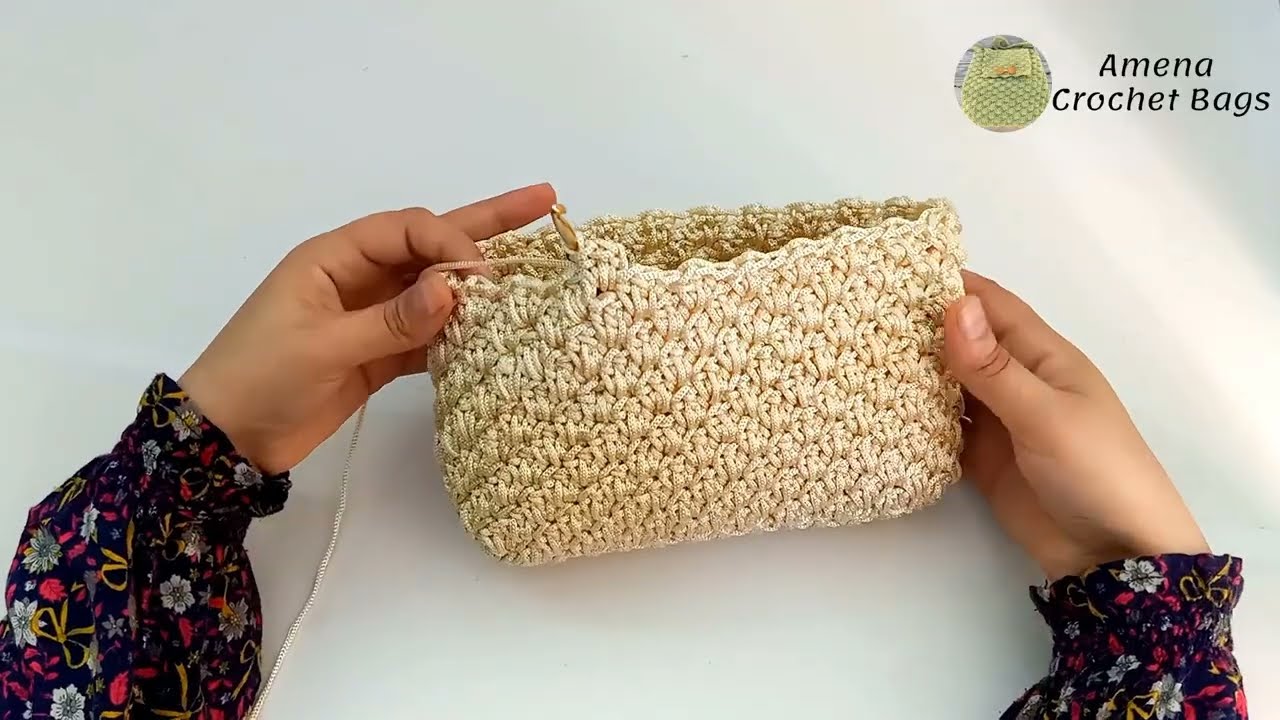
How to Make a Simple and Elegant Medium Crochet Bag
Level: Beginner
Estimated Time: 2–3 hours
Bag Size: Medium (about 12″ wide x 10″ tall)
Materials You’ll Need:
-
Yarn: 2 skeins of medium-weight (category 4) cotton yarn – any color you like (cotton gives structure and a clean look).
-
Crochet hook: 4.0 mm (G) or 4.5 mm hook.
-
Scissors.
-
Yarn needle (for weaving in ends).
-
Optional:
-
Fabric lining (if you want a neat inside finish).
-
Magnetic snap or button closure.
-
Strap rings or leather handles (optional for a more polished look).
-
✨ Crochet Stitches Used:
-
Ch: Chain
-
Sc: Single Crochet
-
Hdc: Half Double Crochet
-
Sl st: Slip Stitch
(If you’re new, these are all very beginner stitches — you can look up short tutorials if needed.)
Step-by-Step Instructions:
Step 1: Create the Base
-
Foundation:
Chain 41 (this will be the width of your bag; add or remove chains for your desired size). -
Row 1:
Hdc in the second chain from hook, and across each chain to the end.
Chain 1, turn. -
Row 2–10:
Continue to Hdc in each stitch across, ch 1, turn.
(This creates a firm rectangular base.) -
Once you reach your desired base width (around 3–4″), don’t fasten off — you’ll now start working around the edge to form the sides.
Step 2: Build the Body of the Bag
-
Round 1:
Hdc evenly around the entire base rectangle. When you reach the corners, place 2 Hdc in each corner stitch to help it turn smoothly.
Join with a Sl st to the first stitch. -
Round 2–20 (or until desired height):
Ch 1, Hdc in each stitch around, join with Sl st.
(You’ll see the sides start to grow up — it’s like forming a bucket shape.) -
For a more textured pattern, you can alternate between 1 round of Sc and 1 round of Hdc.
Step 3: Create Handles
You have two options:
Option 1 – Built-in Handles:
-
When the bag reaches your desired height, mark 5 stitches on both sides where handles will be.
-
Next round: Hdc around until you reach the marker, chain 15 (this forms the handle), skip the marked stitches, continue Hdc across, repeat for the other side.
-
Next 2 rounds: Hdc in each stitch and around the chains (this strengthens the handles).
Option 2 – Add Straps:
If you prefer a modern look, attach leather or crochet straps afterward using yarn and a needle.
Step 4: Finishing Touches
-
Fasten off the yarn and weave in all loose ends with the yarn needle.
-
(Optional) Add lining by sewing a piece of fabric to fit inside your bag.
-
Add a magnetic button or decorative closure if you like.
-
Steam or block your bag gently to shape it nicely.
Tips for an Elegant Look:
-
Use neutral or pastel colors for a clean, classy finish.
-
Add a small tassel, button, or label tag for detail.
-
For sturdiness, you can crochet with two strands of yarn held together.
Simple Variations:
-
Add stripes using different colored yarns.
-
Use textured stitches like the moss stitch for a unique surface.
-
Crochet a matching small pouch with leftover yarn!
✅ Summary:
| Step | Description | Stitches Used |
|---|---|---|
| 1 | Create rectangular base | Hdc |
| 2 | Work in rounds to build body | Hdc |
| 3 | Make or attach handles | Ch, Hdc |
| 4 | Finish and decorate | – |
Would you like me to include a written crochet pattern (row-by-row in standard crochet notation), or do you prefer a visual diagram/chart for this bag?
Watch video: