 by
by Here is a detailed, beginner-friendly tutorial for making a new knitted slipper model with an elastic band. This design is simple, practical, and great for everyday home wear.
🧶 How to Make Knitted Slippers with an Elastic Band
(Easy Step-by-Step Tutorial for Beginners)
✨ Why This Model Is Great
-
Easy construction (mostly knit & purl stitches)
-
Comfortable and snug fit
-
Elastic band keeps slippers secure
-
Perfect for gifts or selling handmade items
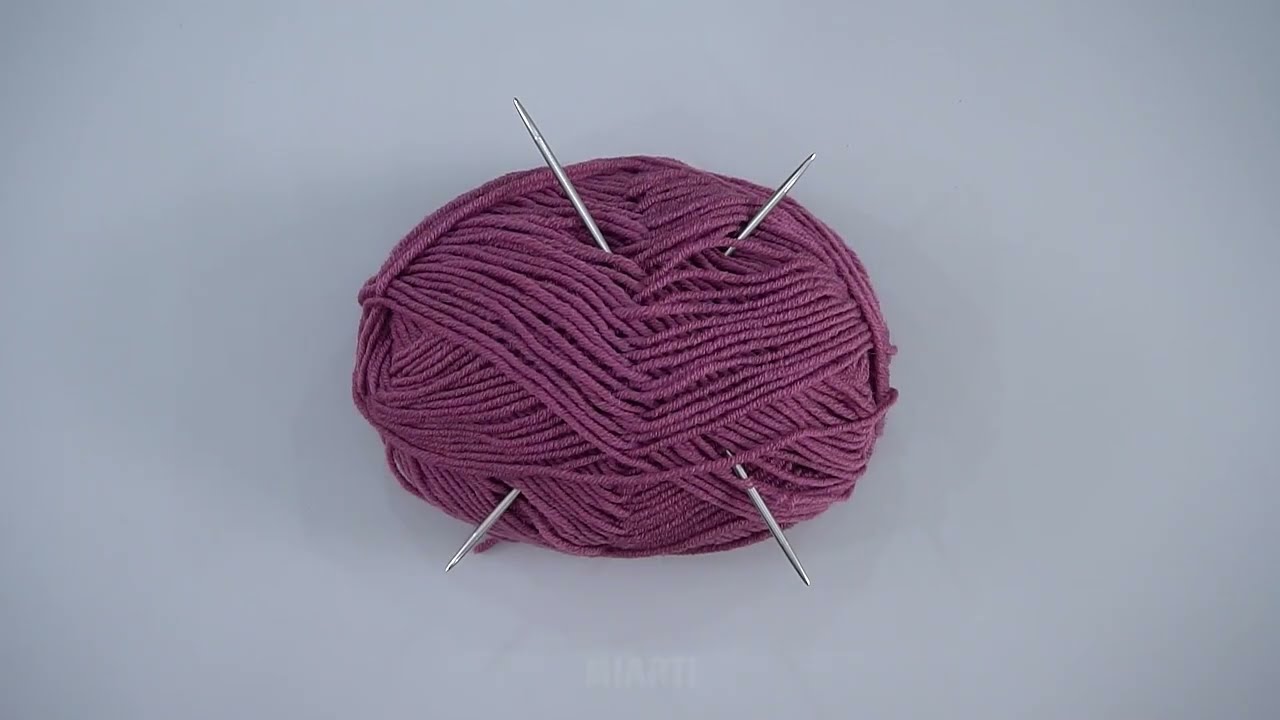
🧵 Materials You’ll Need
-
Worsted weight yarn (100–150g depending on size)
-
Knitting needles (4–5 mm / US 6–8)
-
1 cm (½ inch) wide elastic band
-
Yarn needle
-
Scissors
-
Measuring tape
-
Stitch markers (optional)
📏 Sizes (Adjustable)
This pattern can be easily adjusted.
| Size | Cast On Stitches | Foot Length |
|---|---|---|
| Small (EU 36–37) | 36 stitches | 22–23 cm |
| Medium (EU 38–39) | 40 stitches | 24–25 cm |
| Large (EU 40–41) | 44 stitches | 26–27 cm |
👉 Add or subtract stitches in multiples of 4 to resize.
🧶 Basic Stitches Used
-
Knit (K)
-
Purl (P)
-
Knit 2 together (K2tog)
If you know these, you’re ready!

🪡 Step 1: Knit the Sole Base
-
Cast on required stitches.
-
Work in garter stitch (knit every row).
-
Knit until the piece measures the full foot length.
Tip: Measure from heel to toe.
This makes a simple flat rectangle — the base of your slipper.
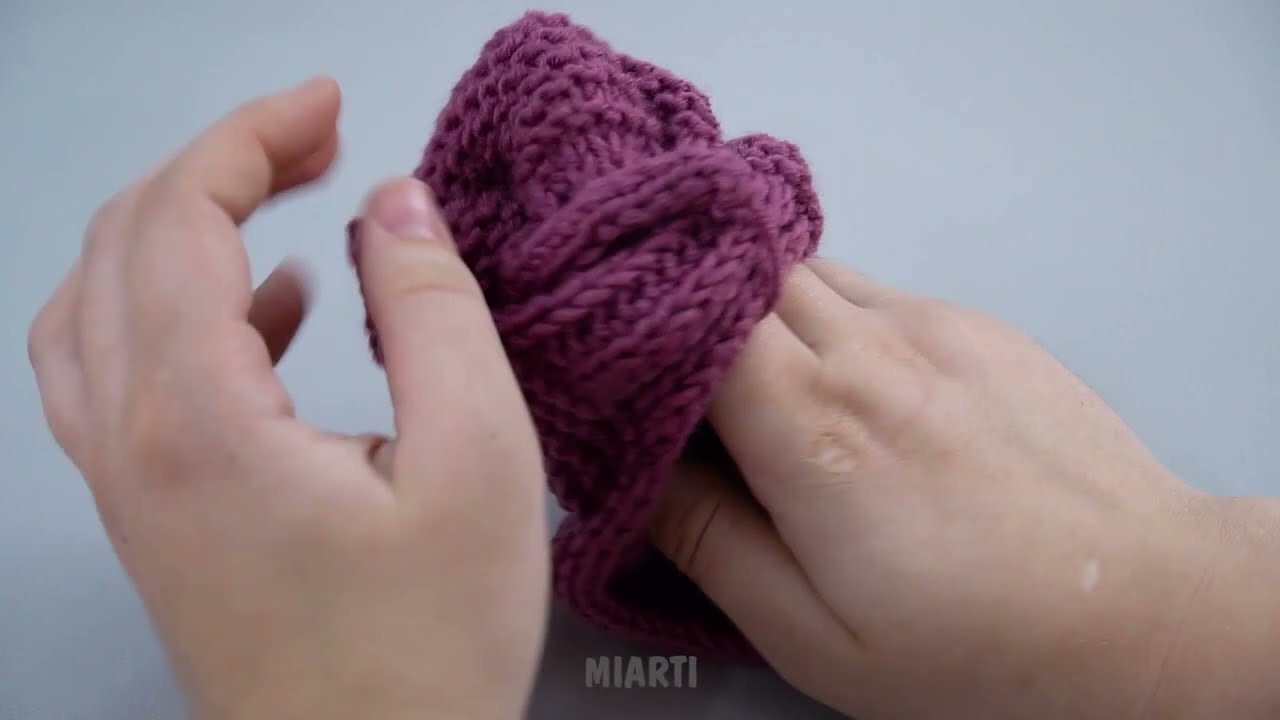
🪡 Step 2: Shape the Toe
Now we decrease to create a rounded toe.
Row 1:
K2tog, knit to last 2 stitches, K2tog.
Row 2:
Knit all stitches.
Repeat these 2 rows until about 8–10 stitches remain.
Cut yarn, pull through remaining stitches, and tighten.
You now have a toe shape!
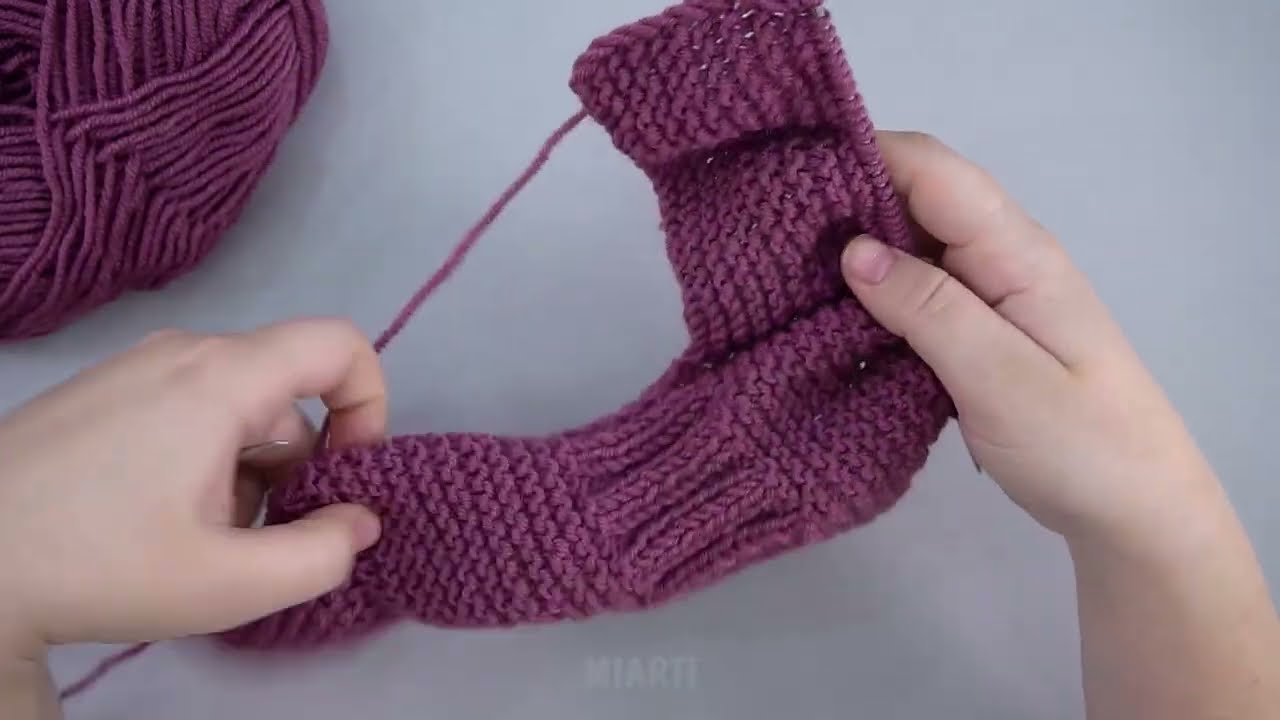
🪡 Step 3: Sew the Heel
Fold the piece in half lengthwise (right sides facing each other).
Sew the back edge (heel seam) using mattress stitch or simple whip stitch.
Turn right side out.
Now it should look like a basic slipper.
🪡 Step 4: Create the Elastic Band Casing
To make the elastic band area:
-
Pick up stitches around the top opening.
-
Knit 6–8 rows in rib stitch (K1, P1).
This creates a stretchy cuff.
On the final row:
-
Bind off loosely (very important!)
🪡 Step 5: Insert the Elastic
-
Cut elastic slightly smaller than ankle measurement.
-
Thread it through the ribbed casing using a safety pin.
-
Adjust tension for snug fit.
-
Sew elastic ends together securely.
-
Close the small opening.
Now your slipper will stay perfectly on your foot!
💡 Optional Additions
-
Add a pom-pom
-
Sew on decorative buttons
-
Use two colors (stripe design)
-
Add non-slip fabric or silicone dots on sole
-
Knit with double yarn for extra warmth
🧼 Care Instructions
-
Hand wash recommended
-
Lay flat to dry
-
Do not tumble dry (elastic may weaken)
🌟 Pro Tips for Better Results
✔ Use wool blend yarn for warmth
✔ Knit slightly tight for better shape
✔ Use thicker yarn for winter slippers
✔ Add foam insole for extra comfort
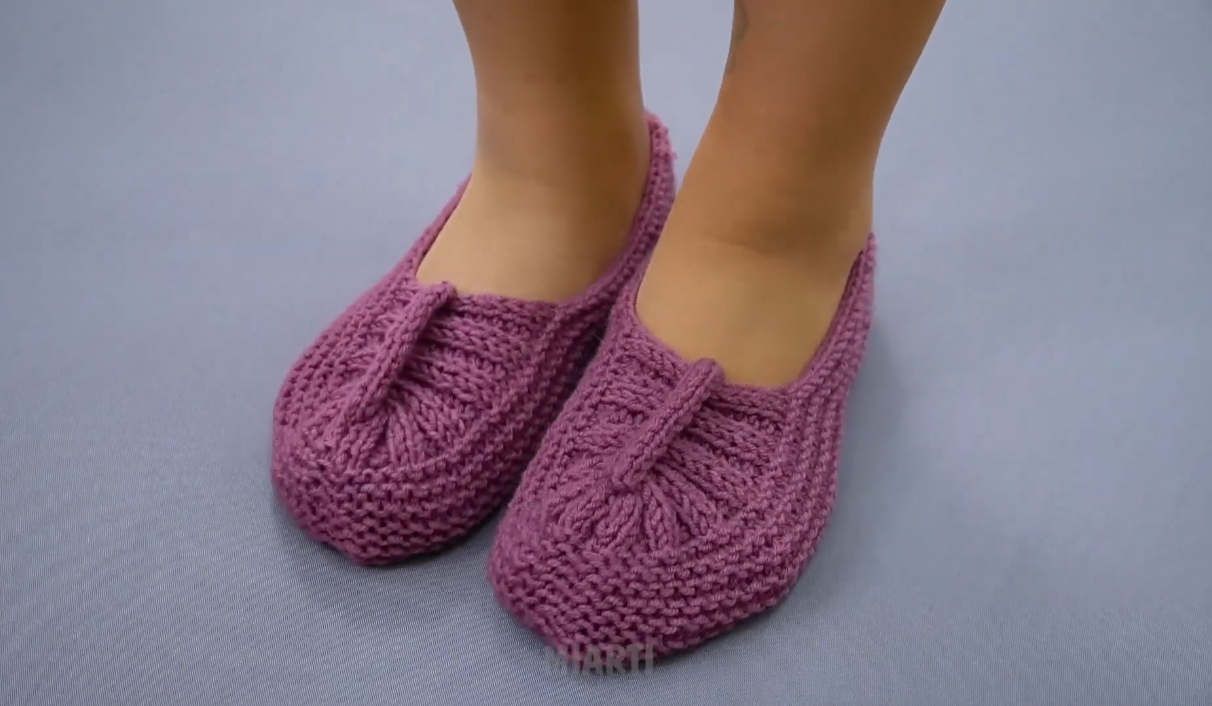
🎉 Final Result
You now have:
-
A soft
-
Comfortable
-
Secure
-
Beginner-friendly knitted slipper model with elastic band
Perfect for home, gifting, or even starting a small handmade business.
If you’d like, I can also:
-
Create a printable PDF-style version
-
Make a version for children
-
Write a video tutorial script
-
Provide a circular needle version
-
Create a crochet version instead
Watch video: