 by
by Below is a clear, beginner-friendly, detailed crochet guide for making a “Little Sweetheart” Baby Cardigan / Pullover.
You can use it as a written pattern or adapt it to your own style and yarn.

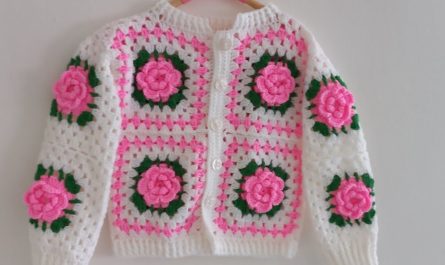
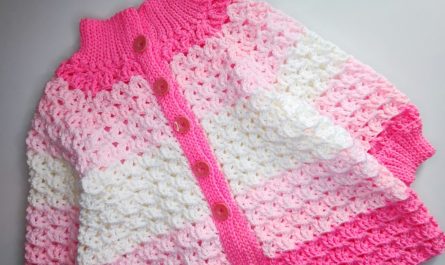
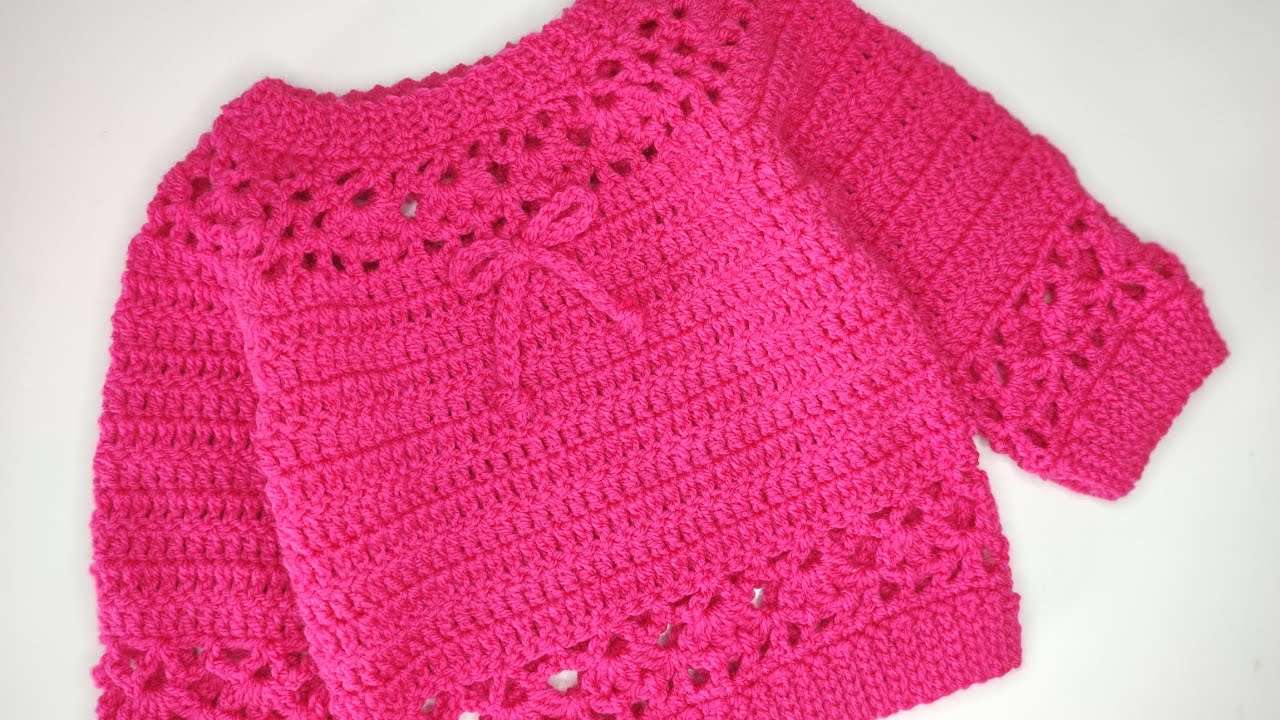
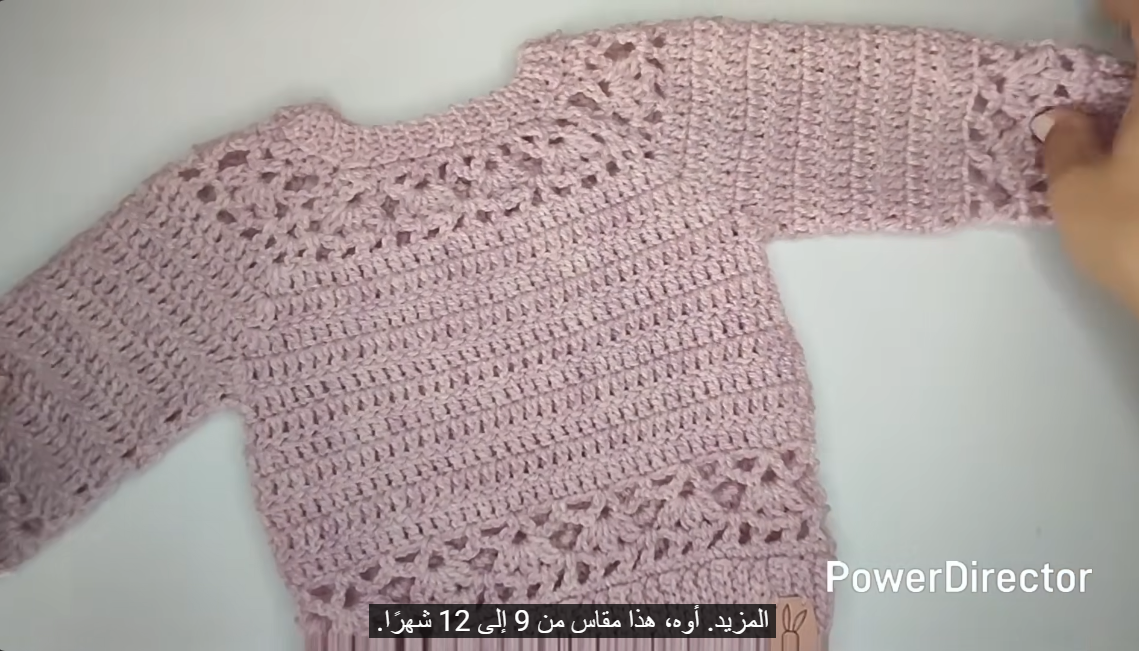
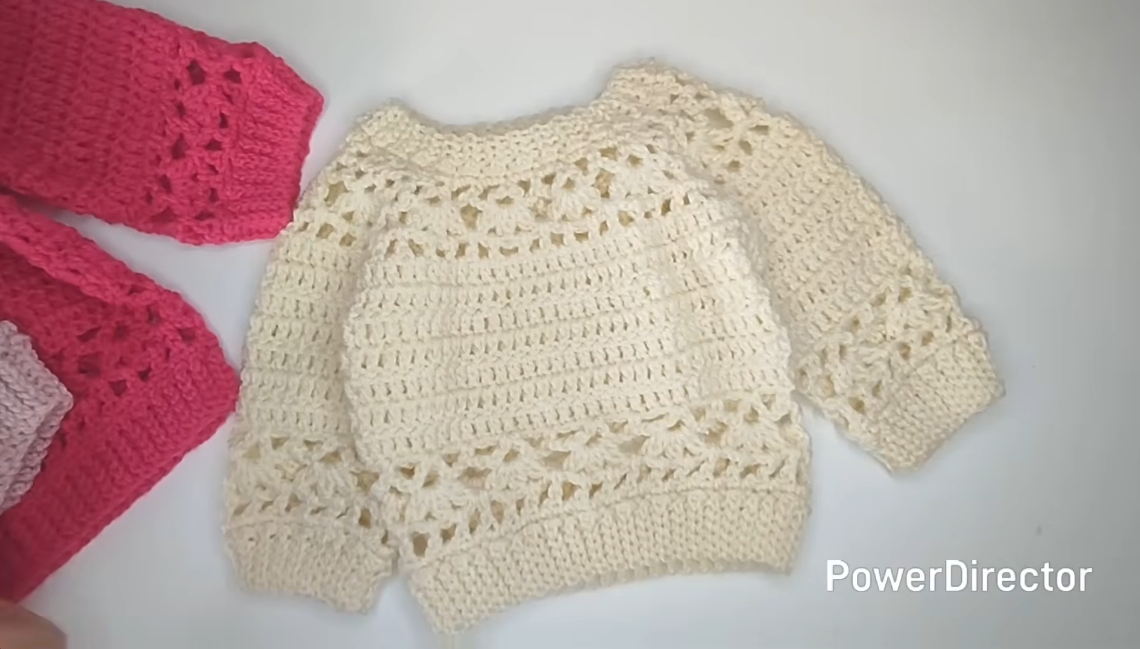
🌸 Little Sweetheart Baby Cardigan / Pullover (Crochet Pattern)
Skill level: Beginner – Easy Intermediate
Construction: Top-down, seamless yoke
Sizes: 0–3 months (adjustments included)
Style: Can be made as a cardigan (open front) or pullover (closed front)
🧶 Materials Needed
-
Yarn: DK / Light Worsted (Category 3)
-
Approx. 150–200 g (soft baby yarn, acrylic or cotton blend)
-
-
Hook: 4.0 mm (G/6) or size to match gauge
-
Buttons: 3–4 small buttons (for cardigan version)
-
Notions: Yarn needle, scissors, stitch markers
📏 Gauge
-
16 dc x 9 rows = 4 inches (10 cm)
(Gauge is not critical for baby items, but helps with sizing)
🧵 Crochet Abbreviations (US Terms)
-
ch – chain
-
sl st – slip stitch
-
sc – single crochet
-
hdc – half double crochet
-
dc – double crochet
-
inc – increase (2 stitches in same stitch)
-
sk – skip
-
sp – space
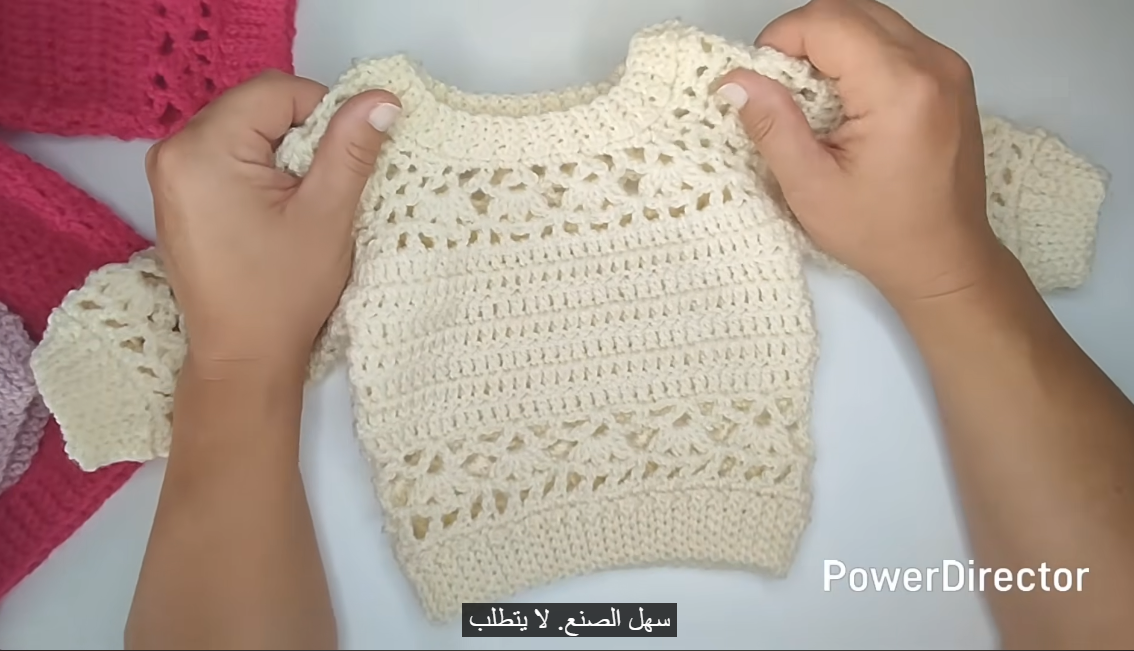
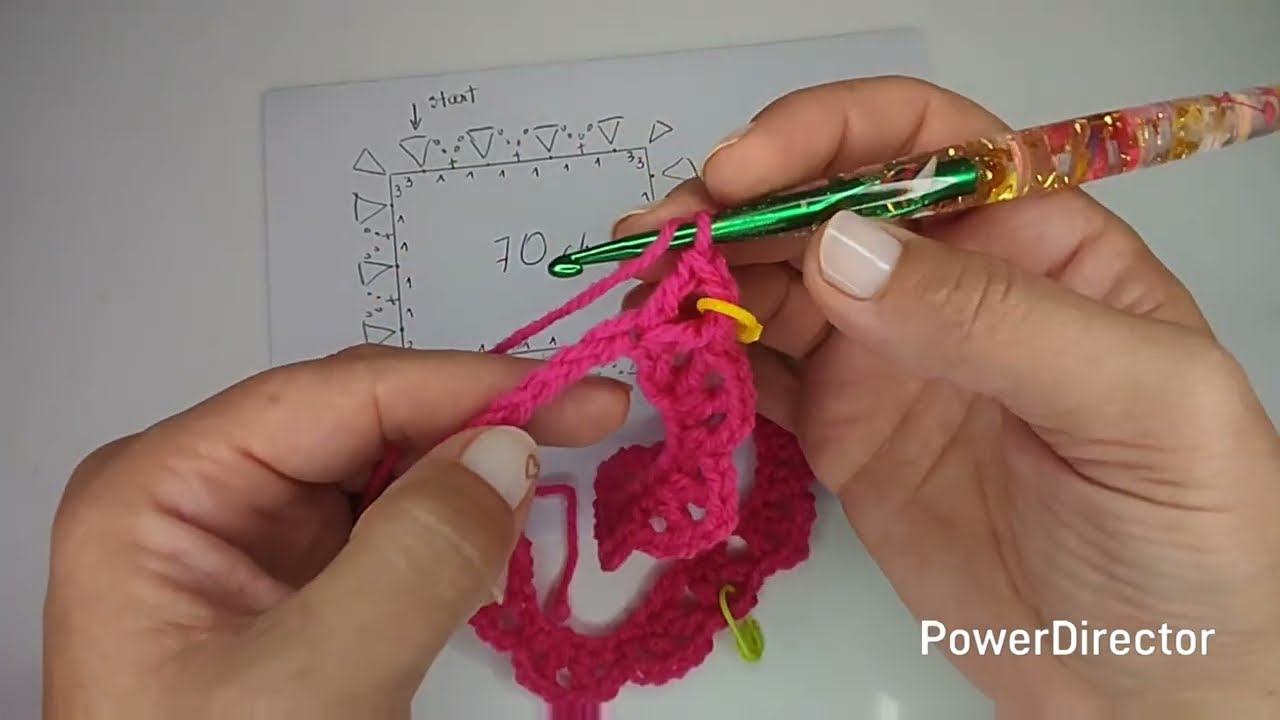
💖 Yoke (Top-Down Construction)
Step 1: Foundation Chain
-
Pullover: ch 52
-
Cardigan: ch 54 (extra stitches allow front opening)
Join with sl st (pullover only).
For cardigan, do NOT join — work in rows.
Step 2: Yoke Setup
Row 1:
-
Ch 2 (counts as hdc)
-
Hdc in each stitch across
-
Turn
Place stitch markers to divide yoke:
-
Front – 10 sts
-
Sleeve – 8 sts
-
Back – 16 sts
-
Sleeve – 8 sts
-
Front – 10 sts
Step 3: Yoke Increases (Sweetheart Shape)
Rows 2–6:
-
Ch 2, hdc to marker
-
(hdc, ch 1, hdc) in marked stitch (corner increase)
-
Repeat at all 4 markers
-
Turn
This creates the rounded sweetheart yoke.
👕 Body Separation
Step 4: Divide Sleeves and Body
-
Ch 2, hdc across front
-
Skip sleeve stitches, ch 6
-
Hdc across back
-
Skip second sleeve, ch 6
-
Hdc across front
-
Turn
Now the cardigan/pullover body is formed.
👗 Body Length
Step 5: Body Rows
-
Work hdc rows evenly
-
Continue until body measures 7–8 inches from yoke
-
For a flared look, add inc stitches evenly every 3rd row
Step 6: Bottom Border (Sweet Finish)
Round:
-
Sc evenly around
-
(sc, ch 2, sc) in every 5th stitch for picot edging
-
Fasten off
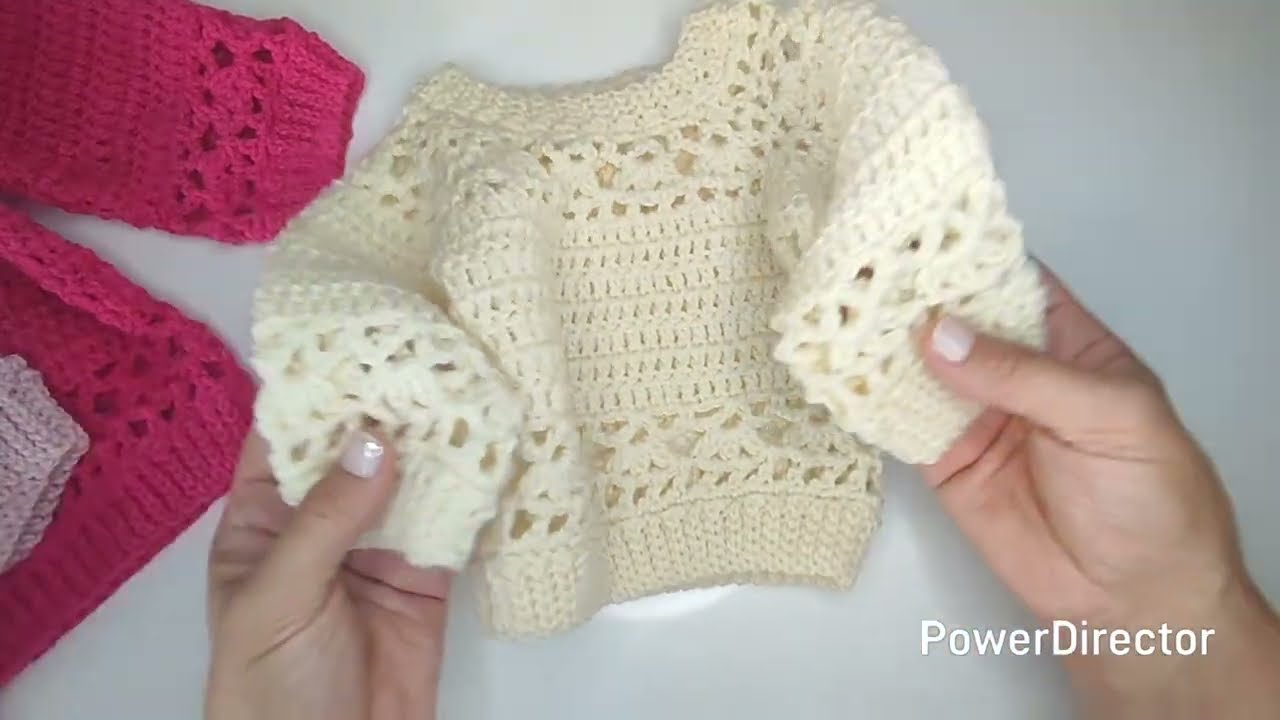
👶 Sleeves
Step 7: Sleeve Attachment
-
Join yarn at underarm
-
Hdc evenly around sleeve opening
-
Join with sl st
Step 8: Sleeve Length
-
Work 12–14 rounds for long sleeves
-
Or 6–8 rounds for short sleeves
Finish with sc or picot edging.
🌼 Cardigan Finishing (Skip for Pullover)
Step 9: Front Border
-
Join yarn at bottom front edge
-
Sc evenly up one side, around neck, and down other side
-
Work 2–3 rows of sc
Step 10: Buttonholes
-
On the right front:
-
(sc 2, ch 2, sk 2) evenly spaced
-
-
Sew buttons on opposite side
💕 Optional Embellishments
-
Crochet a small heart appliqué
-
Add satin ribbon through yoke holes
-
Use contrasting yarn for borders
-
Embroider tiny flowers or initials
📐 Size Adjustments
-
Bigger size: Add 4–6 chains to foundation and 1–2 yoke rows
-
Smaller size: Reduce initial chains by 4
🌸 Finished Look
The Little Sweetheart Cardigan/Pullover is:
✔ Soft and cozy
✔ Seamless and comfortable
✔ Perfect for baby showers, gifts, or keepsakes
If you’d like, I can:
-
Convert this into a printable PDF
-
Add step-by-step photos
-
Adjust for newborn, 6–12 months, or toddler sizes
-
Rewrite it as a YouTube video script
Just tell me 💕
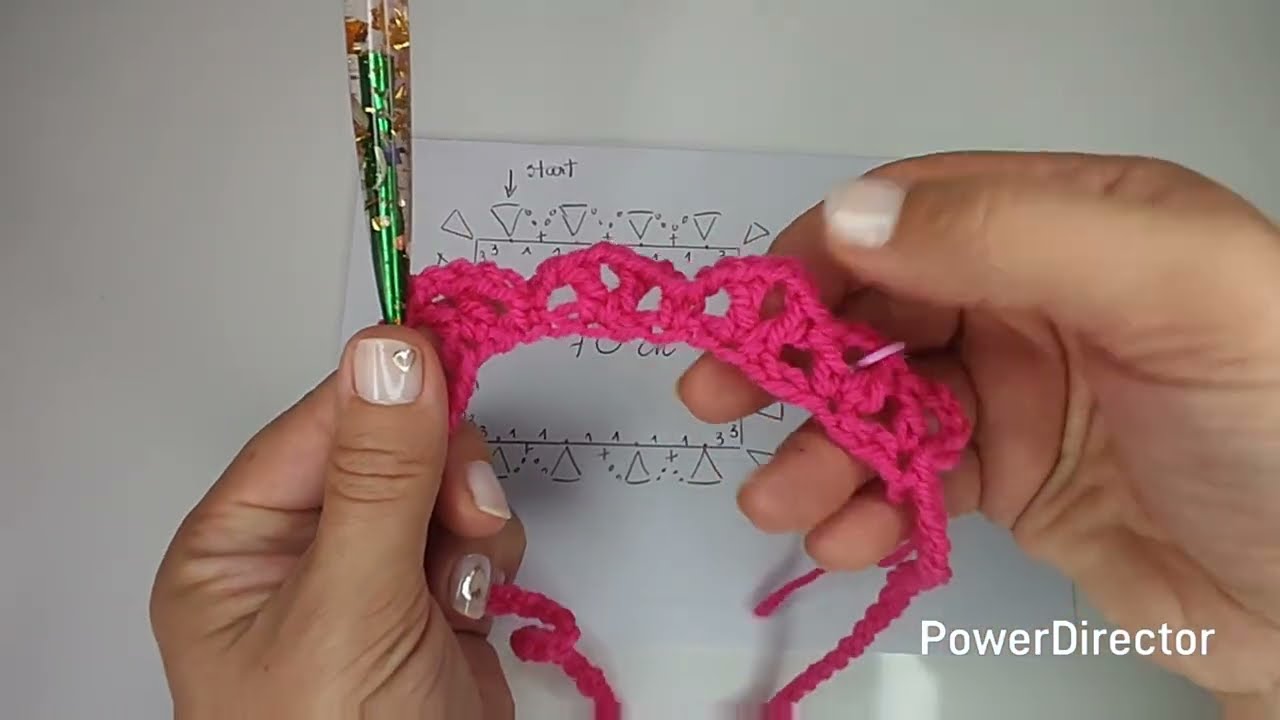
Watch tutorial: