 by
by Below is a detailed, beginner-friendly guide on how to make a simple crochet balaclava / snood / scarf, using basic stitches and easy construction. It’s written so even someone who just learned to chain and single-crochet can follow along.
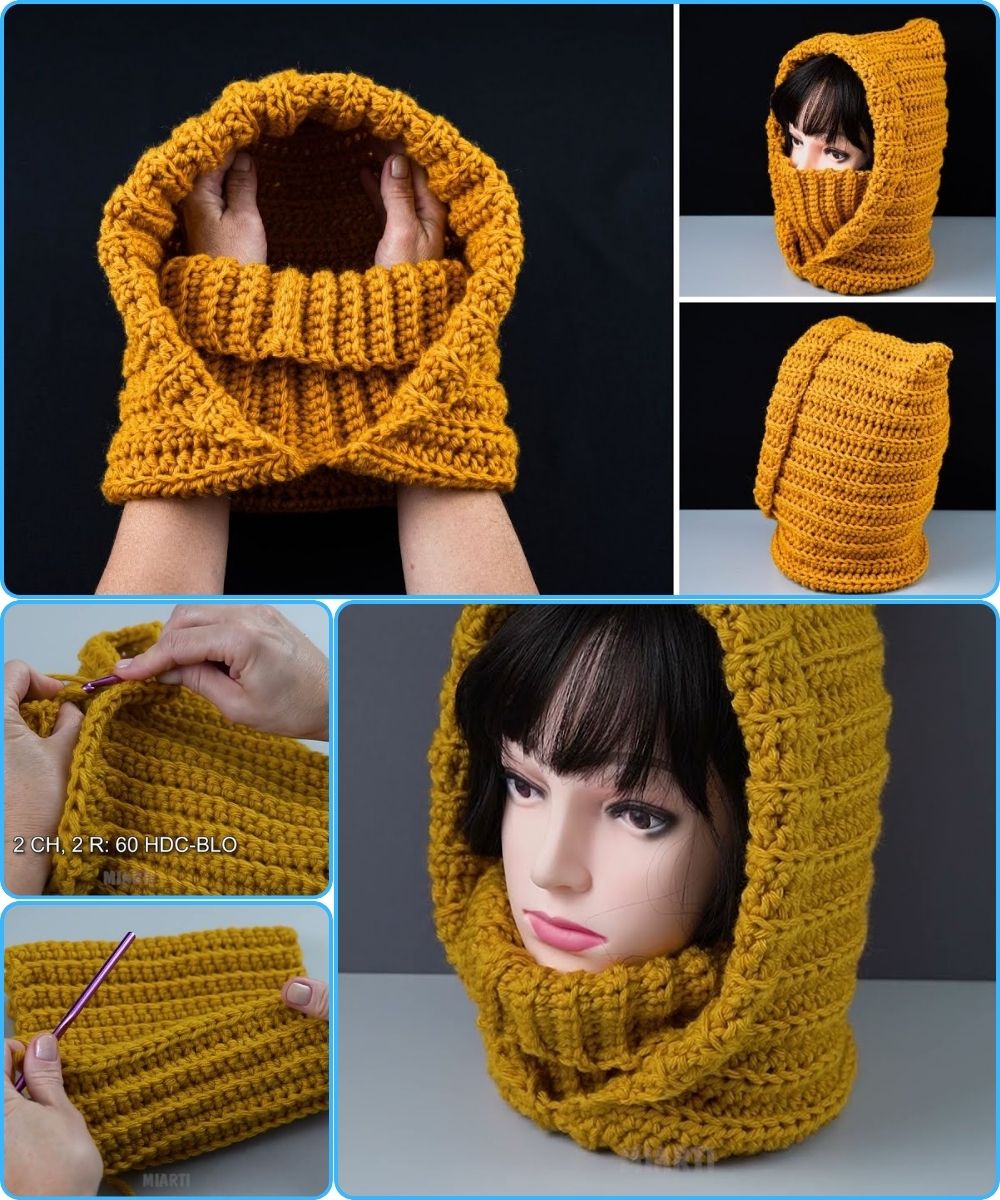
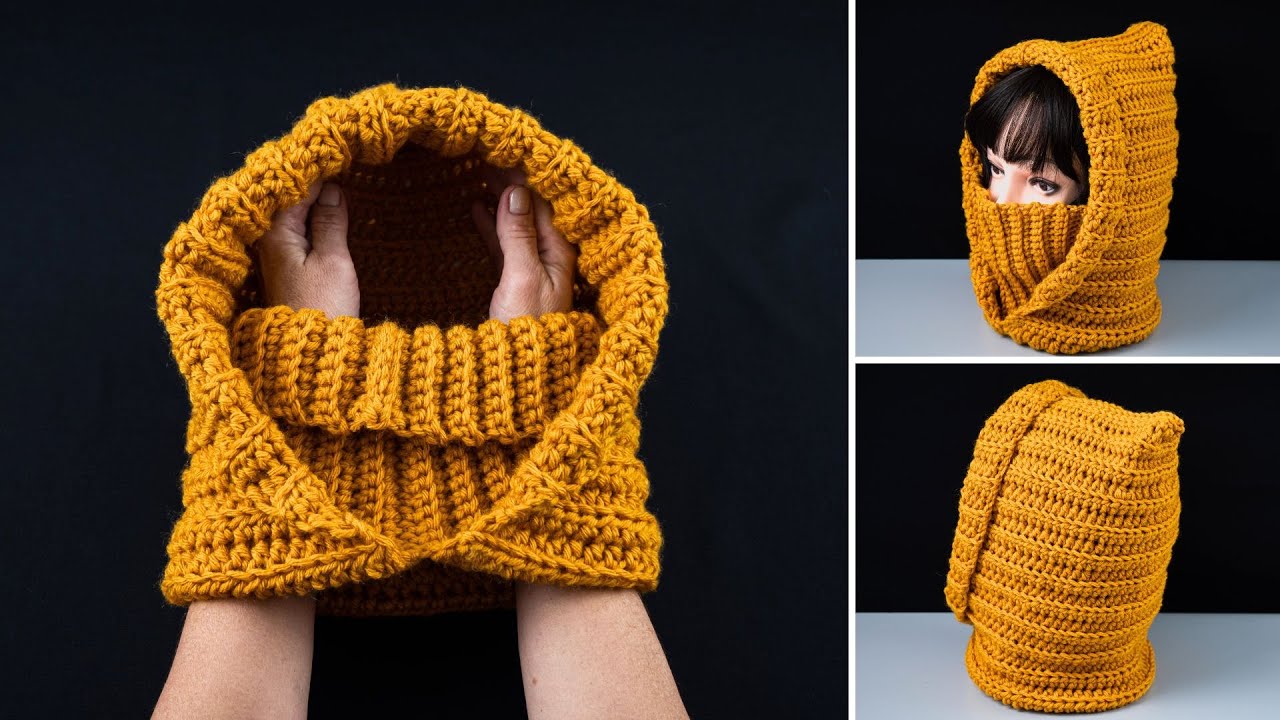
🧶 How to Make a Simple Crochet Balaclava / Snood / Scarf (Beginner Friendly!)
This project is made using one rectangle (for a snood or scarf) or one rectangle that gets folded and seamed (for a balaclava). No shaping skills required!
🧵 Materials Needed
-
Yarn: Category 5 (bulky) or Category 4 (worsted)
(Bulky yarn makes it faster + warmer.) -
Hook: 6 mm (for bulky) or 5 mm (for worsted)
(Check yarn label for recommended size.) -
Tapestry needle
-
Scissors
-
Stitch marker (optional)
✨ Stitches Used
These are the only stitches you need:
-
ch — chain
-
sc — single crochet
-
hdc — half double crochet (optional if you want faster progress)
-
sl st — slip stitch
If you know those, you’re ready!
🧣 PART 1 — Make the Base Rectangle
You can use this same rectangle for:
✔ a snood (infinity neck tube)
✔ a scarf
✔ a balaclava (with folding and seaming instructions in Part 2)

Step 1: Make a Foundation Chain
For adults:
-
Chain 60–70 for a snug fit around the head/neck
(60 = tighter, 70 = looser)
For kids:
-
Chain 50.
This length determines height, not width.
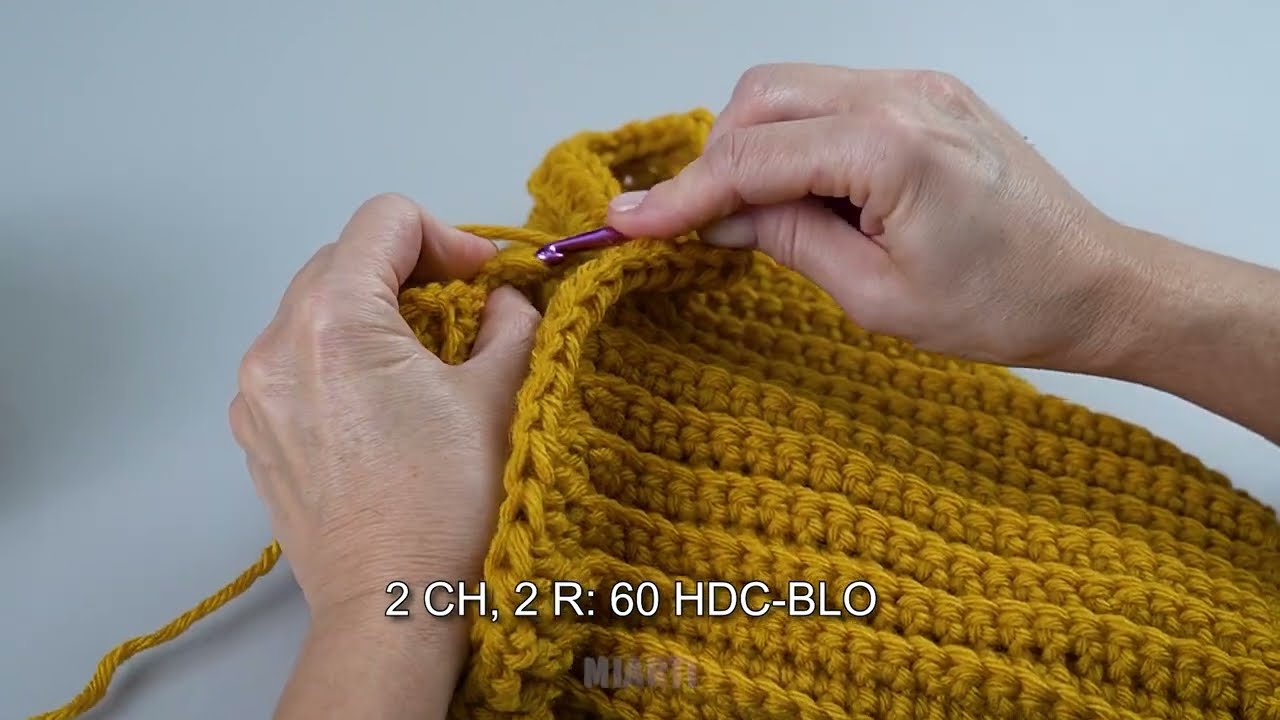
Step 2: Start Row 1
-
Insert hook into 2nd chain from hook and make 1 sc in each chain.
-
Chain 1 and turn.
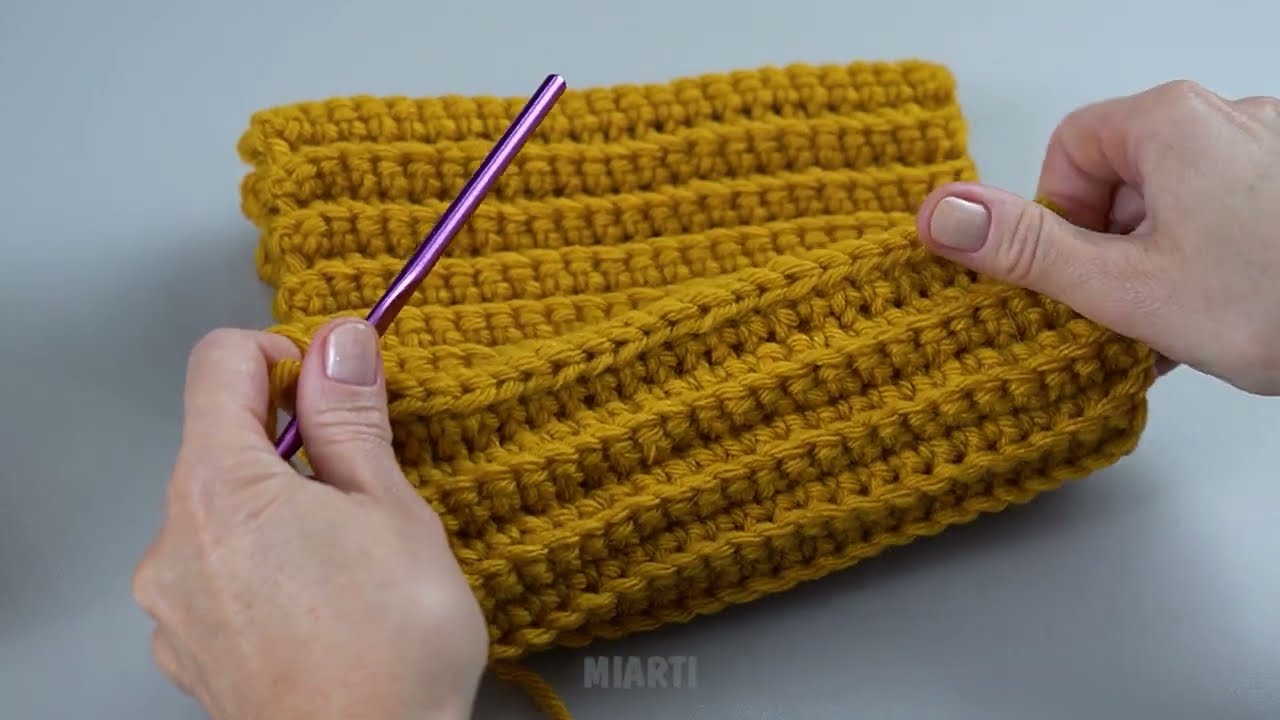
Step 3: Crochet Body Rows
Repeat this row until your rectangle is long enough:
Row Pattern (repeat):
-
1 sc in each stitch across
-
ch 1, turn
OR (faster option)
-
1 hdc in each stitch across
-
ch 1, turn
How long to make it?
-
Balaclava: about 44–50 cm (17–20 in) long
-
Snood: about 50–60 cm (20–24 in) long
-
Scarf: any length—120–150 cm (47–60 in) is typical
When finished, you should have a soft, stretchy rectangle.
🪡 PART 2 — Balaclava Assembly (Beginner Method)
This is the easiest possible balaclava construction:
✔ Fold in half
✔ Sew the top
✔ Leave a face opening
Step 4: Fold the Rectangle
Lay your rectangle flat.
Fold it in half lengthwise so the short edges meet.
The folded shape should look like a wide tube.
Step 5: Create the Face Opening
On one of the long sides (the “front”):
-
Measure 14–18 cm (5.5–7 in) down from the top fold
-
Mark this spot with a stitch marker
This section will remain unsewn, forming the face hole.
Step 6: Seam the Back and Top
Use your tapestry needle and whip stitch or slip-stitch crochet to seam:
-
Top edge — sew completely
-
Back edge — sew from the top down until you reach the marker
-
STOP to leave the face opening
-
Continue sewing below the opening until the bottom edge is closed
At this point, you have a balaclava shape!
Optional: Add a Border Around the Face Opening
To make it neat:
-
Attach yarn anywhere around the opening.
-
Work 1 round of sc around the entire hole.
-
Slip stitch to join.
Do 2–3 rounds if you want a thicker border.
🧤 PART 3 — Snood or Scarf Options
To make a Snood (Loop):
-
Bring short ends together.
-
Seam with whip stitch.
-
You now have a cozy infinity-style neck tube.
To make a Scarf:
Just leave the rectangle flat!
Optional: add fringe to the ends.
🌟 Tips for Beginners
-
Don’t worry if your edges are uneven—blocking or borders fix everything.
-
If the fabric feels too stiff, go up 1 hook size.
-
If it’s too loose/holes showing, go down 1 hook size.
-
Bulky yarn makes the project twice as fast.
🎉 You’re Done!
With just one rectangle and basic stitches, you’ve made:
-
a balaclava,
-
a snood,
-
or a scarf—
all using the simplest beginner technique.
If you want, I can also write:
✔ a printable PDF-style version
✔ a version with row-by-row counts
✔ a photo-style step-by-step description
✔ a chunky version or granny-stitch version
✔ a child-size or oversized hoodie version
Just tell me! 🧶✨
Watch tutorial: