 by
by Absolutely! Here’s a detailed, beginner-friendly guide to making an easy crochet bag. This guide assumes you know the very basics (like how to hold a hook and make a chain), but I’ll keep it simple throughout.
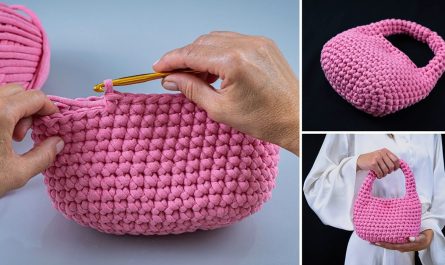
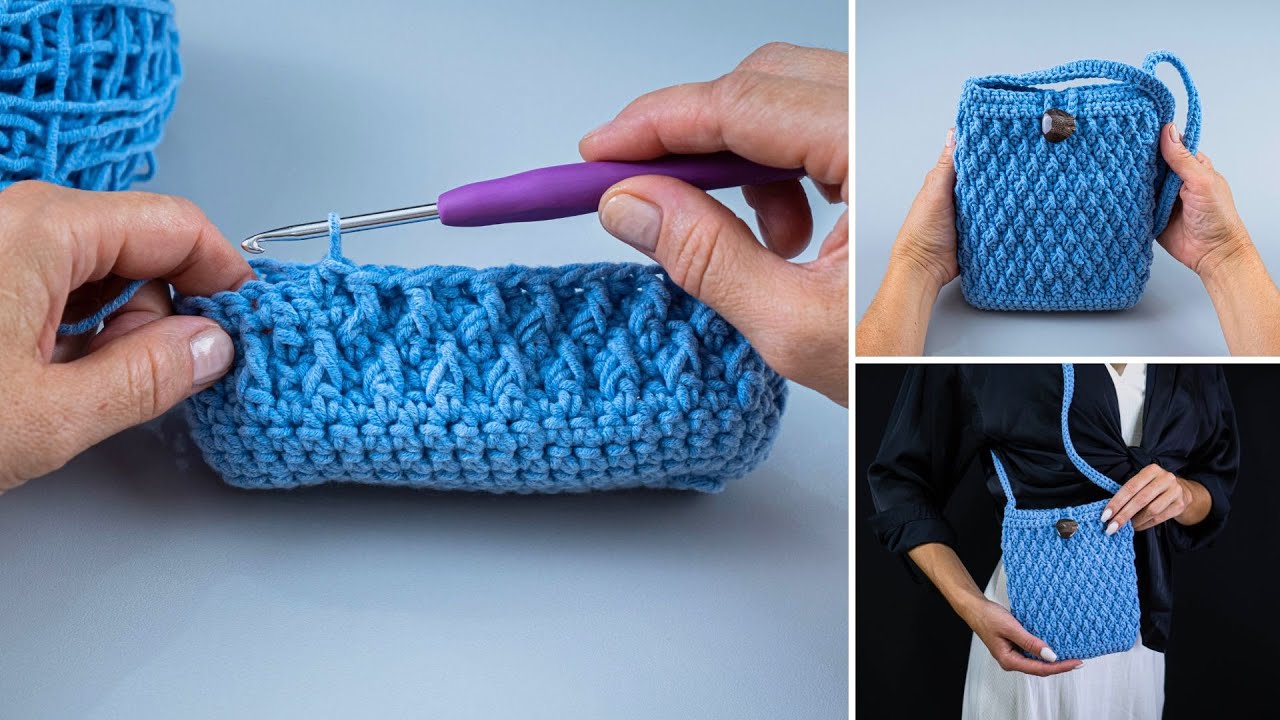
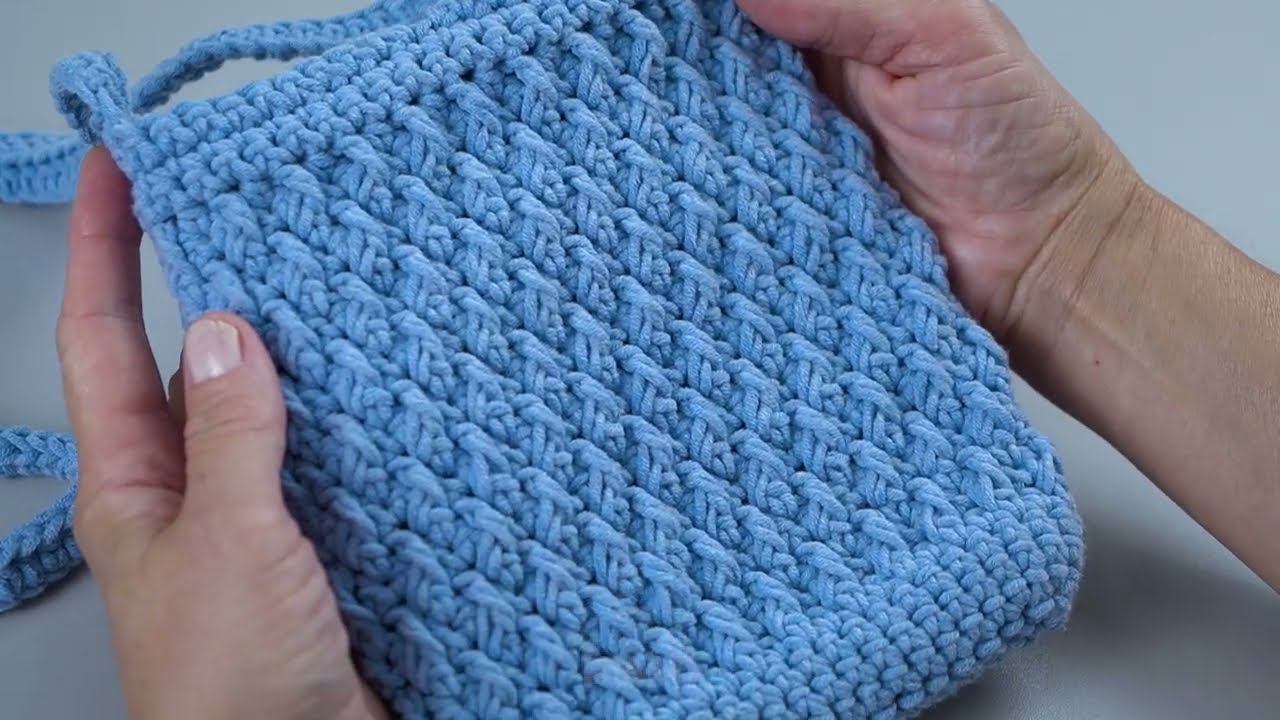
How to Make an Easy Crochet Bag for Beginners
✨ What You’ll Make:
A simple rectangular tote bag with two handles. You’ll crochet a flat rectangle, fold it in half, and seam the sides — that’s it!
Materials Needed:
| Item | Notes |
|---|---|
| Yarn | Medium weight (Category 4) cotton yarn is ideal — durable and easy to work with. E.g., Lily Sugar’n Cream. |
| Hook | 5 mm (H-8) crochet hook — check your yarn label for the recommended size. |
| Scissors | For cutting yarn. |
| Yarn needle (tapestry needle) | To weave in ends and sew parts together. |
| Stitch marker (optional) | To mark your first stitch in the round or row. |
Stitches Used:
-
ch = chain
-
sc = single crochet
-
sl st = slip stitch
These are the most basic crochet stitches — perfect for beginners!
Finished Size (Adjustable):
Approx. 12″ wide x 14″ tall, not including straps.
You can make it bigger or smaller by adjusting your foundation chain and number of rows.
✅ Step-by-Step Instructions
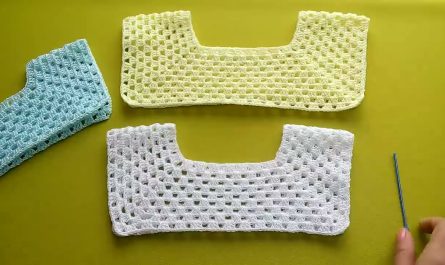
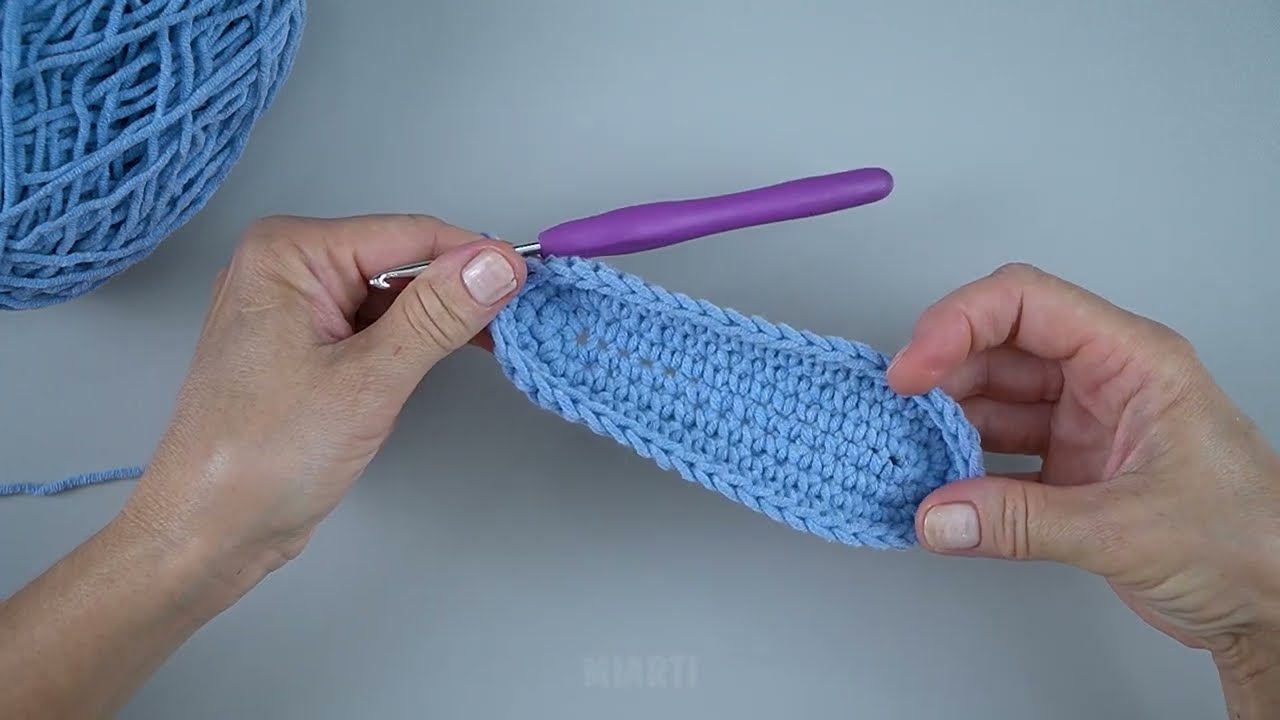
1. Make the Base Rectangle (Body of the Bag)
This is crocheted flat, then folded.
Tip: The more rows you make, the taller your bag will be.
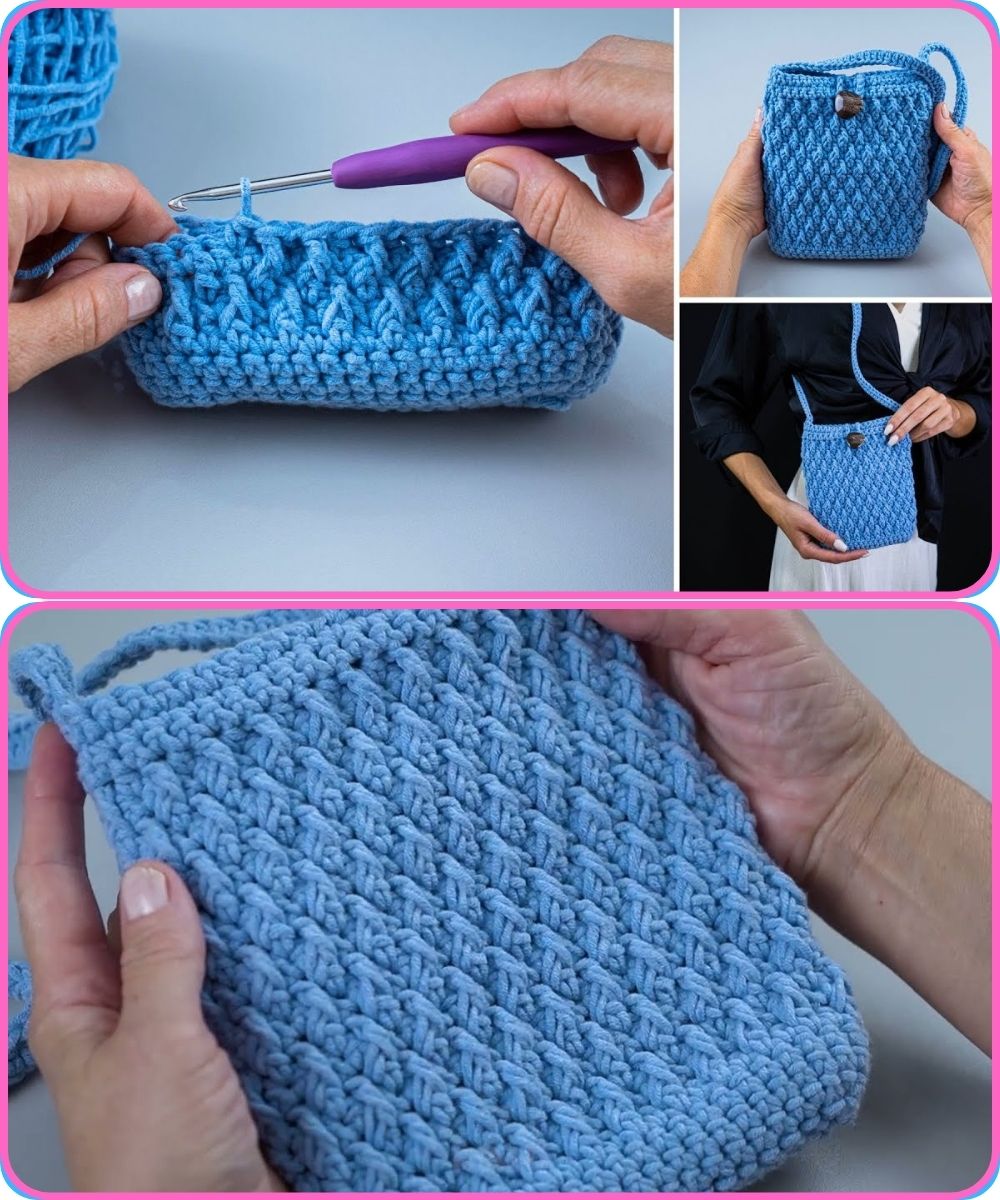
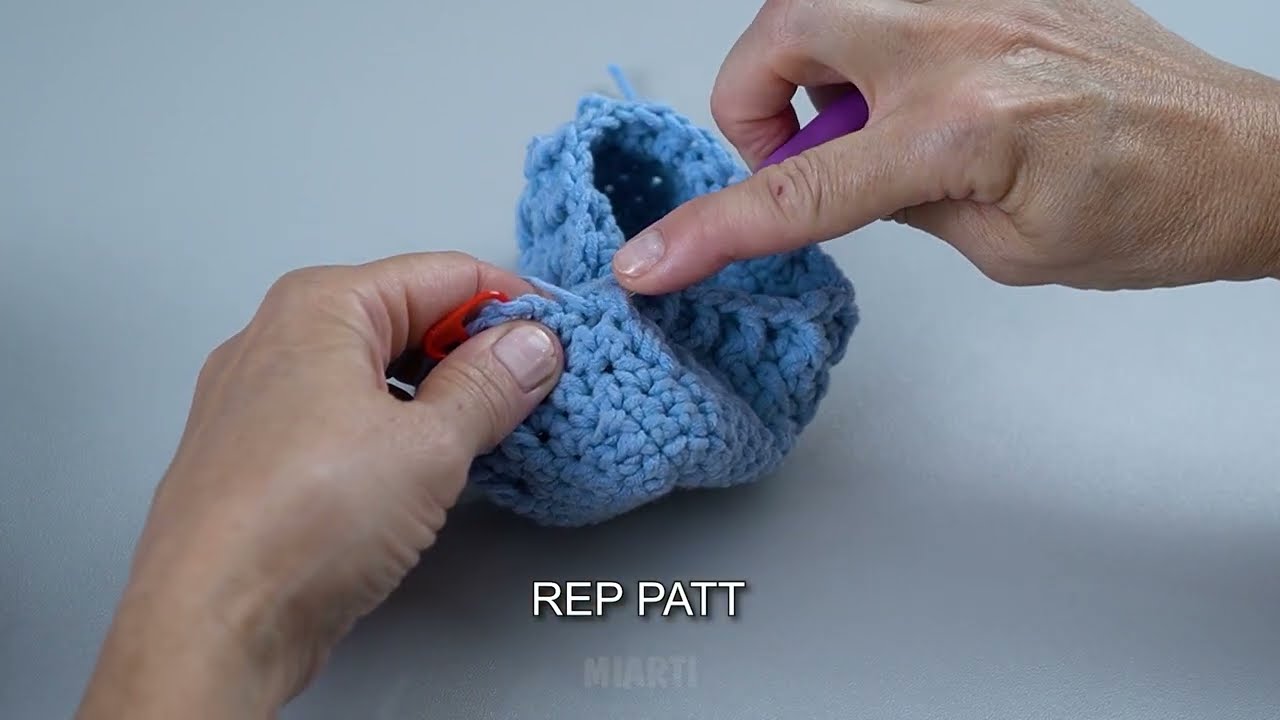
2. Fold and Seam the Sides
Fold your rectangle in half, matching short ends. The fold will be the bottom of the bag.
-
Use your hook or a yarn needle to slip stitch or whip stitch up each side to close the bag.
-
Leave the top open.
3. Add the Handles
You’ll now crochet handles directly onto the top edges.
With your hook:
Repeat on the other side for the second handle.
4. Finishing Touches
-
Weave in all yarn ends using a yarn needle.
-
You can add a button or liner later if you want, but it’s optional.
Optional Add-ons:
-
Add a simple button and loop for closure.
-
Line it with fabric (for more structure).
-
Use colorful yarn or stripe patterns.
Care Tips:
If you used cotton yarn, you can hand-wash or machine wash it gently. Always check the yarn label.
Summary Chart:
| Step | What to Do |
|---|---|
| 1 | Crochet a rectangle using single crochet rows |
| 2 | Fold it in half and seam the sides |
| 3 | Add chain straps and sc back over them |
| 4 | Weave in ends and enjoy! |
Final Thoughts:
This bag is a great first project because:
-
It uses only basic stitches.
-
It works up quickly.
-
It’s functional and customizable!
Watch tutorial: