 by
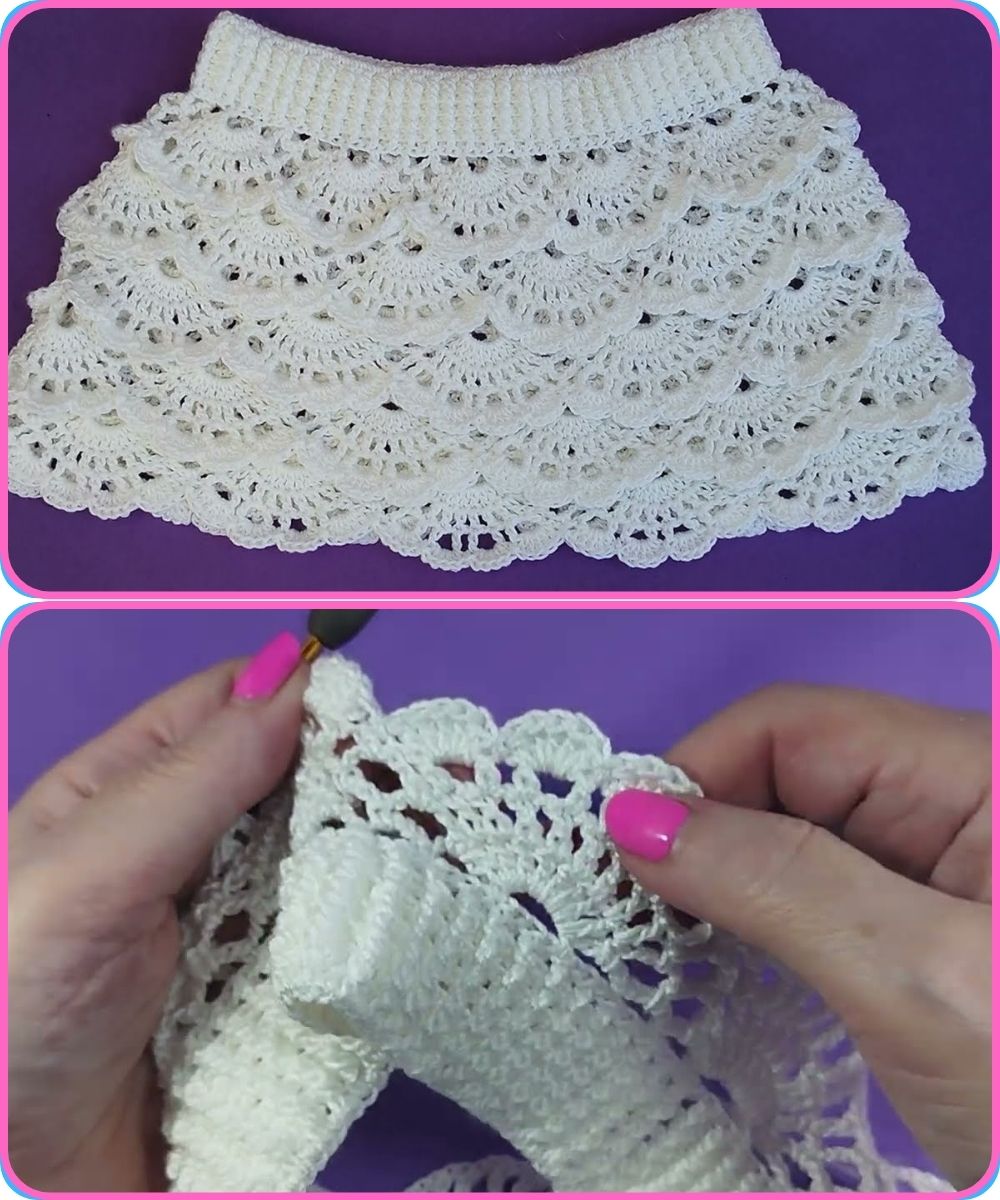
by Here’s a detailed step-by-step guide on how to make a crochet ruffle skirt and blouse set – a beautiful, feminine outfit that can be customized to your style and size. This guide assumes you have some basic knowledge of crochet (e.g., how to chain, single crochet, double crochet, increase/decrease), but beginners can follow along with patience.
Materials Needed:
-
Yarn: Light worsted weight (Category 3) or DK yarn – cotton or a cotton blend for comfort and drape.
(Estimate: 500g–800g depending on size.) -
Crochet Hook: Size 3.5mm to 4.5mm, depending on yarn thickness and desired fabric drape.
-
Stitch Markers
-
Measuring Tape
-
Yarn Needle
-
Scissors
-
Elastic band (for the waistband of the skirt, optional)
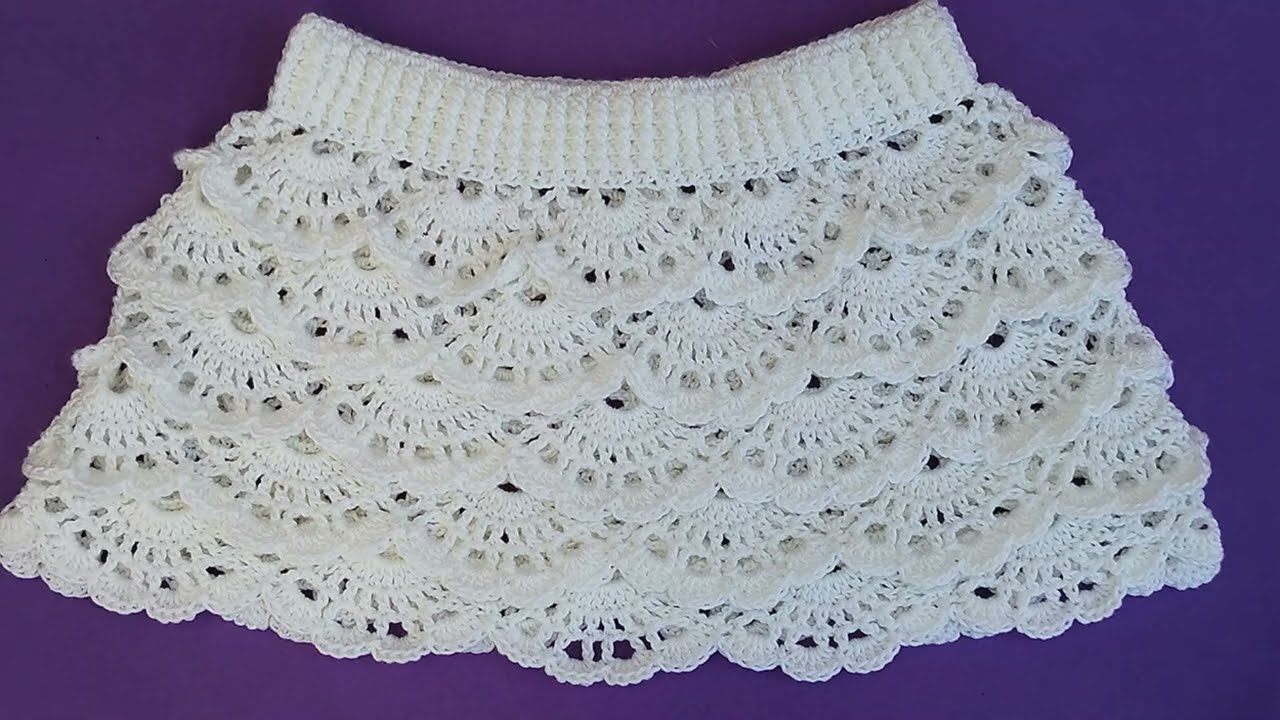
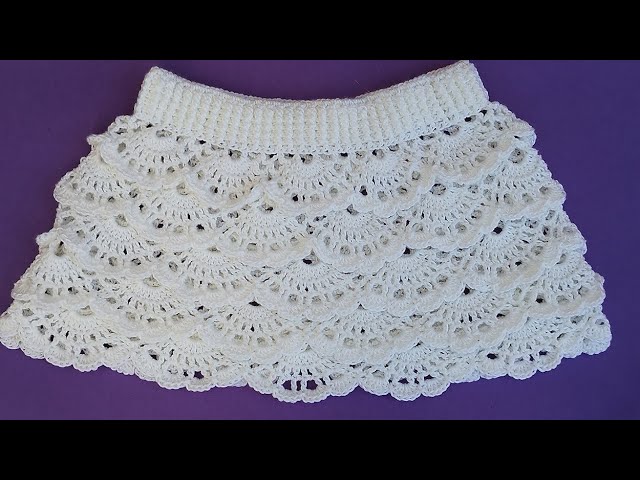
PART 1: Crochet Ruffle Skirt
Step 1: Take Your Measurements
Measure:
-
Waist circumference
-
Hip circumference
-
Desired length of the skirt
Step 2: Make a Waistband
-
Foundation Chain: Chain long enough to fit around your waist snugly but not tight. Join with a slip stitch to form a ring. Ensure the chain is not twisted.
-
Work the Band:
-
R1–5: Work single crochet (SC) or half-double crochet (HDC) in the round for 5–6 rows to make the waistband.
-
Optional: Insert elastic inside a folded waistband for extra hold.
-
Step 3: Start the Skirt Body
-
R1: Begin with double crochet (DC) stitches all the way around the waistband.
-
R2–R5: Continue in DC in rounds. Increase 4–6 stitches evenly around if you want a gentle flare.
-
R6: Begin to add ruffles.
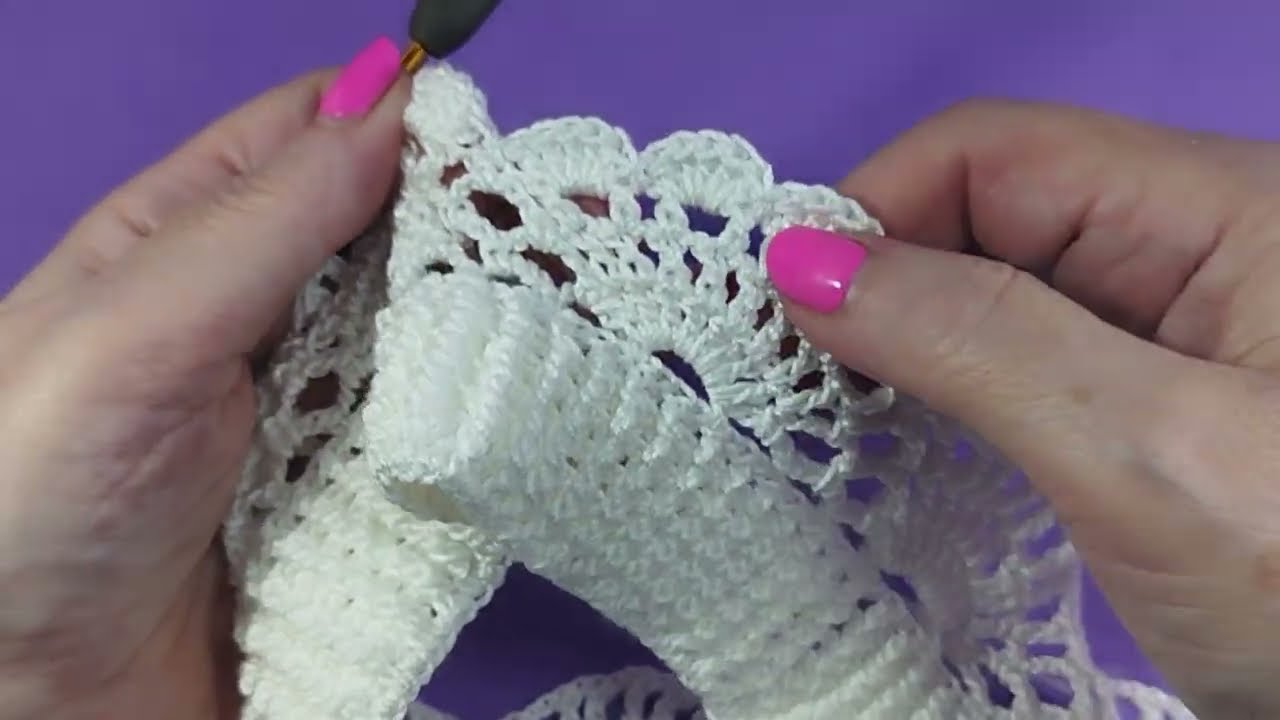
Step 4: Crochet the Ruffles (Layered)
You can make multiple tiers of ruffles. Each ruffle layer is usually built by working into the same row below or creating a foundation chain from the body.
Basic Ruffle Pattern:
-
Choose Row: Where you want the ruffle.
-
Attach yarn to the stitch or round.
-
R1 (Ruffle Base): SC or slip stitch across.
-
R2 (Ruffle Expansion): Work 2 or 3 DCs in each stitch – this creates the ruffle effect.
-
Optional: Add another row of DC or shell stitch for more texture.
Repeat every 5–8 rows to create layered ruffles.
Step 5: Finish the Hem
-
Add a decorative border like a shell stitch, picot, or crab stitch for a clean edge.
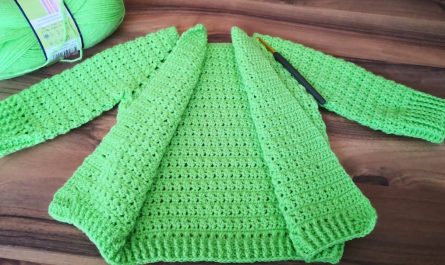
PART 2: Crochet Ruffle Blouse
Step 1: Choose Style
-
This guide focuses on a cropped or waist-length ruffle blouse with short sleeves and front or back closure.
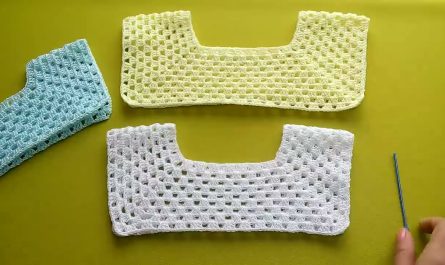
Step 2: Create Front & Back Panels
-
Chain Width: Measure across your bust. Make a chain that matches half of the bust width.
-
Work Rows:
-
Work in HDC or DC rows until the piece reaches from your waist to desired top length (e.g., just above the bust for a crop top).
-
Repeat for both front and back panels.
-
Step 3: Add Shaping (Optional)
-
For better fit around the bust, you can add slight increases or short rows.
Step 4: Join Panels
-
Sew or crochet the sides and shoulders together, leaving armholes.
Step 5: Add Sleeves
You can add flutter or ruffle sleeves for a feminine look.
Ruffle Sleeve Pattern:
-
Attach yarn to armhole.
-
R1: SC around.
-
R2: Work 2–3 DCs in each stitch.
-
R3: Continue in DC or shell stitch to desired length.
Step 6: Add Neckline & Ruffles
-
Work a simple neckline (SC or HDC around).
-
Add ruffles:
-
You can add a ruffle below the bust, around the hem, or at the neckline.
-
Use the same technique as in the skirt for ruffles: increase stitches in the round.
-
Step 7: Finishing
-
Weave in all ends.
-
Block the blouse for a smooth and professional look.
Tips:
-
Gauge swatch: Always make a gauge swatch to avoid sizing issues.
-
Layer colors: Try different colors for each ruffle tier.
-
Add buttons: Add buttons or ties at the back or front for closure.
-
Yarn choice: Lightweight cotton works best for wearable comfort and breathability.
Simple Stitch Ideas for Ruffles:
| Stitch Name | Description |
|---|---|
| Shell Stitch | 5 DC in 1 stitch, skip 2, repeat |
| Fan Stitch | 7 DC in 1 stitch, skip, repeat |
| V-Stitch | (DC, ch 1, DC) in one stitch |
| Picot Edge | (SC, ch 3, SC) for decorative edge |
Care Instructions
-
Hand wash or gentle machine cycle in cold water.
-
Dry flat to keep the ruffles crisp and prevent stretching.
Watch tutorial:
https://www.youtube.com/watch?v=dR1v2vuv7Uw