 by
by Absolutely! Here’s a detailed guide on “How to Make a Super Easy Dress for All Sizes” — ideal for beginners, requires minimal sewing skills, and is customizable for any body type or size. This guide uses a simple t-shirt or shift dress style that can be adapted with fabric choice, length, and personal preferences.
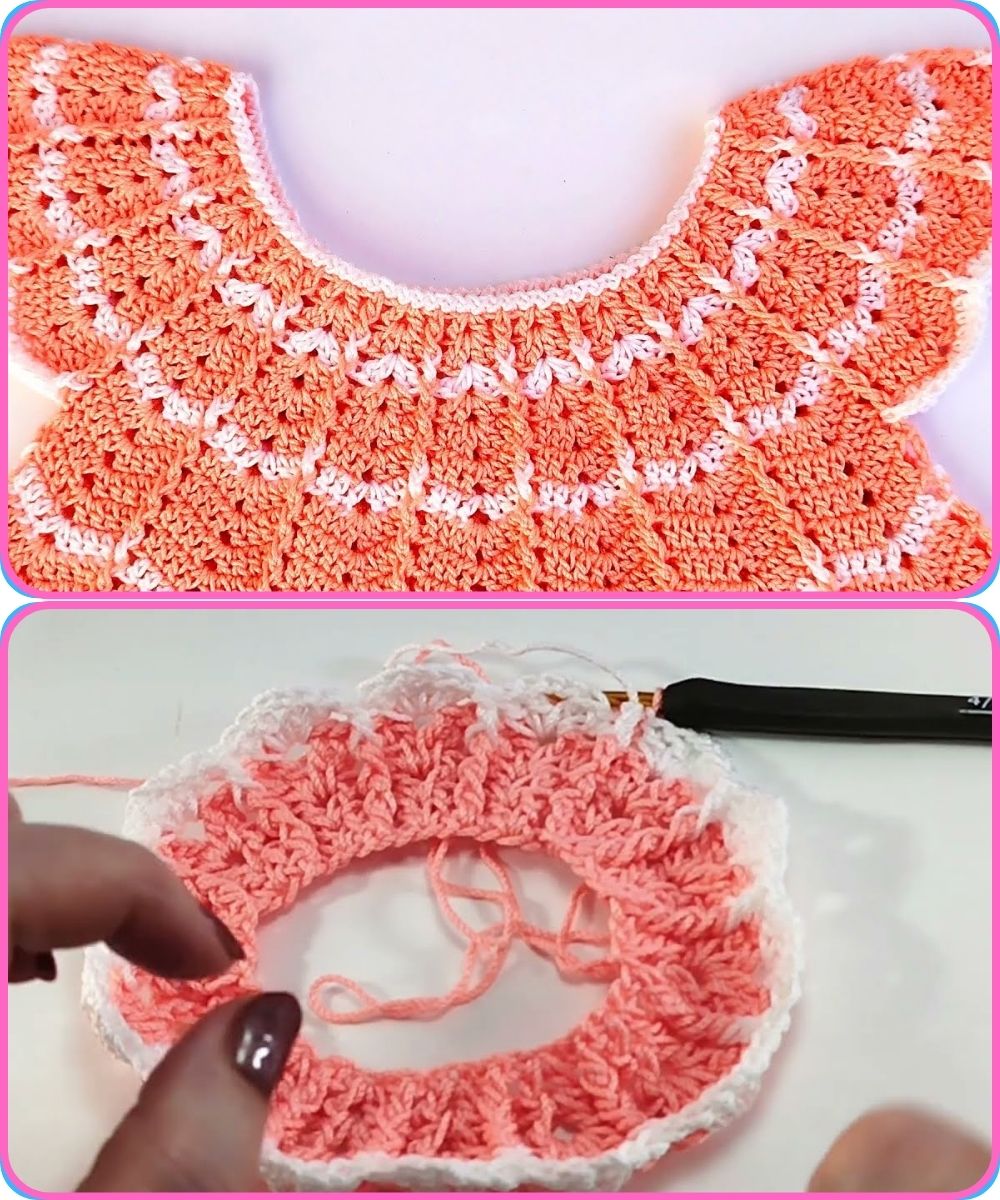
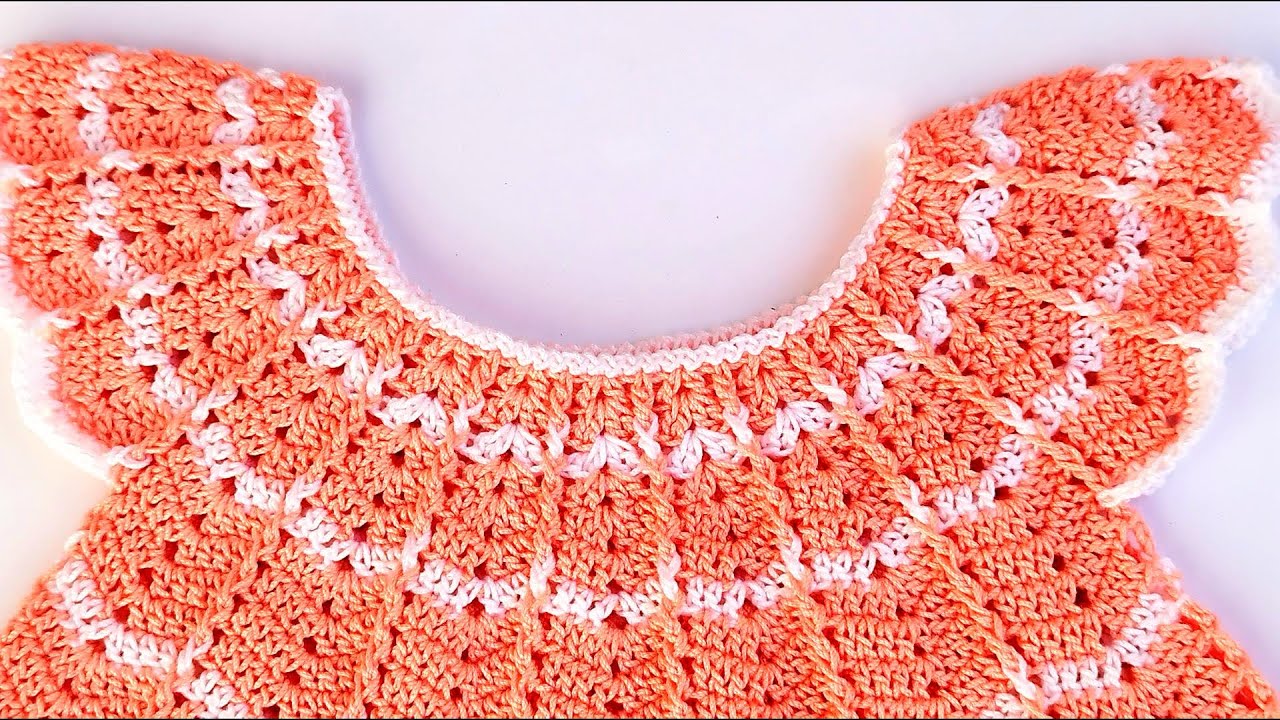
How to Make a Super Easy Dress for All Sizes
✂️ Style: T-Shirt/Shift Dress
This dress is loose-fitting, with no zippers or darts, making it beginner-friendly and comfortable for all body types.
What You’ll Need
-
Fabric: 2 to 3 yards (depending on size and length)
-
Light to medium weight (cotton, jersey, rayon, linen)
-
-
Basic sewing kit:
-
Scissors
-
Measuring tape
-
Pins
-
Tailor’s chalk or fabric marker
-
-
Sewing machine or needle & thread
-
Pattern paper (or use an old t-shirt as a template)
-
Iron (for pressing seams)
-
Optional: Elastic or belt for waist shaping
Step-by-Step Instructions
✅ Step 1: Take Measurements
Use a soft measuring tape and write down:
-
Bust (widest part)
-
Waist (narrowest part)
-
Hips
-
Dress length (from shoulder to desired hem)
-
Armhole depth
✅ Step 2: Make or Trace a Pattern
You have two options:
Option A: Use an Old T-Shirt (Fastest)
-
Fold your favorite loose t-shirt in half lengthwise.
-
Lay it on folded fabric or paper with the fold on the same side.
-
Trace around it, adding 1 inch for seam allowance and desired length.
Option B: Draft Your Own Simple Pattern
Draw two identical shapes for front and back:
-
Slight A-line shape (wider at bottom than bust)
-
Neckline: lower for front, higher for back
-
Shoulder seams 3-4 inches
-
Add 1″ seam allowance all around
Optional: Add sleeves, or keep it sleeveless for an even easier project.
✅ Step 3: Cut the Fabric
-
Fold your fabric in half.
-
Pin your pattern (or traced t-shirt shape) to the fabric.
-
Cut two pieces (front and back), mirrored.
-
Cut sleeves if you want them (basic rectangle or curved sleeve cap shape).
✅ Step 4: Sew the Dress
1. Join the Shoulders
-
Place front and back pieces right sides together.
-
Sew shoulder seams.
2. Attach Sleeves (if using)
-
Match sleeve center to shoulder seam.
-
Pin and sew sleeve along the armhole curve.
3. Sew Side Seams
-
Fold the dress right sides together.
-
Pin underarm to hem.
-
Sew side seams (catch sleeve edge too, if added).
4. Neckline, Sleeves, and Hem Finish
-
Fold and press edges ¼” twice to hem the neckline and sleeves.
-
Topstitch to secure.
-
Hem the bottom of the dress to desired length.
Tip: Use a stretch stitch or zigzag if you’re working with stretch fabric like jersey.
✅ Step 5: Try It On and Adjust
-
Try on the dress inside out.
-
Pin or mark areas for shaping or taking in.
-
Optional: Add an elastic waistband, belt loops, or side ties to cinch the waist.
Customization Ideas
-
Belted waist: Use same fabric or a contrasting belt
-
Pockets: Add side seam or patch pockets
-
Color block: Use two different fabrics for top and bottom
-
Length options: Mini, knee-length, midi, or maxi
-
Neckline variations: V-neck, scoop, boat-neck
How to Make It Fit All Sizes
-
The loose-fitting style and minimal seams make it forgiving.
-
Adjust:
-
Bust width based on your measurement + 2-3 inches ease
-
Hip width to match your hips comfortably
-
Armhole slightly larger for bigger sizes (or sleeveless to simplify)
-
Length to suit your height or preference
-
If you’re sewing for different sizes, make a basic template pattern and just adjust width and length.
Care Tips
-
Wash fabric before cutting (to pre-shrink)
-
Use matching thread for a cleaner finish
-
Iron seams flat for a polished look
Final Thoughts
This super easy dress is:
-
Flattering for all body types
-
Great for beginners
-
Customizable to suit any season, fabric, or style
-
No zippers, buttons, or complex fittings needed
Once you’ve made one, it’s easy to make more with variations!
Watch tutorial:
https://www.youtube.com/watch?v=w9w4PCbArE8