 by
by Absolutely! Here’s a professional, step-by-step guide on how to make a crochet bag with a sewn zipper, complete with details about materials, crochet techniques, finishing, and sewing methods for a clean, durable result.

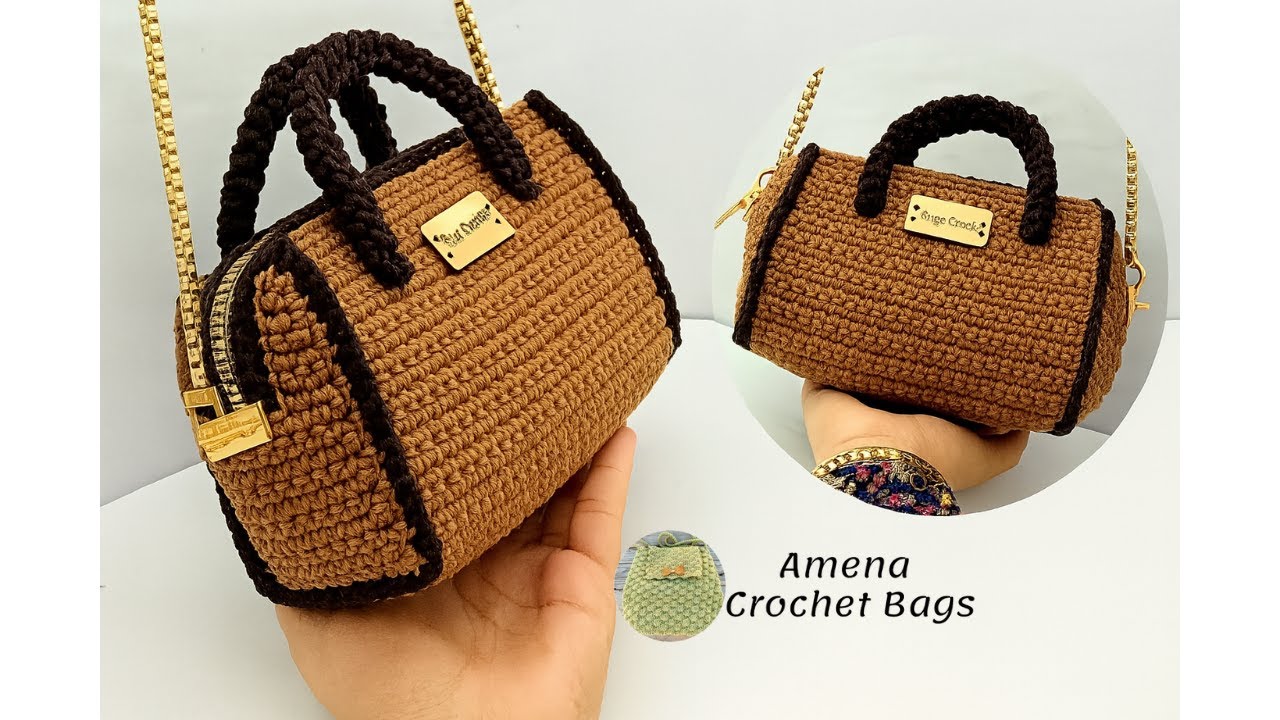
How to Make a Crochet Bag with a Sewn Zipper (Professional Guide)
Materials You’ll Need
| Item | Description | Notes |
|---|---|---|
| Yarn | Medium-weight cotton or acrylic | Cotton provides structure; acrylic gives flexibility |
| Crochet Hook | Size compatible with yarn (usually 3.5 mm–5 mm) | Check yarn label |
| Zipper | Matching or contrasting color | Length equal to or slightly longer than bag opening |
| Lining Fabric (optional but recommended) | Cotton or canvas | Adds stability and conceals stitches |
| Sewing Needle & Thread | Matching thread color | For zipper and lining attachment |
| Scissors | Sharp fabric scissors | For clean cuts |
| Stitch Markers | To mark rounds or stitch counts | Especially useful for beginners |
| Measuring Tape | For accurate sizing | — |
Step-by-Step Instructions
Step 1: Plan & Design Your Bag
Decide on:
-
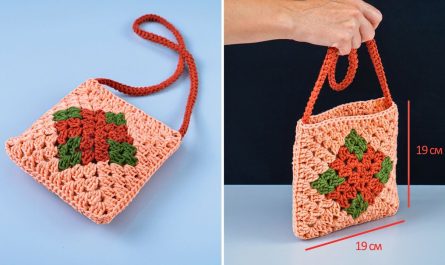
Bag Shape: Rectangle, square tote, round pouch, or bucket.
-
Size: Small clutch (20×15 cm) or large tote (40×35 cm).
-
Texture Pattern: Single crochet (tight & sturdy) or half-double crochet (flexible).
Tip: Draw a quick sketch with dimensions to guide you through measurements and zipper size.
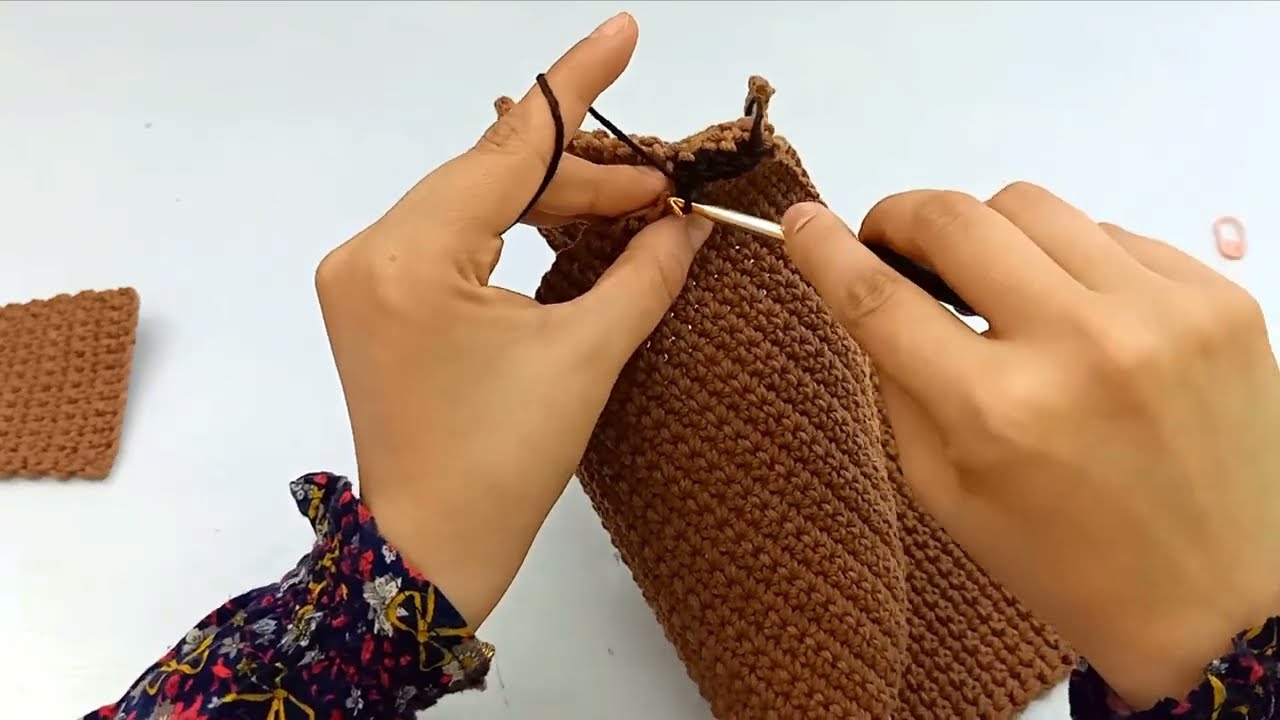
Step 2: Crochet the Bag Panels
You’ll typically make two panels (front and back), then join them later.
Example (Rectangular Bag Base):
-
Continue until you reach the desired height.
-
Repeat for the second panel.
Professional Tip: Keep your tension consistent — uneven tension will distort the zipper seam.
Step 3: Join Panels & Shape the Bag
Use one of the following joining methods:
-
Slip Stitch Join: For a subtle, flat edge.
-
Single Crochet Join: For a sturdy, defined seam.
You can join three sides and leave the top edge open for the zipper.
Step 4: Add Lining (Optional but Recommended)
-
Cut your lining fabric about 1 cm smaller than your crochet piece on each side.
-
Fold and iron the top edge of the lining about 1 cm inward for a clean edge.
-
Sew the side and bottom seams of the lining (right sides together).
-
Insert the lining into your crochet bag and hand-stitch it along the top edge using an invisible (whip) stitch.
Why use lining?
It prevents stretching, hides yarn gaps, and helps the zipper glide smoothly.
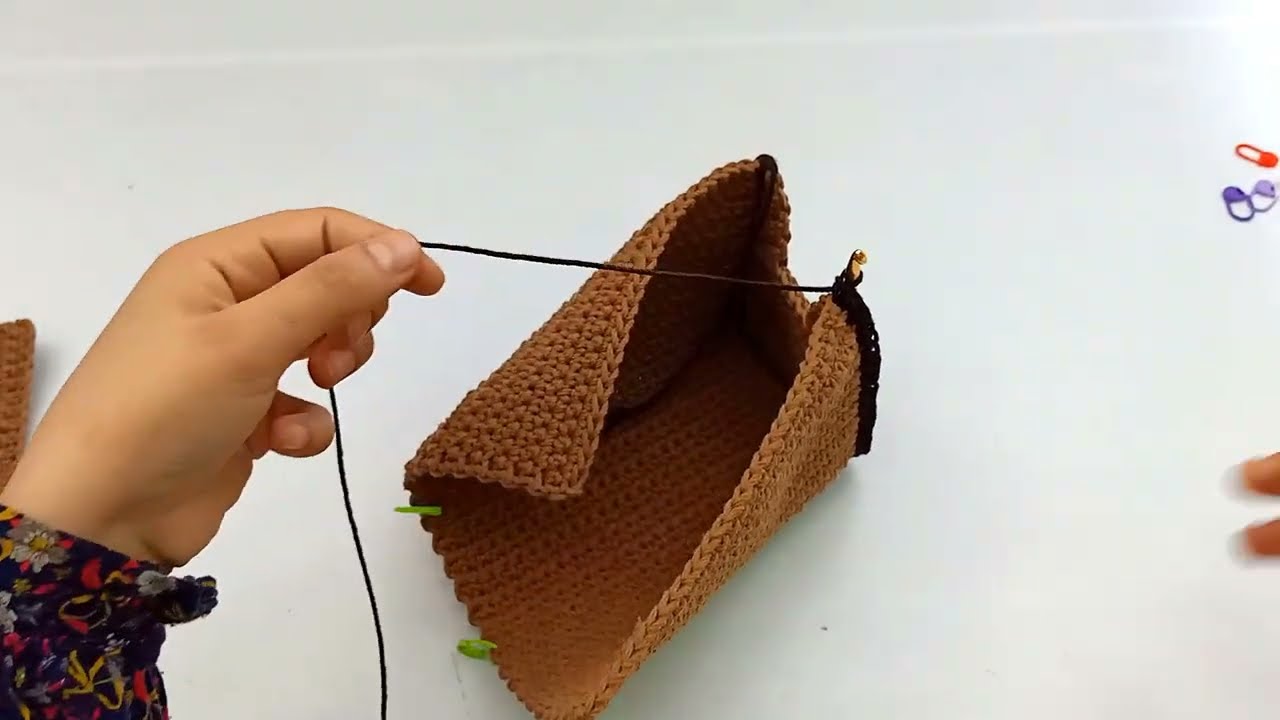
Step 5: Prepare & Sew the Zipper
-
Choose a zipper slightly longer than your bag opening for easier sewing.
-
Pin the zipper on the inside of the bag opening, ensuring teeth are centered.
-
Using a backstitch or small whip stitch, hand-sew the zipper to the crochet edge (or to the lining if added).
-
Double-stitch each end for reinforcement.
Professional Tip:
Use a sharp sewing needle or yarn needle depending on yarn thickness. You can also machine-sew the zipper if the lining is attached first.
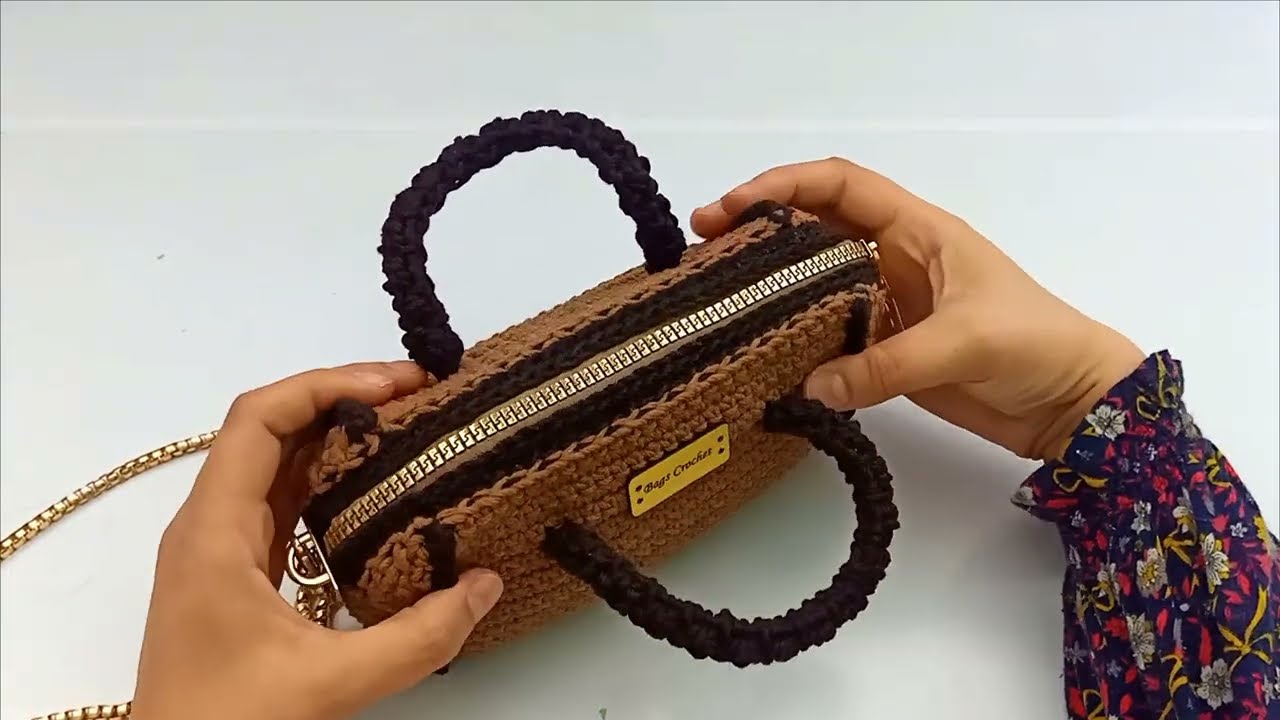
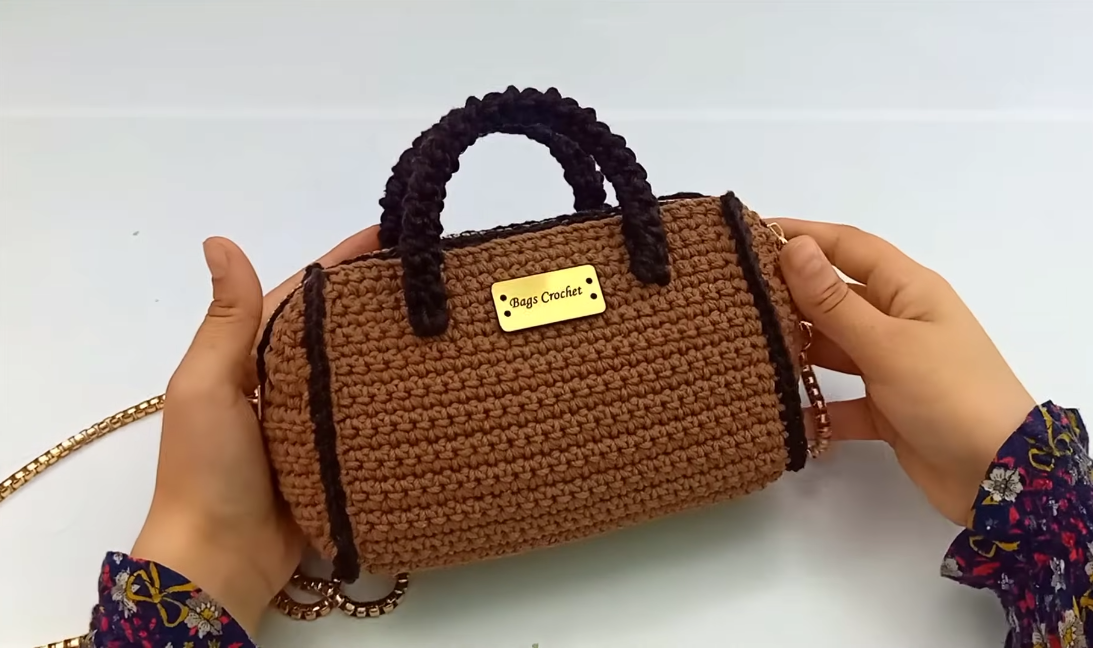
Step 6: Finishing Touches
-
Weave in all loose yarn ends with a yarn needle.
-
Steam block or gently iron the bag (using a pressing cloth).
-
Add straps, handles, or decorative details:
-
Crochet chain or i-cord straps
-
Leather handles
-
Tassels or charms near zipper pull
-
Optional Enhancements
| Feature | Description |
|---|---|
| Inner Pocket | Sew small fabric pocket onto lining before attaching |
| Stiff Base | Insert a plastic canvas or cardboard layer inside bottom |
| Magnetic Snap | Add for extra closure security along with zipper |
| Embroidery or Appliqué | Add personalization or branding |
✅ Professional Tips for a Flawless Finish
-
Gauge Swatch: Test your tension before starting large projects.
-
Edge Reinforcement: Work a round of single crochet around the bag’s opening before attaching the zipper — gives a neat base.
-
Match Materials: Cotton yarn + cotton lining = balanced stretch and structure.
-
Press Carefully: Steam or block your finished crochet fabric to set the shape before sewing the zipper.
-
Test the Zipper: Make sure it glides smoothly and doesn’t catch on yarn fibers.
✨ Example Project Summary
| Bag Type | Yarn Used | Hook | Dimensions | Zipper Size |
|---|---|---|---|---|
| Classic Clutch | 100% Cotton (DK) | 4.0 mm | 25×18 cm | 25 cm zipper |
| Mini Tote | Acrylic Blend | 5.0 mm | 30×25 cm | 30 cm zipper |
Would you like me to include a pattern example (like a written crochet pattern for a simple zippered pouch or tote)?
I can format it in full pattern notation (with stitches, counts, and abbreviations).
Watch video: