 by
by Sure! Here’s a detailed, beginner-friendly, step-by-step guide on how to make a simple and elegant crochet bag. This project is perfect if you’re just starting out with crochet — it uses basic stitches, minimal sewing, and creates a beautiful, functional accessory.

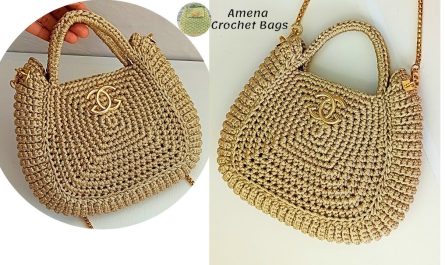
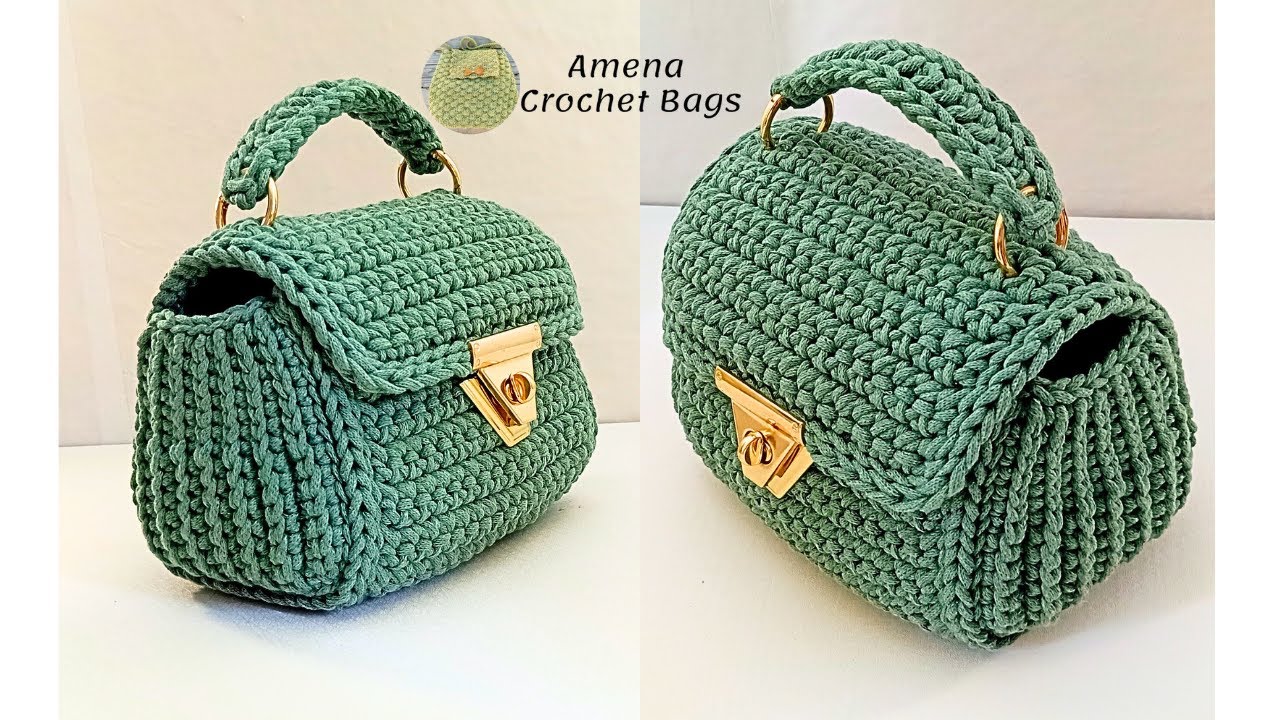
How to Make a Simple & Elegant Crochet Bag (Step by Step)
Project Overview
-
Difficulty: Beginner
-
Time Required: 3–5 hours
-
Size: Medium tote (you can easily adjust size)
-
Skills Learned: Chain stitch, single crochet, double crochet, seaming, and attaching handles.
Materials You’ll Need:
-
Yarn:
-
Medium-weight (Category 4) cotton yarn — about 200–250g.
-
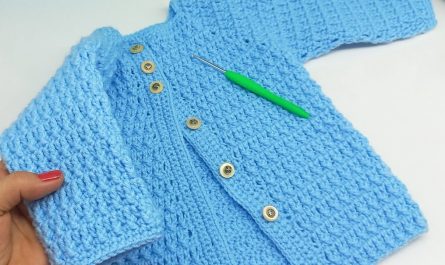
Cotton yarn holds shape and gives a neat, elegant finish.
-
Choose a neutral color (beige, ivory, black, sage green, etc.) for an elegant look.
-
-
Crochet Hook:
-
Size 4mm–5mm (G or H) — check yarn label for the best match.
-
-
Tapestry Needle: For weaving in ends.
-
Scissors
-
(Optional) Bag handles or leather straps — or you can crochet your own.
-
(Optional) Lining fabric and needle & thread for a professional finish.
✨ Step-by-Step Instructions
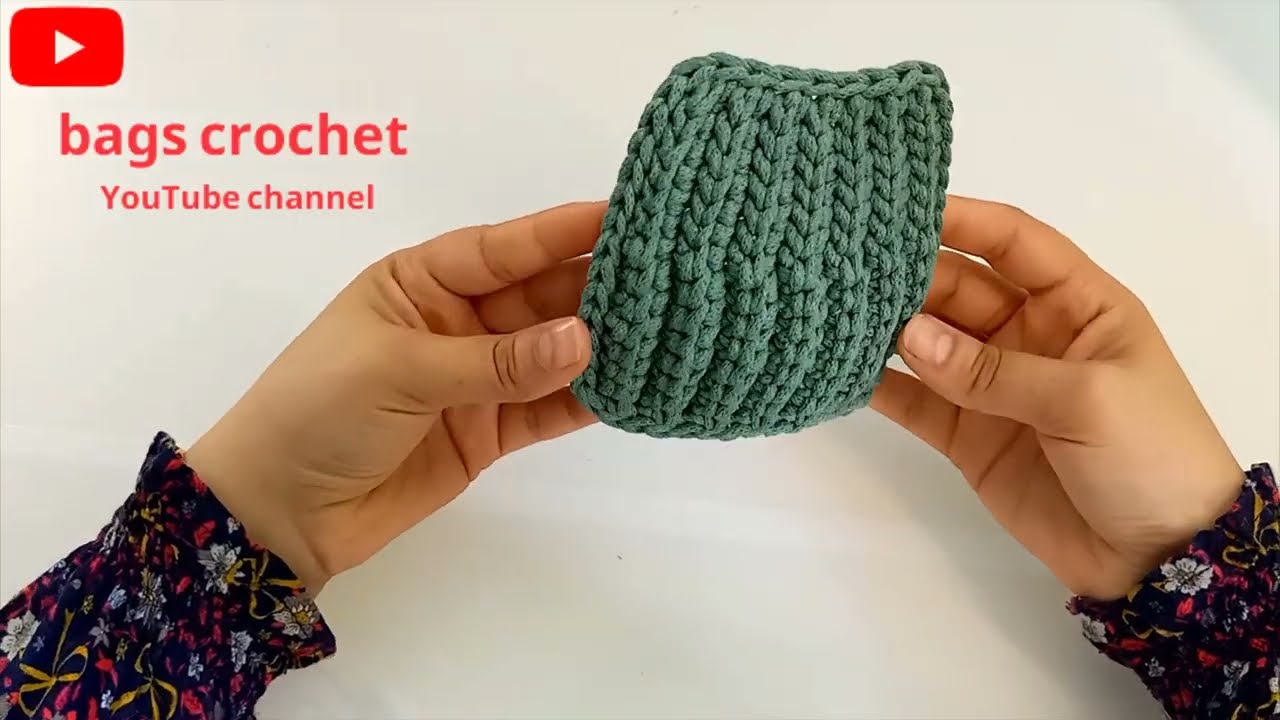
Step 1: Create the Base
-
Start with a slip knot and chain 41 stitches (this will be the width of your bag).
-
In the second chain from the hook, make 1 single crochet (sc).
-
Continue making 1 sc in each chain across the row (you’ll have 40 sc).
-
At the end of the row, chain 1 and turn your work.
-
Repeat single crochet rows until the base is about 3 inches wide.
-
This forms the sturdy bottom panel of your bag.
-
Tip: You can make the base longer or shorter depending on the desired bag size.
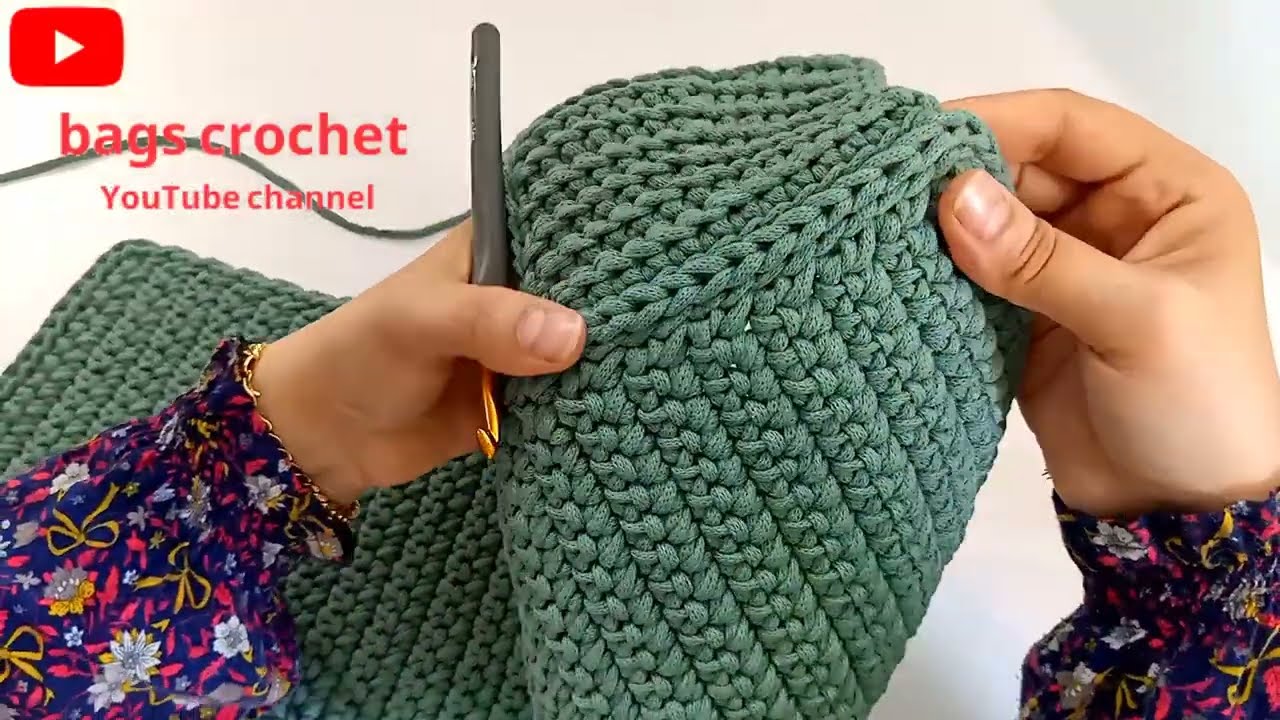
Step 2: Build Up the Body of the Bag
-
Once your base is done, you’ll work around all four sides to create a continuous round.
-
Chain 1 and crochet 1 sc in each stitch along one long side, 3 sc in each corner, then sc along the other long side.
-
Join with a slip stitch to the first sc.
-
Now, start working in rounds without turning.
-
For an elegant texture, use this pattern:
-
Round 1: Chain 2, make 1 double crochet (dc) in each stitch around, join with a slip stitch.
-
Round 2: Chain 1, make 1 single crochet (sc) in each stitch around, join.
-
Repeat Rounds 1 and 2 until the bag is about 10–12 inches tall (or your preferred height).
-
Tip: Alternating dc and sc rounds adds texture and sturdiness.
Step 3: Shape the Top Edge
-
Once you’ve reached the desired height, finish with two rounds of single crochet for a clean edge.
-
Fasten off and weave in the yarn ends neatly with your tapestry needle.
Step 4: Add the Handles
You can choose one of these methods:
Option 1: Crochet Handles
-
Decide on handle placement (usually about 5–6 stitches from each side).
-
Attach yarn, chain 40 (or desired length), skip 10 stitches, and reattach with a slip stitch.
-
Repeat for the other side.
-
On the next round, single crochet across the chains to strengthen the handles.
Option 2: Ready-Made Handles
-
Sew leather or wooden handles onto the bag using a needle and strong thread.
Step 5: (Optional) Add Lining
-
Cut fabric slightly larger than the inside of your bag.
-
Fold edges and sew to prevent fraying.
-
Hand-stitch the lining inside the bag for a polished, elegant finish.
Finishing Touches
-
Add a decorative button, tassel, or wooden charm for style.
-
Lightly steam-block or shape the bag to even out the stitches.
Tips for Success
-
Keep your tension consistent — too tight makes the bag stiff, too loose makes it floppy.
-
Use cotton or raffia yarn for structure.
-
To make it sturdier, you can crochet with two strands held together.
-
Try color-blocking (e.g., cream + tan) for a chic look.
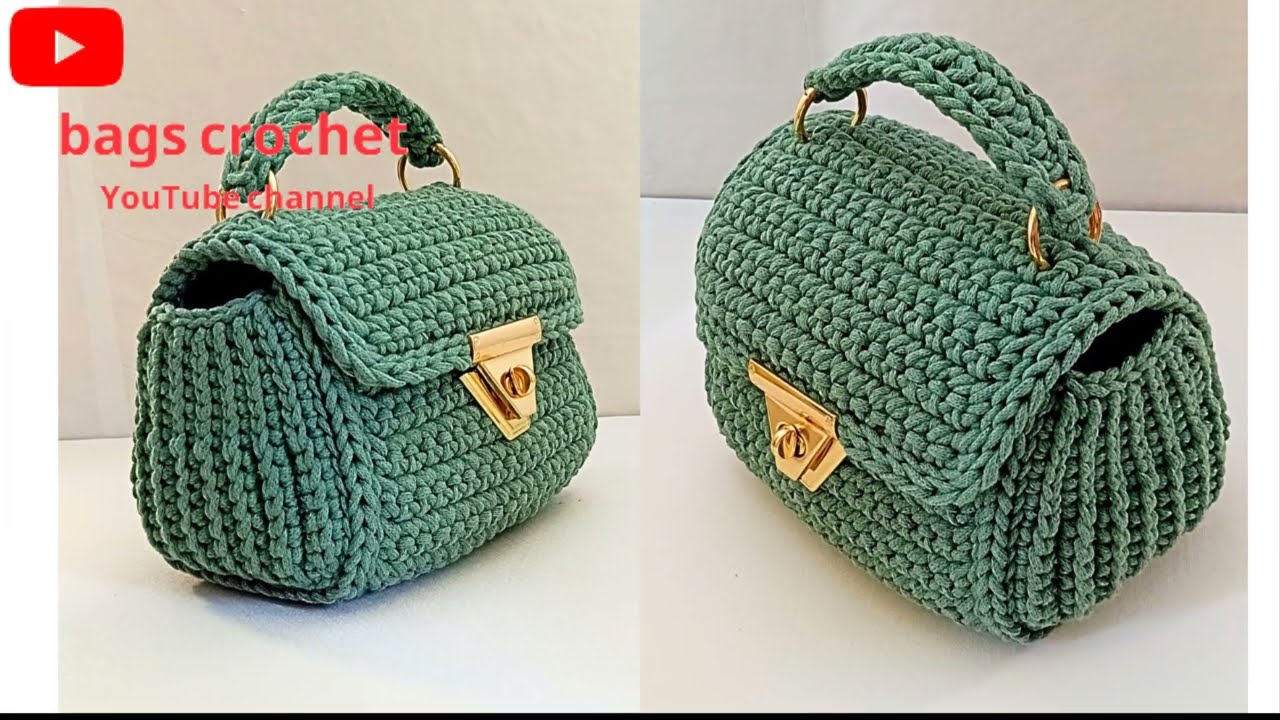
Final Result
You now have a simple yet elegant crochet bag — perfect for daily use, shopping, or gifting.
This pattern can easily be customized for size, shape, and color, so once you master the basics, you can create your own unique designs!
Would you like me to include a printable version (PDF format) of this tutorial or a crochet chart diagram for visual guidance?
Watch video: