 by
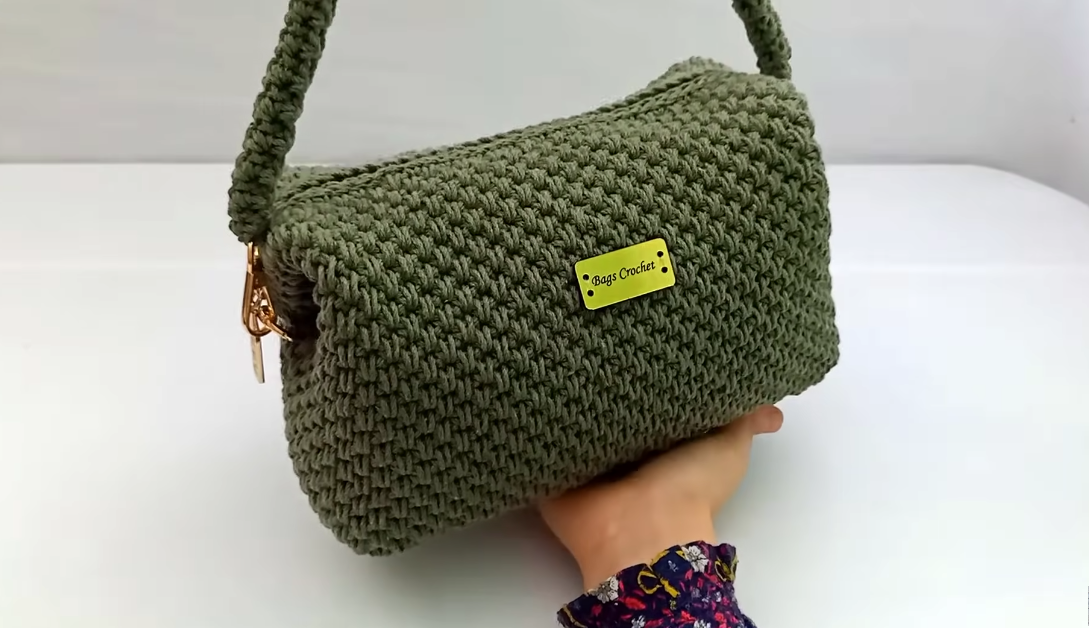
by Sure! Here’s a detailed and easy-to-follow guide on how to make a practical, elegant, big, and lightweight crochet bag, perfect for everyday use or as a stylish handmade gift. ✨

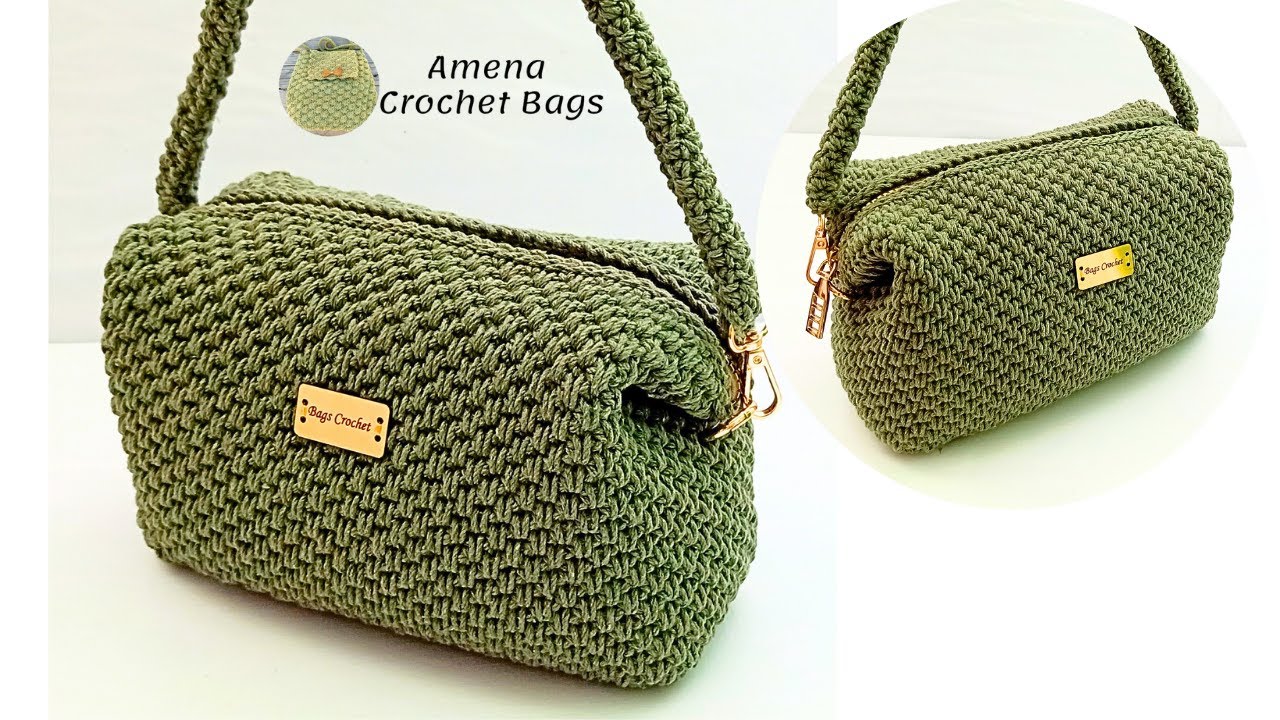
How to Make a Practical & Elegant Crochet Bag
(Big, Lightweight & Hassle-Free!)
Materials You’ll Need
| Item | Description |
|---|---|
| Yarn | Lightweight cotton or raffia yarn (approx. 300–400g) – cotton gives structure and durability, raffia adds elegance. |
| Crochet Hook | 4.0 mm or 4.5 mm (check yarn label recommendation). |
| Stitch Marker | Optional, to mark the start of each round. |
| Scissors & Yarn Needle | For trimming and weaving ends. |
| Lining Fabric (Optional) | For a neat interior finish and added strength. |
| Handles or Straps | Crochet handles, bamboo rings, or leather straps – depending on your style preference. |
Step-by-Step Instructions
Step 1: Create the Base
-
Foundation Chain:
Chain 45 (for a large tote). Adjust for desired width. -
Round 1:
Single crochet (sc) in the second chain from hook and across (total 44 sc).
Work 3 sc in the last chain to curve around. -
Opposite Side:
Continue sc along the bottom side of the chain.
Work 3 sc in the final stitch. Join with slip stitch (sl st) to first sc. -
Form the Oval Base:
Continue working in rounds, increasing at the 3-stitch corners every round until your base is about 12–14 inches long.
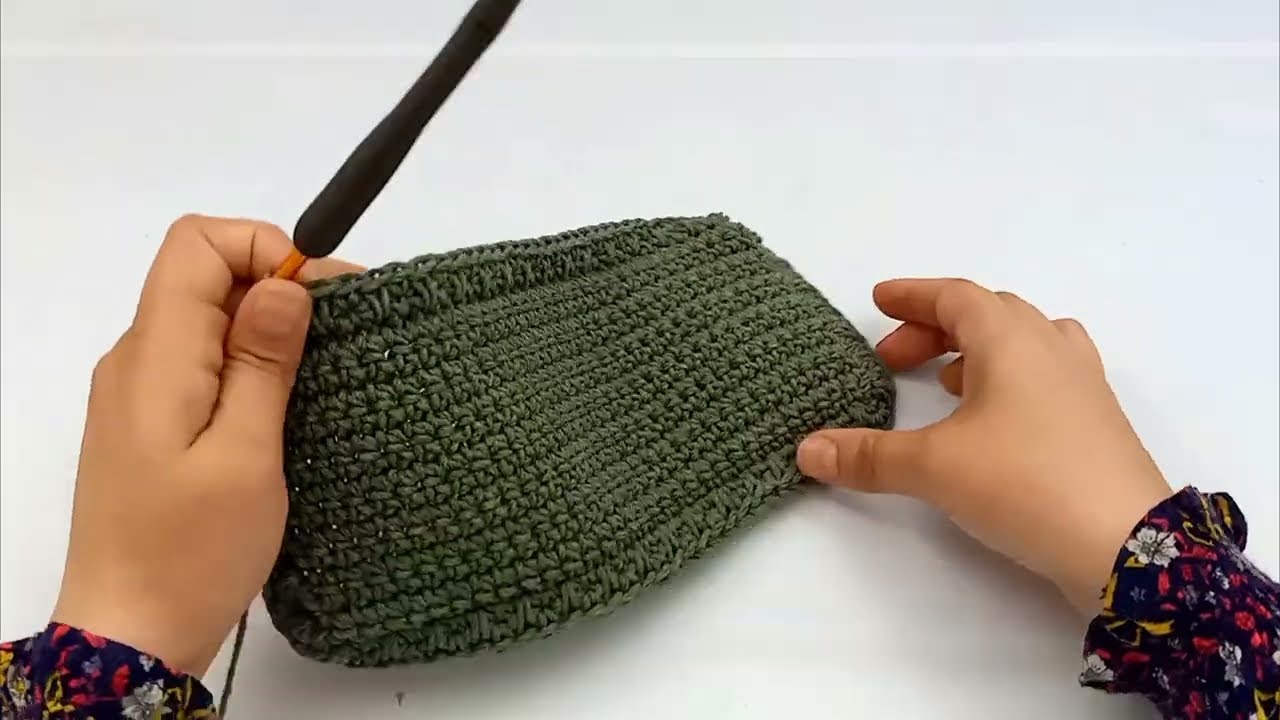
Step 2: Build the Body
-
No More Increases:
Once your base is big enough, continue working sc (or half double crochet – hdc) in each stitch around without increasing. -
Add Texture or Design (Optional):
-
Try alternating 2 rows of sc with 1 row of double crochet (dc) for a pattern.
-
Or use a moss stitch (sc, ch 1, skip 1) for a modern woven look.
-
-
Height:
Continue until bag reaches about 12–14 inches tall.
Step 3: Create Handles or Attach Straps
Option 1 – Crochet Handles:
-
Mark 8–10 stitches on both sides where handles will go.
-
Skip those stitches and chain 30 (or your desired handle length).
-
Continue pattern, connecting chain ends with sc.
-
On the next round, sc around handle chains to reinforce.
Option 2 – Attach Ready-Made Handles:
-
Simply sew or crochet them onto the top edges with strong yarn.
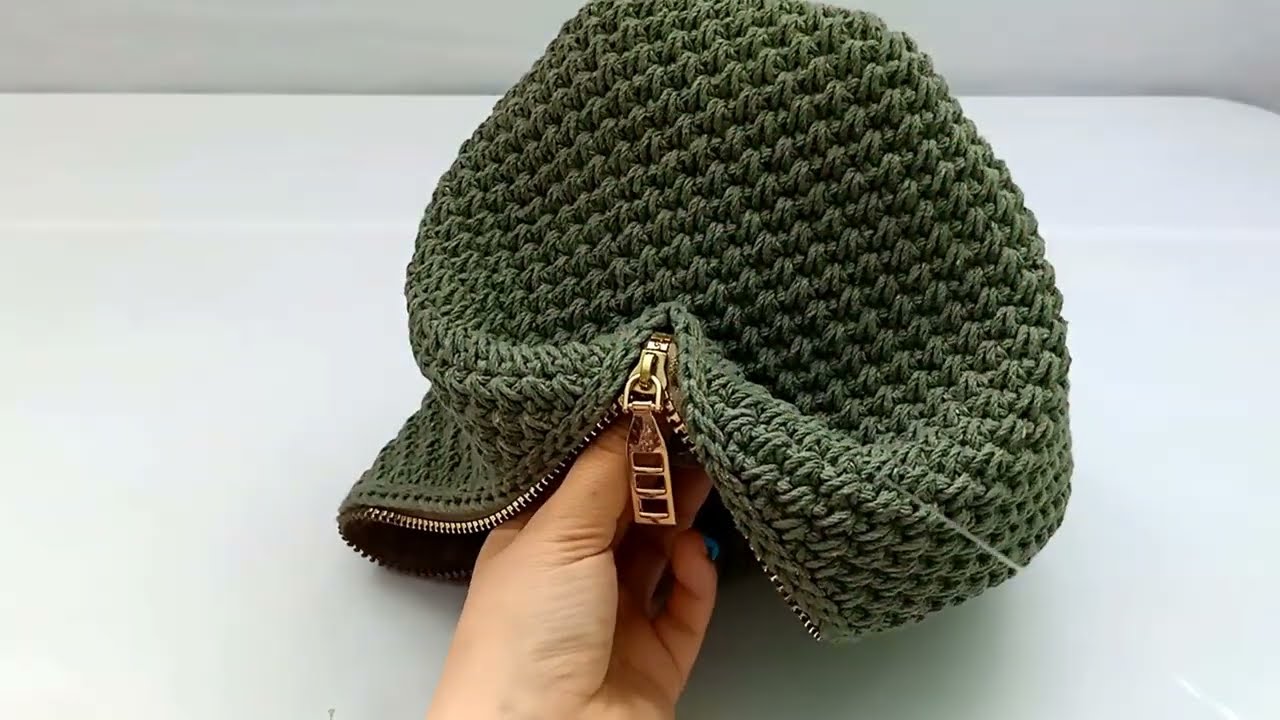
Step 4: Finishing Touches
-
Edge Round:
Do 2–3 rounds of single crochet on the top edge to make it sturdy. -
Weave Ends:
Use yarn needle to hide all yarn tails neatly. -
Optional Lining:
-
Cut fabric slightly smaller than the bag size.
-
Sew sides and bottom.
-
Hand-sew or machine-stitch the lining inside the bag.
-
✨ Tips for an Elegant Look
-
Use neutral or earthy tones (beige, taupe, olive, or black) for a timeless finish.
-
For summer vibes, go with pastel or natural raffia yarn.
-
Add wooden beads or tassels for a chic touch.
-
Light blocking with steam will give it a smooth, professional shape.
Maintenance & Care
-
Hand wash gently in cool water.
-
Reshape and air dry flat.
-
Avoid hanging when wet to maintain form.
Result
You’ll have a beautiful, durable, and functional crochet bag that’s:
-
Big enough for daily essentials
-
Lightweight for comfort
-
Elegant for both casual and semi-formal wear
-
Hassle-free to make — even beginners can complete it in a weekend!
Would you like me to include a crochet pattern diagram (chart) or photo reference suggestions to go with this guide? That would make it even easier to visualize.
Watch video: