 by
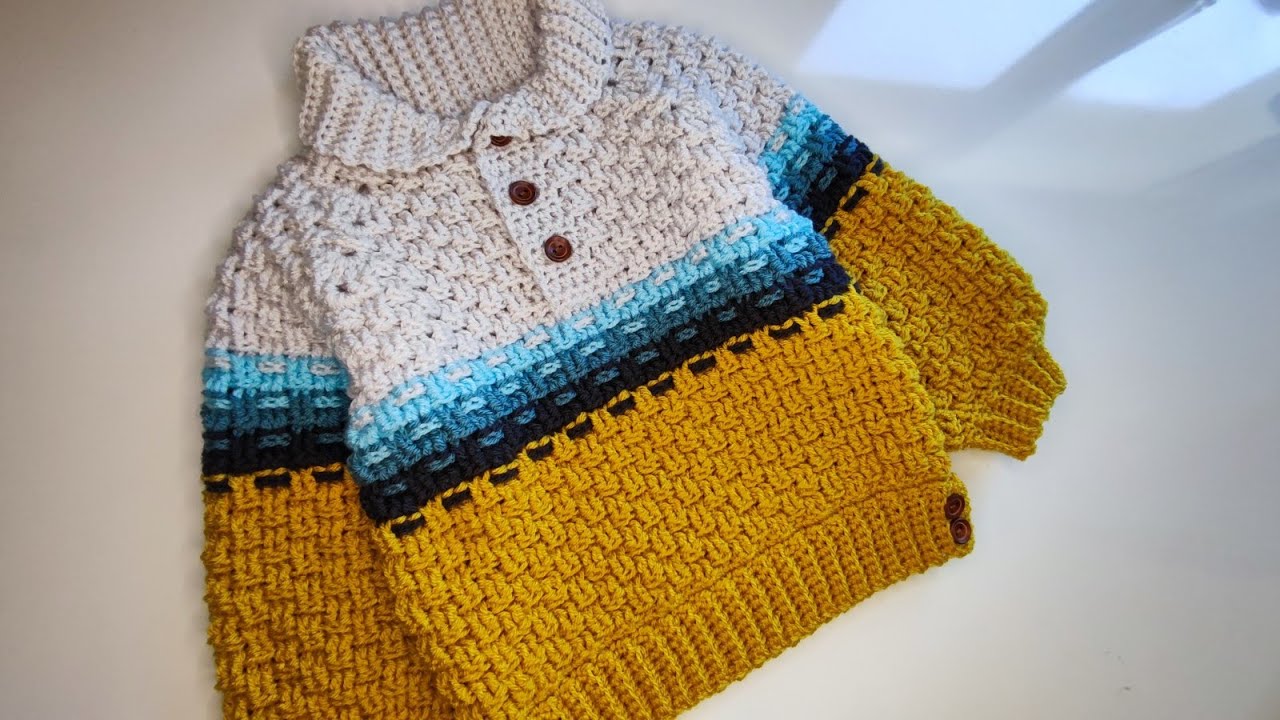
by Absolutely! Let’s break this down step by step. I’ll provide a detailed guide on how to crochet a boys’ sweater/pullover, which we’ll call the “October” sweater. I’ll include materials, stitch types, sizing guidance, and step-by-step instructions.
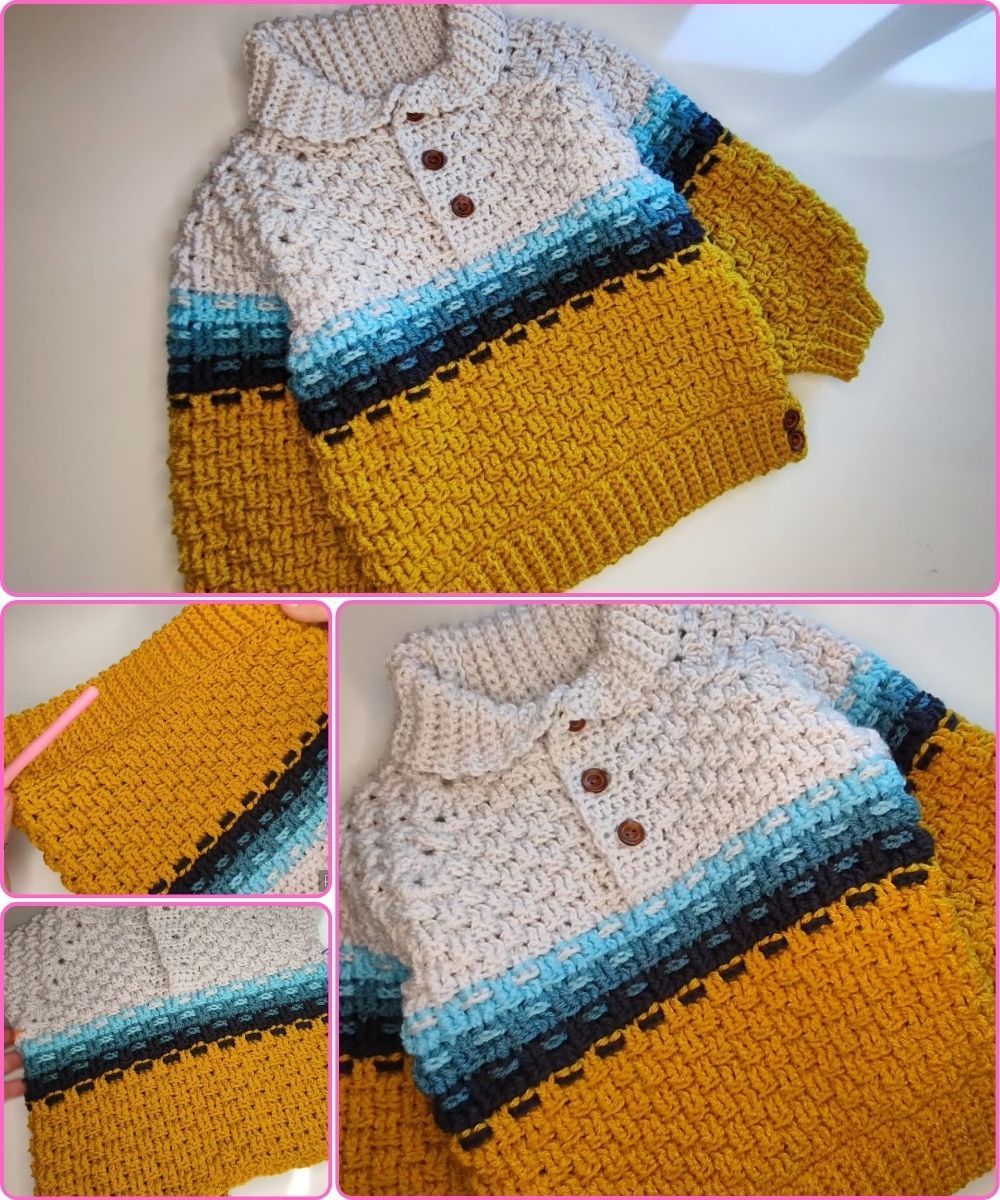
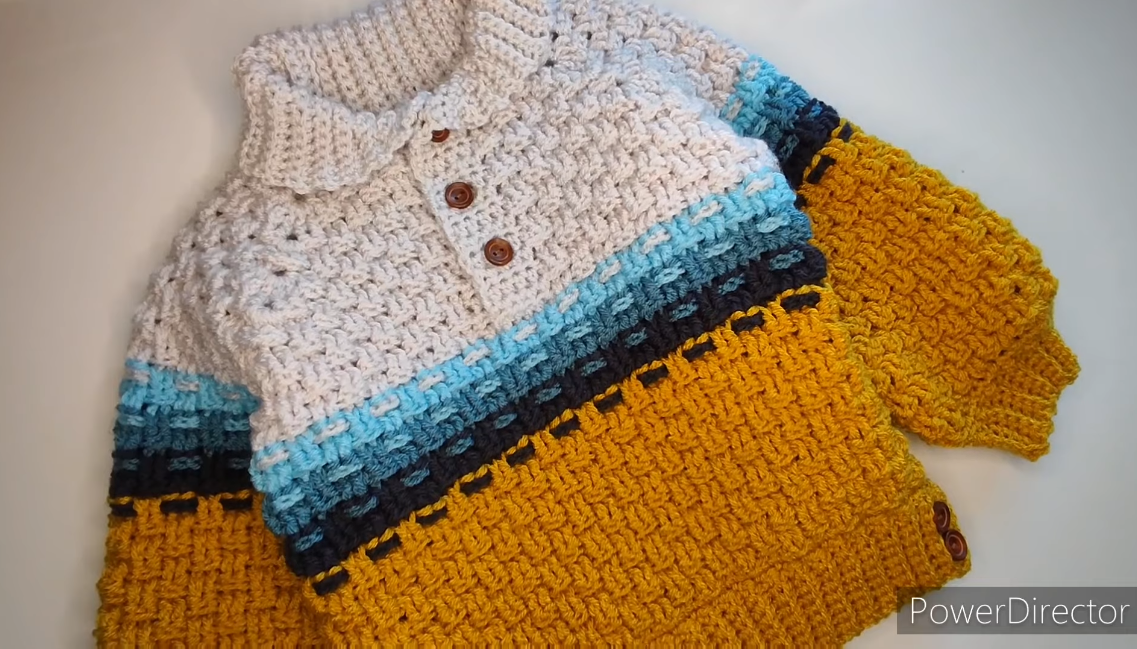
Crochet Boys’ “October” Sweater / Pullover Guide
1. Materials Needed
-
Yarn: Medium worsted weight yarn (4-ply). Approx. 400–600g depending on size.
-
Crochet Hook: Size recommended on yarn label (usually 4 mm–5 mm).
-
Notions:
-
Yarn needle for weaving ends
-
Stitch markers
-
Measuring tape
-
Buttons (optional, if making a buttoned collar)
-
-
Optional: Ribbing hook (if doing elastic ribbed edges)
2. Sizes
Here are approximate chest measurements for boys’ sizes:
| Size | Chest Circumference | Length |
|---|---|---|
| 2 yrs | 21 in (53 cm) | 12 in (30 cm) |
| 4 yrs | 23 in (58 cm) | 13 in (33 cm) |
| 6 yrs | 25 in (63 cm) | 14 in (36 cm) |
| 8 yrs | 27 in (68 cm) | 15 in (38 cm) |
| 10 yrs | 29 in (73 cm) | 16 in (41 cm) |
Adjust by adding or reducing stitches for width and rows for length.
3. Gauge
Before starting, check your gauge:
-
Example Gauge: 16 sts × 20 rows = 4 in × 4 in (10 cm × 10 cm) in half-double crochet (HDC)
-
Gauge affects fit, so adjust hook size if necessary.
4. Stitch Abbreviations
-
ch = chain
-
sl st = slip stitch
-
sc = single crochet
-
hdc = half double crochet
-
dc = double crochet
-
st(s) = stitch(es)
-
RS / WS = right side / wrong side
5. Pattern Overview
The sweater can be made in two main methods:
-
Bottom-up: Start from the hem, work up to shoulders, then sleeves.
-
Top-down: Start from the neckline, work downward.
We’ll use top-down construction, which allows easy size adjustment and is beginner-friendly.
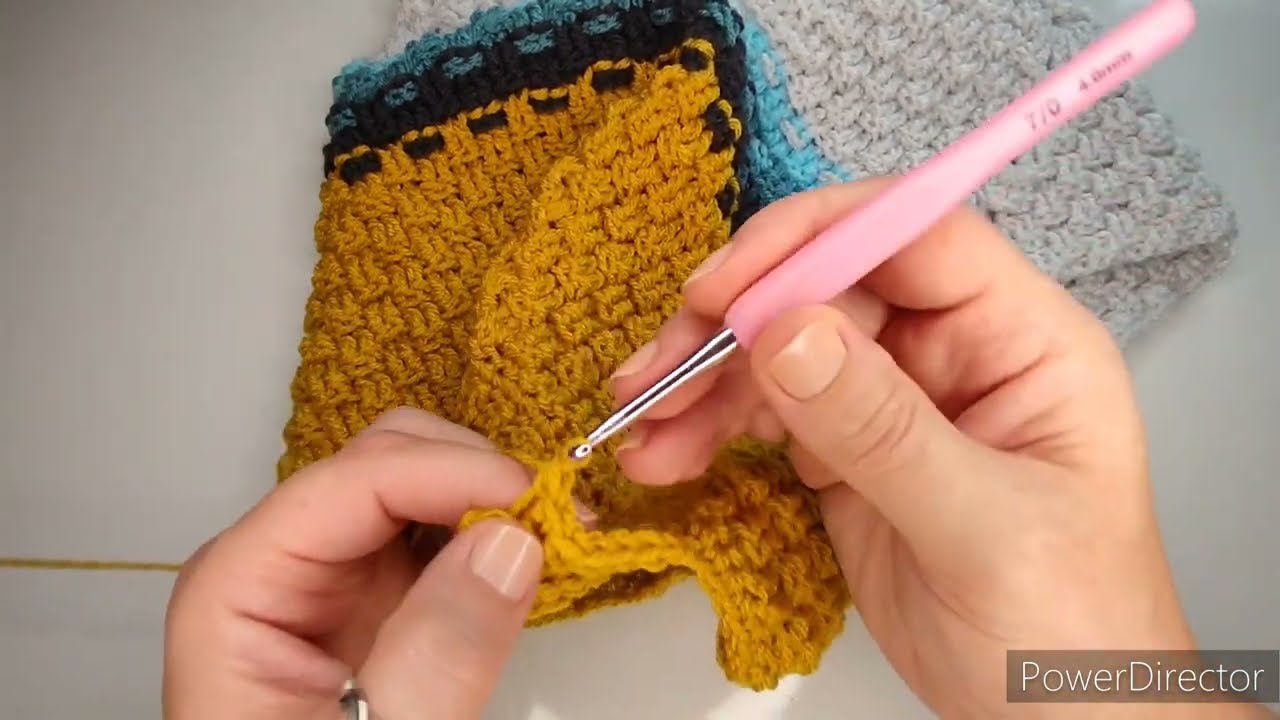
6. Step-by-Step Instructions (Top-Down)
Step 1: Neckline
-
Foundation Chain: Ch enough stitches to fit around the child’s neck (e.g., 40 ch for 4 yrs).
-
Join to form a circle (sl st, careful not to twist).
-
Ribbed Neck (optional):
-
Round 1: Sc in each ch around.
-
Round 2–4: Continue in sc or hdc, or use front-post/back-post hdc for ribbing.
-
-
Optional Buttonhole:
-
On RS, ch 2 where buttons will go and skip 2 sts, continue around.
-
Step 2: Yoke
-
Switch to HDC or DC for the yoke.
-
Place markers at front, back, and sides.
-
Increase Rounds: Add 4 sts at each marker per round to form raglan shaping.
-
Continue increasing until desired chest width is reached.
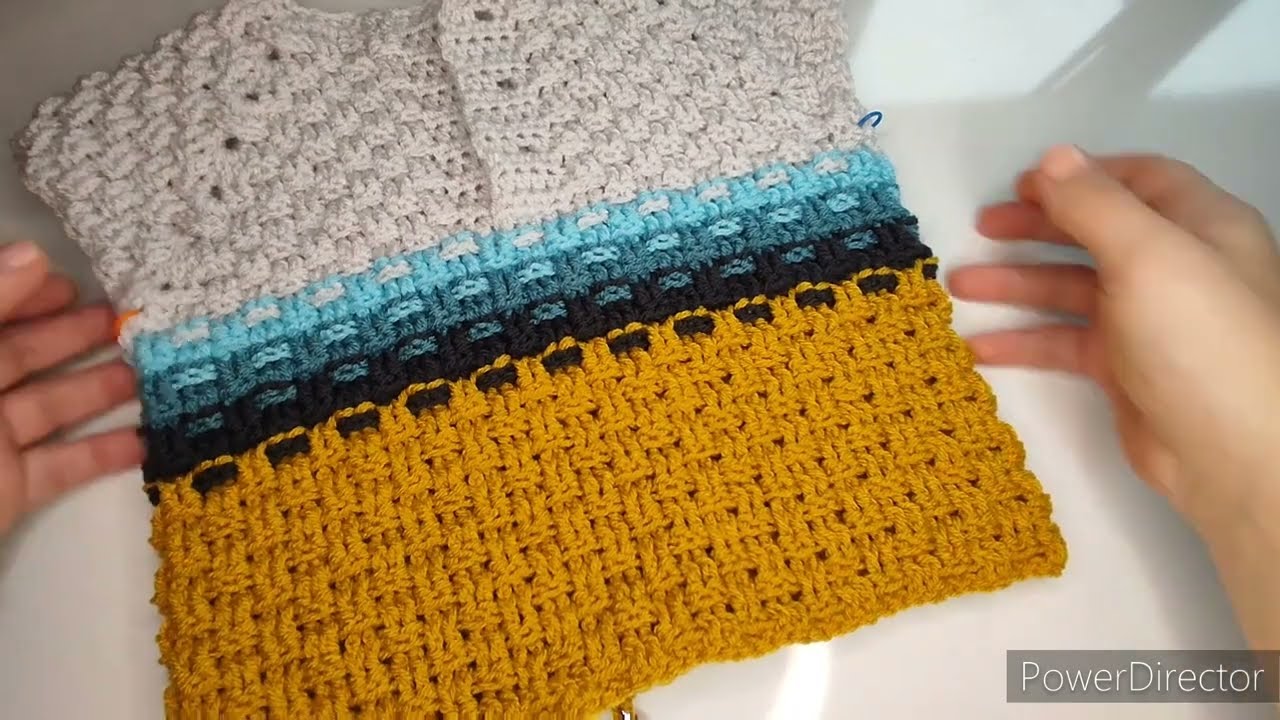
Step 3: Body
-
Separate sleeves from body:
-
Place sleeve sts on stitch holders.
-
Continue working body in rounds.
-
-
Work in HDC or DC stitch until desired body length (e.g., 13 in for size 4 yrs).
-
Hem: Switch to sc or ribbing for a neat bottom edge.
Step 4: Sleeves
-
Transfer sleeve sts from stitch holders.
-
Crochet in rounds, working HDC or DC.
-
Increase as needed at the top if making raglan.
-
Continue until desired sleeve length.
-
Add ribbing at cuffs if desired.
Step 5: Finishing
-
Weave in all loose ends.
-
Block the sweater lightly to even out stitches.
-
Sew buttons if using a buttoned collar.
-
Optional: Embellish with a small crochet applique or motif for an “October” theme.
7. Tips
-
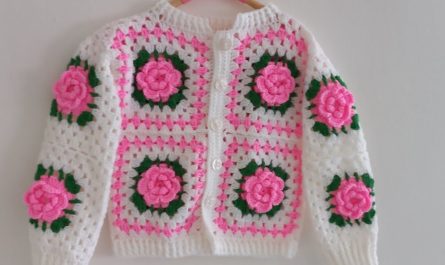
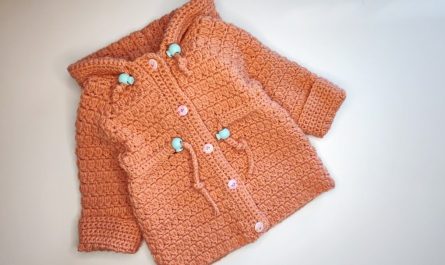
Color choices: Autumn colors (orange, brown, mustard, cream) suit the “October” theme.
-
Adjustable fit: Add or remove increase rounds for wider/narrower fits.
-
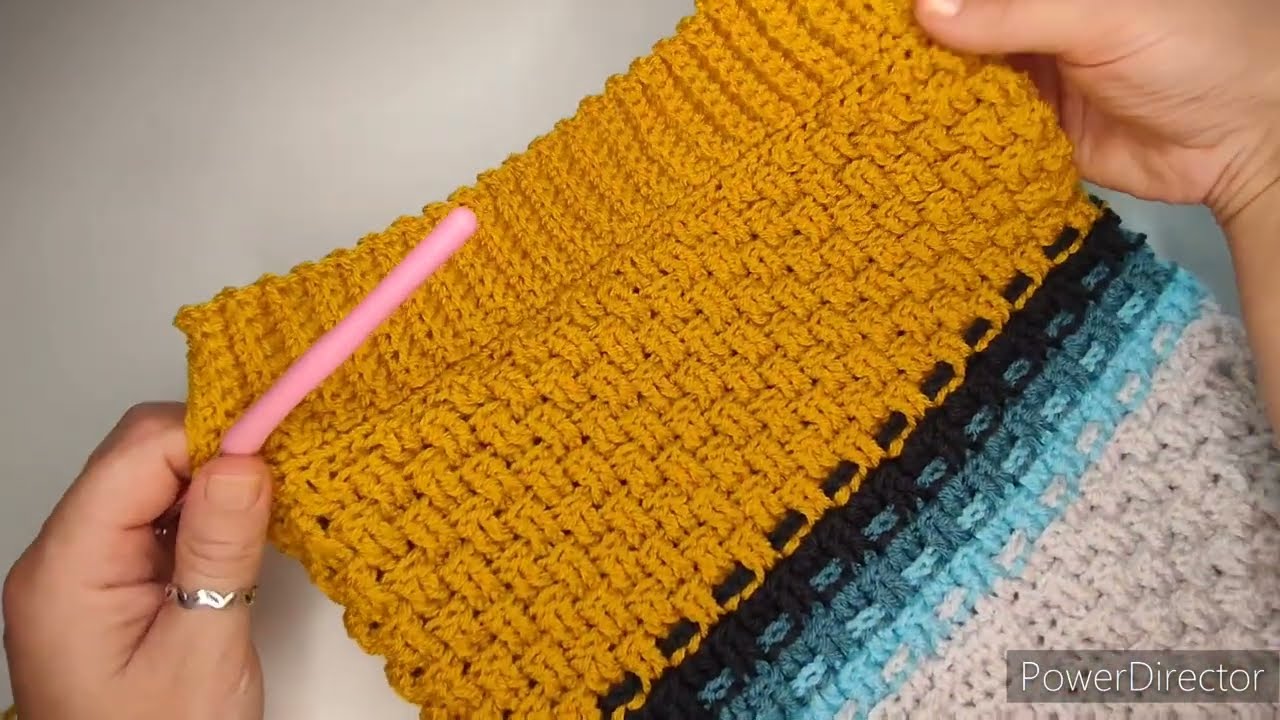
Textures: Consider using a basketweave or moss stitch to give the sweater extra texture.
If you want, I can draw a full diagram with exact stitch counts and round-by-round increases for a size 4–6 years “October” boys’ sweater, so you can follow it visually—this makes it way easier than only reading instructions.
Do you want me to do that?
Watch tutorial: