 by
by Great! Here’s a step-by-step guide on how to make a crochet coletero (scrunchie), hat, or headband. I’ll explain each project individually, in clear detail so beginners can follow. You only need basic crochet skills to get started.
1. CROCHET COLETERO (SCRUNCHIE)
A coletero is the Spanish word for a hair tie or scrunchie. Crocheted scrunchies are quick, fun projects!
✨ Materials:
-
Hair elastic or ponytail holder
-
Worsted-weight yarn or cotton yarn
-
Crochet hook (size 4mm–5mm)
-
Scissors
-
Yarn needle
Instructions:
Step 1: Attach Yarn to Elastic
-
Insert hook into the elastic band.
-
Pull a loop of yarn through and chain 1 to attach.
Step 2: Crochet Around the Elastic
-
Work single crochet (sc) stitches around the elastic to cover it completely.
-
Push stitches together to make them dense.
-
You should get about 30–40 sc around.
Step 3: Add a Ruffle (Optional)
-
For a ruffled look, work 2 or 3 double crochets (dc) into each single crochet.
-
Example: 3 dc in each stitch all the way around.
-
Step 4: Finish Off
-
Slip stitch to the first stitch to join.
-
Cut yarn, pull through, and weave in ends with the yarn needle.
✅ Done! You now have a colorful, handmade scrunchie.
2. CROCHET HAT (EASY BEANIE)
✨ Materials:
-
Worsted or chunky yarn
-
Crochet hook (5mm–6.5mm)
-
Stitch marker
-
Scissors
-
Yarn needle
Instructions:
Step 1: Make a Magic Ring
-
Start with a magic ring (or chain 4 and join to form a loop).
-
Chain 2 (counts as first dc).
Step 2: Round Increases
-
Round 1: Work 12 dc into the ring. Join with a slip stitch.
-
Round 2: 2 dc in each stitch – 24 stitches
-
Round 3: 1 dc, 2 dc in next – 36 stitches
-
Continue increasing each round evenly until the circle is about 6–7 inches in diameter (adult size).
Step 3: Work Even Rounds
-
Work 1 dc in each stitch without increasing.
-
Continue until hat is 6.5 to 8 inches tall from the crown (use measuring tape).
Step 4: Ribbed Brim (Optional)
-
Switch to front post double crochet (fpdc) and back post double crochet (bpdc) for 4–5 rounds for a stretchy brim.
-
Alternate: fpdc, bpdc around
-
Step 5: Finish
-
Slip stitch to join.
-
Cut yarn, pull through, weave in ends.
✅ Your basic crochet beanie is complete!
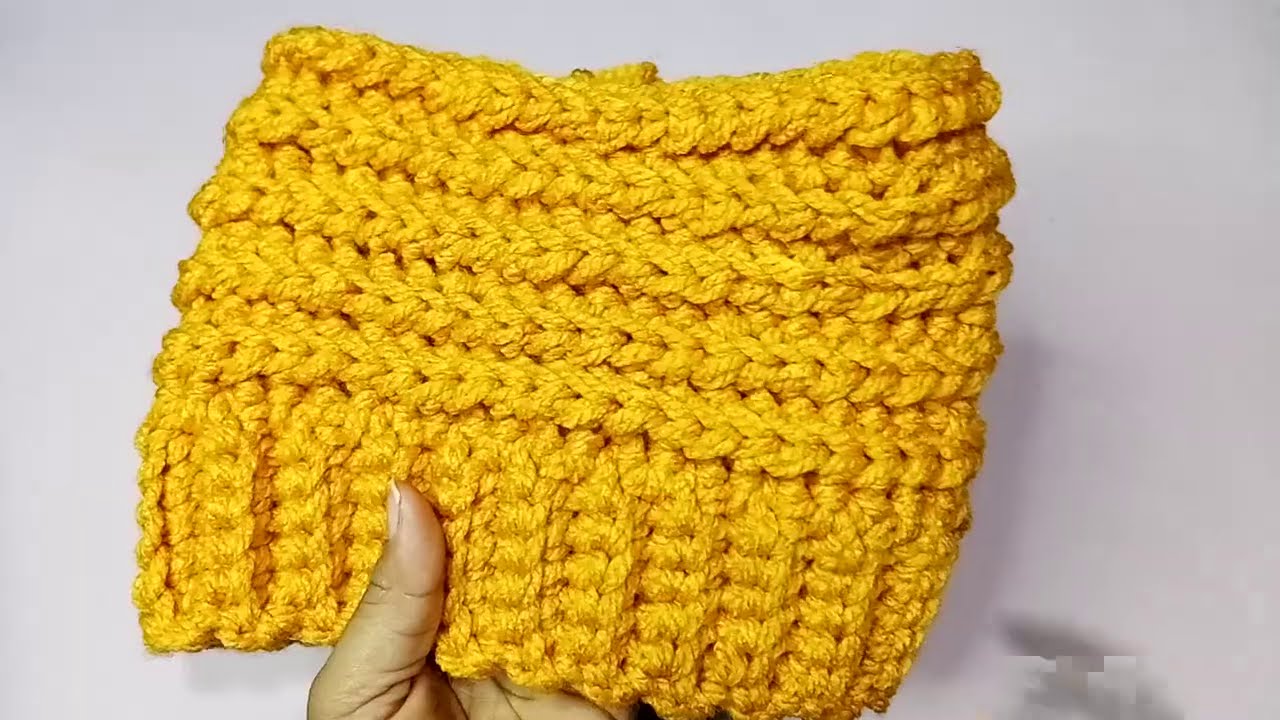
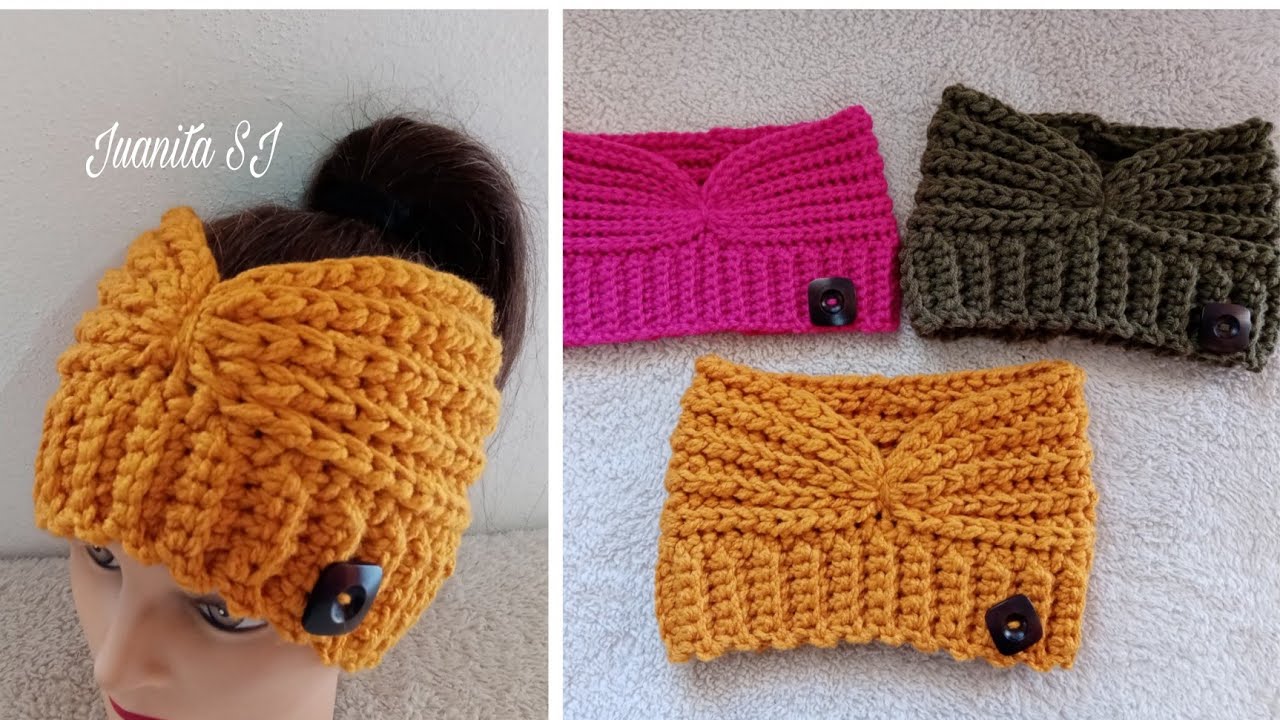
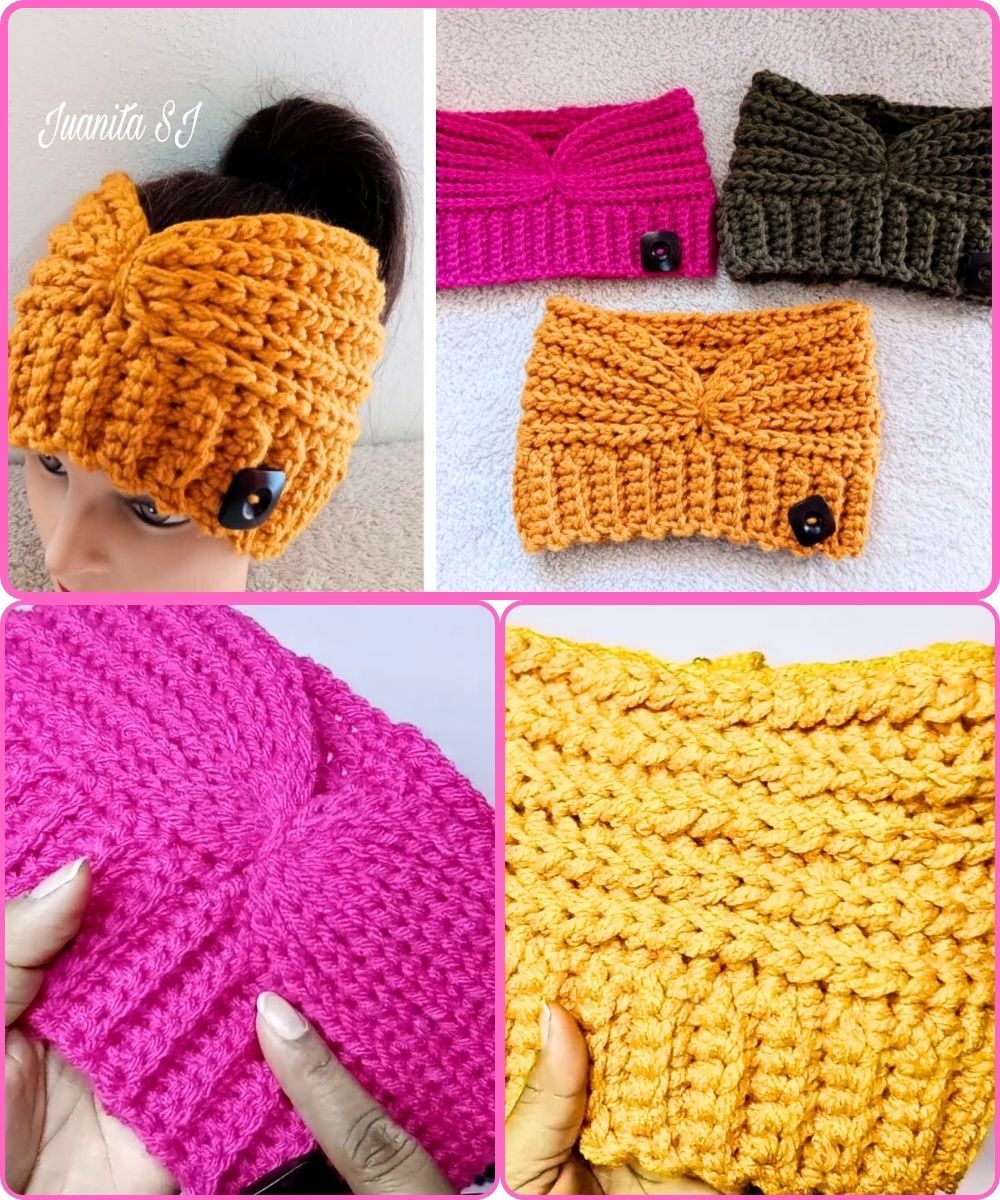
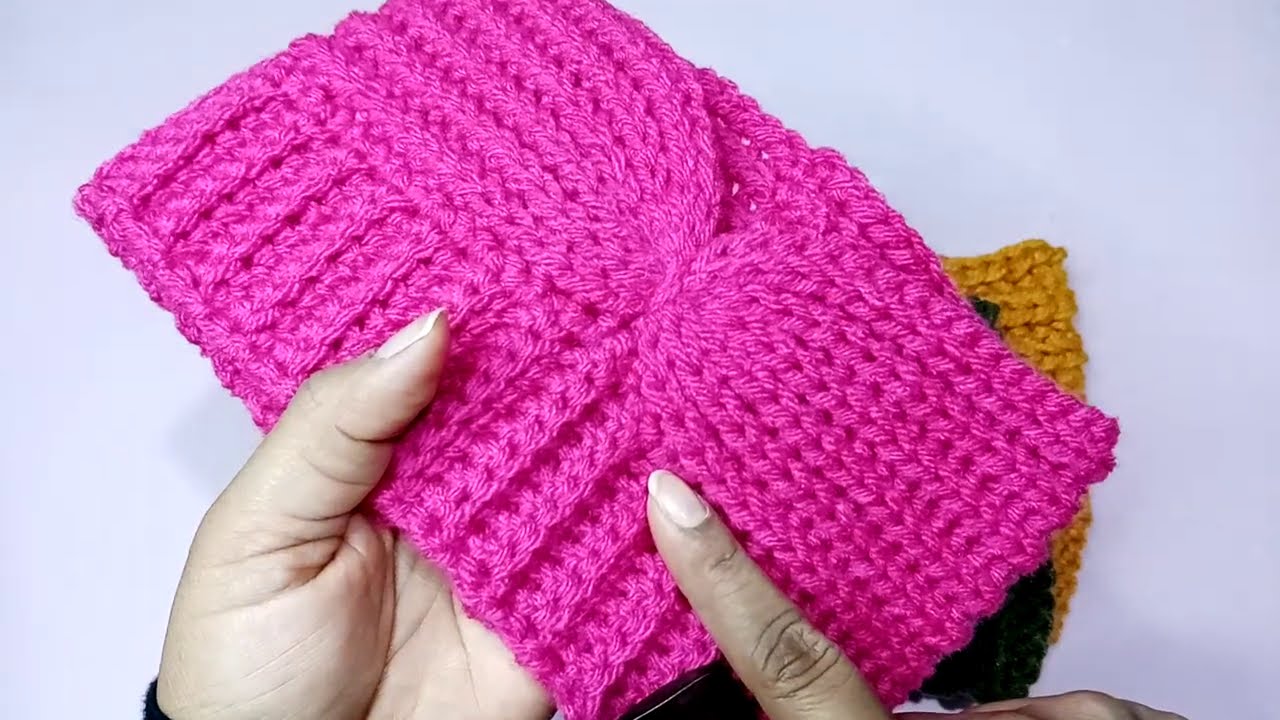
3. CROCHET HEADBAND
✨ Materials:
-
Any soft yarn (cotton or acrylic)
-
Crochet hook (4mm–5mm)
-
Scissors
-
Yarn needle
Instructions:
Step 1: Foundation Chain
-
Chain 60–70 (or enough to wrap around your head comfortably, slightly snug).
-
Make sure the chain isn’t twisted, and join with a slip stitch to form a ring.
Step 2: Round Stitches
-
Round 1: Chain 1, single crochet in each chain around. Join with slip stitch.
-
Round 2–5 (or more): Continue single crochet or try a ribbed look using hdc in back loop only.
(Optional) Twisted Look
-
Before joining ends, twist one side once and then join. It gives a trendy twist look.
Step 3: Finish
-
Bind off, cut yarn, and weave in the ends.
✅ You now have a soft, stretchy, handmade headband!

Beginner Stitch Glossary:
-
ch = chain
-
sc = single crochet
-
hdc = half double crochet
-
dc = double crochet
-
sl st = slip stitch
Would you like a PDF pattern or photo tutorial to go with this guide? I can create or link one for you!
Watch tutorial: