 by
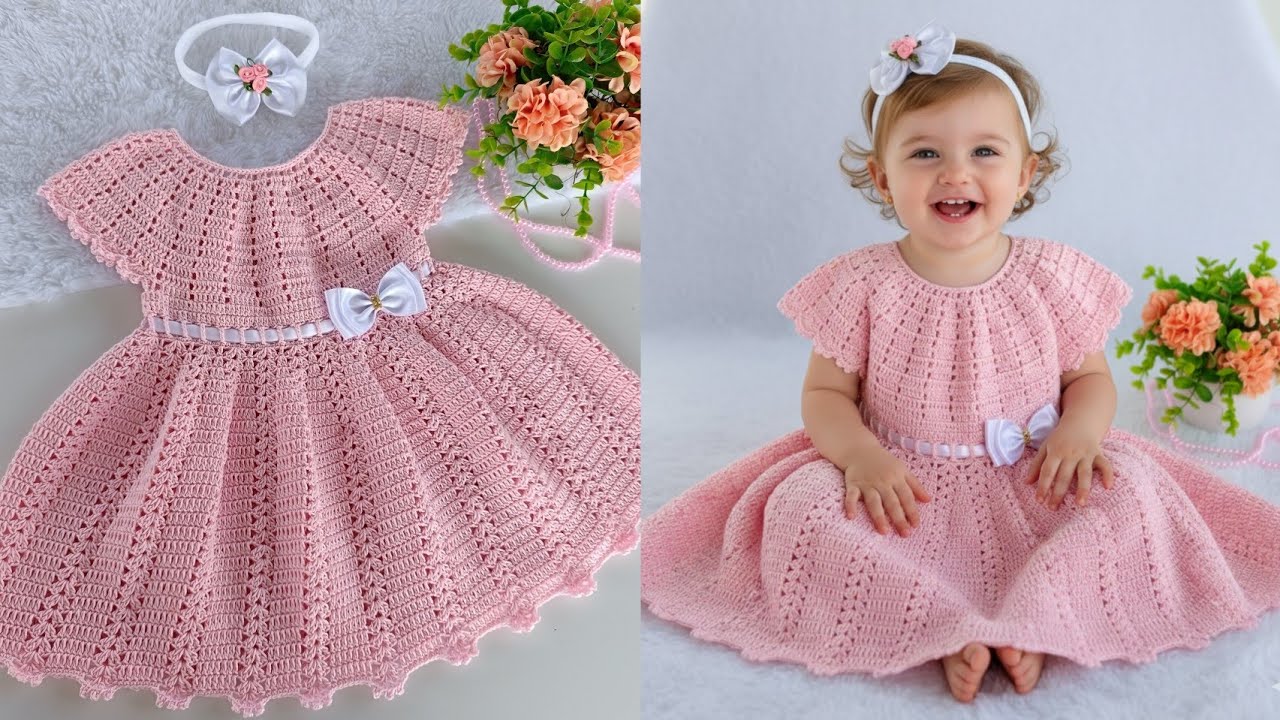
by Below is a clear, detailed, step-by-step guide on How to Make a Children’s Crochet Dress. It includes materials, measurements, stitch explanations, construction steps, and helpful tips. This method is flexible enough to adjust for any child’s size (infant–8 years).
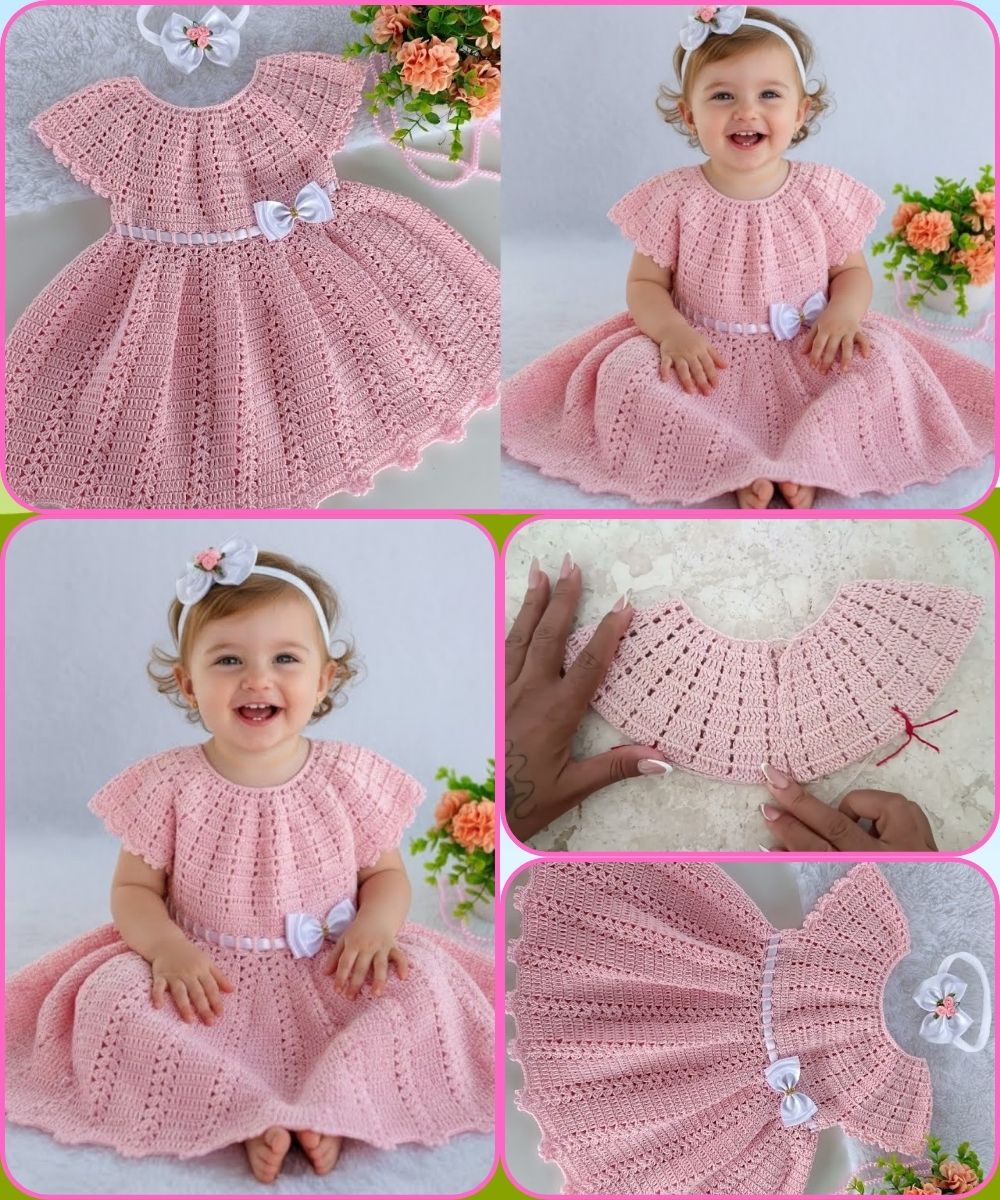
🧶 How to Make a Children’s Crochet Dress (Step-by-Step Guide)
⭐ 1. Materials Needed
-
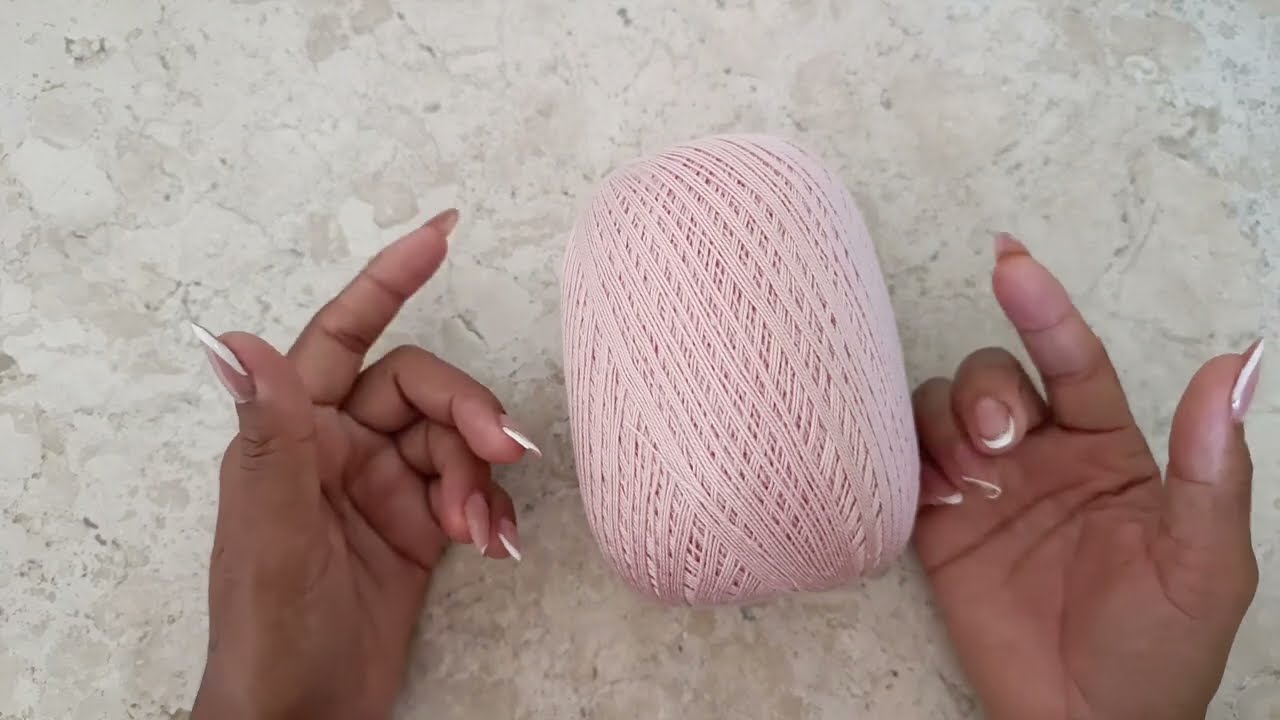
Yarn: Light worsted weight (Category 3/DK) or cotton yarn
Tip: Cotton is breathable and ideal for children’s clothing. -
Hook: Size 4.0 mm to 4.5 mm (depending on yarn)
-
Scissors
-
Tapestry needle (for weaving ends)
-
Measuring tape
-
Optional:
-
Decorative buttons
-
Ribbon
-
Lace edging
-
⭐ 2. Understanding the Basic Construction
Most children’s crochet dresses are made using one of these constructions:
A. Top-Down (most popular)
-
Dress is started from the neckline.
-
Increase to create a yoke.
-
Separate for sleeves.
-
Crochet the skirt downward.
B. From Waist Up & Down
-
Make a waistband first.
-
Work upward for the bodice.
-
Then work downward for the skirt.
This guide uses the TOP-DOWN method because it is easier to size and try on as you crochet.
⭐ 3. Measurements You Need
For a properly fitting dress, measure:
-
Chest circumference
-
Neck circumference
-
Armhole depth
-
Length of dress (shoulder → knee or desired length)
Standard size reference (approx for 3–4 years):
-
Chest: 22″ inches (56 cm)
-
Neck opening: 14″ inches (36 cm)
-
Dress length: 20″ inches (50 cm)
⭐ 4. Stitches Used (Beginner Friendly)
-
CH – chain
-
SC – single crochet
-
HDC – half double crochet
-
DC – double crochet
-
SL ST – slip stitch
-
V-stitch – (DC, CH 1, DC in same stitch)
-
Shell stitch – 5 DC in same stitch (optional for skirt)
⭐ 5. Step-by-Step Instructions
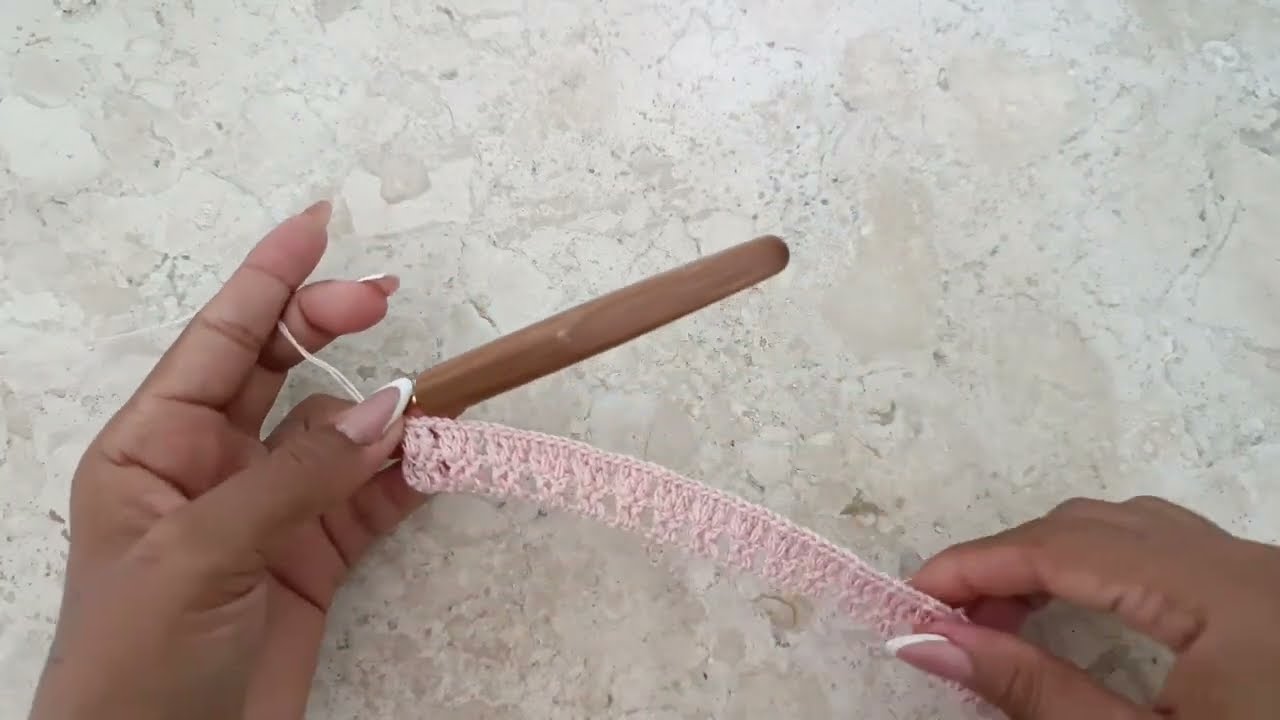
Step 1: Create the Neckline
-
Make a chain that matches the child’s neck circumference (or pattern size).
-
Join the chain in the round with a slip stitch, making sure it’s not twisted.
-
Work 1–2 rounds of SC to form a neat neckline.
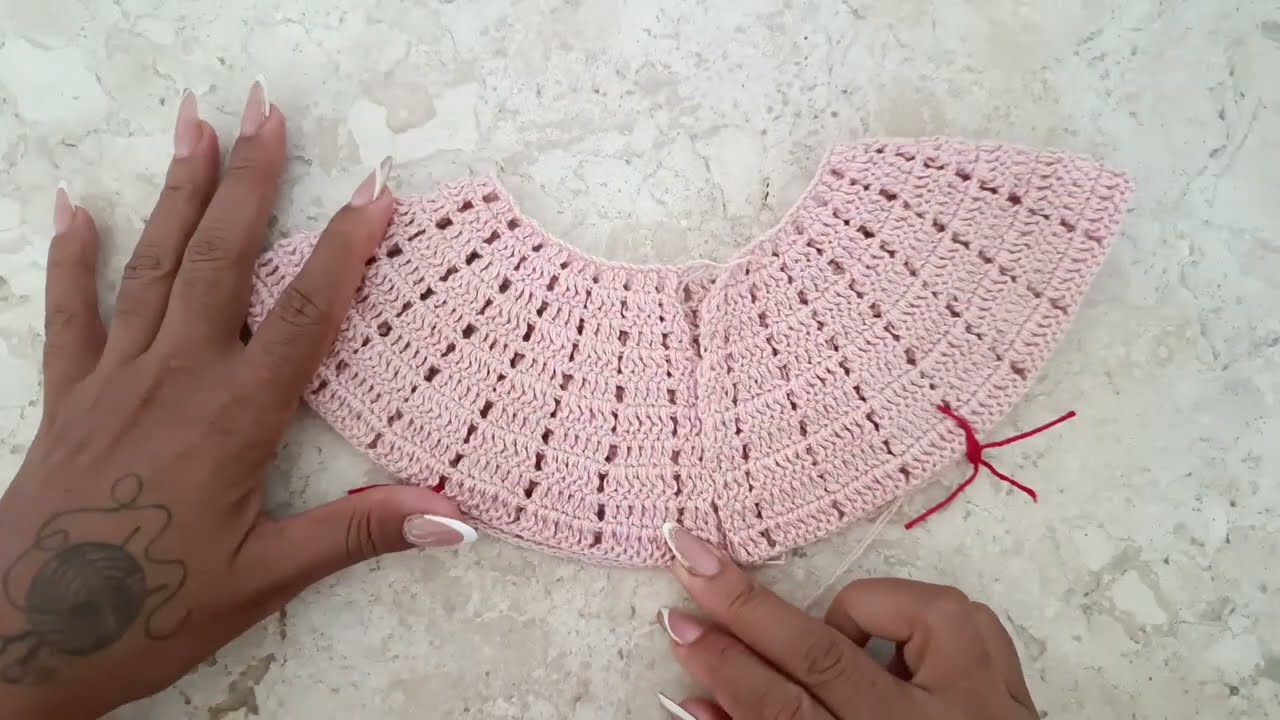
Step 2: Make the Yoke (Raglan Style)
Divide your stitches into 4 sections:
-
Front
-
Back
-
2 sleeves
A common method:
-
Mark corners at 4 equal points.
-
At each marked stitch, place a 2 DC increase (DC, CH 1, DC) to shape the yoke.
Example Round for DC yoke:
Repeat this increasing round until:
-
The yoke reaches the child’s armhole depth
(approx. 6–7 inches for 3–4 years)
Step 3: Separate the Sleeves
When yoke is long enough:
-
Crochet across the front section.
-
Chain stitches to bridge the armholes (usually 6–10 chains).
-
Skip all sleeve stitches.
-
Continue crocheting the back section.
Repeat for the other sleeve.
This creates a body tube.
Step 4: Work the Bodice
Continue crocheting in rounds using:
-
SC
-
HDC
-
OR DC (if you want a stretchier bodice)
Work 3–5 rounds (depending on style).
Step 5: Crochet the Skirt
You can choose from several decorative stitch designs:
⭐ Option 1: Simple DC skirt
⭐ Option 2: Shell Stitch Skirt (very common for kids’ dresses)
⭐ Option 3: V-Stitch Skirt
Work the skirt until it reaches the desired dress length.
Step 6: Finishing the Bottom Edge
You can add:
-
A scalloped edge
-
Picot edge
-
Shell edging
Example scalloped edge:
⭐ 6. Sleeves (Optional)
You may leave sleeveless or add sleeves.
For Cap Sleeves:
-
Join yarn at underarm.
-
Work 2–4 rounds of HDC or DC.
For Puff Sleeves:
-
Increase stitches in first round.
-
Decrease around final round to gather.
⭐ 7. Finishing Touches
-
Weave in all yarn ends with a tapestry needle.
-
Add decorative buttons along the front.
-
Thread ribbon through bodice shell holes.
-
Add crochet or fabric flowers.
⭐ 8. Tips for Best Results
-
Use soft yarn to avoid irritation.
-
Always check gauge before starting.
-
Wash and block the dress for neatness.
-
Keep measurements flexible—children grow fast!
⭐ Would You Like a Full Written Pattern?
I can create:
✔ A specific size (newborn, 1–2 years, 3–4 years, etc.)
✔ A shell-skirt pattern
✔ A lacy princess-style dress
✔ A sleeveless or long-sleeve version
✔ A diagram-style pattern or stitch chart
Just tell me the child’s age or size and the style you want!
Watch tutorial: