 by
by Below is a clear, step-by-step, beginner-friendly guide to making children’s crochet overalls, including measurements, stitch counts, construction method, and customization ideas. This works for toddlers (approx. 2–3 years), but I also explain how to adjust for any size.

🧵 How to Make Children’s Crochet Overalls (Step-by-Step Guide)
⭐ Skill Level: Beginner–Intermediate
⭐ Techniques Used: Foundation chain, single crochet (SC), half double crochet (HDC), double crochet (DC), increasing, decreasing, sewing pieces together.
📐 1. Measurements (for a toddler size 2–3)
You can adjust using the child’s measurements:
| Measurement | Avg. Size | Notes |
|---|---|---|
| Waist | 20–21 in (51–53 cm) | Overalls sit slightly high |
| Hip | 22–23 in (56–58 cm) | Important for leg width |
| Inseam | 9–10 in (23–25 cm) | Shorter for “shortalls” |
| Bib width | 6–7 in (15–18 cm) | Covers chest |
| Bib height | 4.5–5 in (11–13 cm) |
Gauge: 14 HDC = 4 in (10 cm).
(You can use any yarn weight—just match your hook to yarn.)
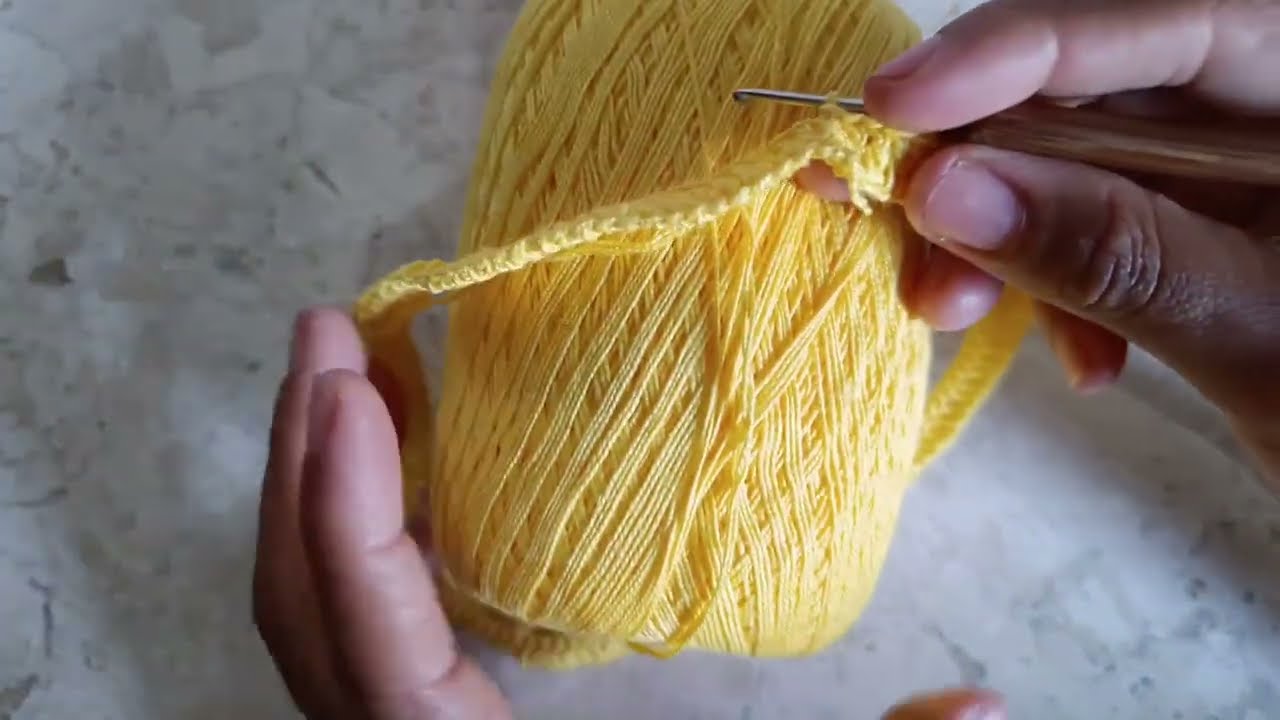
🪡 2. Materials
-
Yarn: Medium (worsted) weight cotton or cotton blend (approx. 350–450 g)
-
Hook: 5.0 mm (H) OR size needed for gauge
-
2–4 buttons (for straps & sides)
-
Yarn needle
-
Stitch markers
🧶 3. Construction Overview
You will create:
-
Two leg panels
-
Join legs & work torso upwards
-
Create bib on front
-
Make straps
-
Add edging & buttons
This “panel & join” method is perfect for beginners.
🪢 4. Pattern Instructions
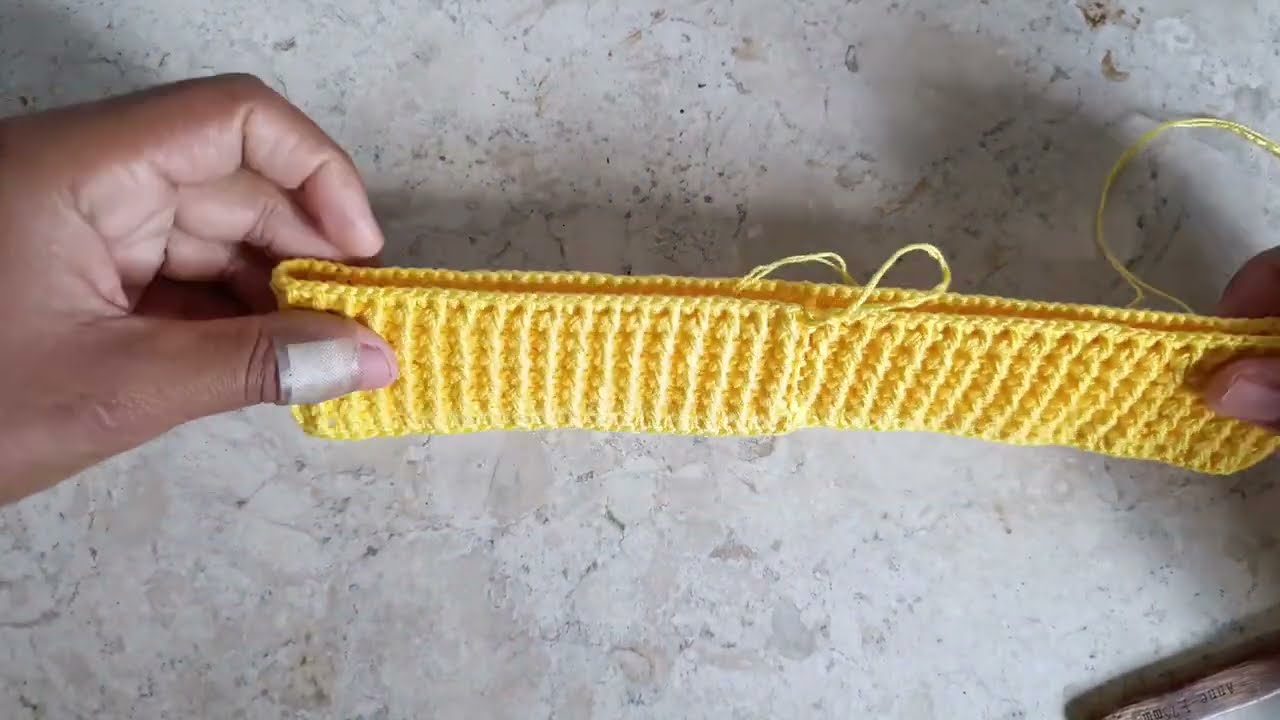
A) Make the First Leg
Chain 38 (≈ 11 in width — adjust depending on size).
Join to work in the round.
Round 1: HDC in each chain around. Join.
Rounds 2–16: Repeat HDC around.
(Add more rounds for a longer pant leg.)
Fasten off.
B) Make the Second Leg
Repeat the same steps but do not fasten off.
C) Join Legs to Form the Body
After finishing the second leg:
-
Chain 4 (crotch space).
-
Join with slip stitch to the first leg.
-
Mark the joining point.
Now work in the round around both legs:
Round 1: HDC around the second leg, across chain-4, around first leg, across chain-4 again.
Rounds 2–18: HDC around to desired torso height (approx. 6–7 in).
Optional shaping:
Decrease 2 sts at each side every other round for a tapered waist.
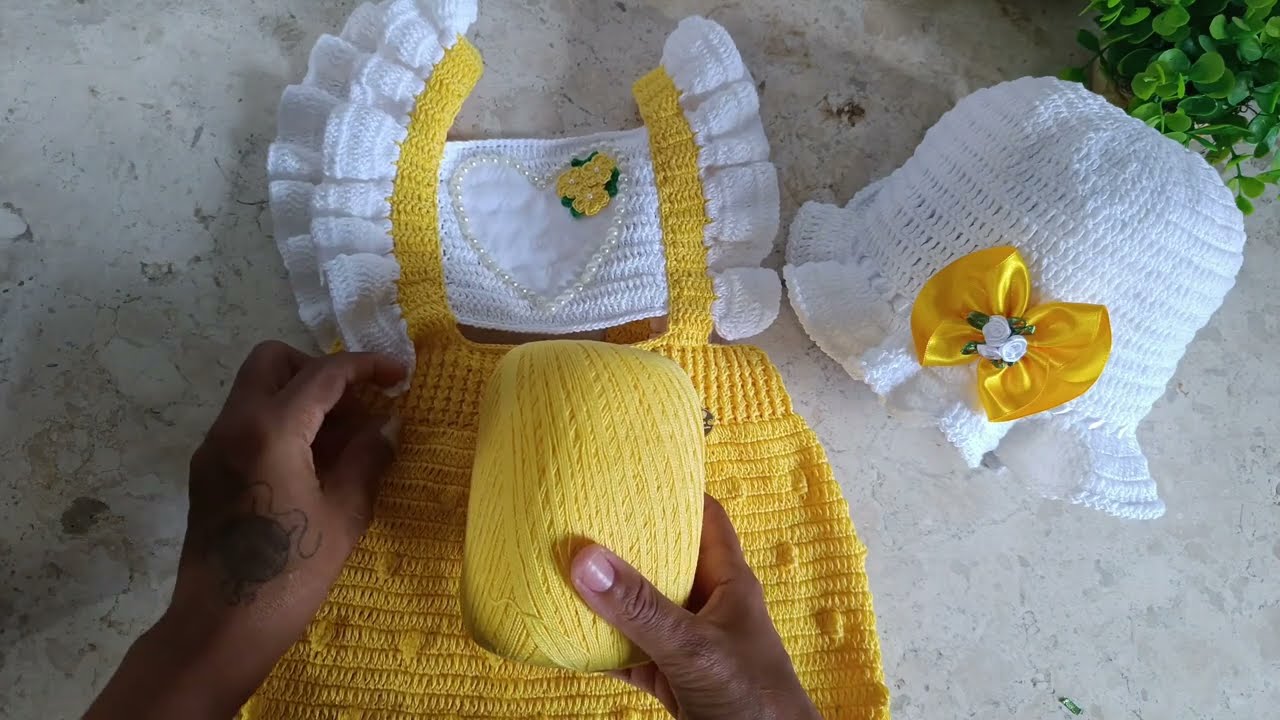
D) Make the Bib (Front Panel)
Mark the center front 22 stitches.
Row 1: Attach yarn & HDC across 22 stitches.
Rows 2–12: HDC back and forth to build height.
To shape the top corners:
Rows 13–16:
-
Decrease 1 stitch at each edge every row.
Fasten off.
E) Make the Back Top (Optional)
For better fit, create a smaller back band:
Mark 18 stitches at center back.
Rows 1–6: HDC back and forth.
Fasten off.
F) Straps (Make 2)
Chain 36–42 depending on child’s height.
Row 1: HDC in 2nd chain & each across.
Rows 2–4: HDC across.
Fasten off & leave long tail for sewing.
G) Assembly
-
Sew straps to top back band.
-
Attach buttons to top of bib.
-
Add optional side buttons at waist (makes dressing easier).
-
Add edging:
-
SC around bib and straps for a neat finish.
-
🎨 H) Customization Ideas
-
Add pockets (simple square made of 12×12 rows SC).
-
Use contrasting color for straps or edging.
-
Add appliqués:
-
Flowers
-
Animals
-
Stars
-
Initial letters
-
-
Make shortalls by reducing leg rows to ~8 rows.
-
Add ribbing at waist using front-post/back-post DC.
📏 How to Adjust for ANY Size
-
Measure child’s waist → chain enough to match (minus 1 inch for snug fit).
-
Leg length = desired inseam.
-
Torso height = measure from crotch to chest.
-
Bib width = measure across chest (from armpit to armpit).
-
Straps = shoulder-to-waist measurement + 2 in.
If you share the child’s measurements, I can generate a perfect custom pattern.
🧸 Want a Printable PDF or Diagram?
I can create:
-
A PDF-style formatted pattern
-
A row-by-row chart
-
Stitch diagram (ASCII or drawn)
Watch tutorial: