 by
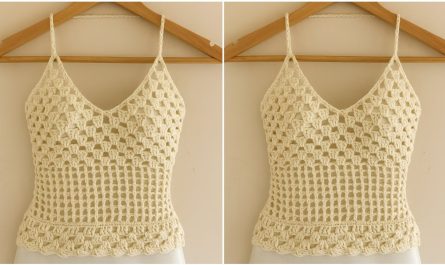
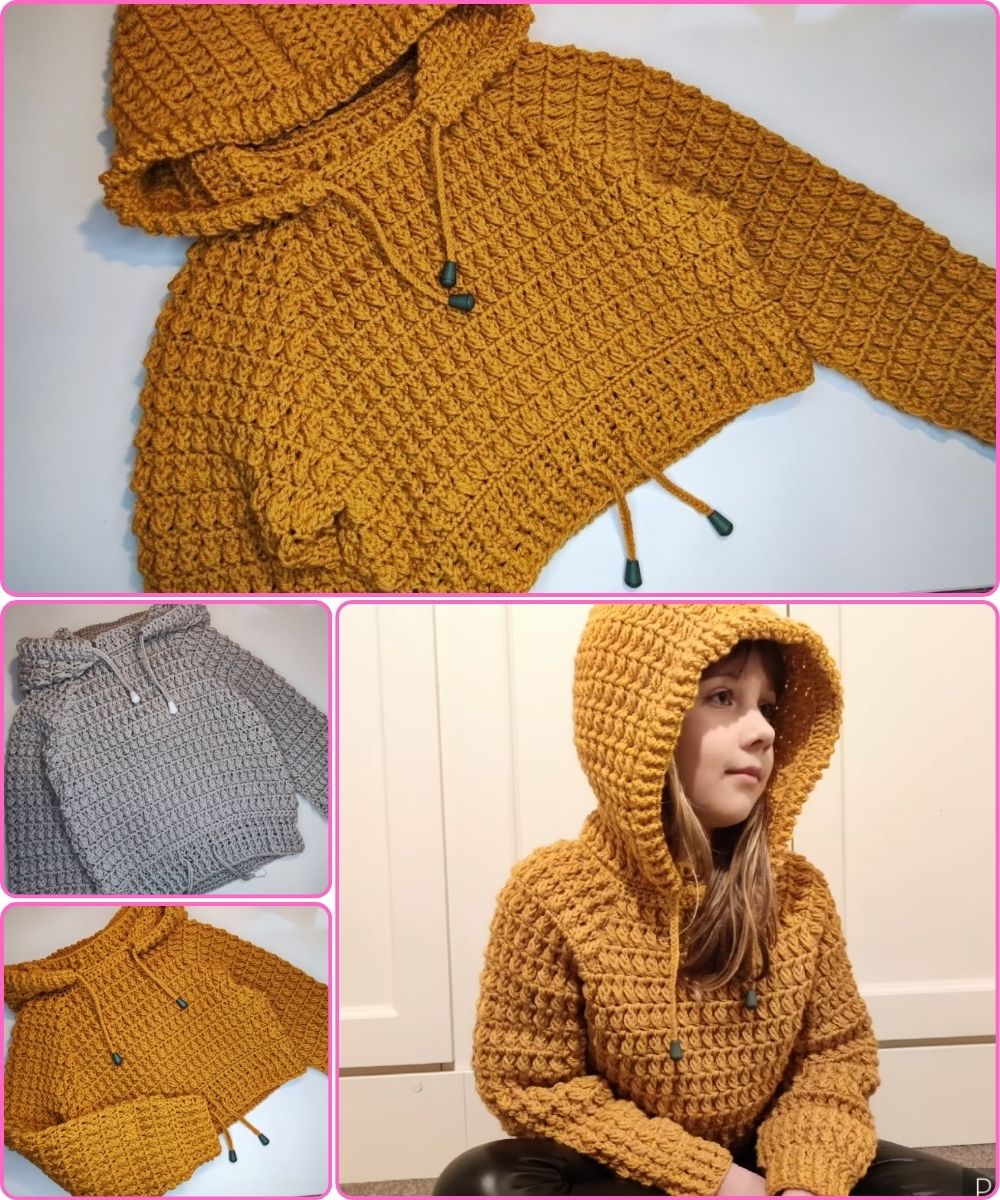
by Absolutely! I can give you a detailed, step-by-step guide for crocheting a “November” hooded sweater for children. I’ll break it down into materials, sizing, stitch guide, and step-by-step instructions. I’ll assume an intermediate level, but I’ll explain clearly so a confident beginner could follow along.
Materials Needed
-
Yarn:
-
Worsted weight yarn (medium #4). Choose a soft, washable yarn suitable for children.
-
Approx. 600–900 grams depending on child size.
-
-
Hook:
-
Crochet hook size H (5.0 mm) or the size recommended for your yarn.
-
-
Other Supplies:
-
Yarn needle (for weaving ends)
-
Stitch markers
-
Measuring tape
-
Buttons or zipper (optional, if you want a closure in front)
-
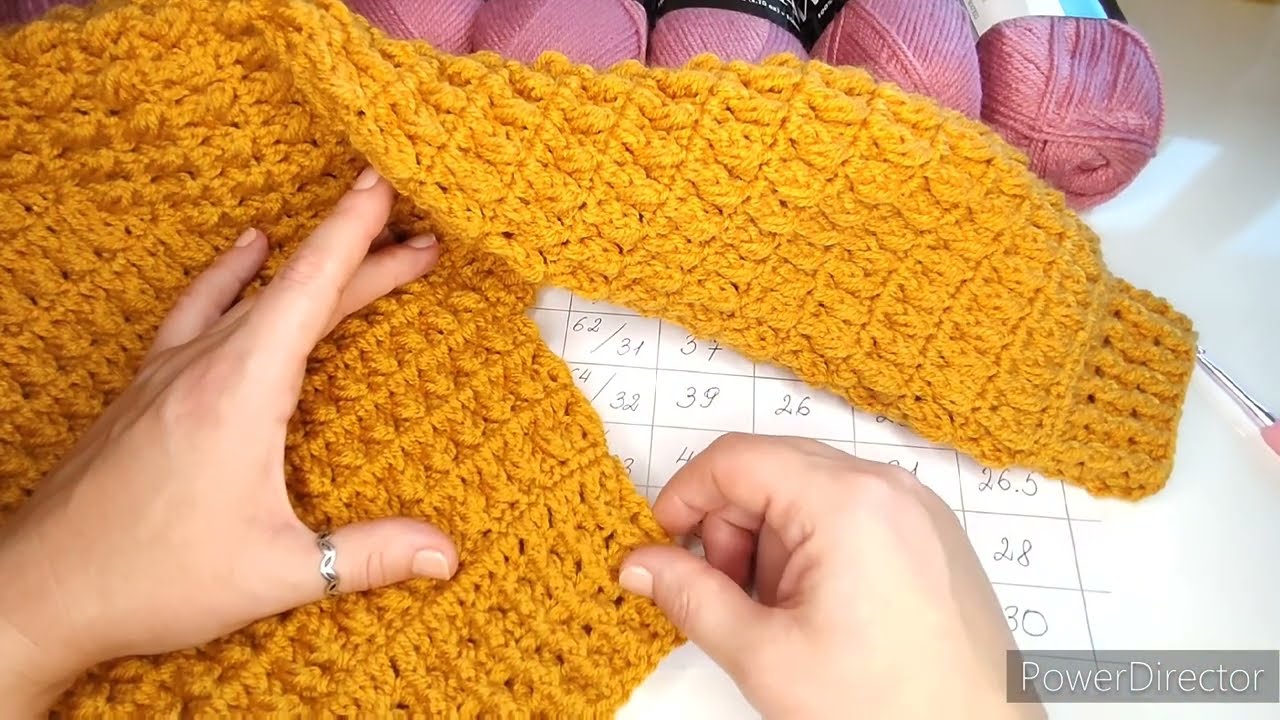
Sizing Guide
Children’s sizes are approximate:
| Size | Chest Circumference | Length (shoulder to hem) | Sleeve Length |
|---|---|---|---|
| 2–3 yrs | 20–22″ (50–56 cm) | 12–13″ (30–33 cm) | 10″ (25 cm) |
| 4–5 yrs | 22–24″ (56–61 cm) | 14–15″ (35–38 cm) | 11″ (28 cm) |
| 6–7 yrs | 24–26″ (61–66 cm) | 16–17″ (41–43 cm) | 12″ (30 cm) |
Adjust the number of stitches and rows according to the child’s measurements.

Basic Stitches Used
-
ch – chain
-
sc – single crochet
-
dc – double crochet
-
hdc – half double crochet
-
sl st – slip stitch
-
inc – increase (2 stitches in 1 stitch)
-
dec – decrease (crochet 2 stitches together)

Step 1: Crochet the Body (Bottom-Up or Top-Down)
Option A: Top-Down (Easier for Sweater Sizing)
-
Start with the Neckline:
-
Chain to desired neck circumference (child’s head size + 1 inch).
-
Join with a slip stitch to form a circle.
-
-
Work the Yoke:
-
Round 1: sc around
-
Round 2: increase evenly across to shape the shoulders.
-
Continue in rounds until yoke reaches underarm.
-
-
Separate for Body and Sleeves:
-
Place sleeve stitches on hold with stitch markers.
-
Continue working the body in rounds or rows until desired length.
-
Option B: Bottom-Up
-
Start from the hem, chain to child’s waist circumference.
-
Work in dc or hdc in rows until reaching the armholes.
-
Shape armholes by decreasing at edges.
Step 2: Crochet the Sleeves
-
Pick up stitches for sleeves (or use held stitches from top-down method).
-
Work in rounds (or rows if flat) using dc or hdc.
-
Decrease gradually toward wrist for a snug fit.
-
Finish with ribbed cuff: alternating sc and ch, or use front-post/back-post dc for stretchy cuff.
Step 3: Crochet the Hood
-
Foundation:
-
Chain width equal to the child’s head circumference.
-
Work in rows of dc until desired depth (from back of neck to forehead).
-
-
Shape the Hood:
-
You can decrease slightly at the top for a rounded shape.
-
Optional: add ribbing along the face opening for a cozy fit.
-
-
Attach Hood:
-
Seam the back if necessary, then attach to neckline with sl st or whip stitch.
-
Step 4: Finishing
-
Weave in all loose ends.
-
Optional: Add drawstrings to hood.
-
Add button closures or zipper if desired.
-
Block the sweater lightly for even stitches.
Tips
-
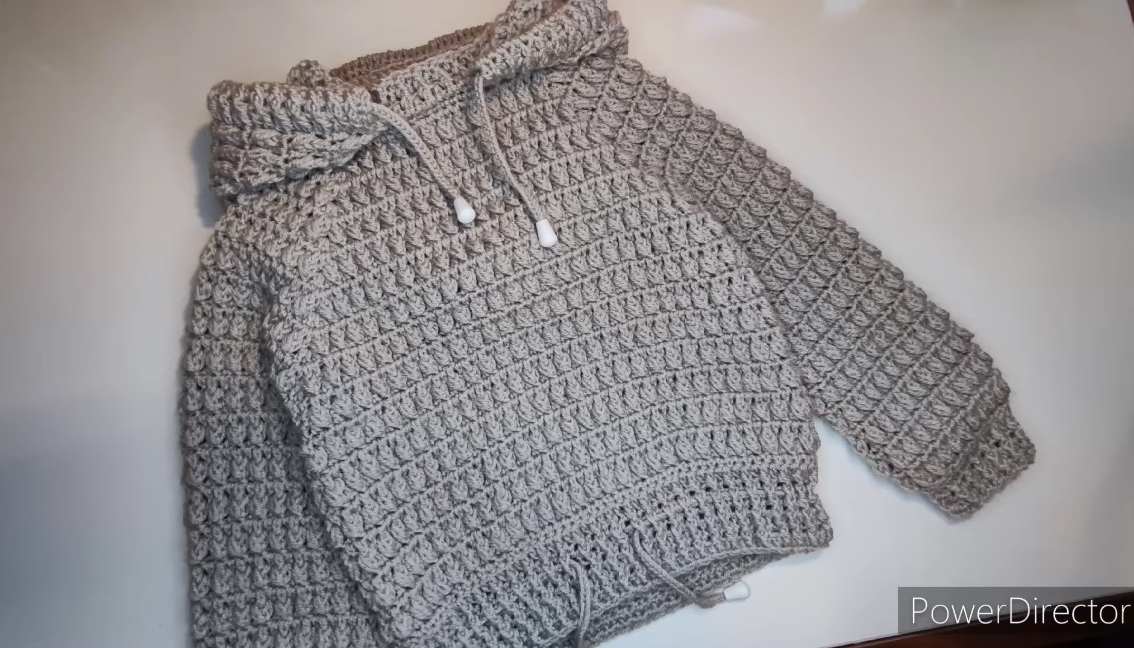
Use soft, washable yarn for kids’ comfort.
-
Measure frequently—kids grow quickly, so check sizing as you go.
-
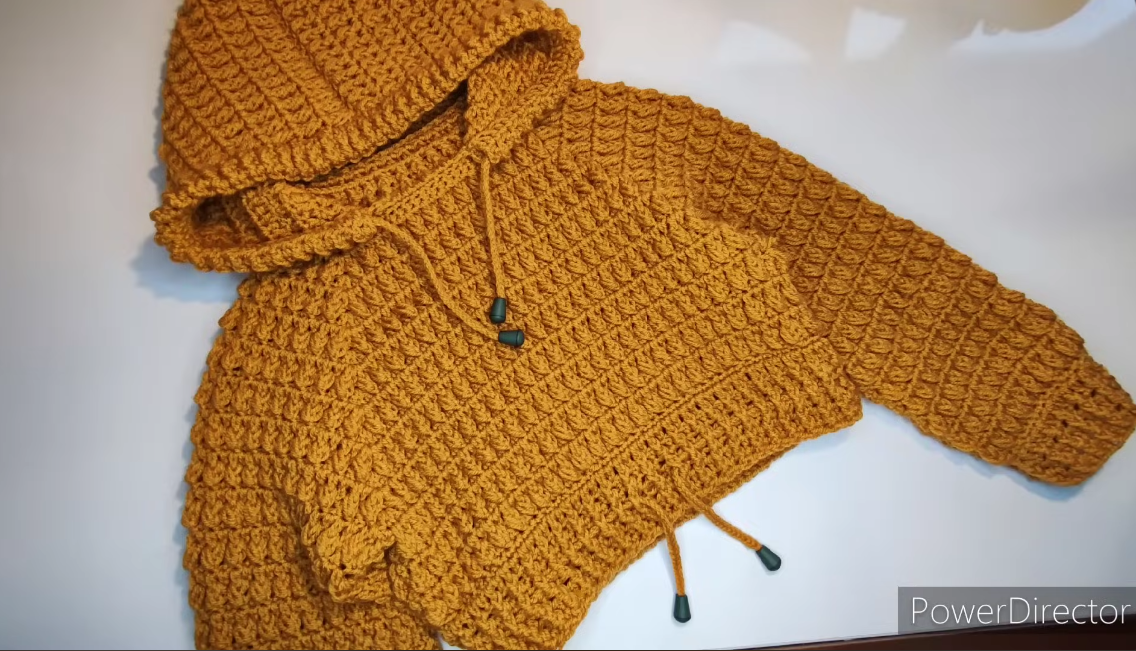
For november/fall theme, consider warm colors: mustard, rust, olive, brown.
-
Use front-post and back-post stitches for a ribbed texture on cuffs, hem, and hood edge.
If you want, I can make a full stitch-by-stitch pattern with exact stitch counts for a 4–5-year-old child, including the hood and sleeves, ready to crochet without having to adjust anything. That would save a lot of guesswork.
Do you want me to do that?
Watch tutorial: