 by
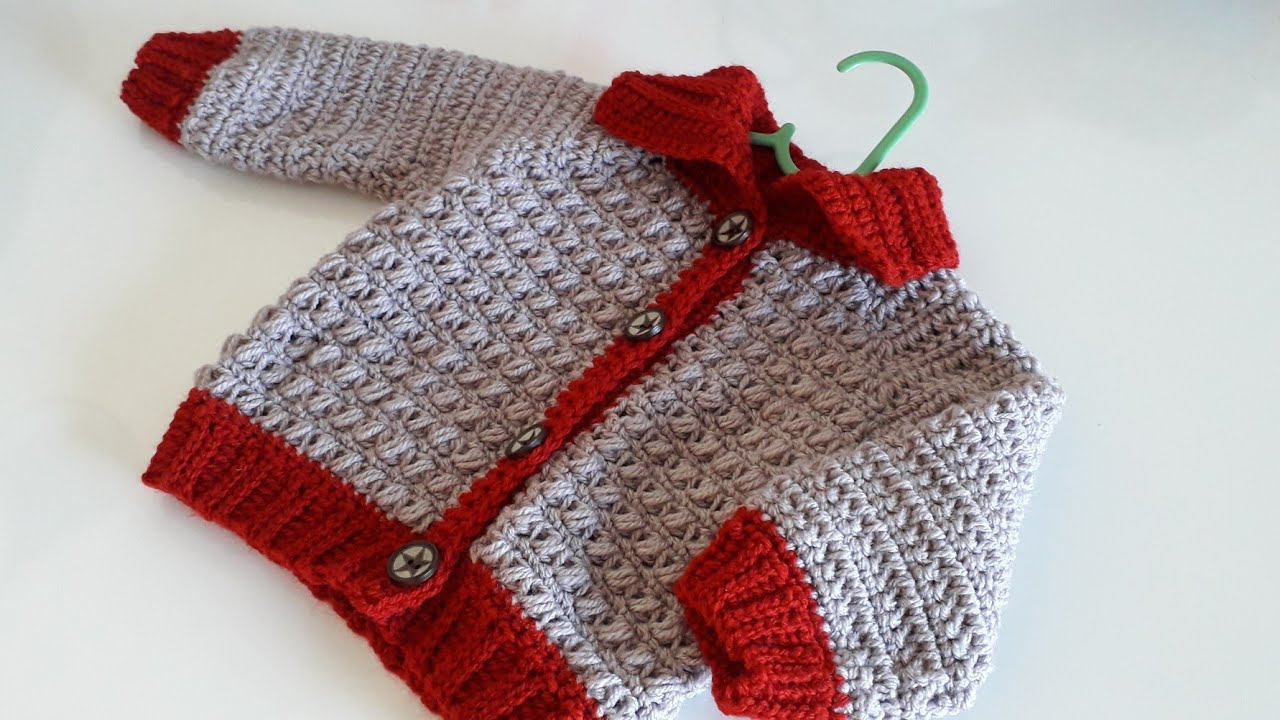
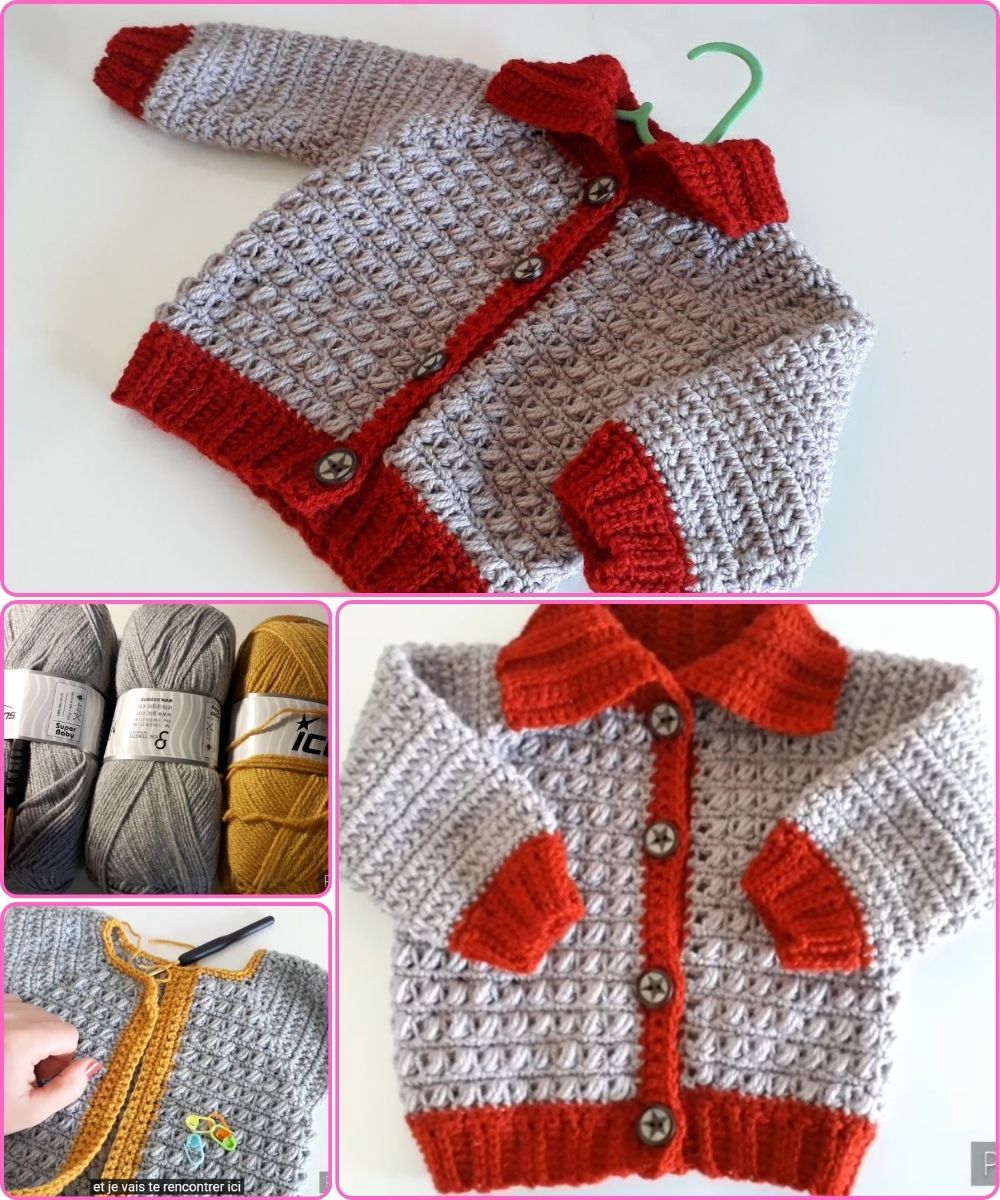
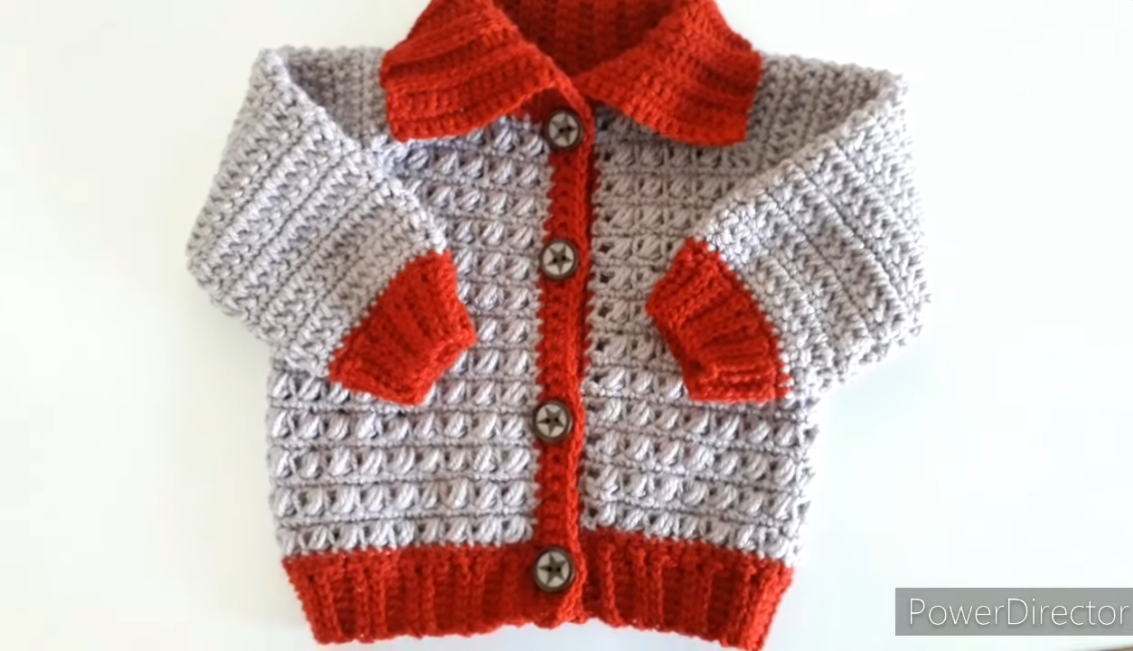
by Absolutely! I can provide a detailed, step-by-step guide on how to crochet a boys’ jacket or cardigan with a collar. I’ll include materials, measurements, stitch suggestions, and construction tips. I’ll focus on a classic button-up cardigan style, suitable for beginners to intermediate crocheters.
Materials Needed
-
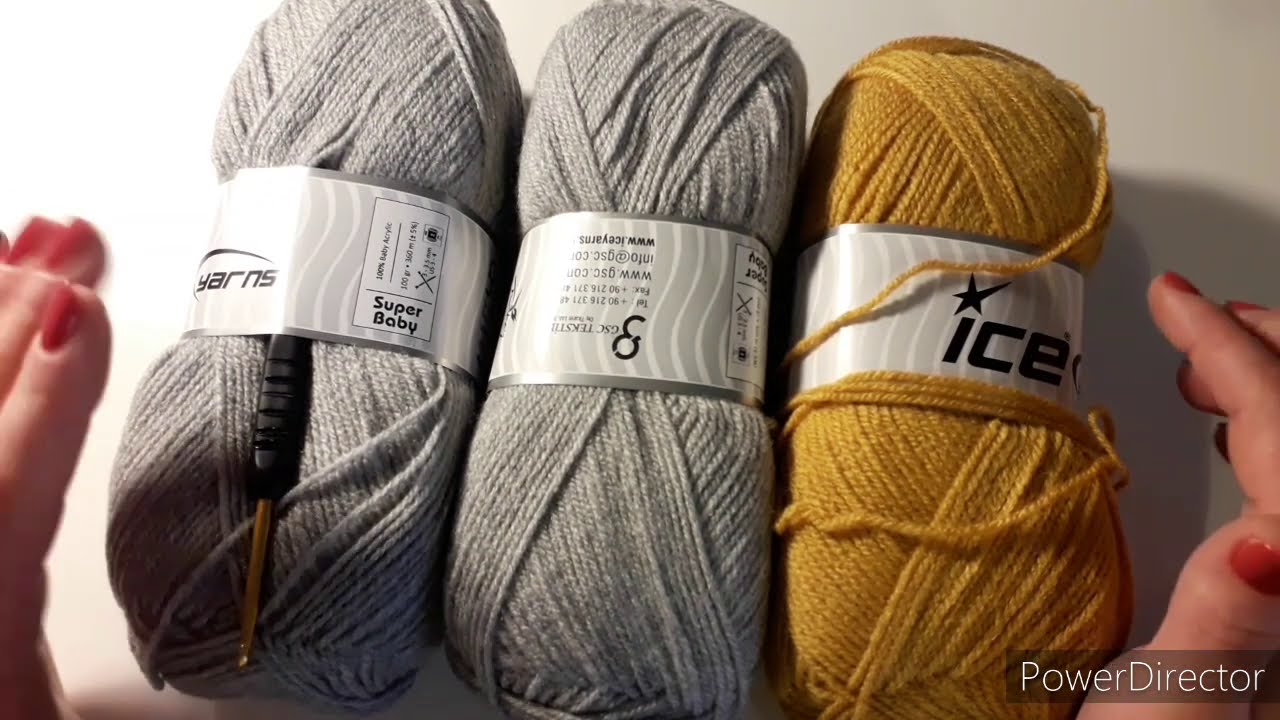
Yarn:
-
Medium weight (worsted, #4) yarn is ideal.
-
Choose a soft, washable yarn suitable for children.
-
-
Crochet Hook:
-
Typically 4.0 mm (G) or 4.5 mm (7) depending on yarn and tension.
-
-
Buttons:
-
3–5 buttons depending on jacket size.
-
-
Notions:
-
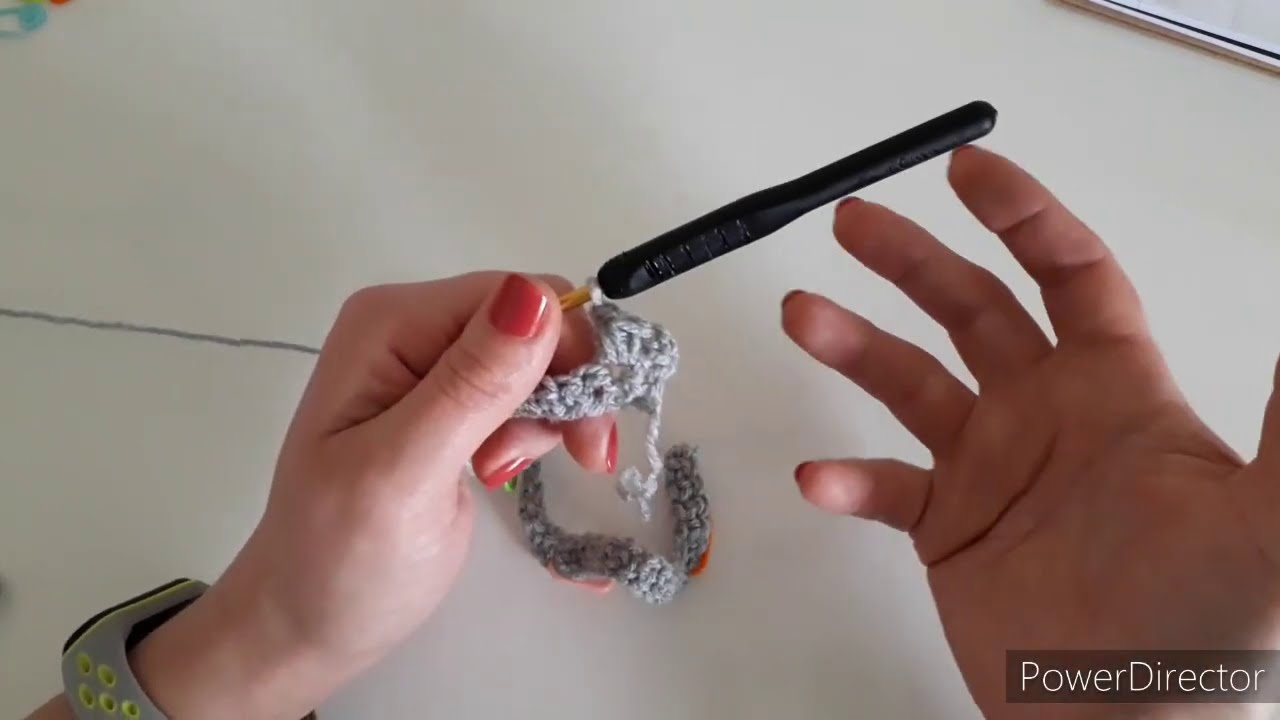
Yarn needle for weaving in ends
-
Stitch markers (optional)
-
Tape measure
-
Measurements & Sizes (approx.)
| Size | Chest (in) | Length (in) | Sleeve Length (in) |
|---|---|---|---|
| 1–2 yrs | 20″ | 12″ | 8″ |
| 2–3 yrs | 22″ | 13″ | 9″ |
| 3–4 yrs | 24″ | 14″ | 10″ |
| 4–5 yrs | 26″ | 15″ | 11″ |
Adjust width/length by increasing/decreasing chain foundation and rows.
Stitches Used
-
Ch – chain
-
Sc – single crochet
-
Hdc – half double crochet
-
Dc – double crochet
-
Sl st – slip stitch
You can choose HDC for a denser, warmer jacket or DC for a lighter cardigan.
Step 1: Back Panel
-
Foundation Chain:
-
Chain to match the width of the back.
-
Example: For size 2-3 yrs, chain 50.
-
-
Row 1:
-
HDC in 2nd chain from hook and across.
-
-
Subsequent Rows:
-
Continue HDC until the piece measures the desired length (e.g., 13″ for 2–3 yrs).
-
-
Optional:
-
Add ribbing at the bottom by doing front post HDC / back post HDC for 2–3 rows.
-
Step 2: Front Panels
-
You will make 2 panels, left and right.
-
Foundation Chain:
-
Half the width of back + 1 for button overlap.
-
Example: 25 chains for 2–3 yrs.
-
-
Rows:
-
HDC across to match back panel length.
-
Shape neck by gradually decreasing stitches at the top row (e.g., decrease 1 stitch every other row for 4 rows).
-
-
Button Band:
-
Add 5–6 stitches along the front edge for buttons.
-
Use SC or HDC to make a firm band.
-
Step 3: Sleeves
-
Foundation Chain:
-
Chain equal to the width of sleeve at wrist.
-
Example: 20 chains for size 2–3 yrs.
-
-
Rows:
-
HDC across, increasing 1 stitch each end every 3–4 rows until reaching armhole width.
-
-
Length:
-
Continue until desired sleeve length.
-
-
Optional Cuffs:
-
Ribbing with front/back post HDC for 2–3 rows.
-
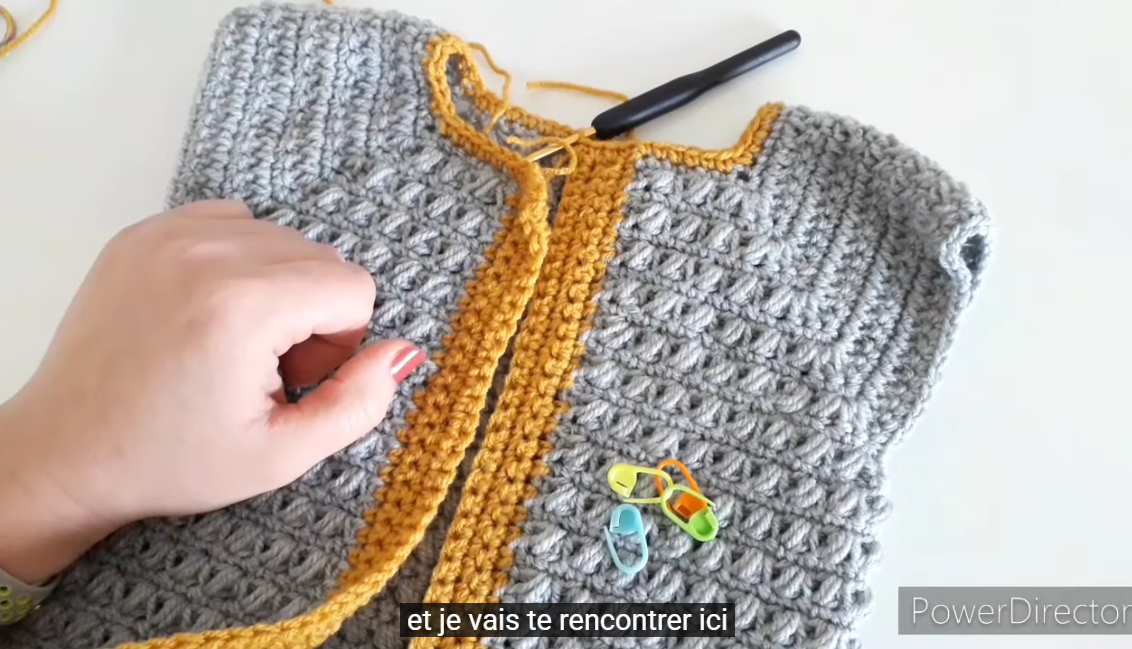
Step 4: Collar
-
Pick Up Stitches:
-
Pick up stitches along the neckline of front panels and back.
-
-
Collar Rows:
-
HDC in each stitch around.
-
Optional: For a pointed collar, shape by decreasing stitches at the ends of front panels.
-
-
Finish:
-
Continue collar until desired width (typically 1–2 inches).
-
Step 5: Assembly
-
Shoulder Seams:
-
Sew front panels to back at shoulders using slip stitch or whip stitch.
-
-
Attach Sleeves:
-
Sew sleeves to armholes.
-
-
Side & Sleeve Seams:
-
Sew sides and underside of sleeves.
-
-
Attach Buttons:
-
Sew buttons on right front band and make corresponding buttonholes on left.
-
Tips for a Professional Finish
-
Blocking: Lightly block pieces before assembly for neat edges.
-
Consistent Tension: Keeps front and back panel sizes even.
-
Ribbing: Front band and cuffs look neat with front/back post stitches.
-
Yarn Choice: Choose washable yarn for children.
This will result in a cozy, wearable boys’ cardigan with a collar, suitable for casual or semi-formal wear.
If you want, I can draw a clear crochet diagram with measurements and stitch placement for this jacket, so you can follow it visually—it’s much easier than reading just text.
Do you want me to make that diagram?
Watch tutorial: