 by
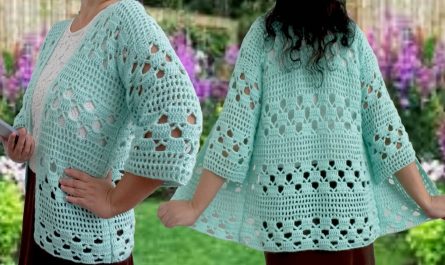
by Below is a step-by-step, detailed guide on How to Make a Children’s Crochet Dress (Size: 1 Year). This pattern is written with beginners in mind, using simple stitches and clear explanations.

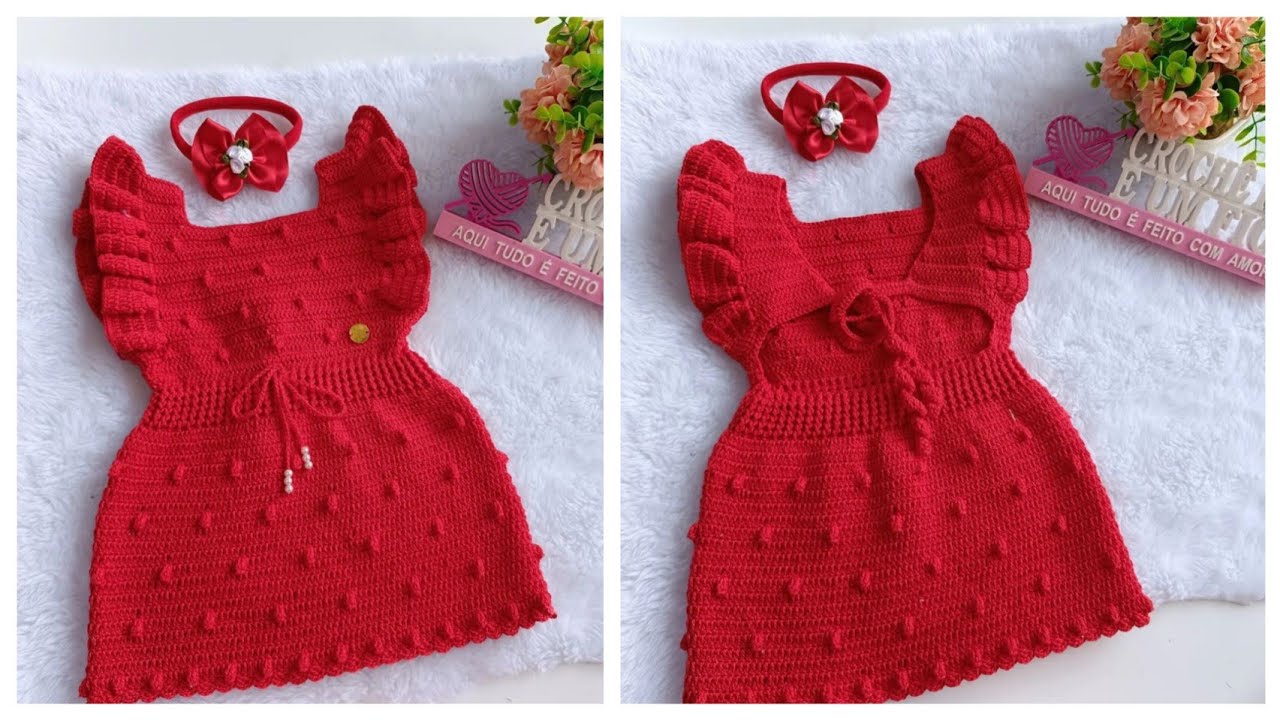
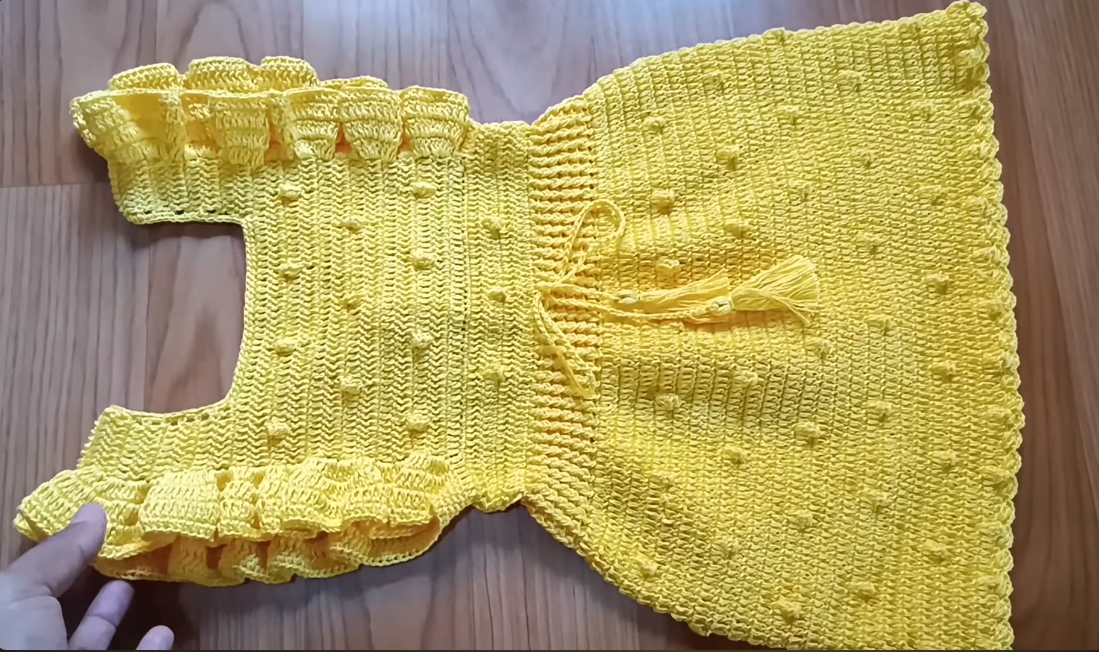
👗 How to Make a Children’s Crochet Dress (Size 1 Year)
Approximate Size:
-
Fits 9–12 months
-
Chest circumference: 18–20 inches (46–51 cm)
-
Dress length: 15–17 inches (38–43 cm)
This guide uses a top-down, yoke-first, seamless approach—easy to adjust.
🧶 Materials Needed
-
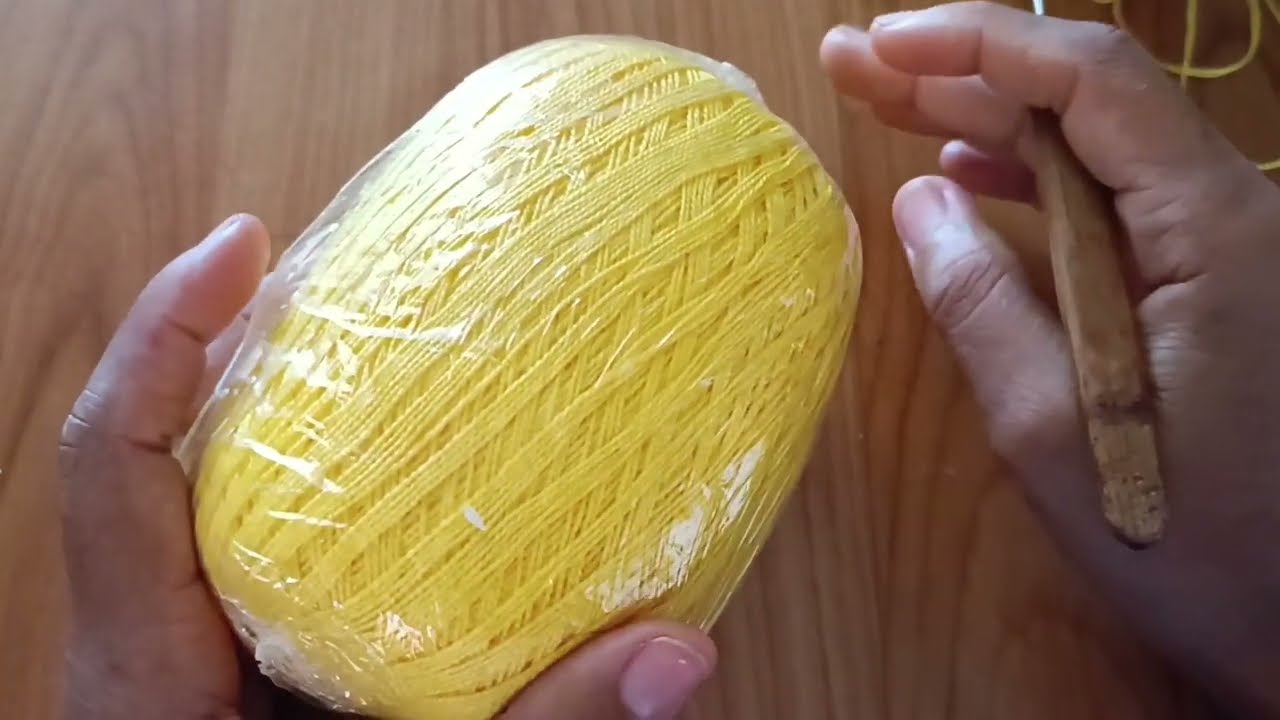
Yarn: Lightweight (Category 3 / DK / baby yarn), about 250–300g
-
Hook: 4.0 mm (G/6) crochet hook
-
Stitch markers
-
Yarn needle
-
Buttons: 2 small buttons (if making button closure)
-
Scissors
📏 Gauge (Very Important!)
To ensure the dress fits:
Gauge: 20 double crochet (dc) stitches × 10 rows = 4 × 4 in. (10 × 10 cm)
If your stitches are too tight or loose, adjust hook size.
🌸 Pattern Overview
This dress consists of:
-
Yoke (Top part) – crocheted flat or in the round, depending on style
-
Join for armholes
-
Skirt – crocheted in the round and can be simple or lacy
-
Edging & finishing
✨ Abbreviations (US Terms)
-
ch = chain
-
sl st = slip stitch
-
sc = single crochet
-
dc = double crochet
-
inc = increase (2 dc in same stitch)
-
sk = skip stitch
-
st(s) = stitch(es)
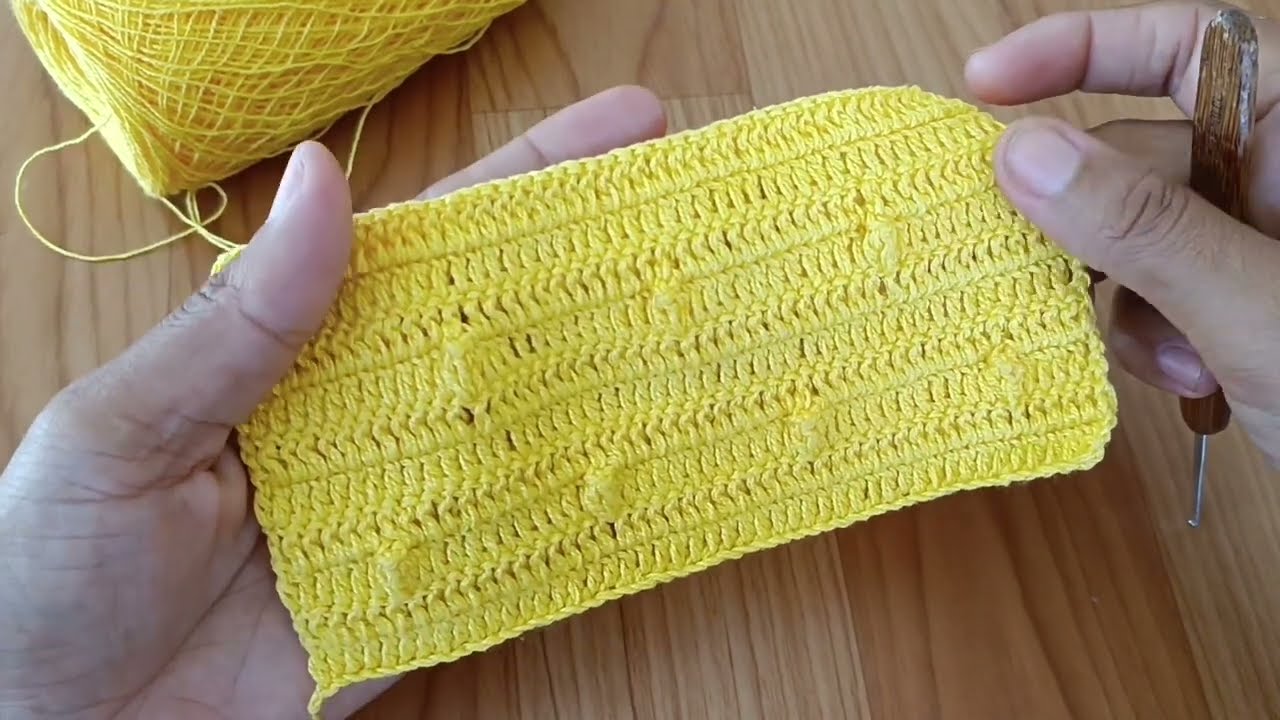
🟣 STEP 1: Crochet the Yoke
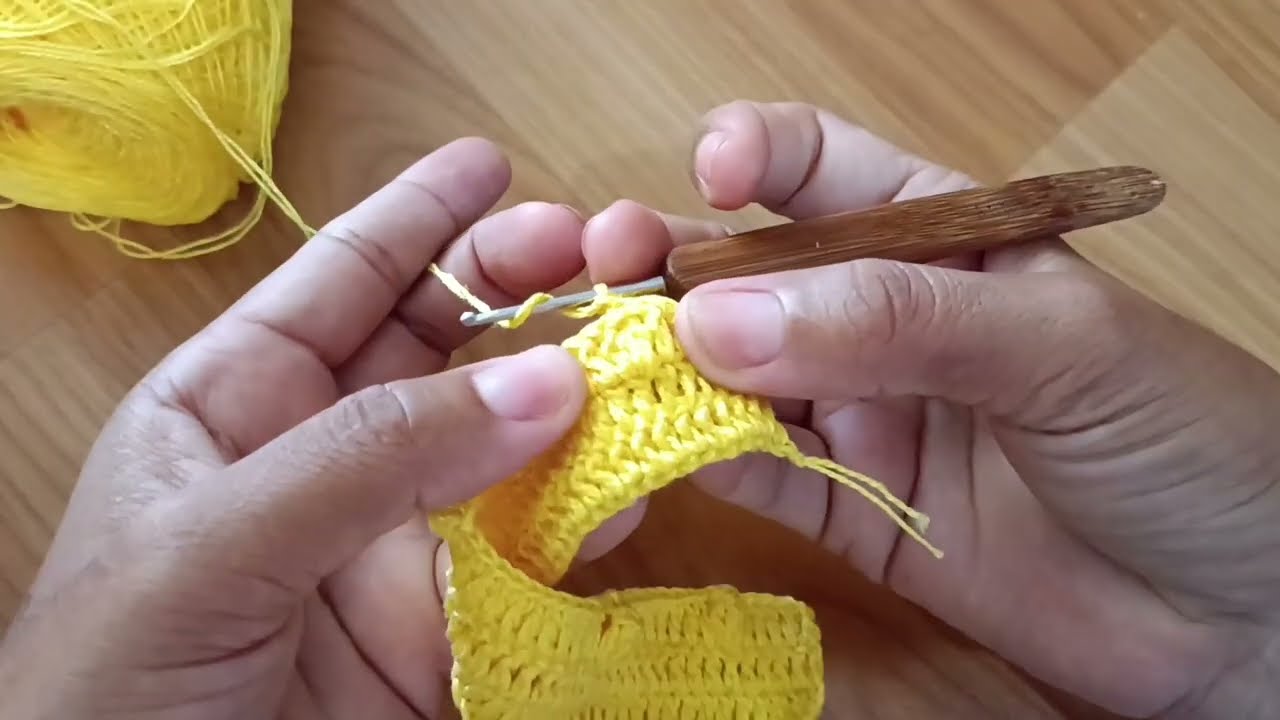
Start:
Ch 56. (This becomes the neckline.)
Row 1:
Dc in 4th chain from hook and in the next 7 chains.
Dc inc in next stitch.
Dc in next 12 sts.
Dc inc in next st.
Dc in next 12 sts.
Dc inc in next st.
Dc in next 12 sts.
Dc inc in next st.
Dc in last 8 sts.
(You have created 4 increase points forming the corners of a square yoke.)
Row 2–12:
Ch 3, turn.
Dc around, making 4 increases each row at the same corner points.
Use stitch markers on corners so you never lose track.
By Row 12, the yoke should measure:
-
Chest width (front): 9–10 inches
-
Armhole depth: 5 inches
Fit Check:
Wrap the yoke around the child (or a 1-year-size mannequin).
It should reach comfortably around the upper chest without being too tight.
🟣 STEP 2: Join for Armholes
On the next row:
-
Dc until first corner
-
Ch 6
-
Skip stitches between first and second corner
-
Continue dc across back until next corner
-
Ch 6
-
Skip stitches to next corner
-
Dc to end.
Now you have armholes and are working in rounds.
🟣 STEP 3: Crochet the Skirt
Round 1:
Join with a sl st to beginning.
Ch 3, dc around.
Sl st to join.
Round 2:
Increase evenly by adding about 8–10 dc throughout the round.
This gives the skirt its flare.
🌼 SKIRT OPTION 1 — Simple & Flowy (Beginner Friendly)
Repeat these 2 rounds until desired length:
Round A: Ch 3, dc in each stitch.
Round B: Dc in 4 sts, dc inc in next st. Repeat around.
Continue for 10–14 inches depending on preferred length.
🌸 SKIRT OPTION 2 — Lacy Shell Pattern (Pretty & Classic)
Round A:
Sk 2 sts, 5 dc in next st, sk 2 sts, sc in next st. Repeat.
Round B:
Work shells (5 dc) into the center of each shell, sc in sc from previous row.
Continue until skirt reaches about 10–12 inches.
🟣 STEP 4: Add Edging
Neckline Edging:
Round of sc or picot edging.
Sleeve Edging:
Work 1–2 rounds of sc around each armhole.
Skirt Edging:
Finish with:
Picot Lace:
Sc in next st, ch 3, sl st in same st. Repeat.
or
Shell Edge:
Sk 2 sts, 5 dc in next st. Repeat.
🟣 STEP 5: Add Back Closure (Optional)
If the back is slightly open, add:
-
2 small buttons
-
Crochet a loop (ch 6) for buttonholes
Alternatively, slip-stitch the back and make it closed permanently.
🧺 Finishing
-
Weave in all yarn ends.
-
Lightly steam block the dress to smooth stitches (do NOT overheat acrylic yarn).
-
Check fit again—adjust skirt length if needed.
🧁 Customization Ideas
-
Add a ribbon around the waist
-
Sew on small applique flowers
-
Alternate two colors for the skirt
-
Add a small matching crochet bow
🎀 Would you like me to create a printable PDF pattern, a diagram chart, or a fully graded multi-size version (6 mo–5 yrs)?
Watch tutorial: