by
by Sure! Here’s a detailed guide on how to make a fashionable wool coat for winter using just two basic stitches (the running stitch and the backstitch). This is perfect for beginners or anyone wanting a minimalist, DIY approach to winter fashion sewing.
How to Make a Fashionable Wool Coat for Winter with Two Stitches
Overview:
You can create a warm, stylish wool coat using only two basic hand stitches: the running stitch and the backstitch. This guide walks you through the steps, from selecting fabric to finishing touches, without using a sewing machine.
Materials Needed:
| Item | Notes |
|---|---|
| Wool fabric | 2.5 to 3.5 yards, depending on coat length and size |
| Lining fabric (optional) | For extra warmth and a clean inside finish |
| Matching thread | Strong polyester or heavy-duty cotton thread |
| Needles | Hand-sewing needles, sharp |
| Scissors | Fabric shears preferred |
| Chalk or fabric marker | For marking patterns |
| Measuring tape | |
| Pins or clips | |
| Buttons or toggle closures | Optional |
| Paper for pattern | You can buy a simple coat pattern or draft your own |
Step 1: Choose a Coat Style
Keep it simple:
-
Straight cut or A-line
-
No complex lapels or pleats
-
Raglan or drop shoulder sleeves (easier to sew)
-
Optional belt or tie waist
If this is your first time, choose a basic wrap coat or simple overcoat with an open front or button closure.
✂️ Step 2: Prepare the Pattern
-
Get a simple coat pattern online or trace around a loose-fitting coat you already own.
-
Add 1 inch (2.5 cm) seam allowance on all edges.
-
Transfer your pattern onto your wool fabric with chalk or a fabric pen.
Basic pieces to cut:
-
2 front panels
-
1 back panel (cut on fold)
-
2 sleeves
-
Optional: pockets, collar, belt
Step 3: Cutting and Pinning
-
Cut your wool fabric along the pattern lines.
-
If adding a lining, cut the same pieces from lining fabric.
-
Pin pieces together as follows:
-
Front and back panels at the shoulders
-
Side seams
-
Sleeves to body
-
Collar (if adding one)
-
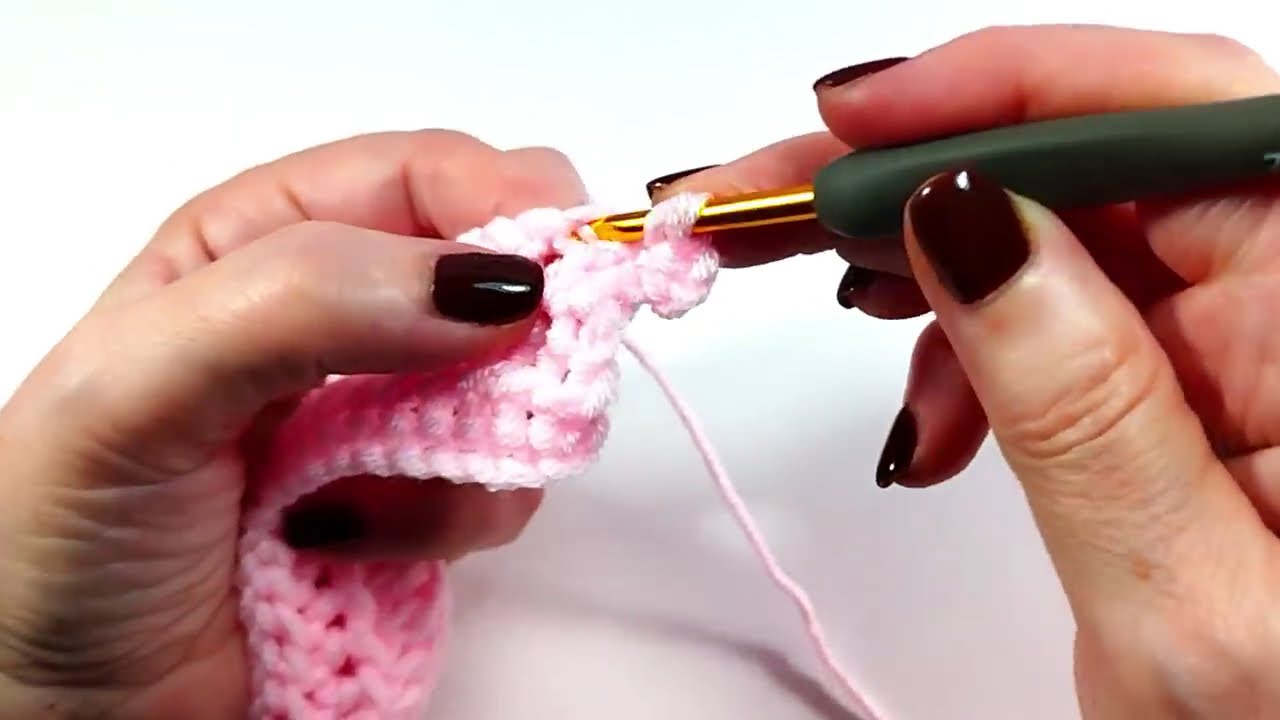
Step 4: Stitching with Two Stitches
A. Running Stitch (for long seams like shoulders and sides)
-
Easy, quick, and great for non-stress areas.
-
Steps:
-
Thread your needle and tie a knot.
-
Insert the needle up through the fabric.
-
Weave in and out in small, even stitches (about 1/8–1/4 inch apart).
-
Tie off securely at the end.
-
Use for:
-
Shoulder seams
-
Side seams
-
Hemming
B. Backstitch (for stronger areas like armholes and sleeves)
-
Stronger than running stitch, mimics machine stitching.
-
Steps:
-
Bring needle up through fabric.
-
Move needle one stitch length forward and insert it down.
-
Bring needle back up one stitch length behind the end of the last stitch.
-
Continue overlapping like this.
-
Use for:
-
Attaching sleeves
-
Armhole seams
-
Areas needing strength (like pockets or buttonholes)
Step 5: Assemble the Coat
-
Sew shoulders with running stitch.
-
Attach sleeves to armholes using backstitch.
-
Sew sides from sleeve hem to coat hem using running stitch.
-
Sew collar (if included) to neckline using backstitch.
-
Add lining (optional): Hand-sew lining to coat with running or slip stitch.
-
Hemming: Fold bottom and sleeve hems, press, and sew with running stitch.
Step 6: Finishing Touches
-
Buttons: Hand-sew using backstitch or a reinforced cross-stitch.
-
Pockets: Simple patch pockets can be backstitched onto the front.
-
Belt or Tie: Make a fabric belt and sew loops on coat sides to hold it.
Tips for a Professional Look
-
Press seams flat with an iron after stitching.
-
Use interfacing in the collar or front panels for structure.
-
Topstitch with backstitch along edges for a neat, finished look.
-
Keep your stitches even — use chalk lines or a seam gauge if needed.
Optional Add-ons
-
Faux fur trim on the collar
-
Decorative buttons
-
Contrast lining for style
-
Inside pocket (sewn with backstitch)
Time Required
-
Beginner: 1–2 days
-
Intermediate: 6–10 hours
Result: A Handmade, Warm, Stylish Wool Coat
By using just two stitches — the running stitch and backstitch — you’ve created a fashionable, functional wool coat ready for winter. It’s a timeless project that combines creativity, sustainability, and personal style.
Watch tutorial:
https://www.youtube.com/watch?v=BFVVHxS6p4M