 by
by Sure! Here’s a detailed guide on how to make a unique crochet T-shirt and skirt set, including materials, pattern suggestions, and styling ideas. This project is perfect for intermediate crocheters but can be modified for beginners as well.
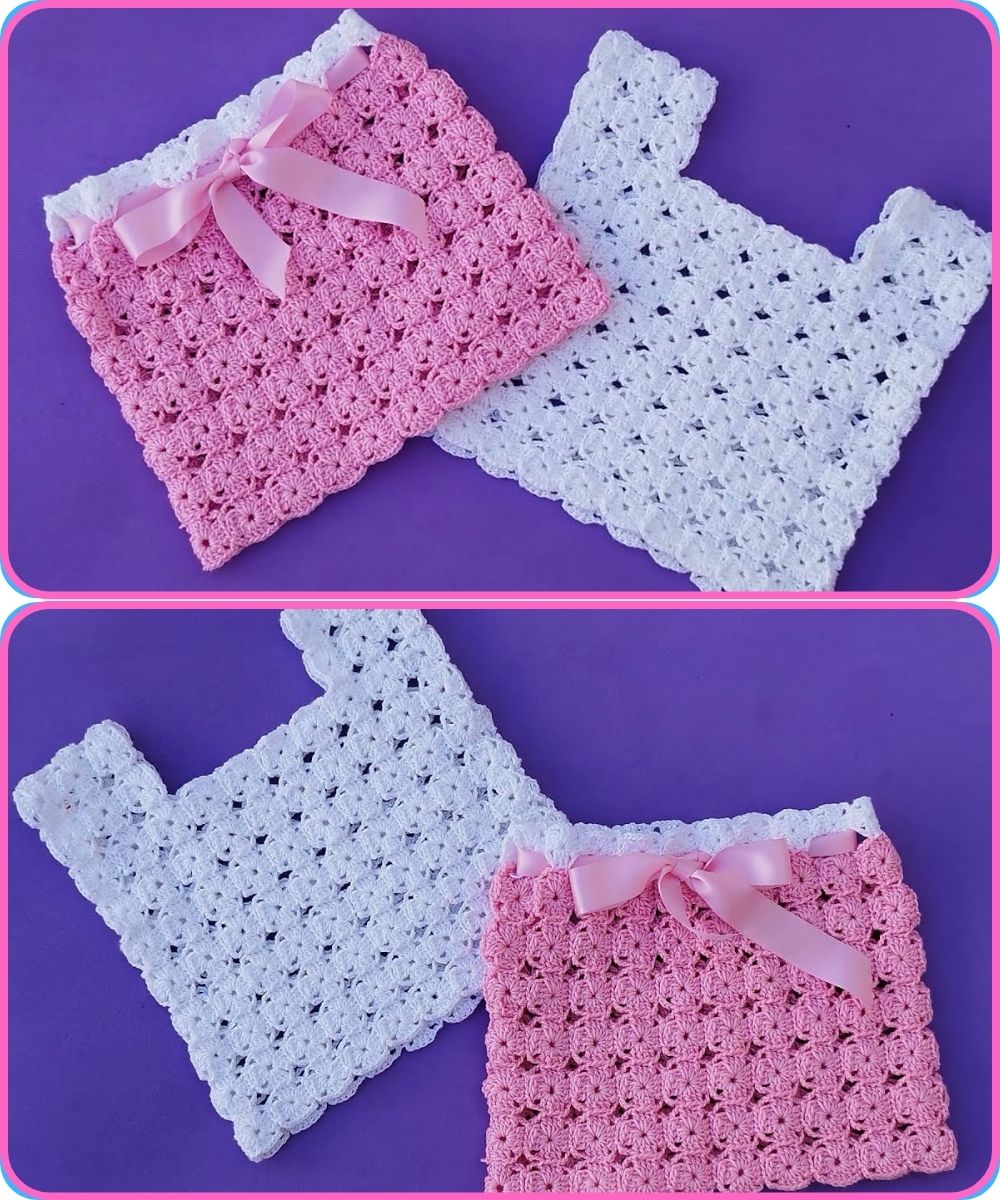
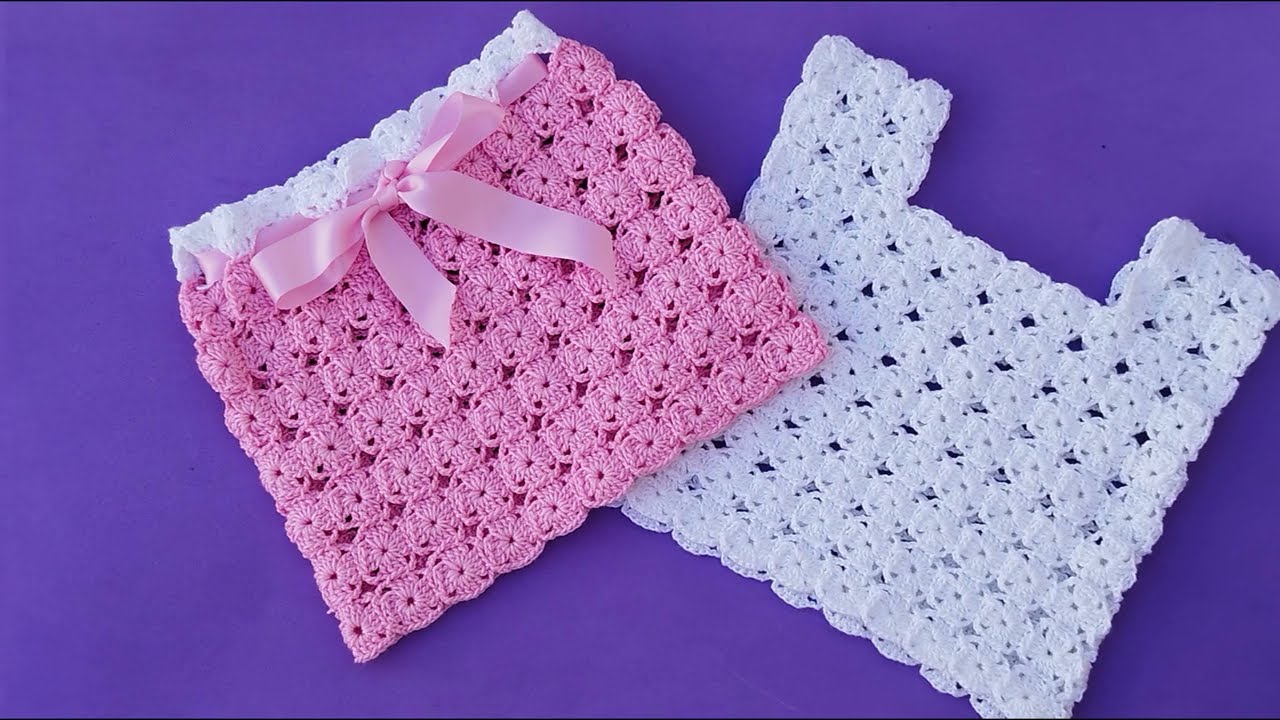
How to Make a Unique Crochet T-Shirt and Skirt Set
Overview:
This DIY fashion set includes:
-
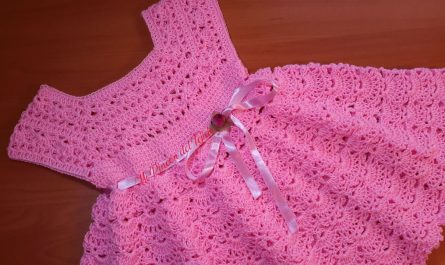
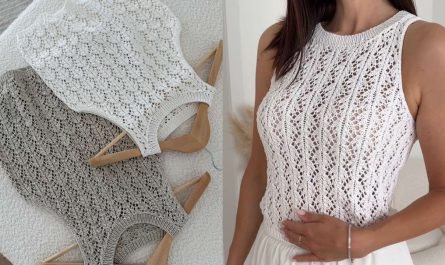
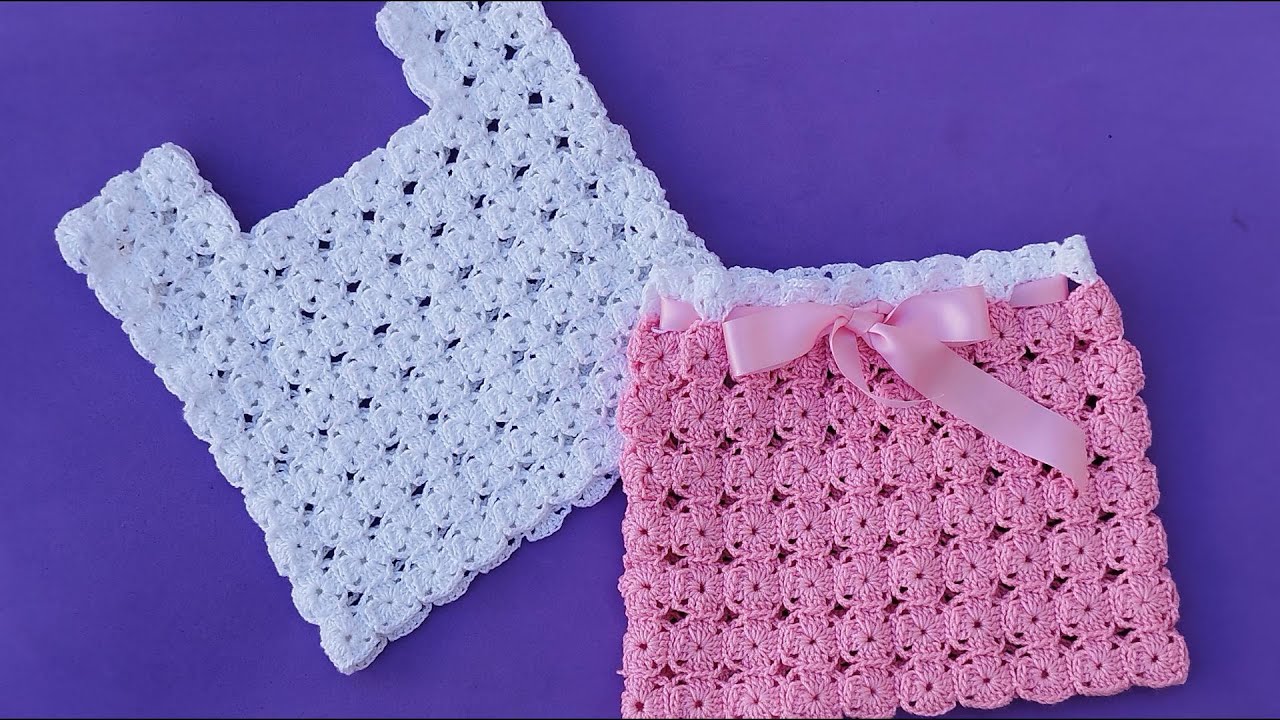
A stylish, breathable crochet T-shirt (loose or fitted)
-
A matching crochet skirt (mini, midi, or maxi depending on your style)
Both pieces can be customized in:
-
Color
-
Pattern (solid, stripes, lacy, granny square, etc.)
-
Fit (tight, loose, flared, or straight)
Materials Needed:
| Item | Notes |
|---|---|
| Yarn | Cotton or bamboo blend is best for breathable wear; DK or worsted |
| Crochet Hooks | Typically size 3.5 mm to 5 mm (check yarn label) |
| ✂️ Scissors | For trimming yarn |
| Stitch Markers | Optional but helpful for shaping and counting |
| Measuring Tape | For accurate sizing |
| Notebook/Pen | To take notes on rows/stitches if you’re freestyling |
| Tapestry Needle | To weave in ends |
| Blocking Tools | (Optional) To shape finished pieces |
Crochet T-Shirt Instructions
Step 1: Choose a Design Style
-
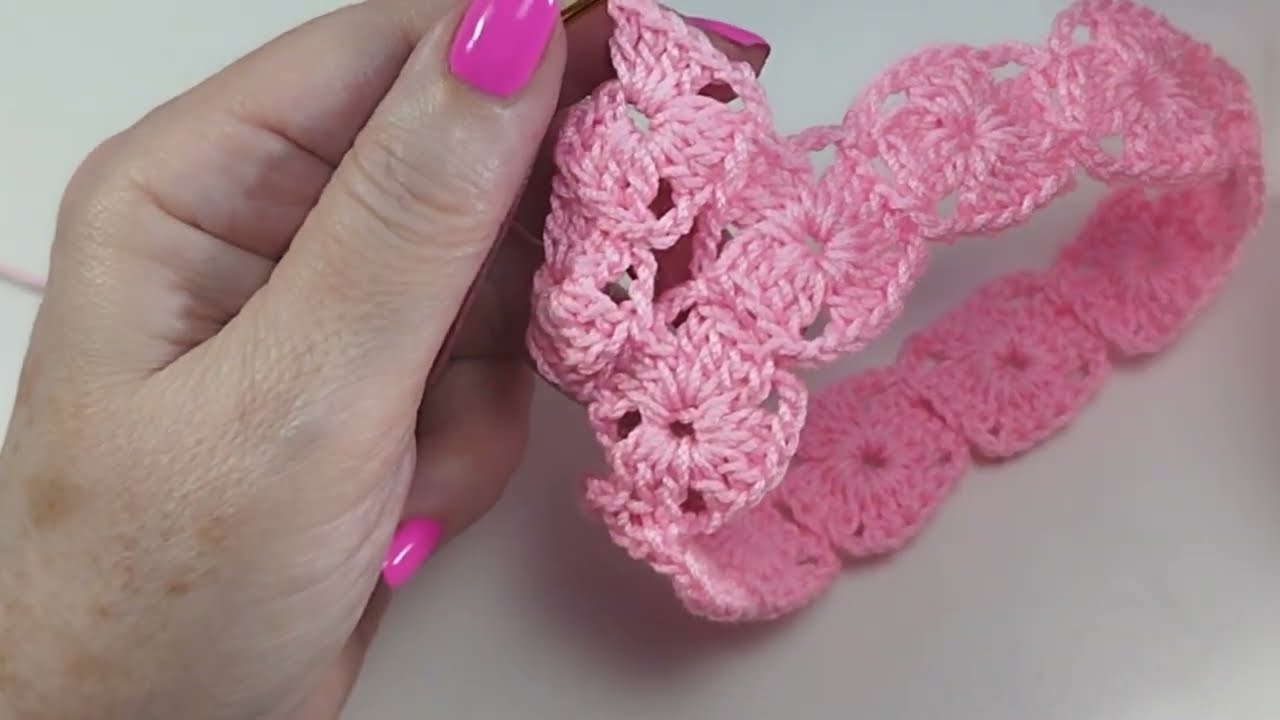
Solid T-shirt: Basic double crochet or half-double crochet
-
Lace T-shirt: Use shell stitch, V-stitch, or filet patterns
-
Granny Square T-shirt: Join multiple squares together
Step 2: Take Your Measurements
-
Bust
-
Waist
-
Shoulder width
-
Desired T-shirt length
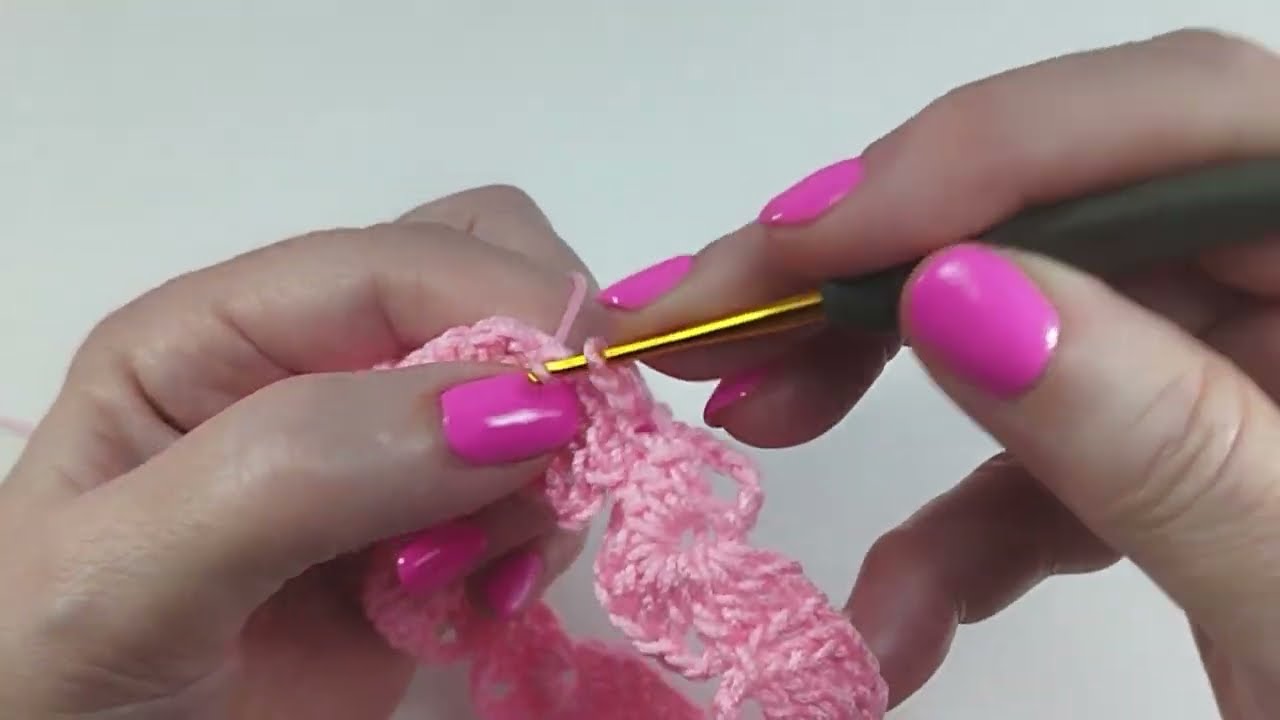
Step 3: Make a Gauge Swatch
-
Crochet a 4×4 inch swatch in your chosen stitch
-
Count stitches per inch → This helps calculate your rows and stitch counts
Step 4: Crochet the Front and Back Panels
-
Rectangular shapes work best for beginners
-
Add shaping for neckline or sleeves if desired (simple decreases)
Basic Rectangle Method:
-
Chain the width of your bust
-
Crochet rows until desired length is reached
-
Repeat for the back panel
Step 5: Join Shoulders and Sides
-
Use slip stitch or whip stitch
-
Leave armholes open
Step 6: Add Sleeves (Optional)
-
Join yarn to armhole and work in the round
-
Make short sleeves or long sleeves as preferred
Step 7: Add Finishing Touches
-
Single crochet or shell edging around neckline and sleeves
-
Block the T-shirt gently for best fit
Crochet Skirt Instructions
Step 1: Choose Skirt Style
-
Tube Skirt: Easy for beginners, no increases
-
A-line Skirt: Add increases evenly in rounds
-
Granny Square Skirt: Assemble squares vertically
Step 2: Take Measurements
-
Waist (where the skirt will sit)
-
Hips (widest part)
-
Desired length (mini/midi/maxi)
Step 3: Waistband
-
Start with elastic (optional) or ribbed crochet waistband
-
Foundation chain = waist size
-
Work in rows to create stretchy ribbing
-
Sew ends together to form a loop
Step 4: Crochet Body of Skirt
-
Join yarn to waistband
-
Work in rounds (or rows if flat)
-
Use your chosen stitch pattern (shells, V-stitch, granny, etc.)
-
Add increases if making A-line or flared
Step 5: Hem Edging
-
Add lace, shells, or picot edging for a unique touch
-
Optional: sew in lining or wear a slip underneath
✨ Styling & Personalization Tips
| Option | Ideas |
|---|---|
| Color Blocking | Use contrasting yarn colors for top and bottom |
| Embellishments | Add crochet flowers, fringe, or beading |
| Fit Adjustments | Use elastic for waist, tie-cords, or add buttons |
| Mix Techniques | Combine granny squares with solid panels |
| Seasonal Looks | Use cotton yarns for summer, wool blends for fall |
Pro Tips:
-
Always check gauge before starting!
-
Try on as you go to ensure good fit
-
Use stitch markers to keep track of increases/decreases
-
Block your pieces to smooth out stitches and shape the fabric
Sample Stitch Patterns (for inspiration):
| Stitch Name | Use For |
|---|---|
| Moss Stitch | Dense and modern look |
| V-Stitch | Light, airy, feminine |
| Shell Stitch | Decorative and lacy |
| Granny Squares | Retro, colorful vibes |
| Ribbing (BLO) | Waistbands, cuffs |
Bonus Idea: Turn It Into a Matching Set
Make a matching crochet bag or headband to complete the outfit. Perfect for beachwear, summer festivals, or a statement handmade look.
Watch tutorial:
https://www.youtube.com/watch?v=majYElVK43E