 by
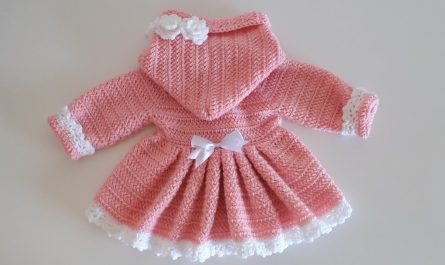
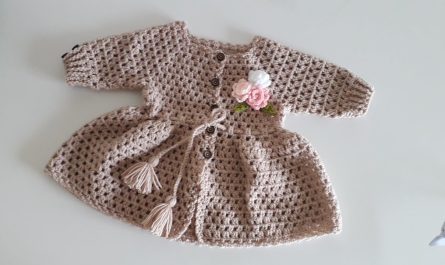
by Below is a detailed, beginner-friendly guide on how to crochet a baby girl’s cardigan (0–12 months). This is written as a practical how-to with a simple pattern, suitable for gifts or everyday wear 🌸
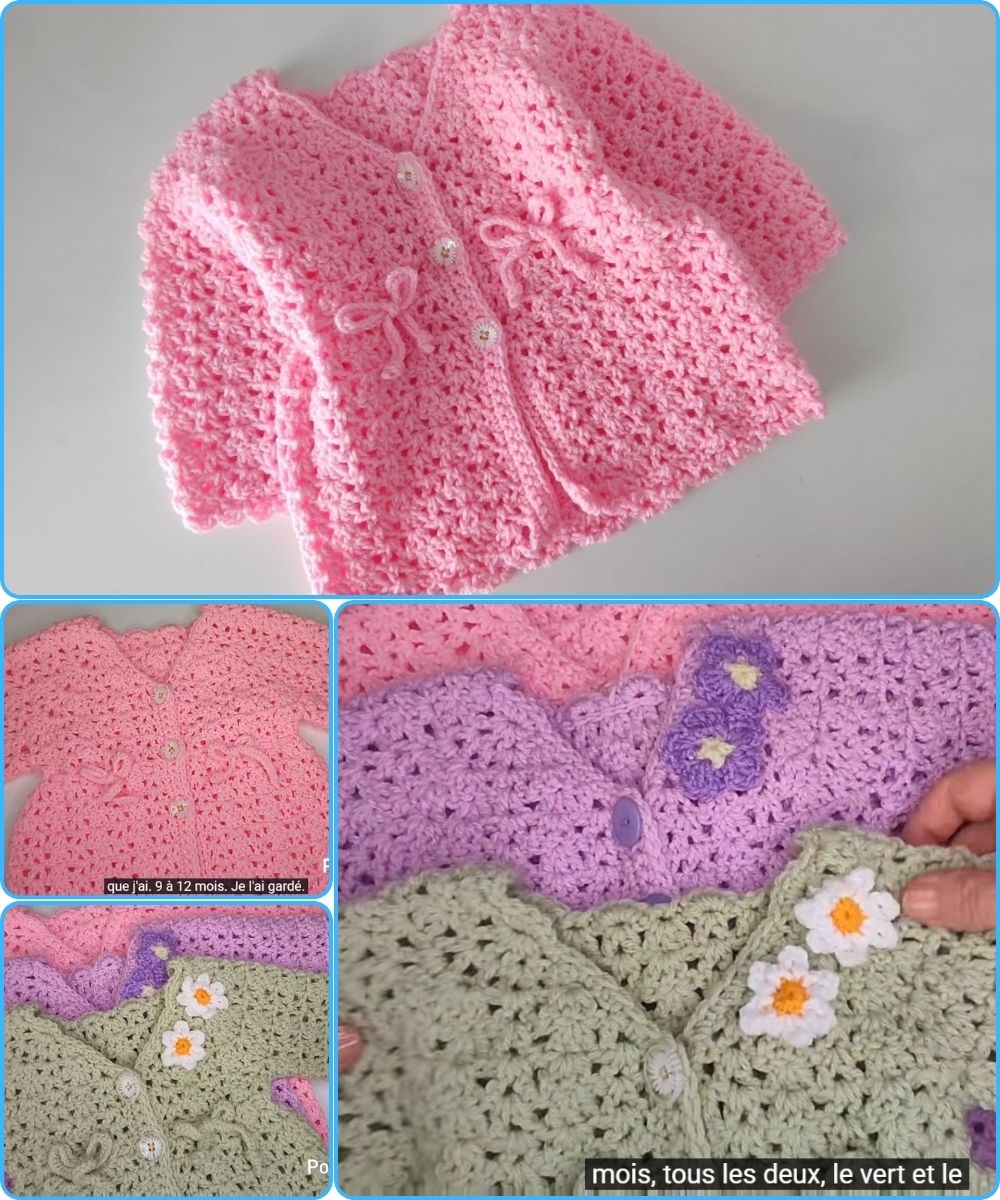
How to Crochet a Baby Girl Cardigan (0–12 Months)
Skill Level
Beginner to Easy-Intermediate
Materials Needed
-
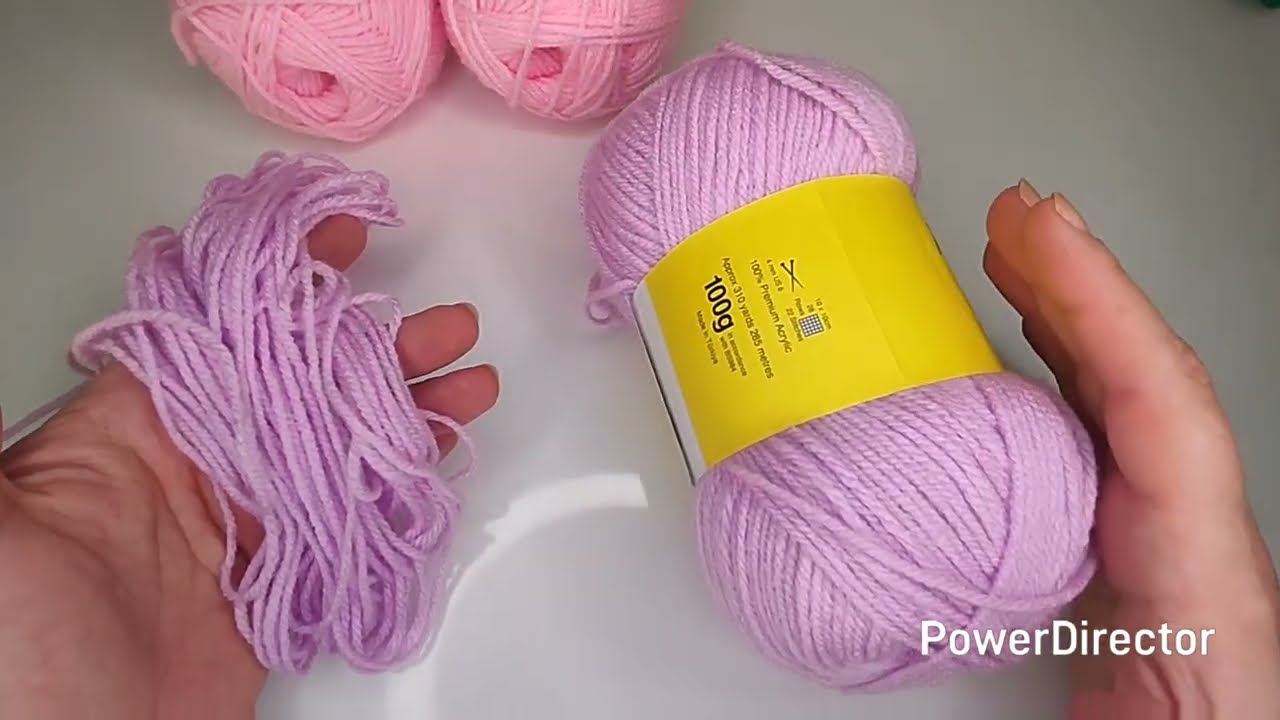
Yarn:
Soft baby yarn (DK or light worsted / Category 3)
– Approx. 200–300 grams depending on size
– Choose acrylic, cotton, or bamboo blends (gentle on baby skin) -
Crochet Hook:
4.0 mm or 4.5 mm (adjust to match gauge) -
Notions:
-
Yarn needle
-
Scissors
-
3–5 small buttons (optional)
-
Stitch markers (helpful)
-
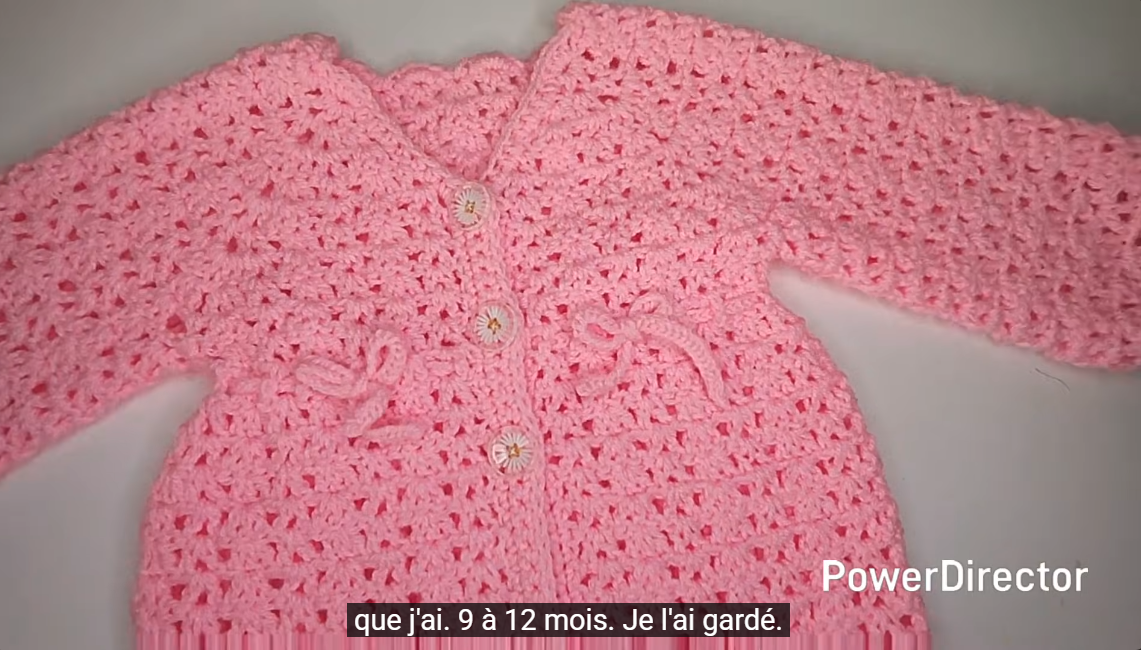
Size Guide (Approximate)
| Age | Chest Width | Length |
|---|---|---|
| 0–3 months | 18 cm | 22 cm |
| 3–6 months | 20 cm | 24 cm |
| 6–9 months | 22 cm | 26 cm |
| 9–12 months | 24 cm | 28 cm |
Tip: Babies grow fast—when in doubt, size up!
Stitches Used
-
ch – chain
-
sl st – slip stitch
-
sc – single crochet
-
dc – double crochet
-
inc – increase (2 stitches in same stitch)
Gauge (Important!)
-
10 dc x 5 rows = approx. 10 cm
Adjust hook size if needed.
Step 1: Start with the Yoke (Top-Down Method)
This cardigan is worked top-down, meaning no sewing of shoulders.
Foundation Chain
Chain 56–64 (depending on size).
Join with a sl st to form a ring, being careful not to twist.
Step 2: Yoke Increases
Round 1:
Ch 3 (counts as dc), dc in each stitch around.
Join with sl st.
Round 2:
Ch 3, dc 3, inc repeat around.
Join.
Round 3–6:
Continue increasing evenly to form a flat circle.
Place stitch markers to divide:
-
Left front
-
Sleeve
-
Back
-
Sleeve
-
Right front
Step 3: Separate Sleeves
Once yoke fits comfortably around baby’s shoulders:
-
Crochet across first front section
-
Chain 8–10 stitches (skip sleeve stitches)
-
Crochet across back
-
Chain again for second sleeve
-
Finish front section
This creates armholes.

Step 4: Crochet the Body
Work back and forth in rows (not in rounds).
Row Pattern (example):
Ch 2, dc across, turn.
Continue until cardigan reaches desired length:
-
22–28 cm depending on size
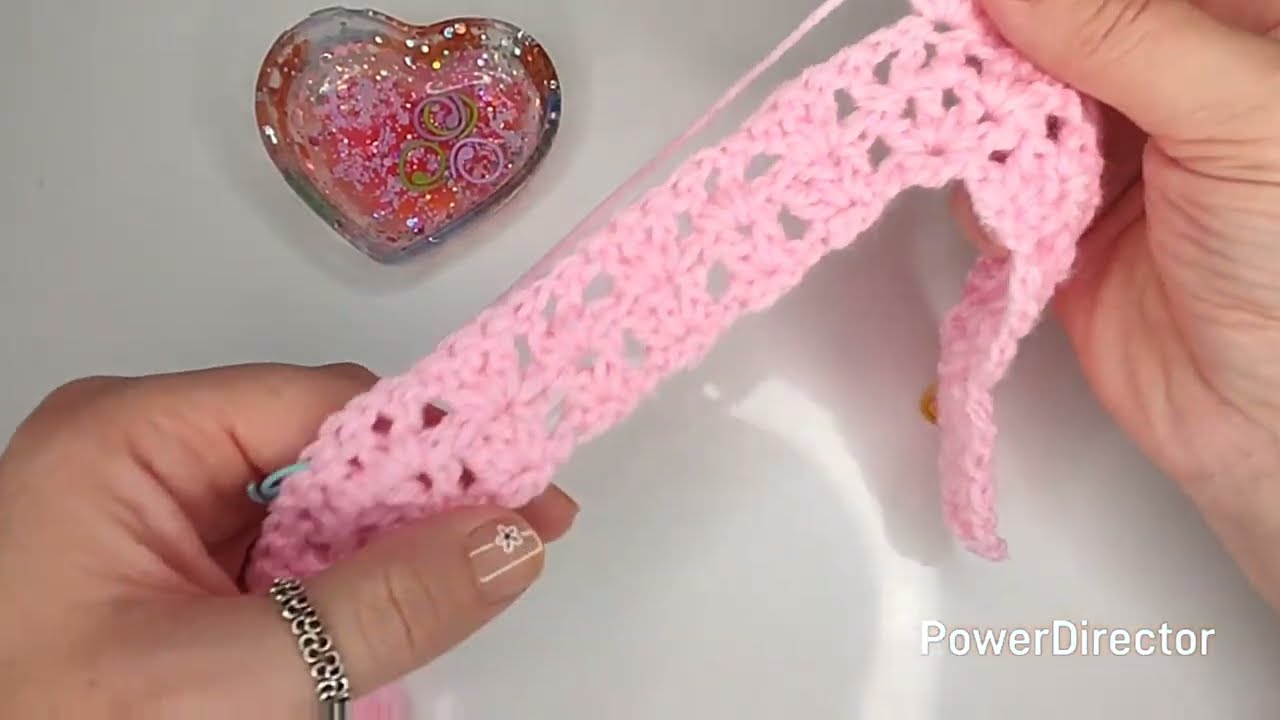
Optional:
Add a decorative stitch (shells or picots) at the bottom.
Step 5: Sleeves
Attach yarn at armhole.
Round 1:
Dc evenly around opening.
Rounds 2–10:
Dc in rounds until sleeve reaches wrist length.
Decrease slightly for a snug fit.
Finish with sc or decorative edging.

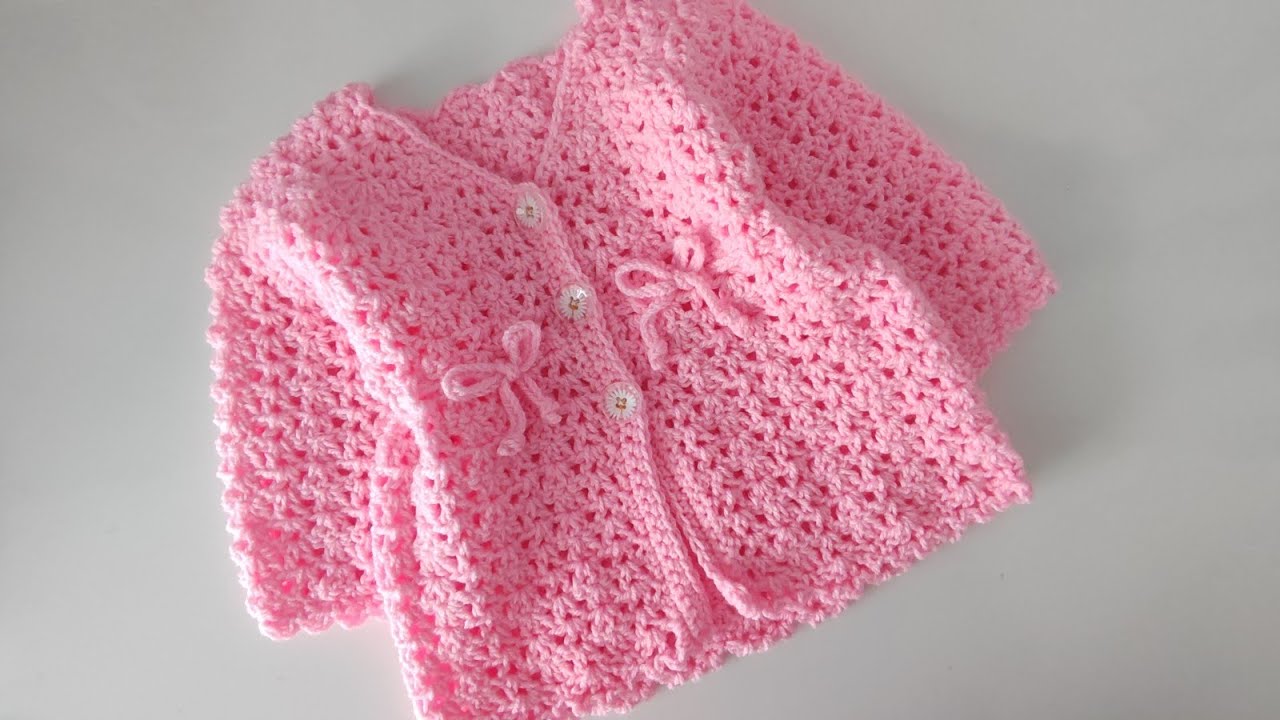
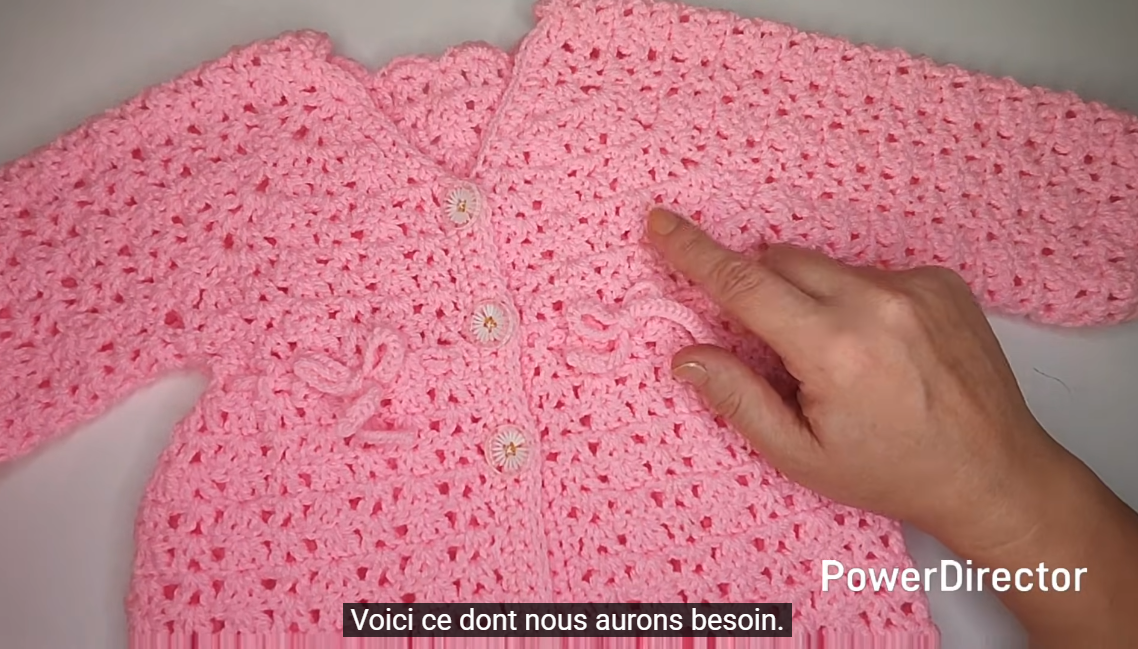
Step 6: Front Edging & Button Band
Attach yarn at bottom edge.
-
Sc evenly up one side
-
Ch spaces for buttonholes on one side
-
Continue across neck and down other side
Repeat for 2–3 rows for firmness.
Step 7: Finishing Touches
-
Sew on buttons securely
-
Weave in all ends
-
Lightly steam or block (do not stretch)
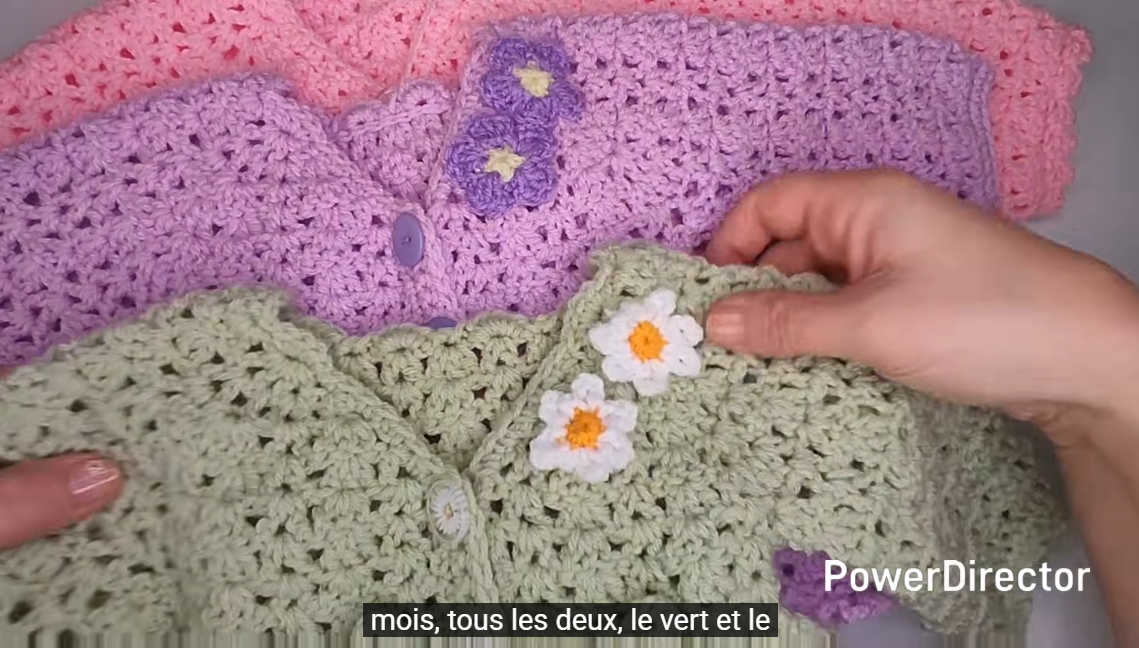
Optional Decorations
🎀 Add a small bow
🌸 Crochet flower appliqués
✨ Contrast color edging
🧵 Satin ribbon tie instead of buttons
Safety Tips for Baby Clothing
-
Avoid long ties or loose buttons
-
Use soft, non-itchy yarn
-
Secure all embellishments tightly
Final Thoughts
This top-down baby cardigan is adjustable, adorable, and perfect for beginners. Once you master it, you can easily change colors, stitches, or add lace details for a more feminine look 💕
If you’d like, I can also:
-
Simplify this into a short pattern
-
Create a PDF-style pattern
-
Adjust for newborn only or toddler sizes
-
Add photos or stitch diagrams (described)
Just tell me 😊
Watch tutorial: