by
by Below is a detailed, step-by-step guide on how to crochet a Granny Square Pullover for children aged 1–5 years. The pattern is written in simple terms so beginners can follow it easily.

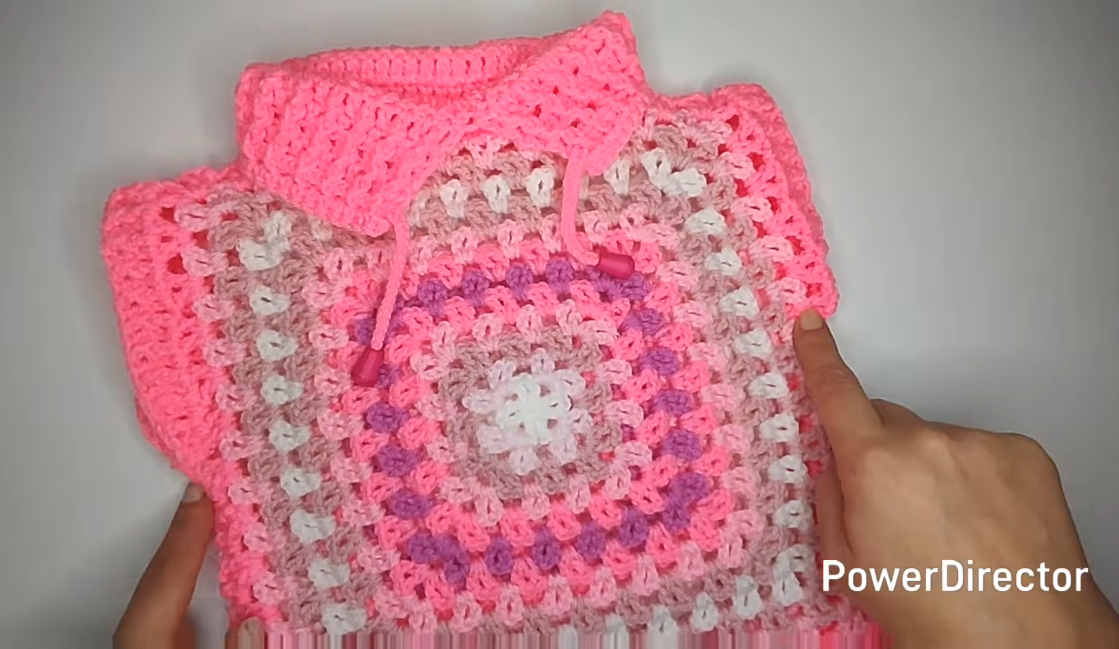
How to Crochet a Granny Square Pullover (Ages 1–5 Years)
A granny square pullover is a classic, cozy handmade sweater made by joining crochet granny squares. It is comfortable, adjustable, and perfect for toddlers and young children.
Materials Needed
-
Yarn:
-
Medium weight yarn (Category 4 – worsted weight)
-
Soft cotton or acrylic yarn is best for children
-
Approximate yarn required:
-
Age 1–2: 250–300 g
-
Age 3–4: 300–350 g
-
Age 5: 350–400 g
-
-
-
Crochet Hook:
-
4.0 mm – 5.0 mm (choose based on yarn label)
-
-
Other Tools:
-
Yarn needle
-
Scissors
-
Measuring tape
-
Stitch markers (optional)
-
Crochet Abbreviations (US Terms)
-
ch – chain
-
sl st – slip stitch
-
sc – single crochet
-
dc – double crochet
-
sp – space
-
rep – repeat
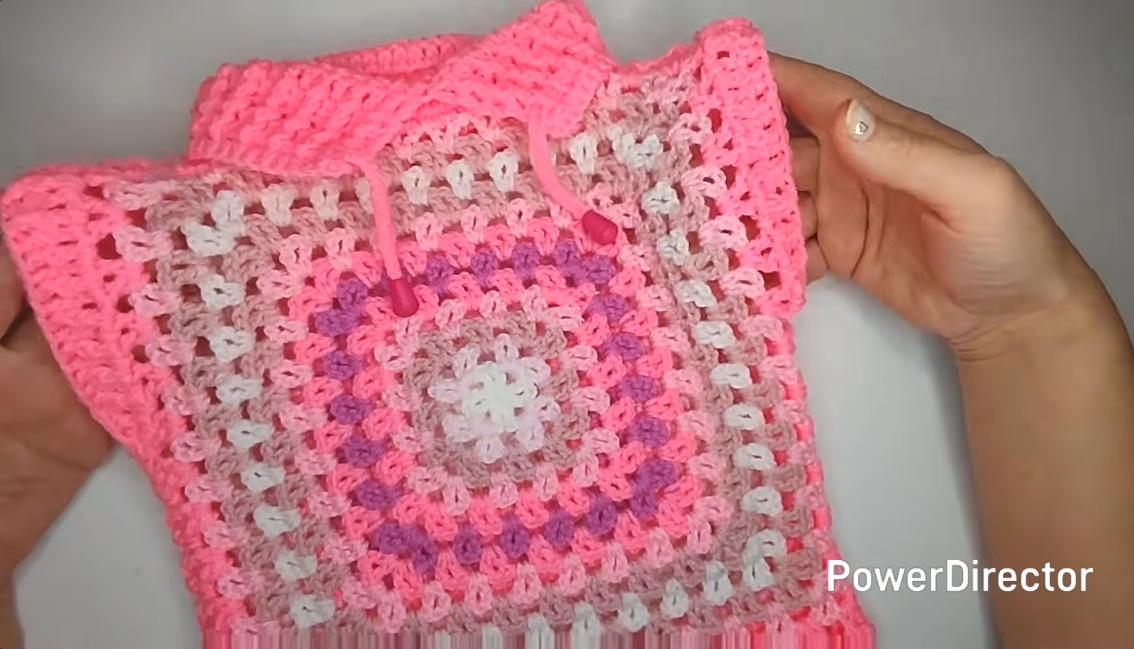
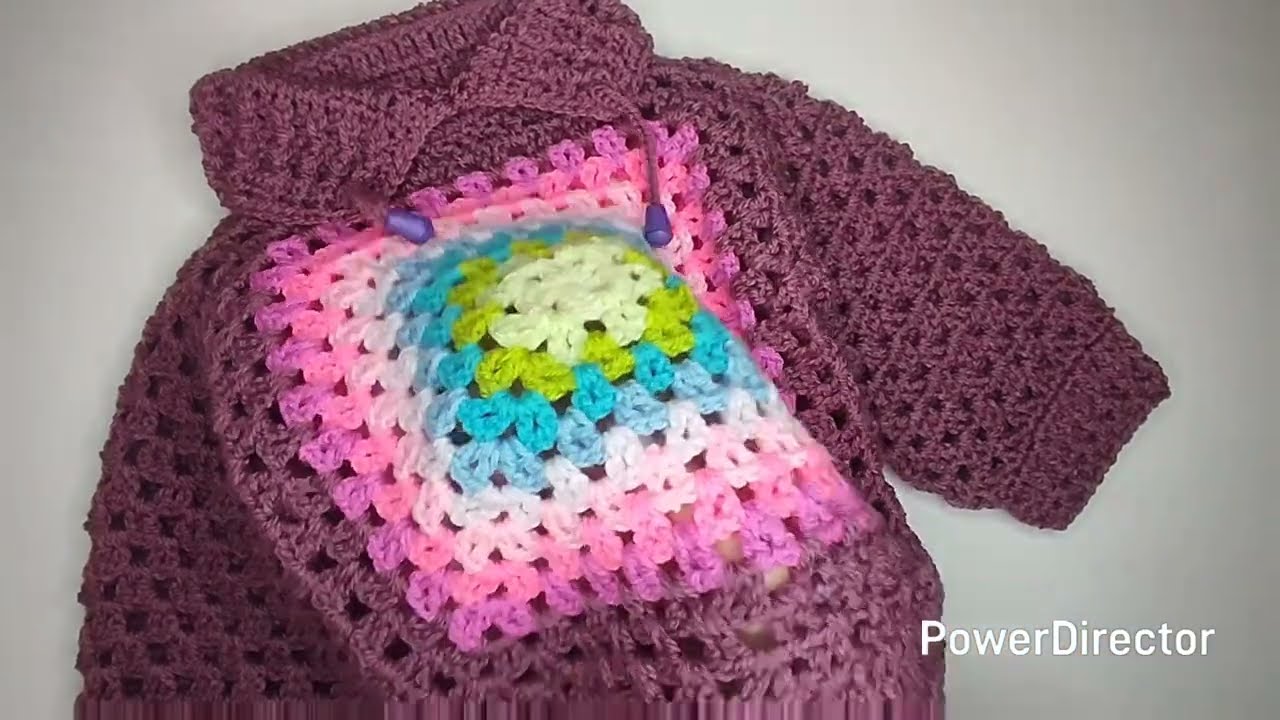
Step 1: Crochet the Granny Squares
Each pullover is made from basic granny squares.
Basic Granny Square Pattern
-
Magic Ring (or ch 4, sl st to form a ring)
-
Round 1:
-
Ch 3 (counts as first dc)
-
2 dc into ring
-
Ch 2
-
3 dc, ch 2 – repeat 3 more times
-
Sl st into top of ch 3
-
-
Round 2:
-
Sl st to next ch-2 corner
-
Ch 3, 2 dc, ch 2, 3 dc in same space
-
Ch 1
-
3 dc, ch 2, 3 dc in next corner, ch 1 – repeat around
-
Sl st to join
-
-
Round 3+:
-
Continue same pattern
-
3 dc in each side space
-
(3 dc, ch 2, 3 dc) in each corner
-
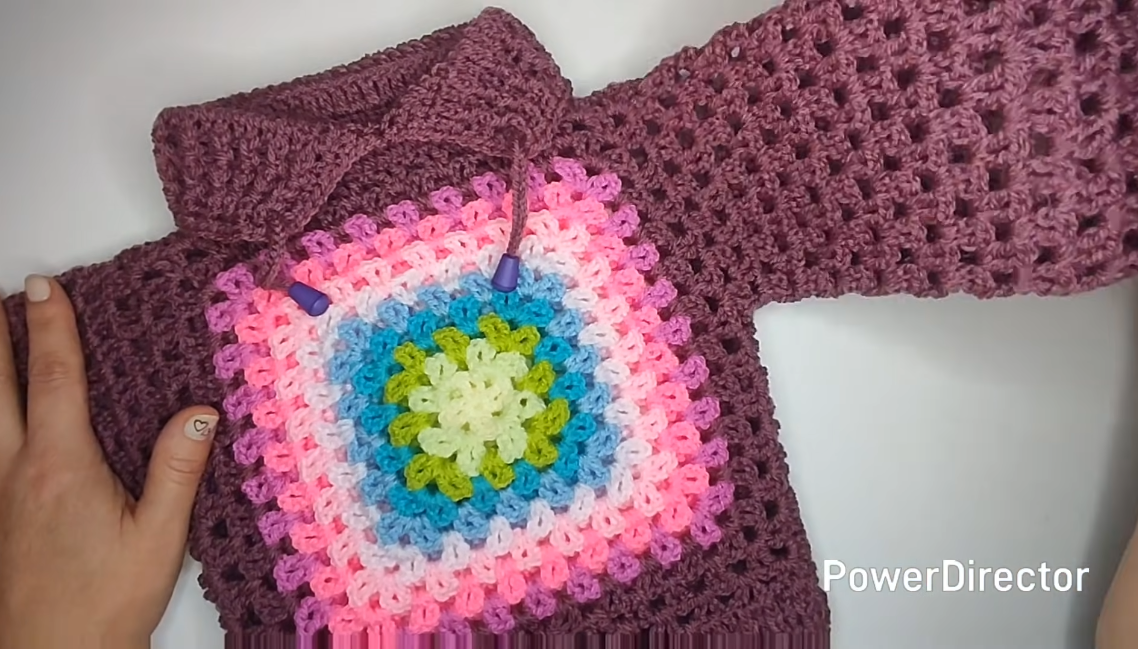
Step 2: Square Size by Age
Crochet squares until they reach the following approximate sizes:
| Age | Square Size |
|---|---|
| 1–2 years | 5–6 inches |
| 3–4 years | 6–7 inches |
| 5 years | 7–8 inches |
Step 3: Number of Squares Needed
| Part | Number of Squares |
|---|---|
| Front | 1 square |
| Back | 1 square |
| Sleeves | 2 squares (1 per sleeve) |
Total squares: 4
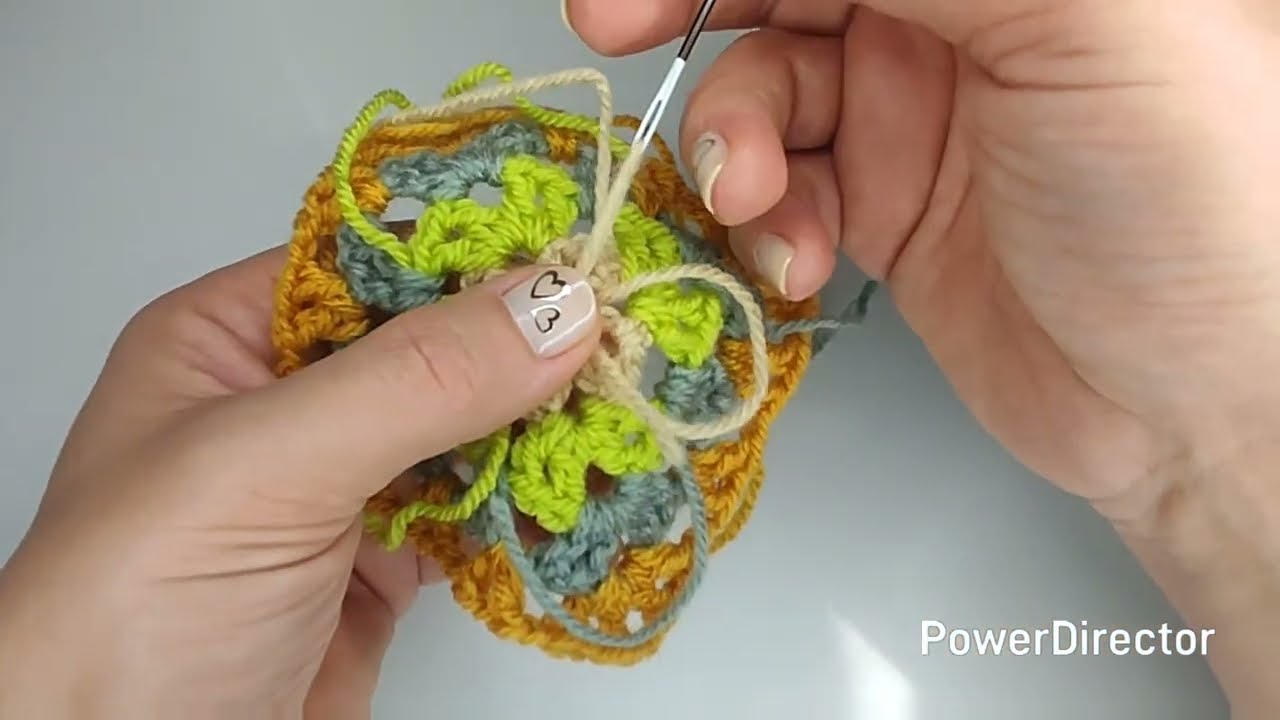
Step 4: Joining the Squares
Lay the squares flat:
-
Place front and back squares together
-
Attach one square to each side for sleeves
Joining Method (Simple Whip Stitch or Slip Stitch)
-
Use a yarn needle or crochet hook
-
Join shoulders first
-
Leave space in the center for the neck opening
-
Join side seams, leaving space at the bottom for armholes
Step 5: Crochet the Sleeves
-
Attach yarn at the armhole
-
Crochet in rounds using:
-
3 dc clusters (granny stitch)
-
-
Decrease gradually by skipping clusters every few rounds
-
Continue until sleeve reaches desired length:
-
6–7 inches for ages 1–3
-
8–9 inches for ages 4–5
-
-
Finish sleeve with:
-
1 round of sc for neat edges
-
Repeat for the second sleeve.

Step 6: Crochet the Body Length
-
Attach yarn at bottom edge of pullover
-
Work granny stitch rounds evenly around
-
Crochet until desired length:
-
Age 1–2: 10–11 inches
-
Age 3–4: 12–13 inches
-
Age 5: 14 inches
-
-
Finish with 1–2 rounds of sc or dc for a clean border
Step 7: Neckline Border
-
Attach yarn around neck opening
-
Crochet 1–2 rounds of sc
-
Optional:
-
Add picot stitch or shell stitch for decoration
-
Step 8: Finishing Touches
-
Weave in all loose ends
-
Lightly block the pullover to shape
-
Optional:
-
Add buttons
-
Add a hood
-
Use color-changing granny squares for a fun look
-
Tips for Best Results
-
Always measure the child or compare with an existing sweater
-
Choose soft, non-itchy yarn
-
Keep stitches loose for comfort
-
Adjust square size easily for growth
Conclusion
A granny square pullover is a beautiful and beginner-friendly crochet project for children aged 1–5 years. With just a few squares and basic stitches, you can create a warm, colorful, and handmade garment that grows with the child.
If you’d like, I can also:
-
Write this as a PDF pattern
-
Create a size-specific pattern
-
Add pictures or stitch charts
-
Simplify it further for beginners 😊
Watch tutorial: