by
by Below is a detailed, step-by-step guide on how to crochet a boys’ V-neck cardigan. This is written in a clear, beginner-to-intermediate friendly way and can be adjusted for different sizes.
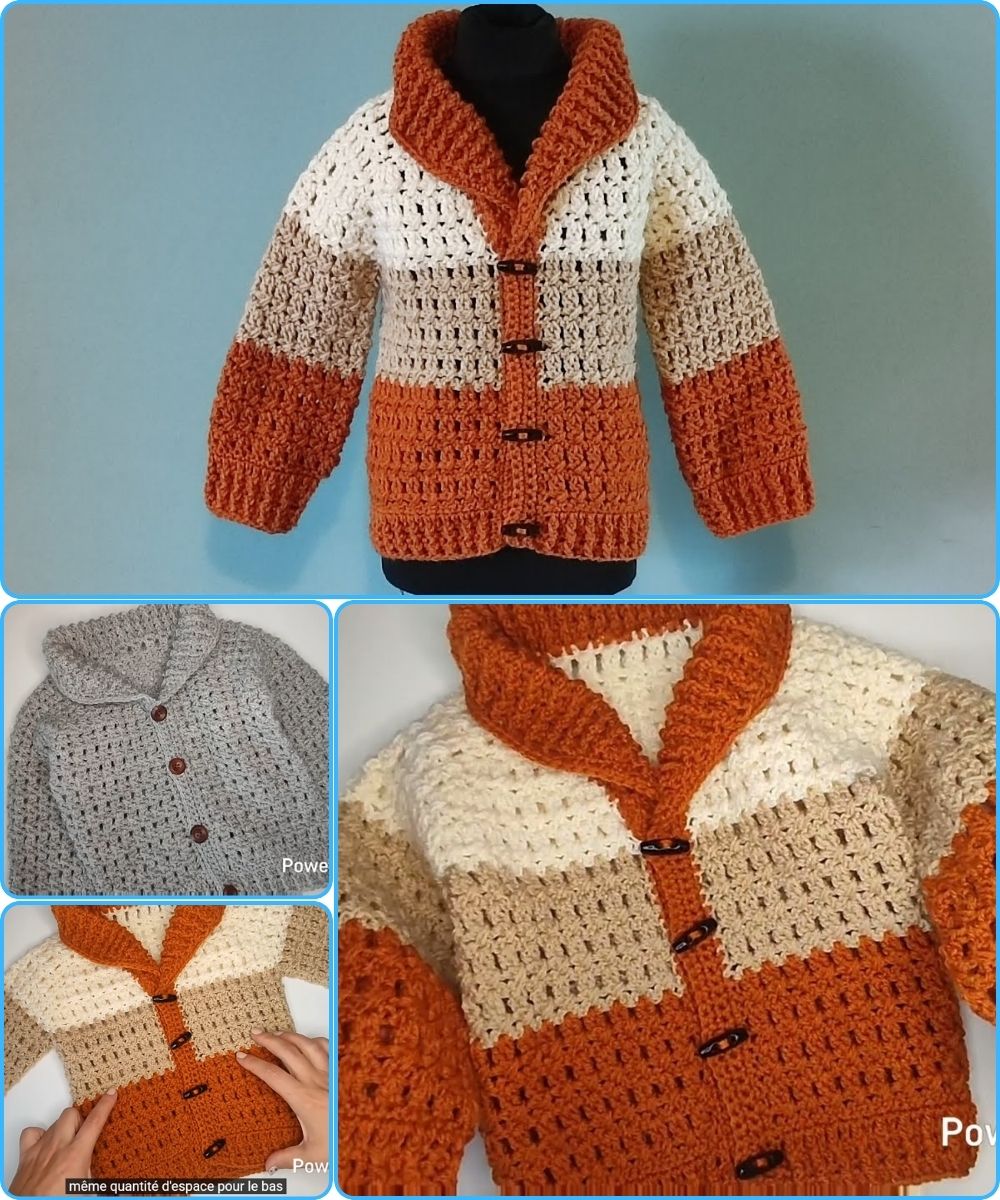
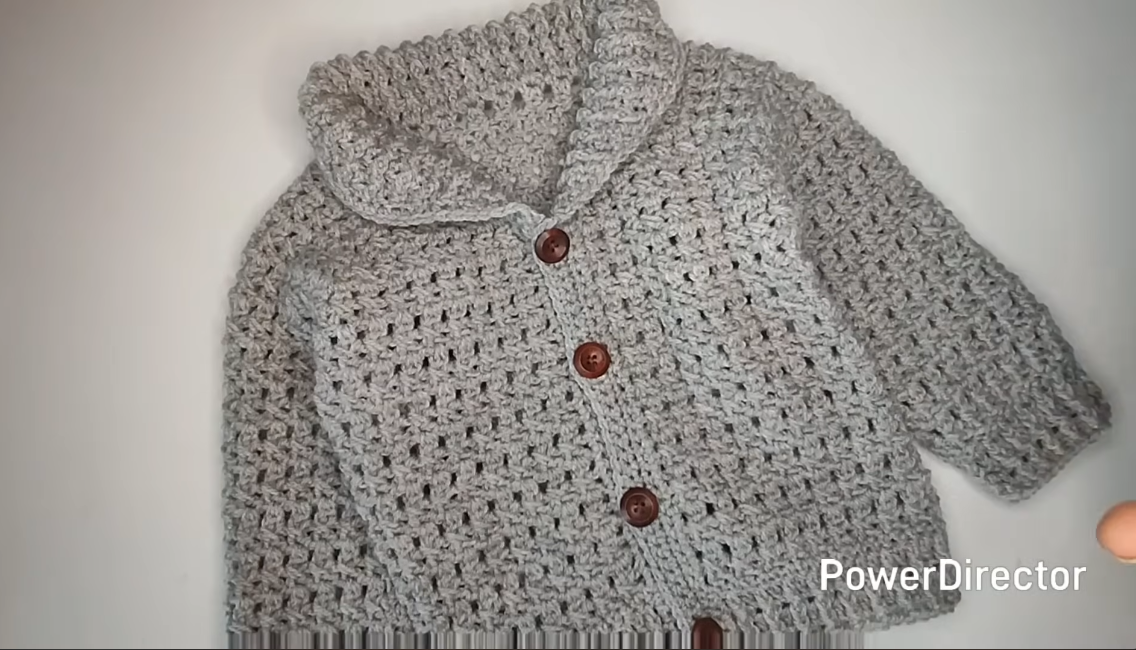
How to Crochet a Boys’ V-Neck Cardigan
A crocheted V-neck cardigan is a classic and comfortable garment for boys. It is perfect for layering in cooler weather and can be customized with colors, buttons, and sizing. This guide explains the materials needed, basic stitches, and the construction process.
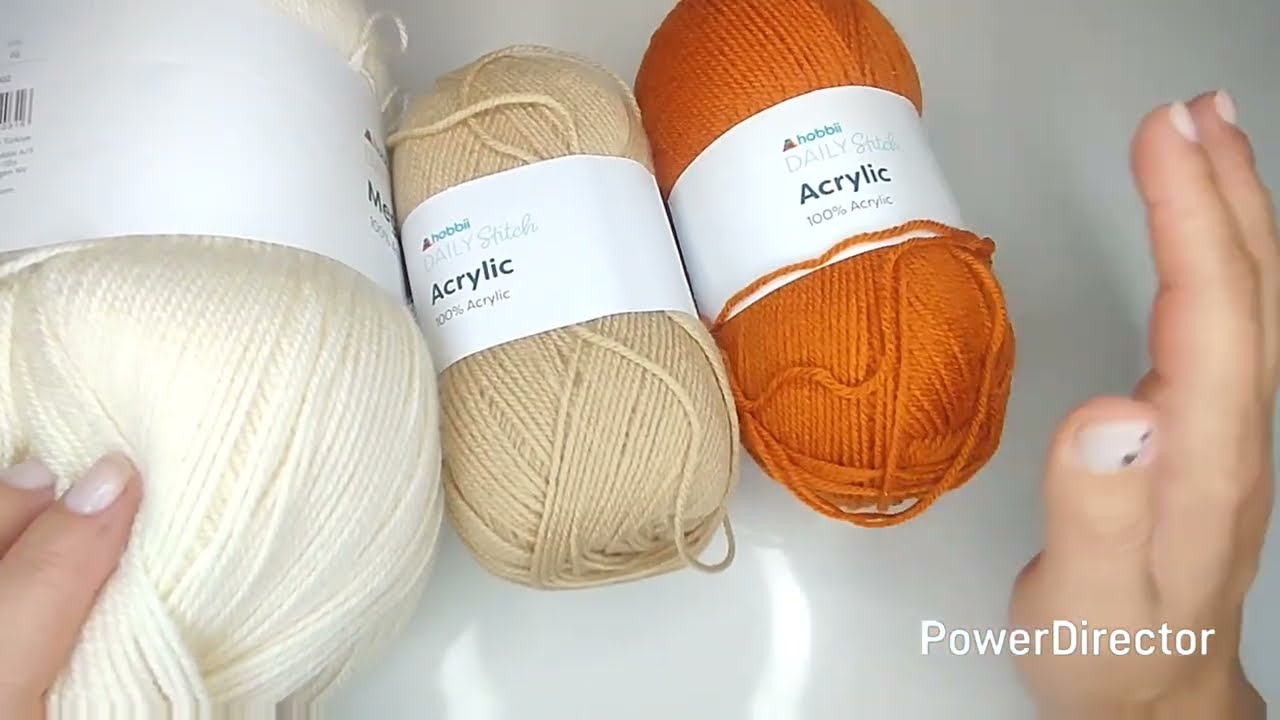
Materials Required
-
Yarn: Medium weight (worsted weight, size 4) yarn
Choose soft, washable yarn suitable for children. -
Hook: 4.5 mm – 5 mm crochet hook (check yarn label)
-
Buttons: 4–6 buttons (depending on size)
-
Yarn needle
-
Scissors
-
Measuring tape
Crochet Stitches Used
-
ch – chain
-
sl st – slip stitch
-
sc – single crochet
-
hdc – half double crochet
-
dc – double crochet
-
inc – increase
-
dec – decrease
(You can use all double crochet for a lighter cardigan or half double crochet for a denser fabric.)
Step 1: Make a Gauge Swatch
Before starting, crochet a small swatch using your chosen stitch.
Measure how many stitches and rows equal 10 cm (4 inches). This helps ensure the cardigan fits correctly.
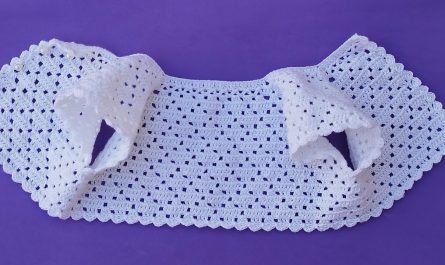
Step 2: Crochet the Back Panel
-
Chain enough stitches to match the back width of the cardigan.
-
Row 1: Work hdc or dc across the chain.
-
Row 2 and onward: Chain 2 (or 3 for dc), turn, and work the same stitch across.
-
Continue until the back panel reaches from the bottom hem to the shoulder.
-
Fasten off.
Step 3: Crochet the Front Panels (Left and Right)
Each front side is made separately.
Left Front Panel
-
Chain about half the width of the back panel.
-
Work straight rows until reaching the armhole height.
-
To create the V-neck shape, decrease 1 stitch at the neckline edge every 2–3 rows.
-
Continue until the front panel is the same height as the back panel.
-
Fasten off.
Right Front Panel
Repeat the same steps, but make sure the V-neck decreases are mirrored.
Step 4: Crochet the Sleeves
-
Chain enough stitches to fit around the upper arm.
-
Join with a slip stitch to form a round.
-
Work in rounds using hdc or dc.
-
Increase evenly every few rounds to shape the sleeve.
-
Continue until sleeve reaches wrist length.
-
Finish with a few rows of ribbing (front post and back post stitches if desired).
-
Make the second sleeve the same way.
Step 5: Assemble the Cardigan
-
Lay the pieces flat.
-
Sew the shoulder seams.
-
Attach sleeves to armholes.
-
Sew side seams and sleeve seams.
-
Weave in all loose ends.
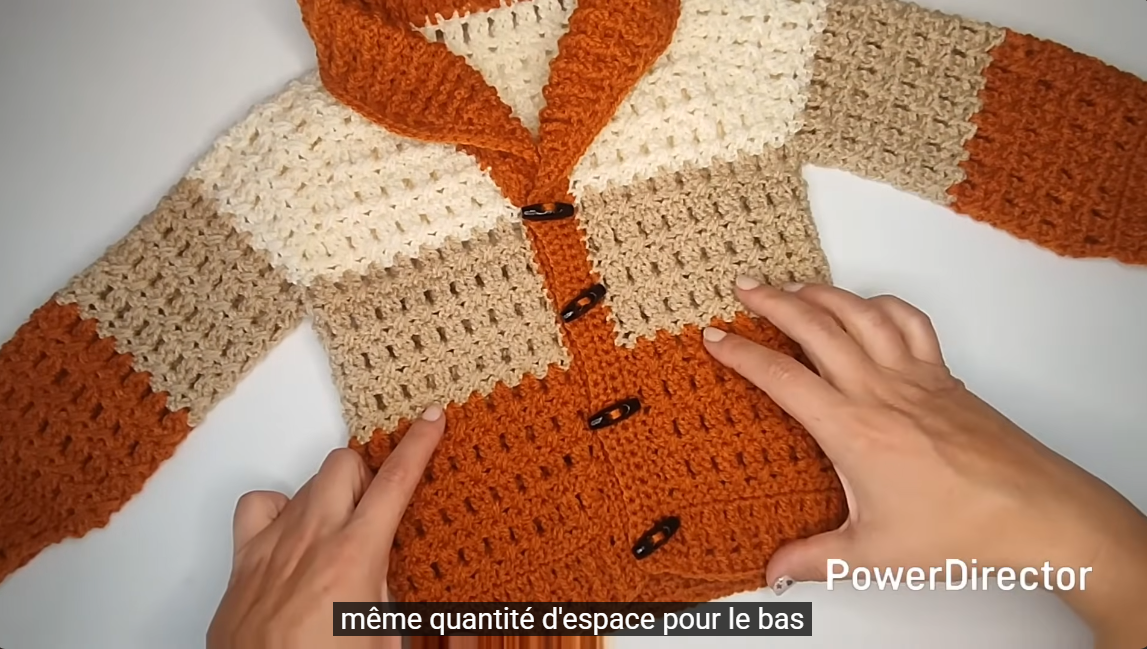
Step 6: Create the V-Neck Border and Button Band
-
Attach yarn at the bottom of one front panel.
-
Single crochet evenly up the front edge, around the V-neck, and down the other side.
-
For the button band:
-
On one side, create buttonholes by chaining 2–3 stitches and skipping stitches.
-
-
Work 2–3 rows for a neat finish.
-
Sew buttons onto the opposite side.
Step 7: Finishing Touches
-
Check measurements and fit.
-
Block lightly if needed.
-
Trim any excess yarn.
Tips for Success
-
Always count stitches when shaping the V-neck.
-
Use stitch markers to keep decreases even.
-
Choose soft, non-itchy yarn for children.
-
Try the cardigan on (if possible) before adding buttons.
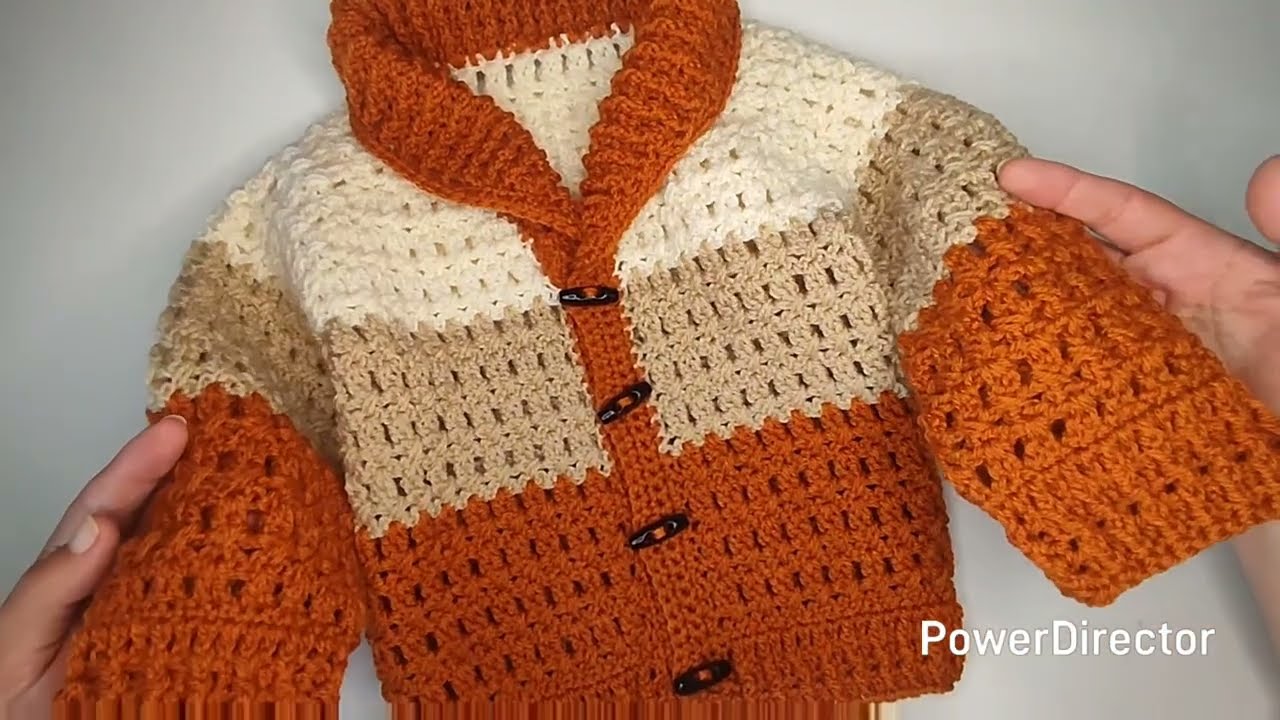
Conclusion
Crocheting a boys’ V-neck cardigan is a rewarding project that combines simple stitches with basic shaping. With careful measuring and patience, you can create a stylish, warm, and handmade garment perfect for everyday wear or special occasions.
If you’d like, I can also:
-
Adjust this for a specific age (1–2 yrs, 4–5 yrs, 8–10 yrs)
-
Convert it into a pattern with exact stitch counts
-
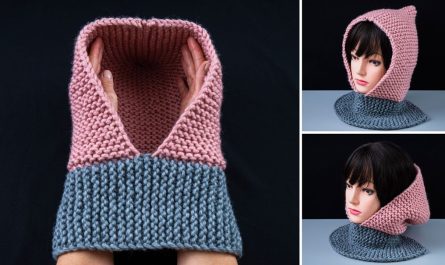
Add ribbed cuffs or hood instructions
Watch tutorial: