by
by Below is a detailed, step-by-step crochet pattern for a Baby Ruffle Coat that fits 0–12 months. The pattern is written so you can easily adjust size within that age range.
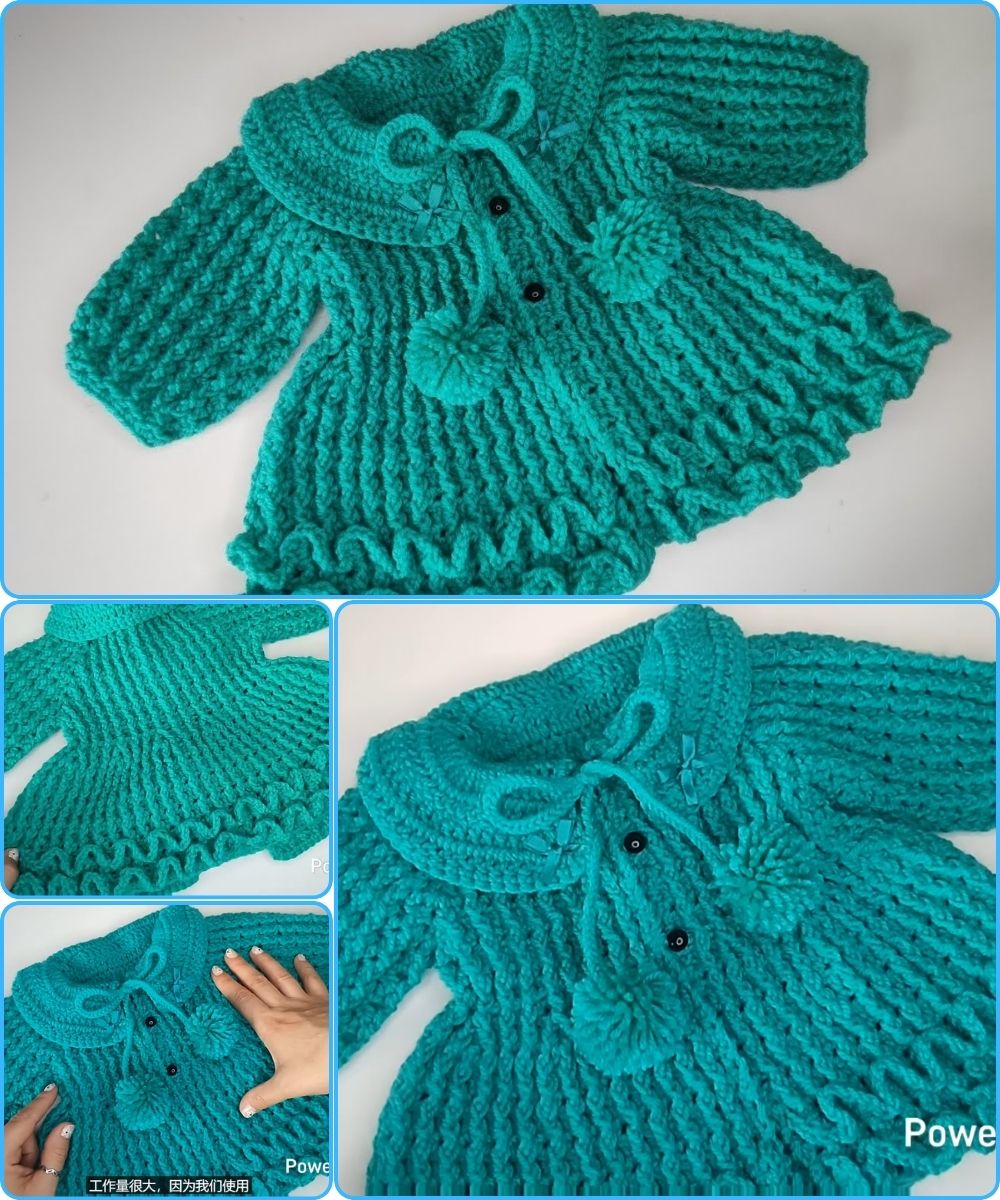
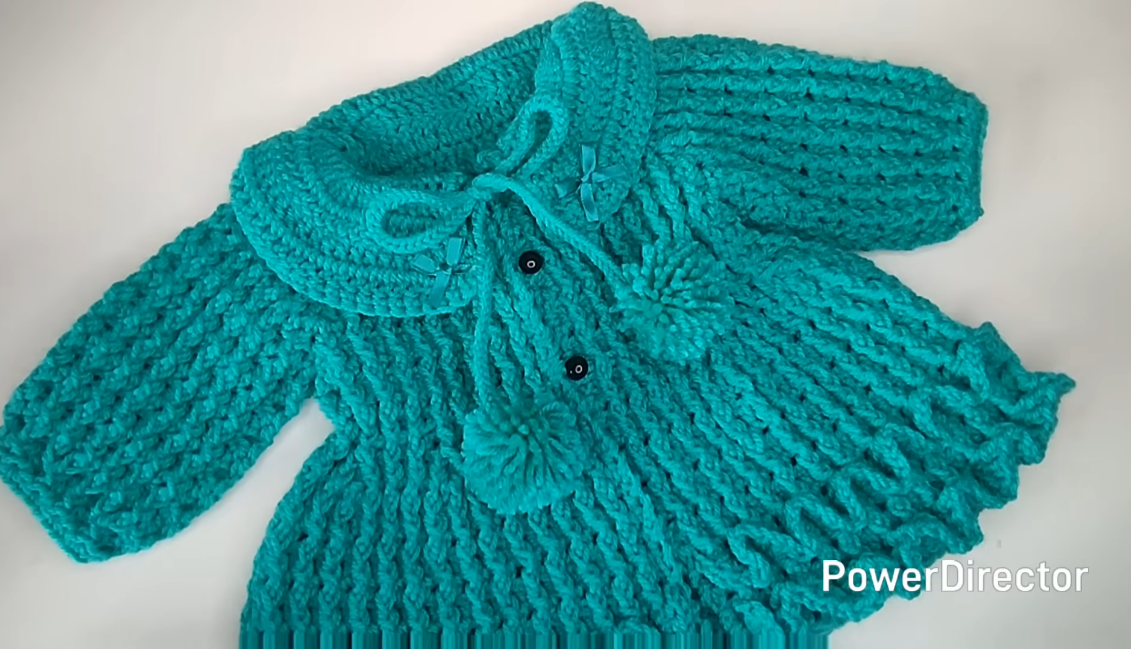
Baby Ruffle Coat (0–12 Months) – Crochet Pattern
Skill Level
Intermediate (comfortable with increases, working in rows, and basic shaping)
Materials Needed
-
Yarn: DK or light worsted weight (Category 3 or light 4)
Approx. 250–350 grams (depending on length and ruffle fullness) -
Hook: 4.0 mm (G) or size needed to obtain gauge
-
Buttons: 3–4 small baby-safe buttons
-
Yarn needle
-
Scissors
-
Stitch markers (optional)
Gauge (Important)
-
16 stitches x 10 rows = 4” (10 cm) in double crochet
Gauge is not extremely strict, but size may vary if off.
Finished Size Guide
-
0–3 months: Chest ~18”
-
3–6 months: Chest ~19–20”
-
6–12 months: Chest ~21–22”
Length can be adjusted easily by adding or removing rows.

Crochet Abbreviations (US Terms)
-
ch = chain
-
sl st = slip stitch
-
sc = single crochet
-
hdc = half double crochet
-
dc = double crochet
-
inc = increase (2 stitches in same stitch)
-
rep = repeat
-
st(s) = stitch(es)
PART 1: YOKE (Worked Flat)
The coat is worked top-down, starting at the neckline.
Foundation Chain
-
0–3 months: ch 56
-
3–6 months: ch 60
-
6–12 months: ch 64
Row 1:
Dc in 4th ch from hook and in each ch across. Turn.

Yoke Increase Rows
Row 2:
Ch 3, dc in next 4 sts, 2 dc in next st,
dc in next 10 sts, 2 dc in next st,
dc in next 20 sts, 2 dc in next st,
dc in remaining sts. Turn.
Row 3–5:
Ch 3, dc across, placing 2 dc in each increase stitch from previous row.
👉 This creates shaping for shoulders and sleeves.
PART 2: SPLIT FOR SLEEVES
Row 6:
Ch 3, dc across until first sleeve section,
skip sleeve stitches, ch 5,
dc across back section,
skip second sleeve section, ch 5,
dc to end. Turn.
👉 Body is now separate from sleeves.
PART 3: BODY OF THE COAT
Row 7–12 (or longer):
Ch 3, dc evenly across. Turn.
-
Adjust length here depending on baby size.
-
Stop around mid-thigh length for a coat.
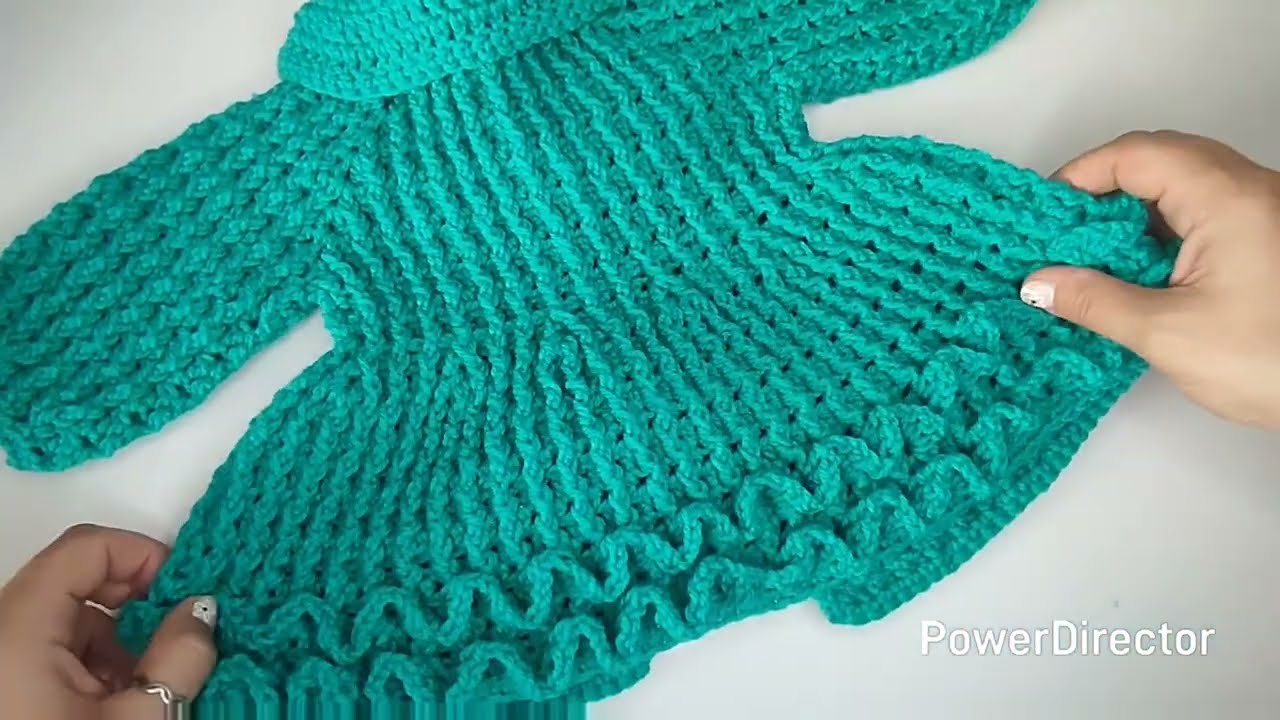
PART 4: RUFFLE SECTION
This is where the coat flares beautifully.
Ruffle Increase Row
Row 13:
Ch 3, 2 dc in every stitch across. Turn.
Row 14–16:
Ch 3, dc across.
Optional Extra Fullness
For extra ruffle:
-
Add another increase row (2 dc in each st) before final rows.
PART 5: SLEEVES
Attach yarn to sleeve opening.
Round 1:
Ch 2, hdc evenly around sleeve opening, sl st to join.
Round 2–6:
Ch 2, hdc around.
(For longer sleeves, add more rounds.)
Sleeve Ruffle (Optional)
Final Round:
2 dc in each stitch around for a small ruffle cuff.
Fasten off.
Repeat for second sleeve.
PART 6: FRONT EDGING & BUTTON BAND
Attach yarn to bottom corner of front opening.
Row 1:
Sc evenly up one side, around neckline, and down other side.
Row 2:
Ch 1, sc across.
On one side, create buttonholes:
-
sc 2, ch 2, skip 2 sts (repeat evenly).

PART 7: FINISHING
-
Sew buttons opposite buttonholes.
-
Weave in all ends.
-
Lightly steam block (do not touch iron to yarn).
Customization Ideas
-
Add a hood instead of collar
-
Use shell stitch for ruffles
-
Add a tie belt at waist
-
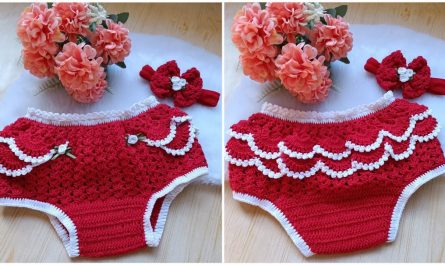
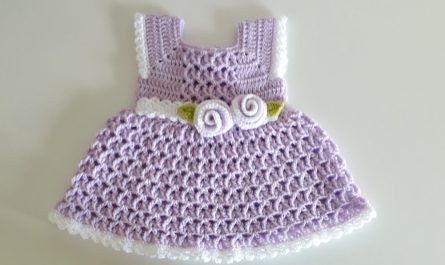
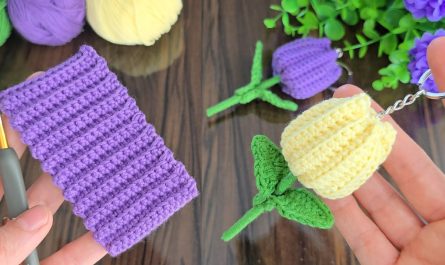
Crochet flowers or bows for decoration
If you want, I can:
-
Rewrite this into a short printable pattern
-
Convert it to UK crochet terms
-
Add a hooded version
-
Adjust it for newborn only or toddler sizes
Just tell me 😊
Watch tutorial: