 by
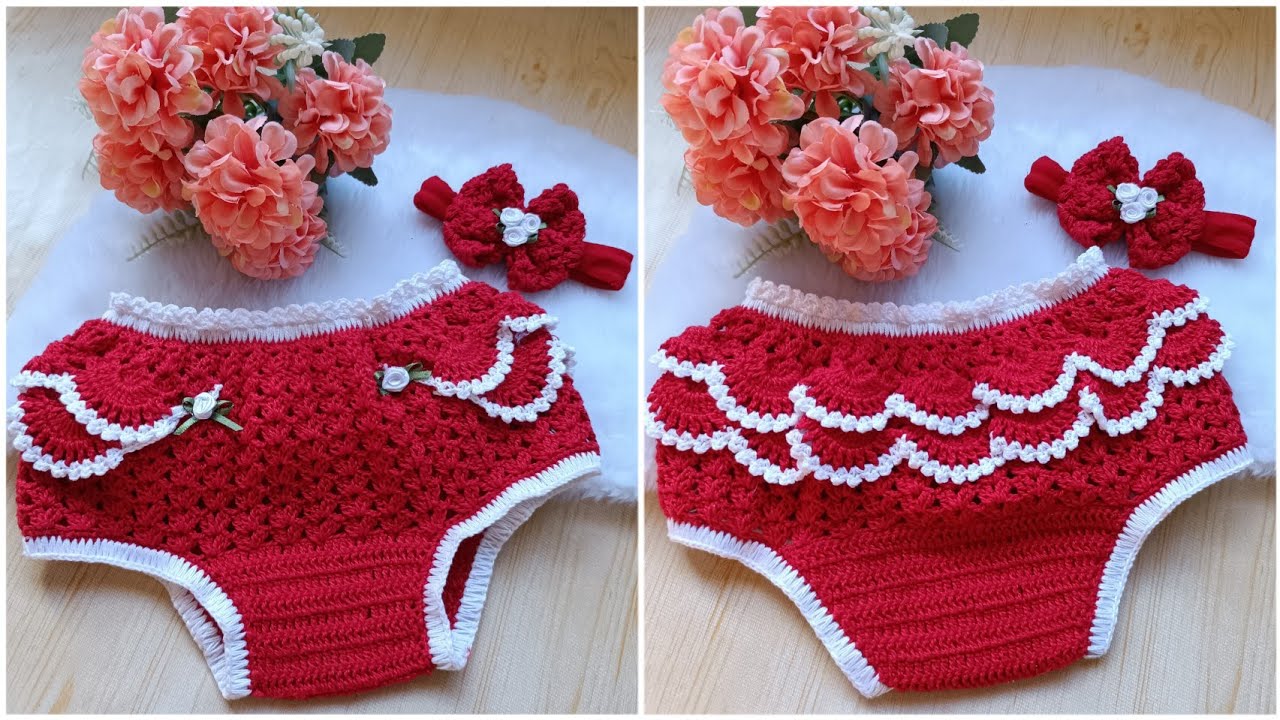
by Sure! Here’s a detailed guide on how to make children’s crochet panties. This is a beginner-to-intermediate level project and can be customized based on age, size, and design preference.
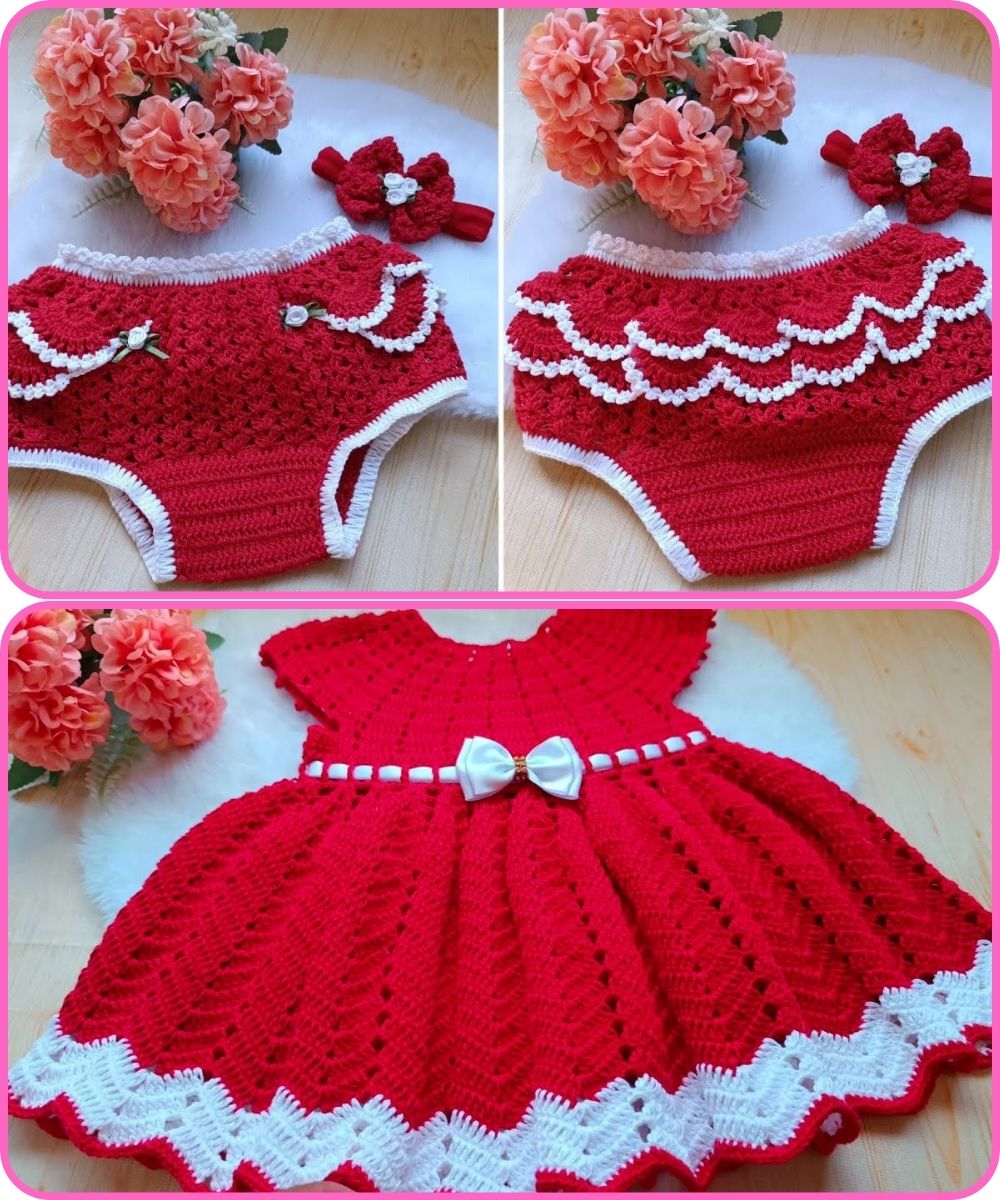
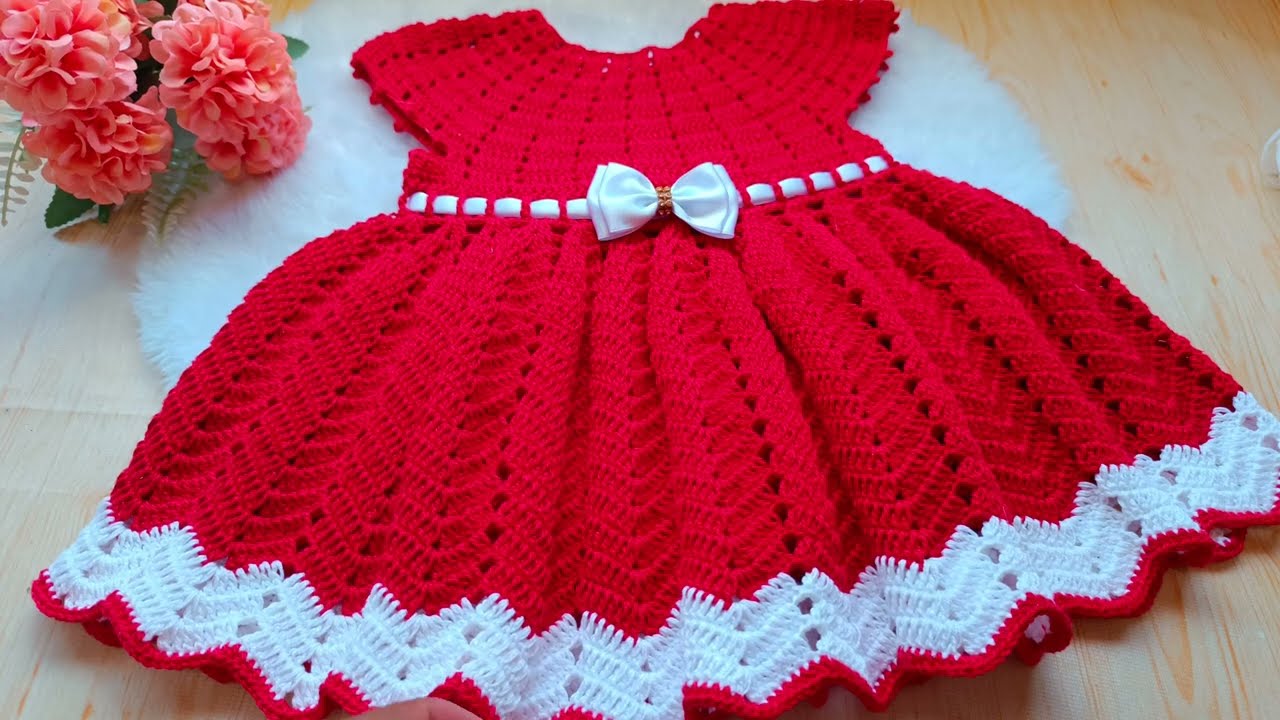
How to Make Children’s Crochet Panties (Step-by-Step Guide)
Materials You’ll Need:
-
Yarn:
-
Use soft, breathable, and washable yarn suitable for children (e.g., 100% cotton or cotton-blend).
-
Choose a lightweight yarn – Sport (2) or DK (3) is ideal.
-
-
Crochet hook:
-
Size depends on yarn weight, typically 3.5mm – 4mm (E – G).
-
-
Scissors
-
Stitch markers
-
Measuring tape
-
Yarn needle (for weaving in ends)
-
Elastic band (optional, for waistband support)
-
Pattern or size chart (for accurate sizing)
Step 1: Determine the Size
Use the child’s measurements or refer to a standard size chart:
| Age | Waist (inches) | Hip (inches) | Rise (inches) |
|---|---|---|---|
| 1–2 yrs | 18–19 | 20–21 | 6.5–7 |
| 2–3 yrs | 19–20 | 21–22 | 7–7.5 |
| 3–4 yrs | 20–21 | 22–23 | 7.5–8 |
Rise is the distance from the crotch to the waistband.
Step 2: Start with the Waistband
Option A: Elastic Waistband (More secure)
-
Crochet a casing and insert a soft elastic band.
Option B: Ribbed Crochet Waistband
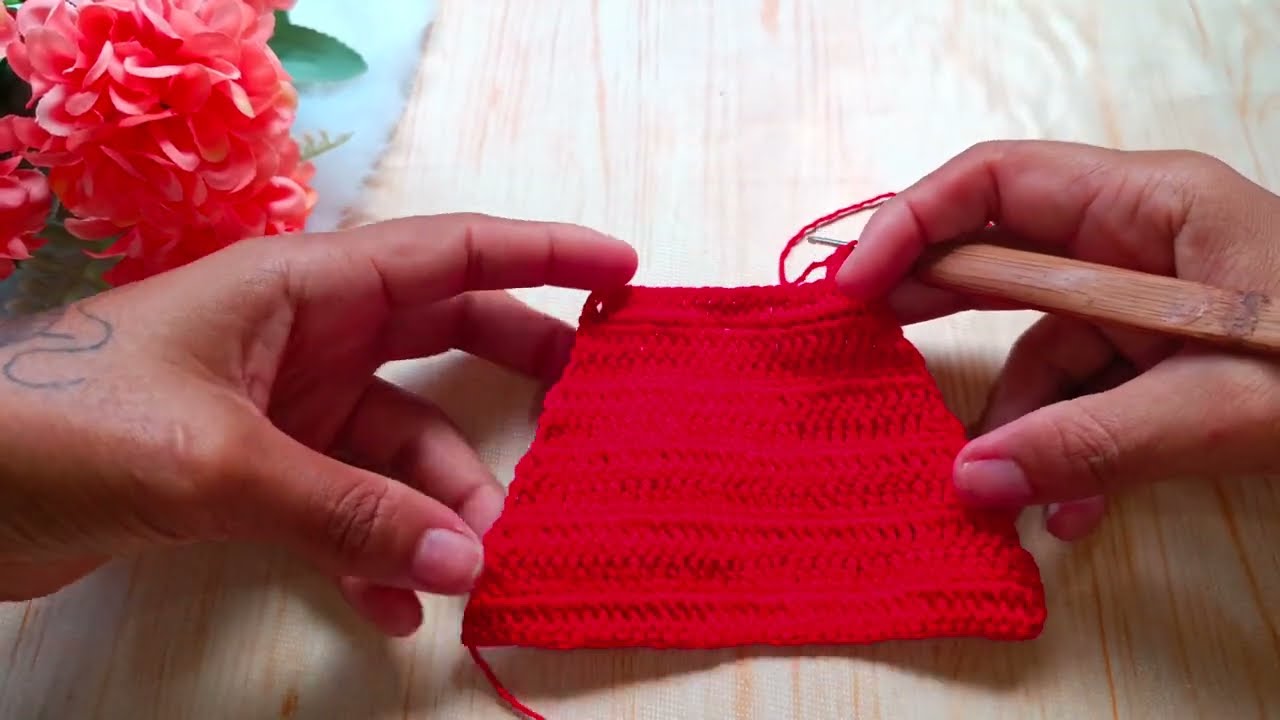
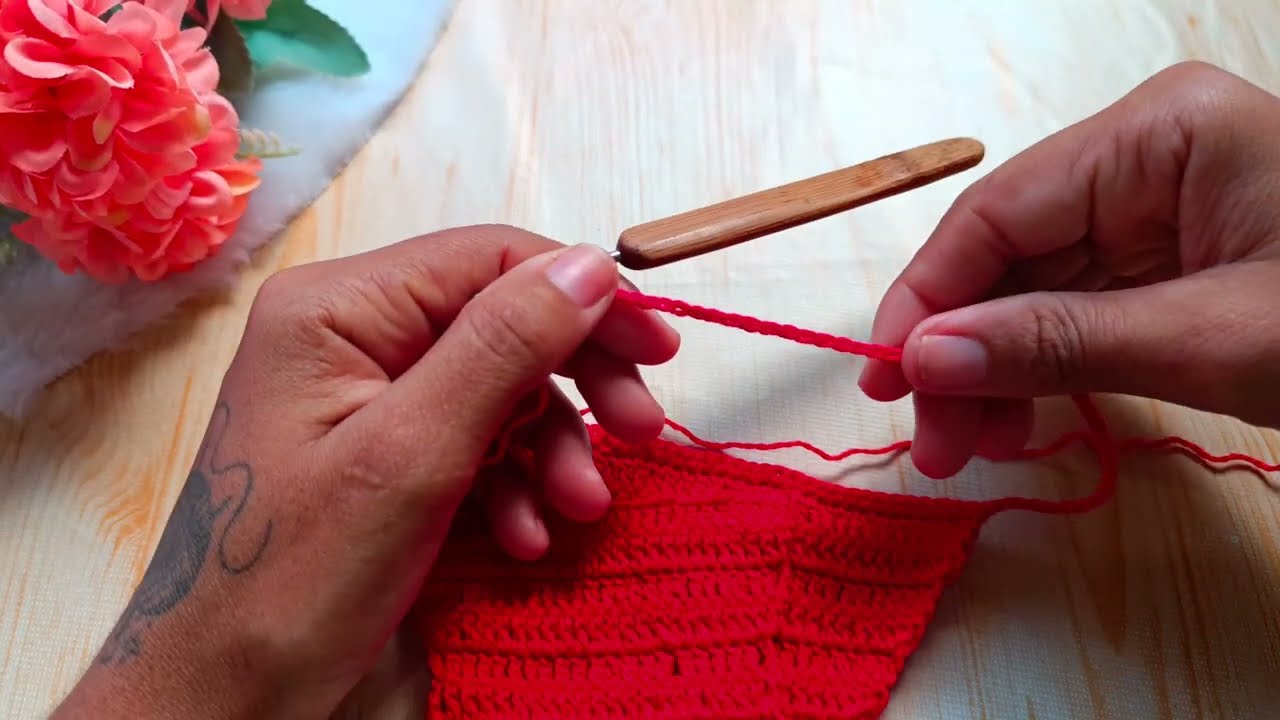
Step 3: Crochet the Body of the Panties
With waistband joined, now build the main body.
Back and Front Panels (Worked in the round or rows)
-
Join yarn to waistband edge.
-
Round 1: Work single crochet or half double crochet (hdc) evenly around waistband – use stitch markers to indicate sides.
-
Rounds 2–6: Continue in hdc or double crochet (dc), increasing slightly at hips for shaping.
To increase: 2 hdc in same stitch at 4 evenly spaced points.
-
Front shaping:
-
After a few rounds, reduce stitches slightly in front for crotch shaping.
-
You can work in rows now instead of rounds.
-
Step 4: Crotch Panel
-
From front edge, chain across crotch (based on rise length).
-
Example: Ch 8–12 (depends on size).
-
-
Join to back panel with slip stitch.
-
Work 3–4 rows across this chain with sc or hdc for added fabric.
Step 5: Finishing the Edges
-
Leg holes:
-
Work sc or reverse sc (crab stitch) around leg holes for neat edging.
-
Optionally add a shell stitch or picot for decoration.
-
-
Waistband finishing:
-
If using elastic, sew casing shut.
-
If ribbed, leave as is or add drawstring.
-
Optional Embellishments
-
Add ribbons, bows, or lace.
-
Use contrast color for edging.
-
Create a matching bralette or crop top for a set.
Washing Instructions
Since this is for children:
-
Use hypoallergenic, soft yarn.
-
Make sure it’s machine washable (preferably cold water, gentle cycle).
-
Avoid wool blends if there’s any risk of skin sensitivity.
Notes and Tips
-
Always make a gauge swatch before starting to ensure correct sizing.
-
Adjust hook size if the fabric feels too stiff or too loose.
-
Make sure all seams and joins are soft and secure to avoid irritation.
Watch tutorial: