by
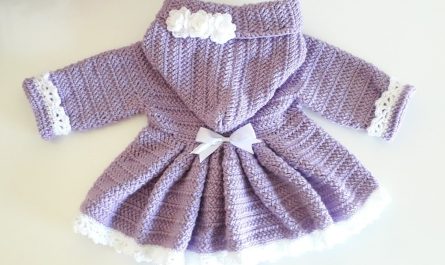
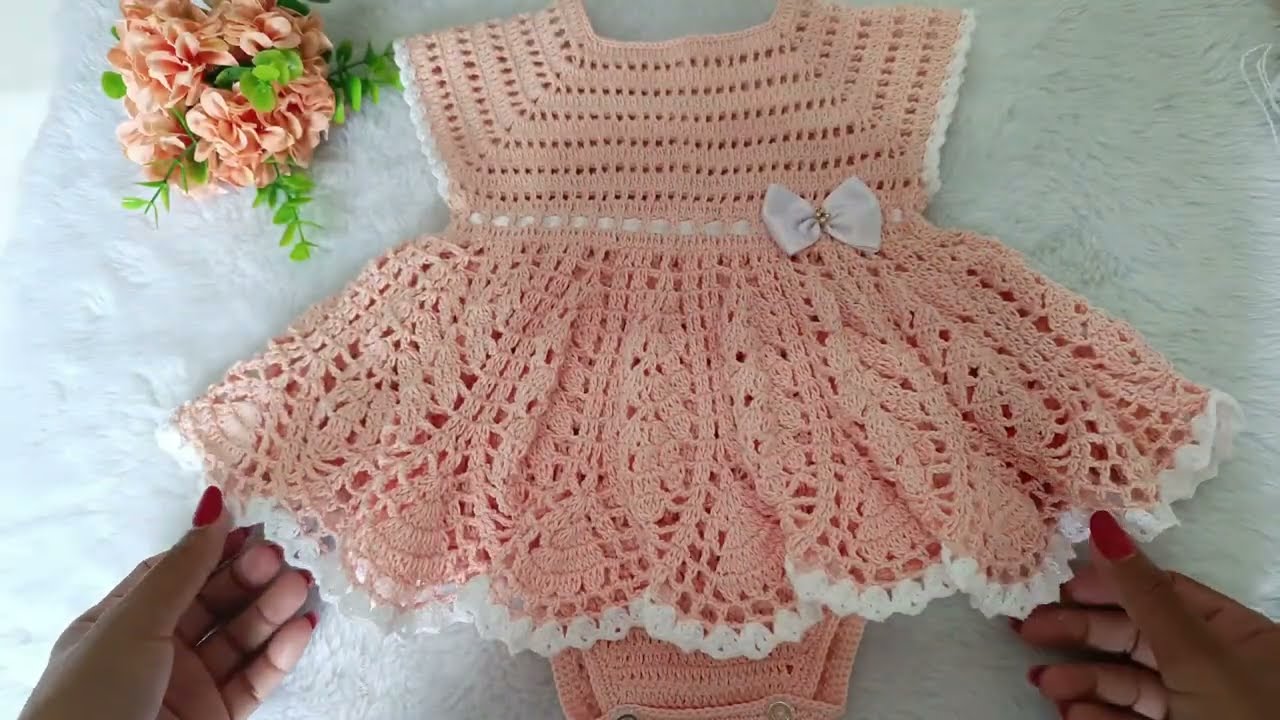
by Making a children’s crochet bodysuit is a rewarding and adorable project! Below is a detailed step-by-step guide to help you make a comfortable, stylish, and functional crochet bodysuit for a baby or toddler.
Materials Needed
Yarn:
-
Type: Soft baby yarn (cotton or cotton-blend is ideal)
-
Weight: DK (light worsted) or worsted weight
-
Amount: ~200–300g (depends on size)
Hook:
-
Size recommended for your yarn (usually 3.5mm – 5mm)
Notions:
-
2–4 buttons (for bottom closure or straps)
-
Yarn needle
-
Stitch markers
-
Scissors
-
Measuring tape
Sizing (Estimate by Age)
| Size | Chest Circumference | Length (Shoulder to Crotch) |
|---|---|---|
| 0–3 months | 16–17″ (40–43 cm) | 14–15″ (36–38 cm) |
| 3–6 months | 17–18″ (43–46 cm) | 15–16″ (38–41 cm) |
| 6–12 months | 18–19″ (46–48 cm) | 16–17″ (41–43 cm) |
| 1–2 years | 19–20″ (48–51 cm) | 17–18″ (43–46 cm) |
You can adjust your bodysuit according to measurements or make a custom fit using a real baby garment as a reference.
Basic Crochet Skills Needed
-
Chain (ch)
-
Slip stitch (sl st)
-
Single crochet (sc)
-
Half double crochet (hdc)
-
Double crochet (dc)
-
Increase/decrease
-
Working in rounds and rows
Construction Overview
-
Start with the bottom (crotch area)
-
Work the front and back panels
-
Join at the sides
-
Create leg openings
-
Add button closure at crotch
-
Finish with edging and shoulder straps (or sleeves)

Step-by-Step Pattern (Basic Design)
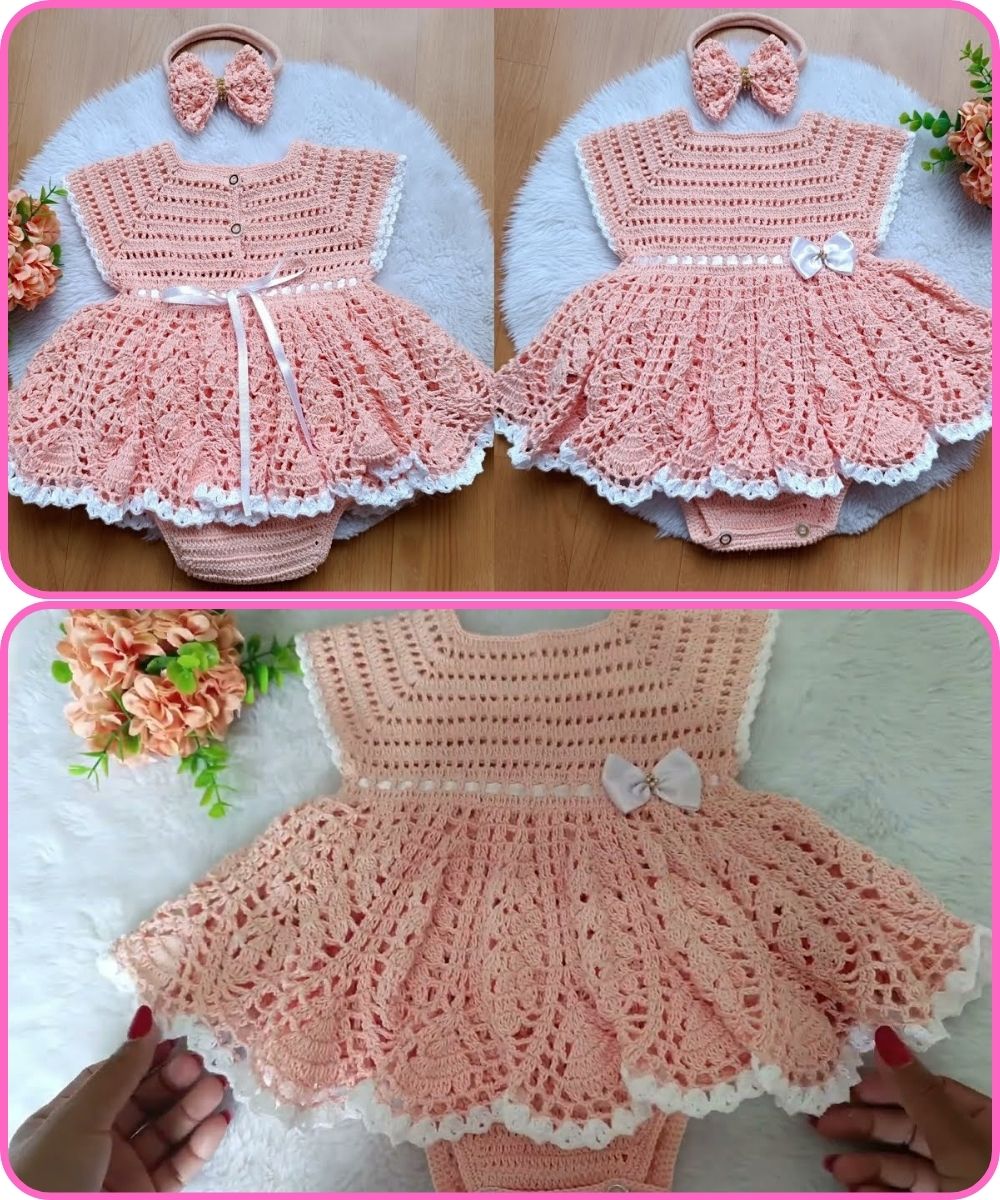
This will be a sleeveless, buttoned-crotch baby bodysuit for 3–6 months. Adjust stitch counts for other sizes.
Step 1: Start at the Crotch
Make 2 panels (front and back crotch flaps)
Step 2: Join and Work Up the Body
Join the two crotch panels with chains (for the leg holes)
Continue working body upwards
Step 3: Split for Front and Back
Back Panel (Straps)
Front Panel
Step 4: Side Seams
Fold bodysuit and use sl st or whip stitch to seam up the sides. Leave space for armholes (approx. 4–5” depending on size).
Step 5: Leg Openings & Edging
Work sc or hdc evenly around each leg hole (about 24–30 sts depending on size). You can do 2–3 rounds for a clean finish.
Optional: Add ribbing using front post/back post dc.
Step 6: Button Closure at Crotch
-
Add 2–3 buttons to one crotch flap.
-
Make button loops or small ch-spaces on the opposite flap.
Finishing
-
Weave in all ends
-
Block lightly (optional)
-
Wash with baby-safe detergent before use
Customization Ideas
-
Add ruffles around leg or shoulder area
-
Use contrasting color edging
-
Try textured stitches (shells, bobbles, ribbing)
-
Add sleeves or make it a romper
Tips
-
Always check gauge with a small swatch
-
Use soft, washable yarn for comfort and hygiene
-
Adjust size using real clothing as a pattern
-
Write down your row/stitch counts as you go!
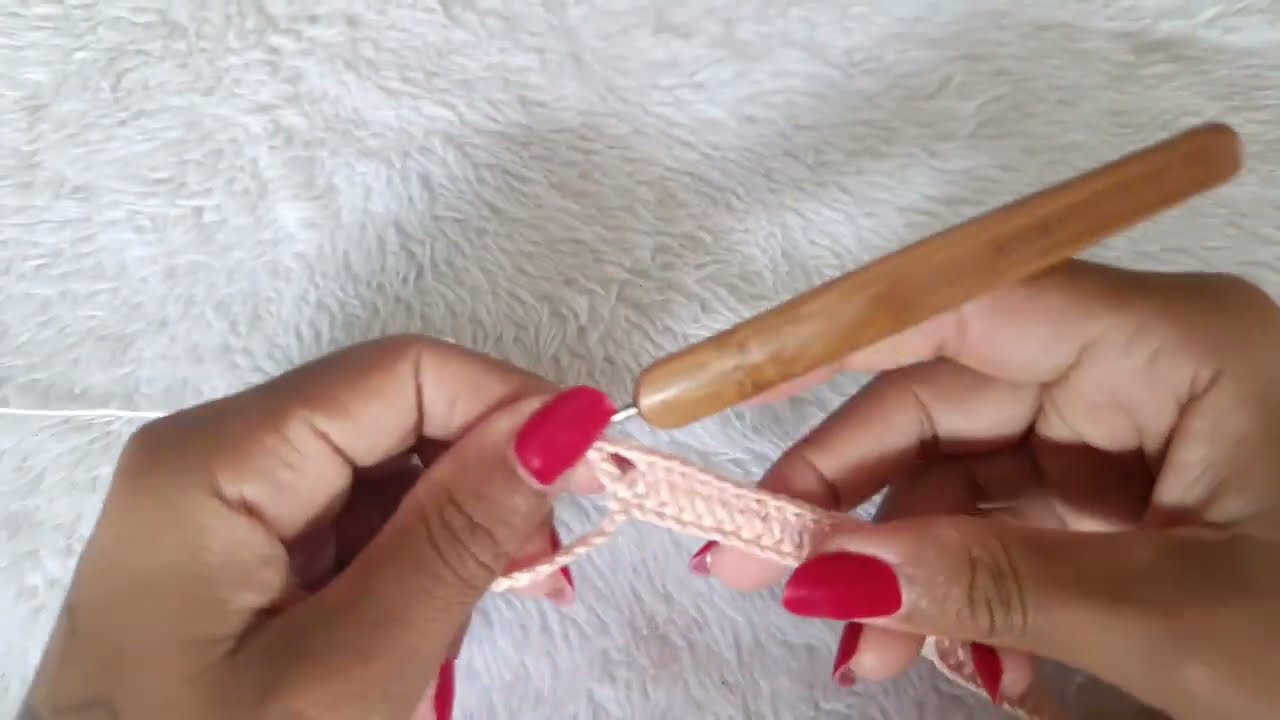
Watch tutorial: