 by
by Sure! Making a crochet dress is a rewarding project that combines creativity, technique, and patience. Below is a detailed guide suitable for beginners to intermediate-level crocheters. I’ll break it down into easy-to-follow sections:
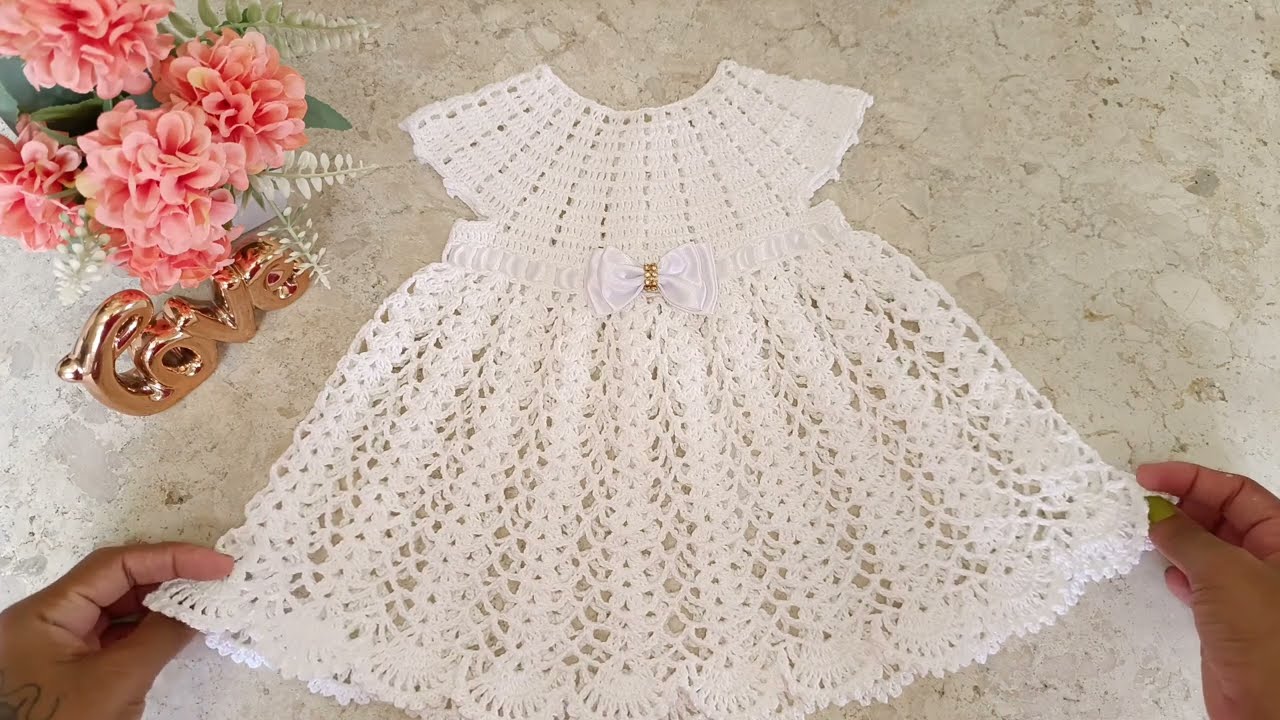
How to Make a Crochet Dress – Step-by-Step Guide
What You’ll Need
1. Materials
-
Yarn – Choose yarn based on season and drape. Common choices:
-
Cotton: Great for summer; breathable.
-
Acrylic: Budget-friendly, good for beginners.
-
Blends (e.g., cotton-acrylic): For comfort and durability.
-
-
Hook – Use a size that matches your yarn (check the yarn label).
-
Stitch markers – Useful for marking round beginnings or pattern repeats.
-
Measuring tape
-
Scissors
-
Tapestry needle – For weaving in ends.
2. Optional Tools
-
Pattern (or design sketch if you’re going freestyle)
-
Buttons, zippers, or ties (for closures)
-
Lining fabric (if dress is see-through)
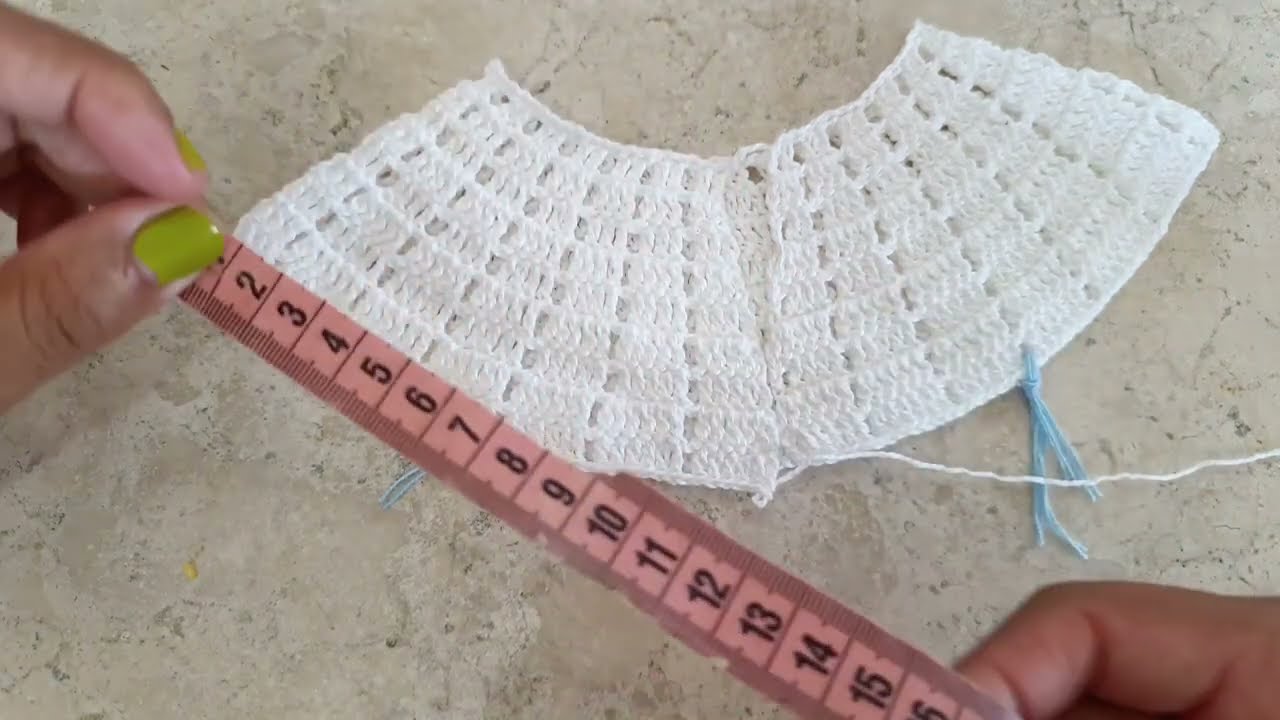
Step 1: Take Measurements
Use a measuring tape to record:
-
Bust
-
Waist
-
Hips
-
Desired length (e.g., mini, knee-length, maxi)
-
Armhole depth
-
Shoulder width
Tip: Add a little positive ease (1–2 inches) for comfort, especially if using non-stretchy yarn.
Step 2: Choose or Design a Pattern
You can:
-
Follow a pattern from Ravelry, Etsy, or YouTube.
-
Create your own design (e.g., granny squares or continuous rounds).
-
Decide construction type:
-
Top-down (crochet from the neckline down)
-
Bottom-up
-
Modular (granny squares or motifs joined together)
-
Step 3: Make a Gauge Swatch
Crochet a 4×4 inch (10×10 cm) swatch using the stitch pattern and yarn.
-
Measure how many stitches and rows fit into 4 inches.
-
Adjust hook size if needed to match pattern gauge.
This ensures your finished dress will fit!
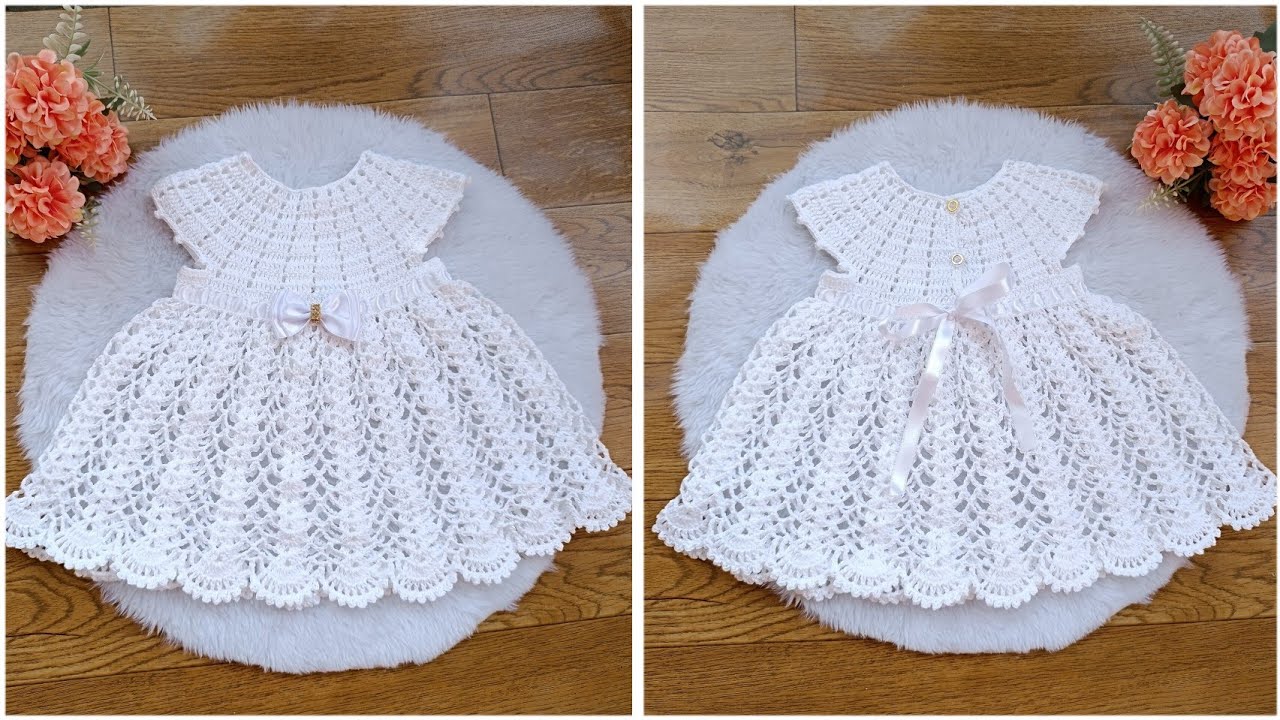
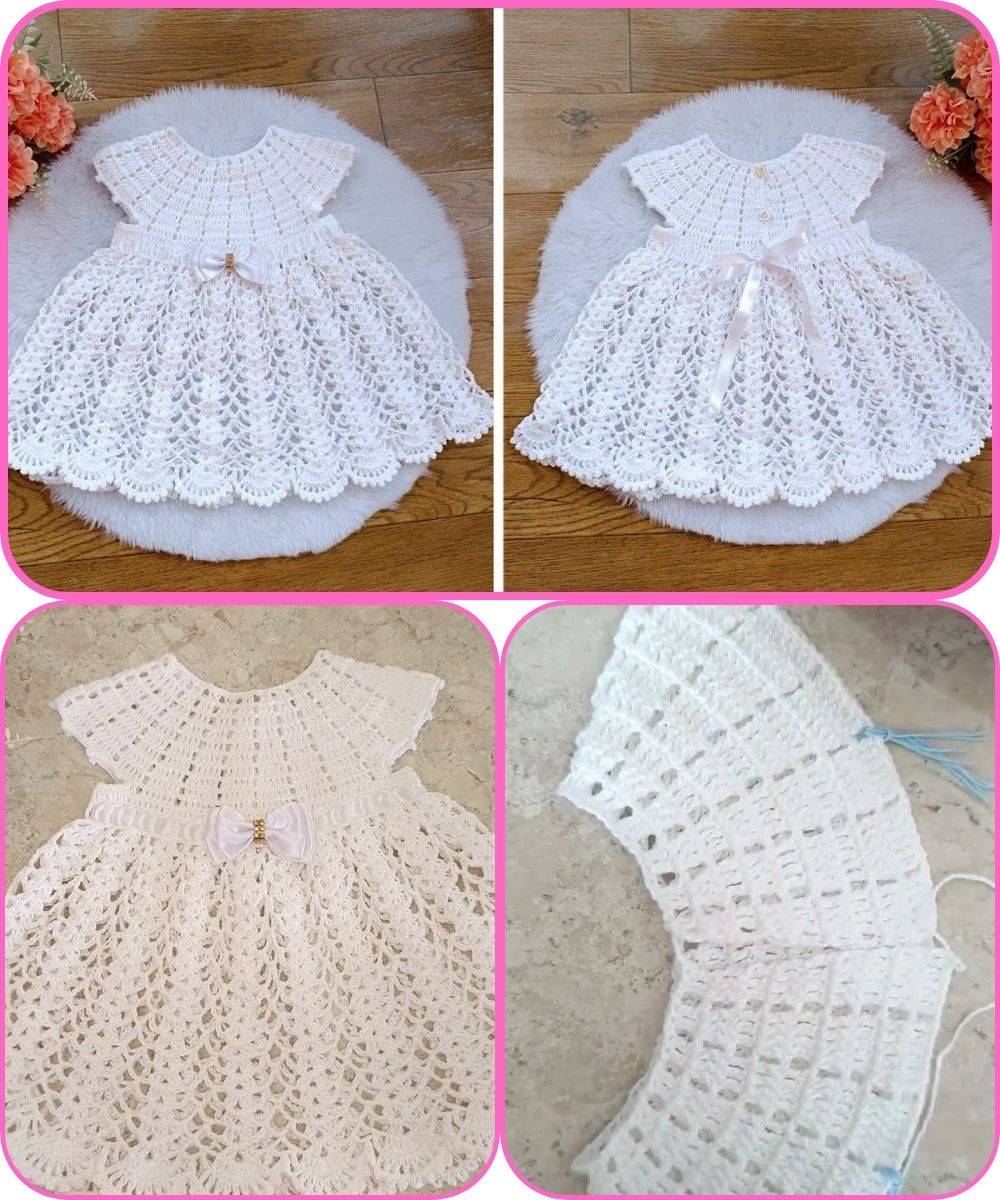
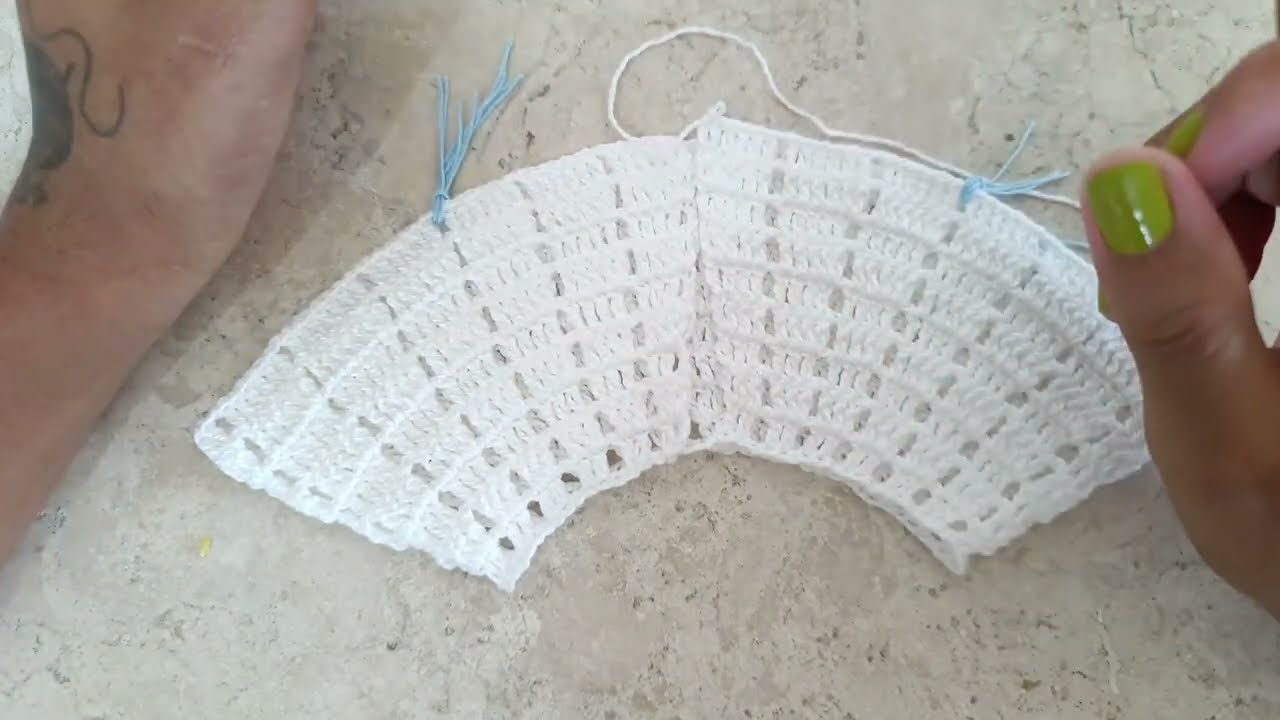
✨ Step 4: Start Crocheting
Option A: Top-Down Crochet Dress
-
Yoke (Neck and Shoulder Area)
-
Start with a chain that matches your neckline measurement.
-
Use increasing rounds (e.g., double crochet or shell stitch).
-
Create armholes by dividing stitches into front, back, and sleeves.
-
-
Body
-
After armholes, continue working in the round or rows.
-
Add shaping at waist if desired (decrease a few stitches).
-
Work until desired length.
-
-
Skirt Flare (Optional)
-
Increase stitches gradually for an A-line or flared skirt.
-
Option B: Granny Square Dress (Modular)
-
Make Multiple Squares
-
Decide square size.
-
Make as many as needed for your dimensions.
-
-
Join Squares
-
Use slip stitch or whip stitch.
-
Seam the front, back, and sides.
-
Add a few squares for sleeves or straps if needed.
-
-
Add Border or Edging
-
Work a round of single crochet or picot around edges.
-
✂️ Step 5: Finishing Touches
-
Weave in all ends with a tapestry needle.
-
Block the dress (especially lace or cotton) for even shape.
-
Wet block or steam block depending on yarn type.
-
-
Add closures if needed (buttons, zipper).
-
Line the dress if it’s too transparent.
Popular Stitch Patterns for Dresses
-
Double Crochet (DC) – Light and open, great for warm weather.
-
Shell Stitch – Decorative and feminine.
-
Mesh / Net Stitch – Airy and beachy.
-
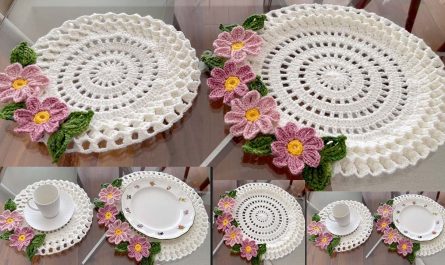
Granny Square / Motif – Great for boho or patchwork styles.
-
V-Stitch – Beautiful texture, works up quickly.
Want Tutorials?
Let me know if you’d like:
-
Video tutorial recommendations
-
A beginner-friendly crochet dress pattern
-
Step-by-step images or diagrams
Tips for Success
-
Try on the dress as you go (if possible).
-
Choose stretch-friendly stitch patterns for comfort.
-
Light-colored yarns show stitch detail better.
-
Don’t skip the swatch—fit depends on it!
-
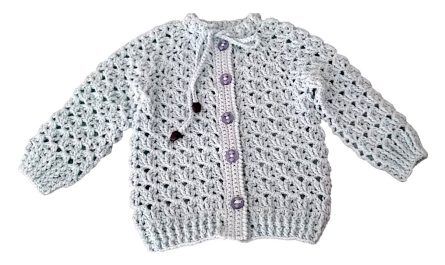
If you’re new, start with a crochet tunic or beach cover-up before a full dress.
Watch tutorial: