 by
by Here’s a detailed step-by-step guide on how to make a crochet yoke, adaptable to any size — from baby to adult — and perfect for making dresses, blouses, or sweaters.

What is a Crochet Yoke?
A crochet yoke is the upper part of a garment that fits around the neck and shoulders, often worked in the round (circular yoke) or in rows (square/rectangular yoke). It provides the base structure for the rest of the garment.
Materials Needed:
-
Yarn (your choice, depending on the garment type)
-
Crochet hook (size recommended for your yarn)
-
Stitch markers
-
Measuring tape
-
Scissors
-
Tapestry needle
Step 1: Take Measurements
You need these four measurements to size your yoke:
| Body Part | How to Measure | Notes |
|---|---|---|
| Neck circumference | Around the base of the neck | This is the opening for the head |
| Shoulder width | Across back from shoulder tip to tip | Important for shaping |
| Chest/Bust | Around fullest part | For final fit |
| Yoke depth | From base of neck to underarm | This tells how long the yoke should be |
Tip: Use a size chart if making for someone else.
Step 2: Choose Yoke Style
There are 3 common types:
-
Circular/Round Yoke – Worked in continuous or joined rounds.
-
Square/Raglan Yoke – Worked in rows or rounds with increases at 4 points (for raglan).
-
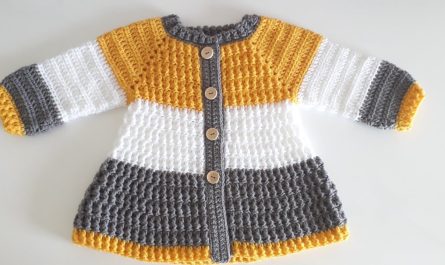
Rectangular Yoke – Common in children’s dresses or tunics.
We’ll focus on the Round Yoke, since it’s most versatile.
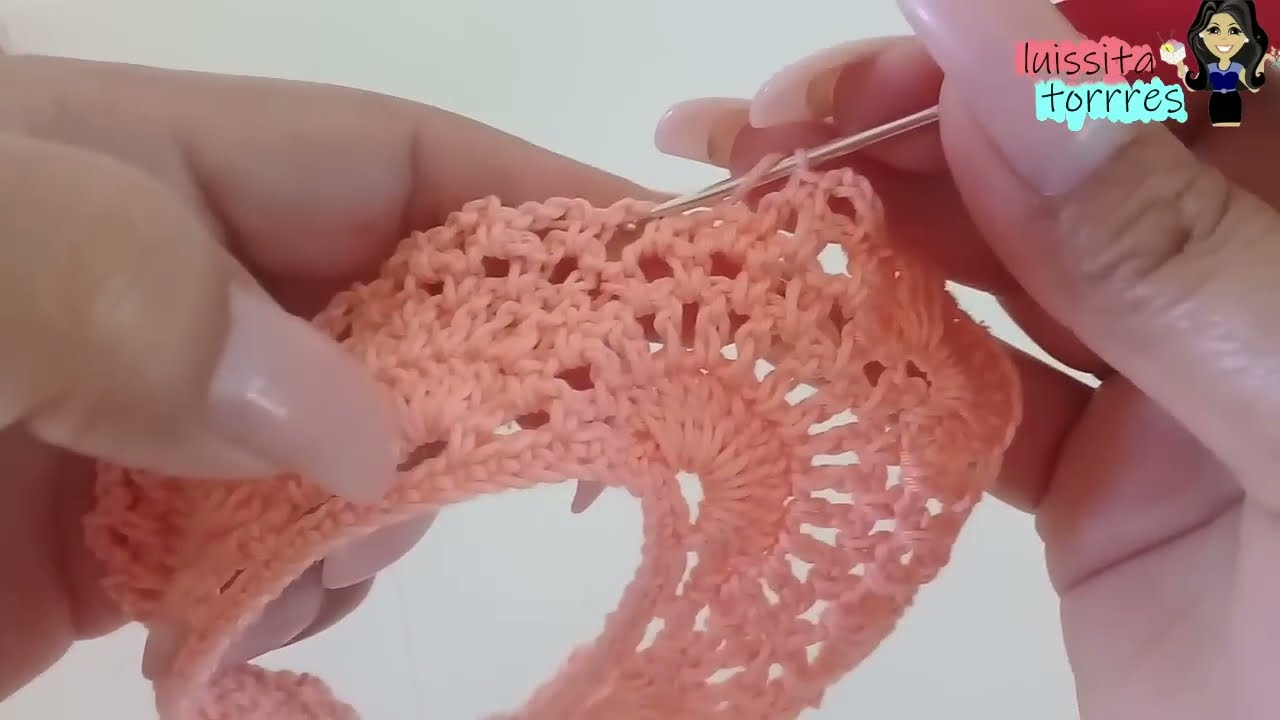
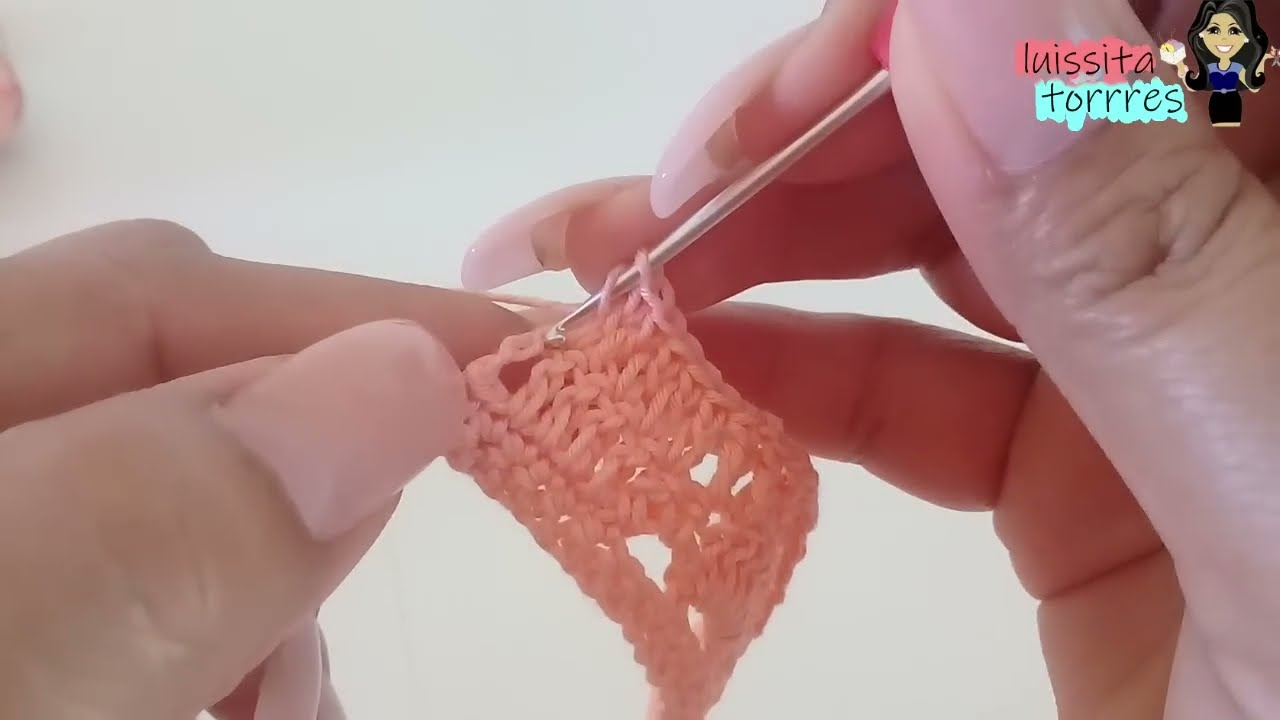
Step 3: Start with a Foundation Chain
-
Make a chain that matches your neck measurement (use a gauge swatch to calculate the number of chains).
-
Join with a slip stitch to form a ring — be careful not to twist it.
-
Optional: Add 1-2 rows of single crochet or half double crochet for structure.
⬆️ Step 4: Increase Evenly in Rounds
Now we’ll build the yoke to reach the shoulder width + yoke depth.
Each round will have increases. Here’s a simple pattern using double crochet (dc):
Basic Round Yoke Increase Formula:
Continue increasing like this:
-
Each round: Add 1 more dc between increases.
-
Ex: Round 4: dc in 4, 2 dc in next, etc.
Keep checking your diameter using this formula:
Yoke Diameter = Neck Circumference ÷ π (≈ 3.14)
Keep increasing until diameter = shoulder width.
Step 5: Check Fit and Depth
-
Try it on or lay flat to measure the width across the shoulders and yoke depth (neck to underarm).
-
If you’re making a pullover/dress, the yoke should stop right above the armpit.
If you reach desired yoke depth before width, increase more. If width comes too fast, space out the increases.
Step 6: Shape Armholes
To split for the sleeves (for a top-down yoke):
-
Count total stitches.
-
Divide as follows:
-
Front: 1/3 of stitches
-
Back: 1/3
-
Each Sleeve: 1/6 each
-
Example: 120 stitches → 40 front, 40 back, 20 each sleeve
-
Work across front, skip sleeve stitches (chain the same number or less for underarm), work across back, skip other sleeve.
You now have a basic yoke with holes for sleeves.
Step 7: Continue Body or Sleeves
-
Join to continue working in the round (or rows) for the body.
-
You can return later to attach yarn at the sleeves and work them down.
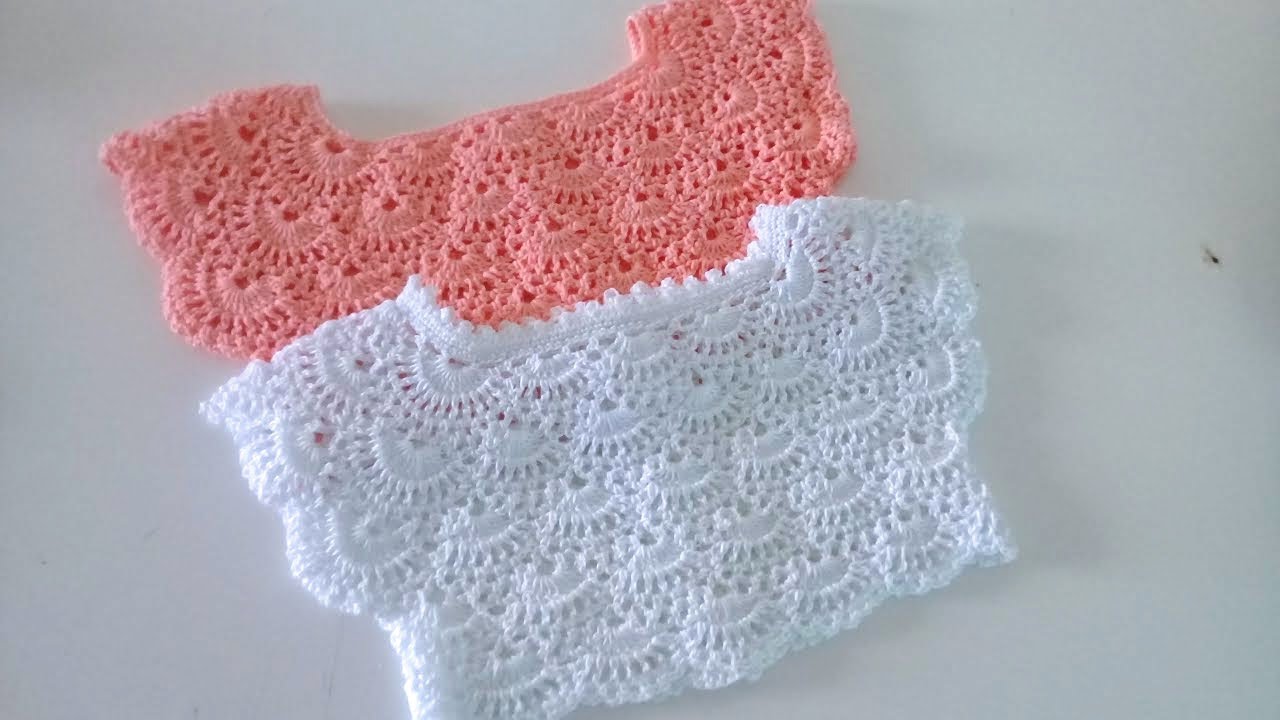
Optional Yoke Design Ideas
-
Use lacy stitches (shells, fans, clusters)
-
Add colorwork/stripes
-
Try a bobble or puff stitch round for texture
-
Include post stitches for shaping or definition
Tips to Adjust for Any Size
| Problem | Solution |
|---|---|
| Too small yoke | Add more increase rounds |
| Too large neck | Start with fewer chains and increase faster |
| Too tight under arms | Add more chain stitches when skipping for sleeves |
| Yoke bunches up | Space increases more evenly |
✅ Final Notes
-
Always swatch in your chosen yarn to check gauge.
-
Stitch markers help mark increase points or sleeve divisions.
-
You can customize shaping for better fit: e.g., work short rows at the back neck.