 by
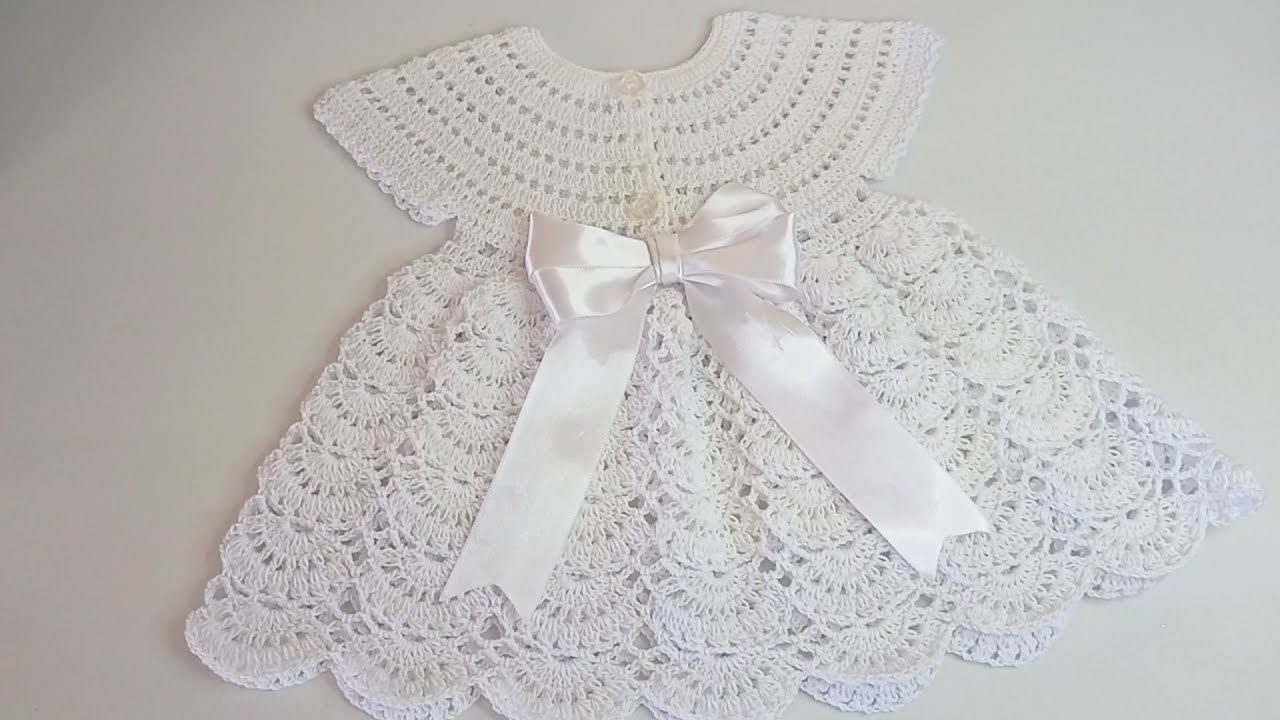
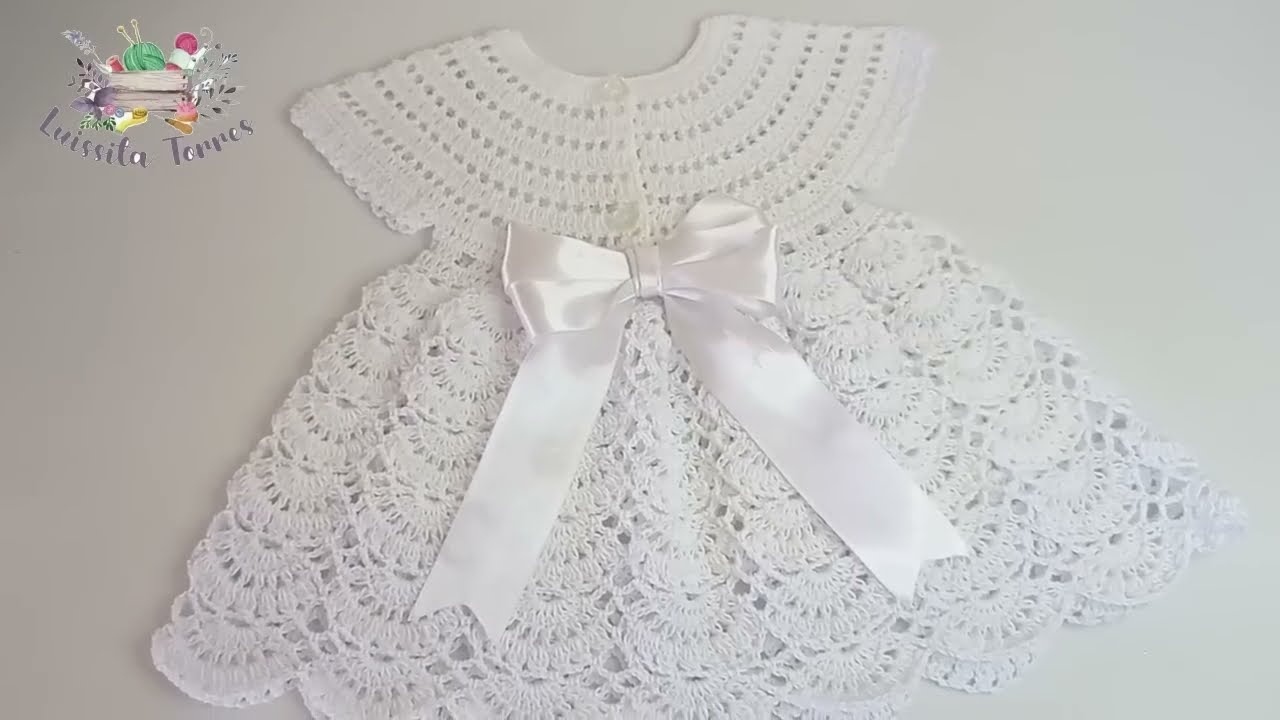
by Sure! Here’s a detailed, step-by-step guide to making an elegant crochet dress for a baby aged 0 to 3 months. This project is suitable for advanced beginners to intermediate crocheters, and the final product will be soft, delicate, and perfect for a special occasion or everyday wear.
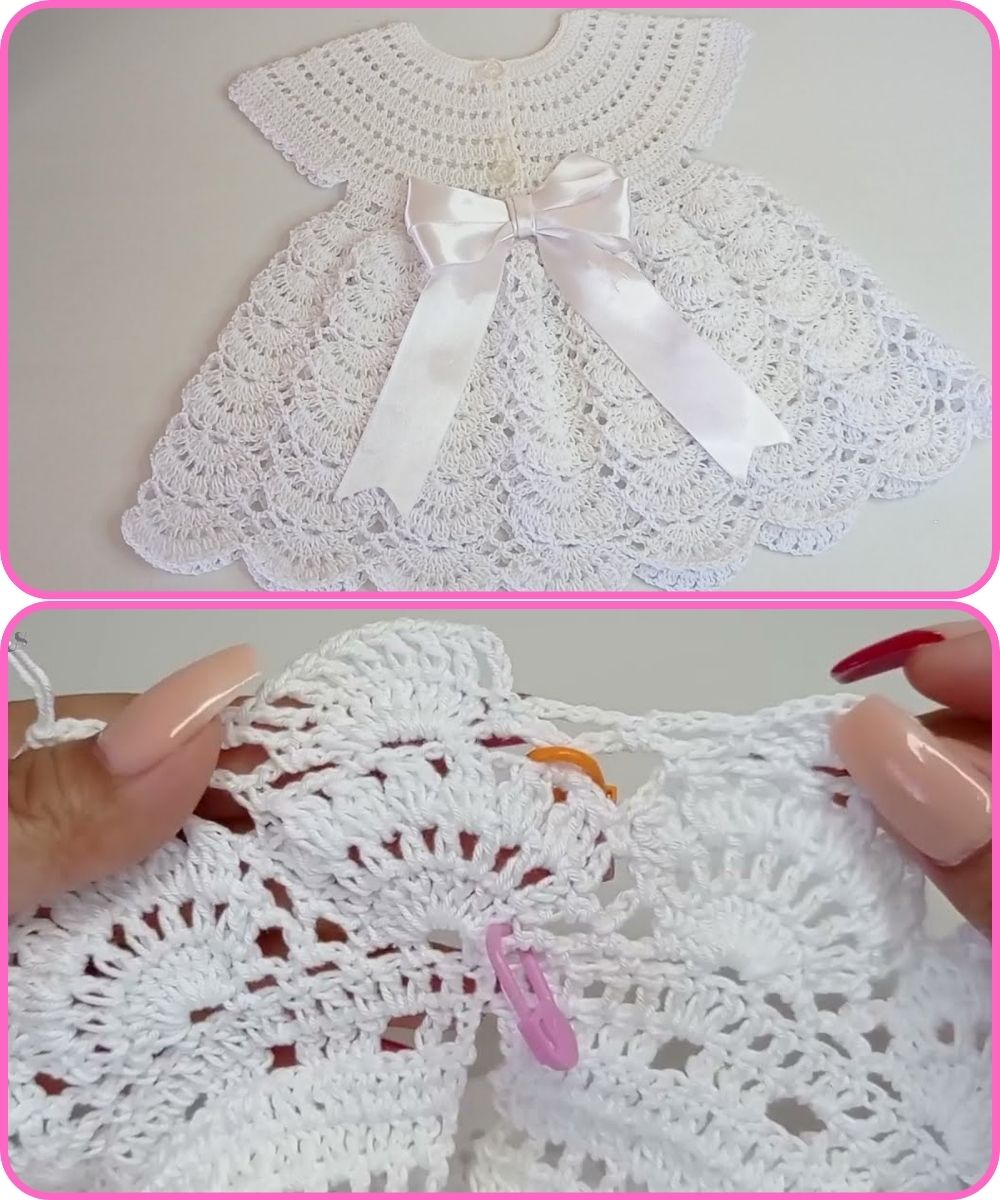
How to Make an ELEGANT Step-by-Step Crochet Dress (0-3 Months) – Simple & Easy
Materials Needed:
-
Yarn: Soft baby yarn (Weight: DK/Light worsted #3)
-
Cotton or acrylic blend is ideal (approx. 150g)
-
-
Hook: 3.5 mm (E) or 4.0 mm (G), depending on your tension
-
Scissors
-
Yarn needle
-
Buttons (2–3 small ones for the back)
-
Measuring tape
-
Stitch markers (optional)
Finished Size:
-
Chest circumference: ~16 inches (40 cm)
-
Length: ~12 inches (30 cm)
✨ Stitches & Abbreviations (US Terms):
-
ch – chain
-
sc – single crochet
-
dc – double crochet
-
sl st – slip stitch
-
st(s) – stitch(es)
-
inc – increase (2 stitches in same st)
-
dec – decrease (crochet 2 sts together)
-
sk – skip stitch
Structure Overview:
-
Yoke (Top Bodice)
-
Divide for Sleeves
-
Skirt
-
Sleeve Edging (optional)
-
Finishing Touches (buttons, weaving in ends, blocking)
Step-by-Step Instructions:
Step 1: Yoke (Worked Top Down)
-
Foundation Chain:
-
Ch 54 (adjust in multiples of 6 if needed for fit)
-
-
Row 1:
-
Dc in 4th ch from hook and each ch across (you’ll have 52 dc)
-
Turn
-
-
Row 2 (Set Up Increases for Raglan):
-
Ch 2 (counts as dc), dc in next 7 sts, (dc, ch 2, dc) in next st (corner)
-
Dc in next 10 sts, (dc, ch 2, dc)
-
Dc in next 10 sts, (dc, ch 2, dc)
-
Dc in next 10 sts, (dc, ch 2, dc)
-
Dc in last 8 sts
-
Turn
-
-
Rows 3–8:
-
Repeat previous row, increasing at each corner (dc, ch 2, dc in ch-2 space)
-
Your stitch count will increase each row.
-
-
Measure across the yoke – Once it measures about 4.5 inches (11–12 cm) deep, stop.

Step 2: Divide for Sleeves
-
Next Row:
-
Work to first corner, dc in ch-2 sp
-
Skip stitches for sleeve, ch 6 (or adjust), dc in next ch-2 sp
-
Repeat for second sleeve
-
Continue dc to end
(This forms the armholes.)
-
Step 3: Skirt Section
-
Skirt Row 1:
-
Ch 2, dc in each st and chain underarm across
-
Turn
-
-
Skirt Rows 2–20 (or desired length):
-
Ch 2, (dc, ch 1, dc) in same st, sk 2, repeat
-
This gives a lacy shell pattern
-
Continue until skirt is ~12 inches or desired length
-
-
Last Row:
-
You can do a sc or shell edging for a neat finish
-
Step 4: Sleeve Edging (Optional)
-
You can leave sleeves cap-style or:
-
Join yarn at underarm
-
Sc or dc evenly around the sleeve opening
-
Optional: add shell stitch edging or ruffles for a more elegant look
-
Step 5: Back Opening & Buttons
-
Leave a slit (2–3 inches) at the back of the yoke for button closure.
-
Sc evenly around the slit for neatness.
-
Sew on small buttons and create chain-loop buttonholes on the opposite side.
Step 6: Finishing
-
Weave in all ends with yarn needle
-
Lightly block the dress to shape
-
Add ribbon, flower applique, or embellishment for elegance
Tips for Elegance:
-
Use pearl or satin buttons
-
Add a satin ribbon waistband (threaded through the stitches)
-
Use sparkly yarn or metallic thread for a special occasion look
✅ Customization Ideas:
-
Add a lacy collar
-
Make it sleeveless for summer or long sleeves for winter
-
Use pastel yarns for a baby shower gift
Care Instructions:
-
Hand wash or gentle machine cycle
-
Lay flat to dry
-
Avoid harsh detergents
Watch tutorial: