by
by Sure! Here’s a detailed step-by-step guide on how to make a gorgeous crocheted (or knitted) keychain, with a focus on making the process easy and beginner-friendly. Note: While crochet and knitting are different techniques, crocheted keychains are more common due to their tighter structure. This guide will focus on crochet, but I’ll also mention how to adapt it for knitting, if you prefer.
How to Make a Gorgeous Crocheted (or Knitted) Keychain — Easy DIY Guide
Tools & Materials Needed:
-
Yarn: Use medium or worsted-weight yarn (cotton or acrylic).
-
Crochet Hook: Size 3.5 mm to 5 mm (depending on yarn weight).
-
Keychain Ring or Lobster Clasp
-
Yarn Needle (Tapestry Needle) for weaving ends
-
Scissors
-
Stuffing (optional): Fiberfill or cotton balls (if making puffy shapes)
-
Stitch Marker (optional)
-
Decorations (optional): Beads, buttons, embroidery thread, charms, etc.
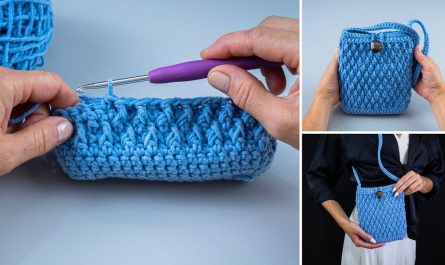
Step-by-Step Instructions
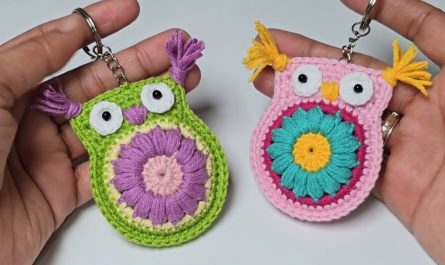
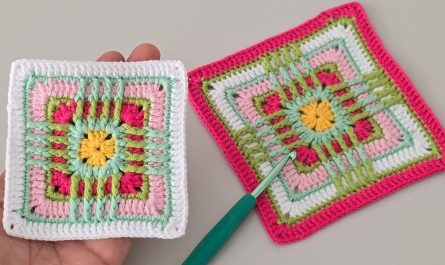
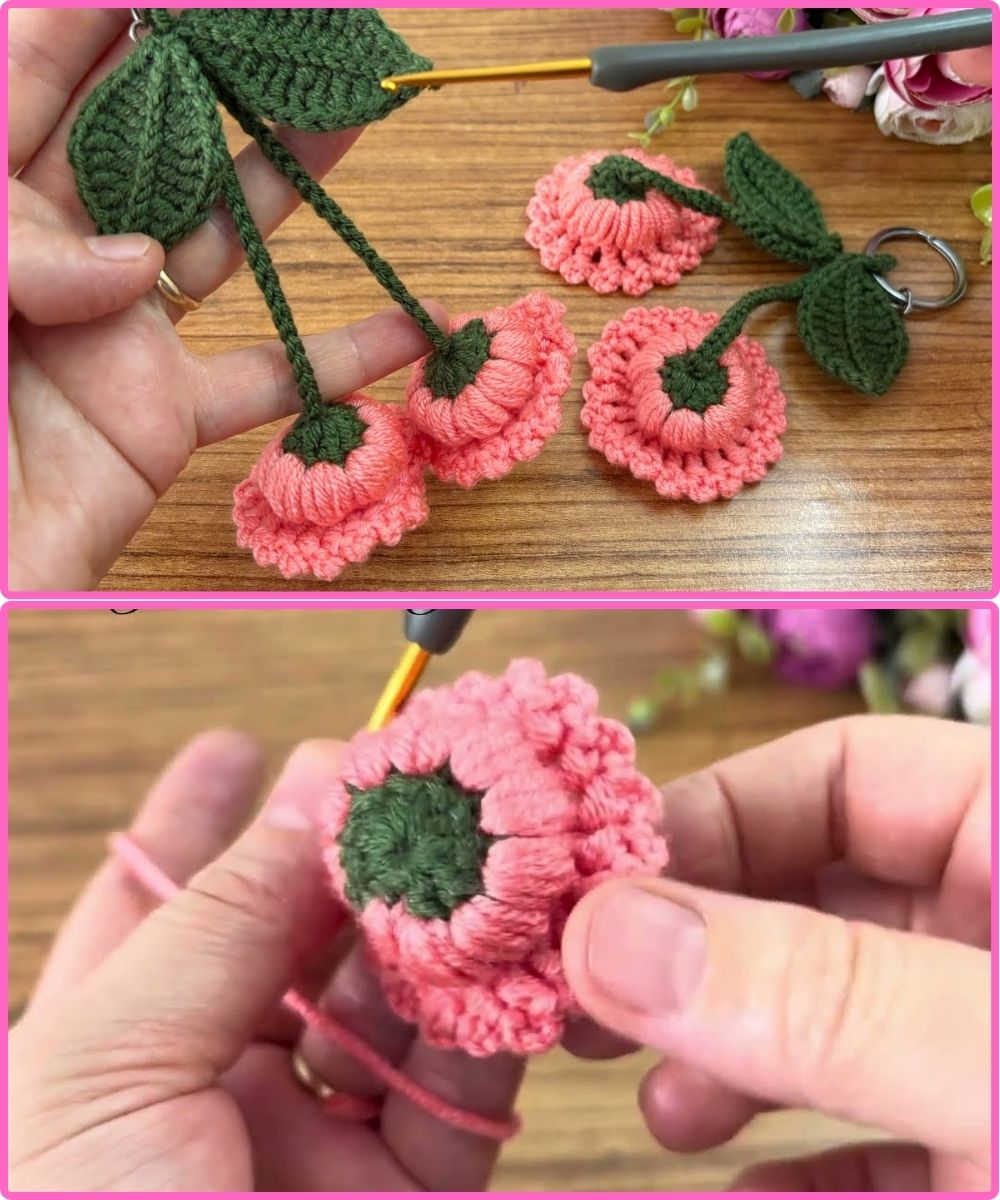
Step 1: Choose Your Shape or Design
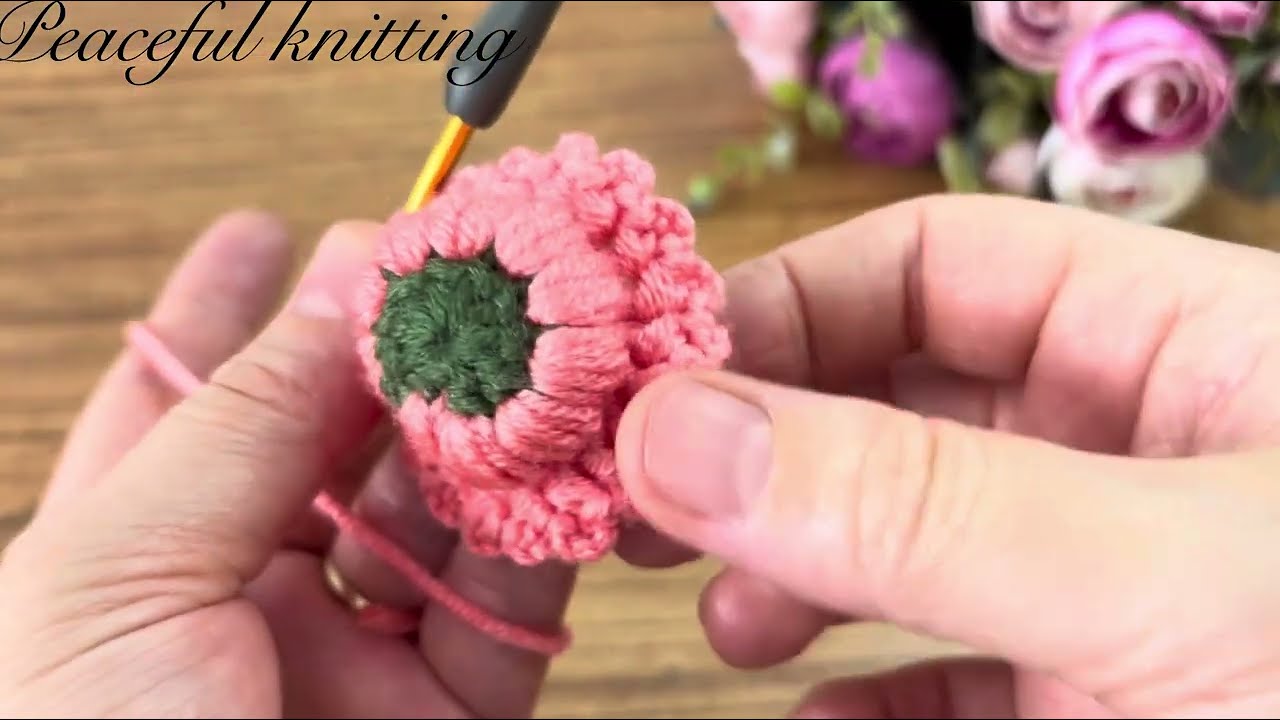
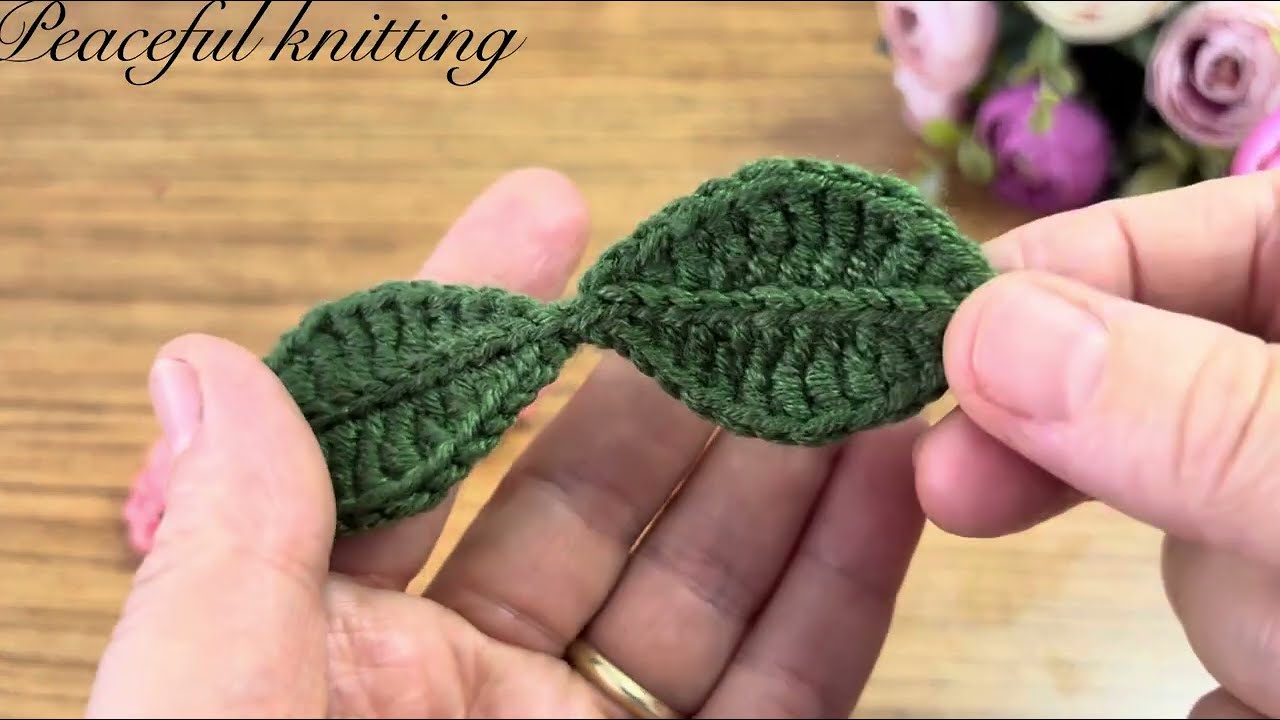
Pick a simple pattern like:
-
A heart
-
A flower
-
A mini animal (amigurumi-style)
-
A mini granny square
-
Letter initials
For beginners, a flat heart, star, or circle is a great start.
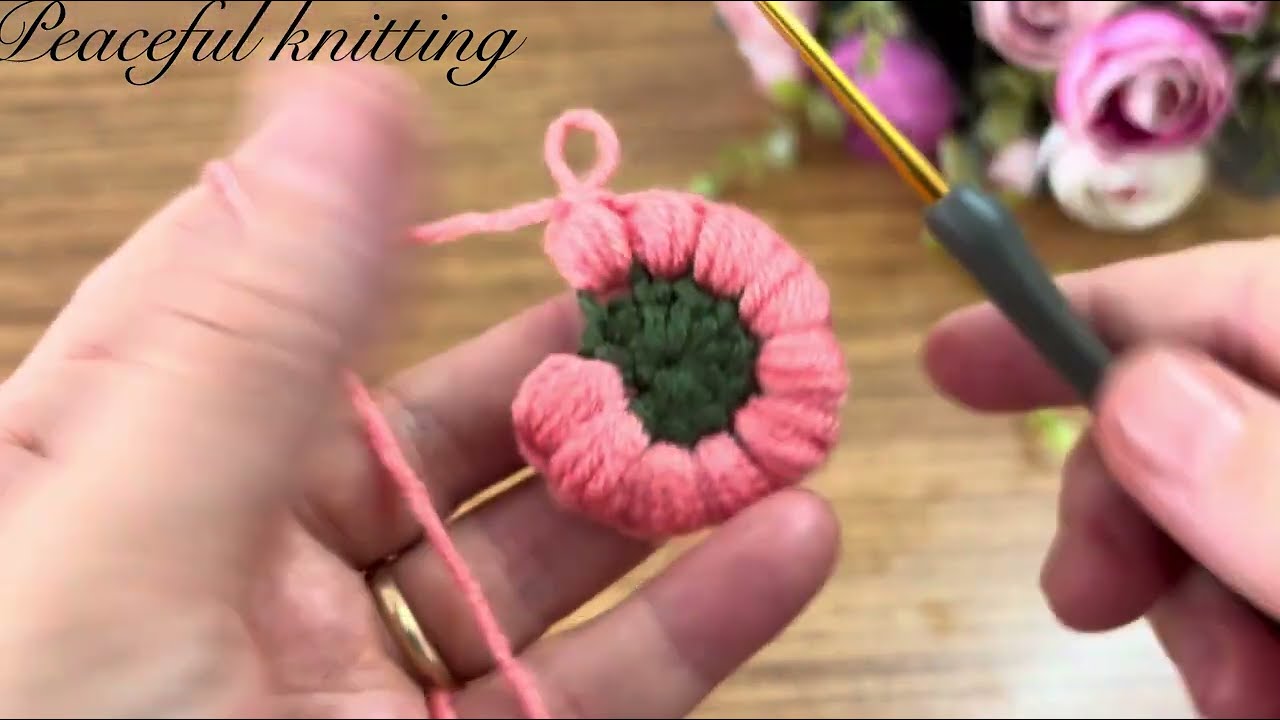
❤️ Step 2: Start Crocheting (Example: Easy Heart Pattern)
Here’s a quick beginner-friendly heart:
Round 1:
-
Make a magic ring
-
Chain 2, then work the following all into the ring:
-
3 treble crochets
-
3 double crochets
-
1 chain
-
1 treble crochet
-
1 chain
-
3 double crochets
-
3 treble crochets
-
-
Chain 2, slip stitch into the center of the ring.
-
Pull the magic ring tight.
-
Fasten off and weave in the ends.
You now have a cute heart that can be used as the base of your keychain.
(If you’d like a different shape or knitted version, let me know!)
Step 3: Attach to Keyring
-
Take a short length of yarn (or use the yarn tail).
-
Loop it through the top of your shape.
-
Tie it securely around the metal keyring or lobster clasp.
-
Weave in the yarn ends with a tapestry needle.
Optional: Add a jump ring for more flexibility.
✨ Step 4: Customize Your Keychain
Make it gorgeous by adding:
-
Mini pom-poms
-
Beads (thread them onto the yarn before you fasten off)
-
Embroidery (add initials or patterns)
-
Safety eyes and a mouth for a cute face
-
Tassels or small charms for flair
Knitting Alternative (Simpler Design)
If you prefer knitting, here’s how to make a knitted version:
-
Cast on 8 stitches using double-pointed needles or small circular needles.
-
Knit in stockinette stitch (alternate knit and purl rows) for about 10–15 rows.
-
Bind off and sew into a tiny pouch, heart, or rectangle.
-
Stuff lightly, sew shut, and attach to the keyring.
Knitting is better for simpler shapes, as it’s harder to make complex mini forms than with crochet.
Final Touch: Finishing and Care
-
Gently block the shape if needed (spray with water and shape it).
-
If gifting, wrap it in tissue paper or a small box.
-
Wash gently by hand if needed — don’t machine wash if you used stuffing or embellishments.
Tips for Making It Easy & Gorgeous
-
Use bright, bold yarn colors to make it pop.
-
Practice on scrap yarn before using your favorite one.
-
Start with a flat shape, then move to 3D ones (like mini amigurumi).
-
Crochet YouTube tutorials are your best friend for visual learners.
Watch tutorial: