 by
by Sure! Here’s a detailed guide on how to make a big kid’s crochet sweater, ideal for children aged around 6 to 12 years old. This pattern will be easy to adjust for size and will use basic crochet techniques, so it’s perfect for confident beginners or intermediate crocheters.

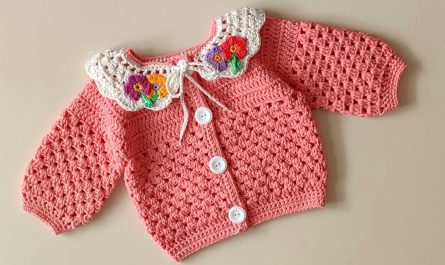
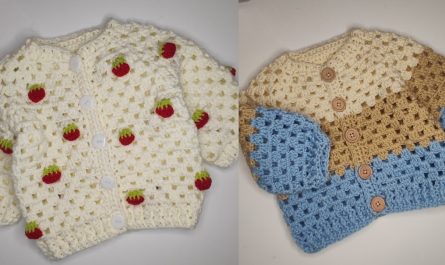
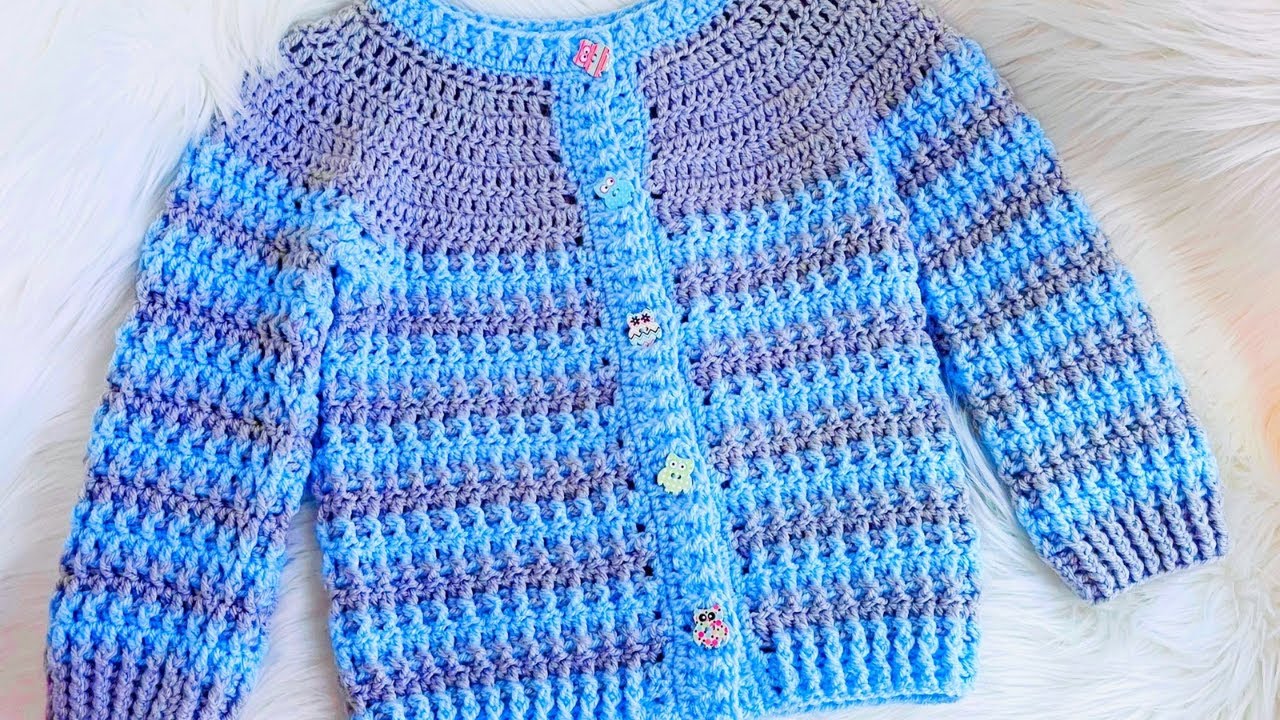
How to Make a Big Kids Crochet Sweater
(Pullover style, with simple construction — made in panels and seamed together)
Materials Needed:
-
Yarn: Worsted weight (#4) yarn – around 800–1200 yards depending on size
-
E.g., Red Heart Soft, Caron Simply Soft, or Paintbox Yarns Aran
-
-
Hook: Size H/5.0 mm crochet hook (check gauge!)
-
Tapestry needle for sewing panels
-
Stitch markers
-
Measuring tape
-
Scissors
Sizing:
This guide gives a base size for a Child Size 8 (approx. 26–28″ chest) with tips to adjust for sizes 6–12.
To resize:
-
Add/subtract stitches in multiples of 2
-
Adjust length measurements
-
Refer to a child’s garment size chart for chest and sleeve measurements
Stitches & Abbreviations (US terms):
-
ch – chain
-
sc – single crochet
-
hdc – half double crochet
-
dc – double crochet
-
sl st – slip stitch
-
st(s) – stitch(es)
-
RS/WS – right/wrong side
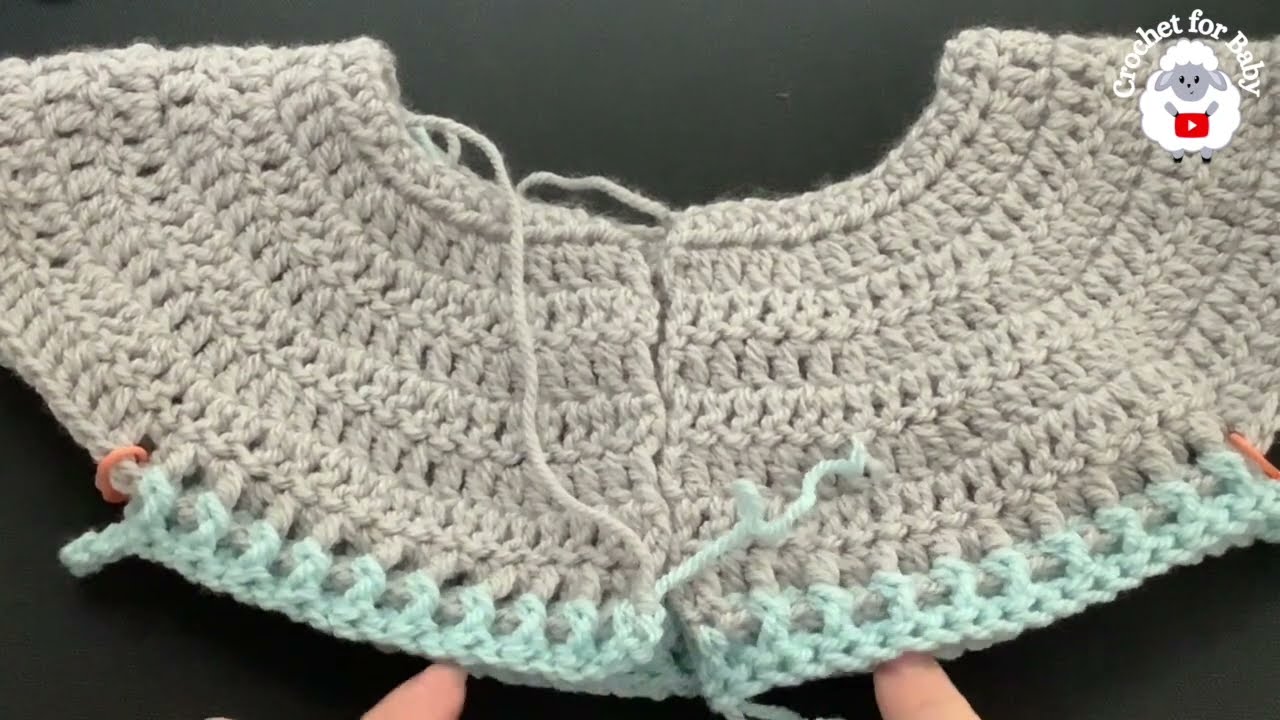
Sweater Construction Overview:
-
Made in 4 panels: Front, Back, 2 Sleeves
-
Panels are worked flat, then seamed
-
Neckline and cuffs added afterward
Step-by-Step Instructions:
✅ Step 1: Gauge Swatch (Important!)
Make a 4” x 4” square in hdc
-
You should have about 13 sts x 10 rows = 4”
-
Adjust hook size if needed
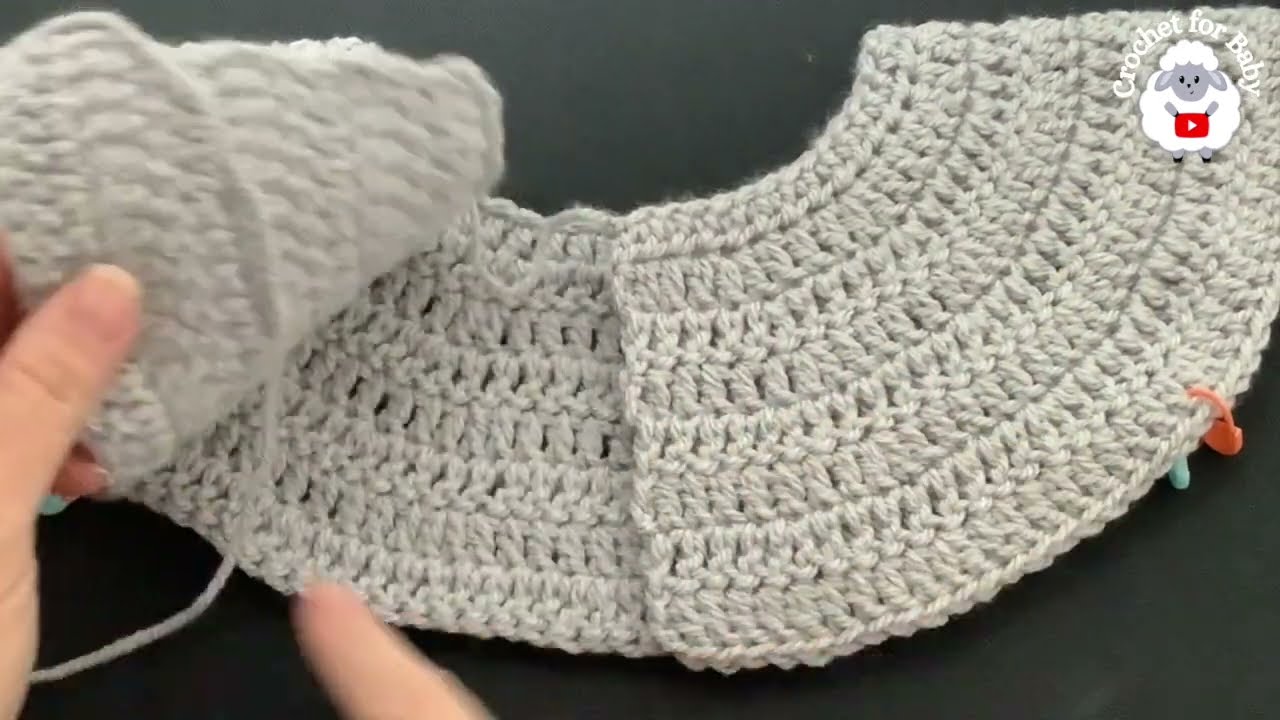
Step 2: Back Panel
(For Child Size 8 — about 15” wide x 18” long. Adjust as needed.)
Foundation Row:
Ch 50 (adjust in multiples of 2 for width)
Row 1: Hdc in 2nd ch from hook and across. (49 sts)
Row 2–48: Ch 1, turn, hdc in each st across.
→ Continue until panel measures approx. 18″ or desired length
Fasten off, weave in ends.
Step 3: Front Panel
(Same as back panel, with optional neckline shaping)
Repeat rows 1–40 exactly like the back.
Neck shaping (optional):
Row 41: Hdc in first 20 sts, fasten off.
Join yarn to last 20 sts, hdc across.
→ This creates a 9-st gap in the center for the neckline.
Rows 42–48: Continue each shoulder piece separately for 7 more rows.
Fasten off both sides.
Step 4: Sleeves (Make 2)
Foundation Row: Ch 34
Row 1: Hdc in 2nd ch and across (33 sts)
Row 2: Ch 1, turn, hdc across
Every 4th row: Increase 1 st at each end (for shaping)
→ Do this 3 times = 39 sts
Continue until sleeve measures about 14” long
(finish on an even-numbered row)
Fasten off.
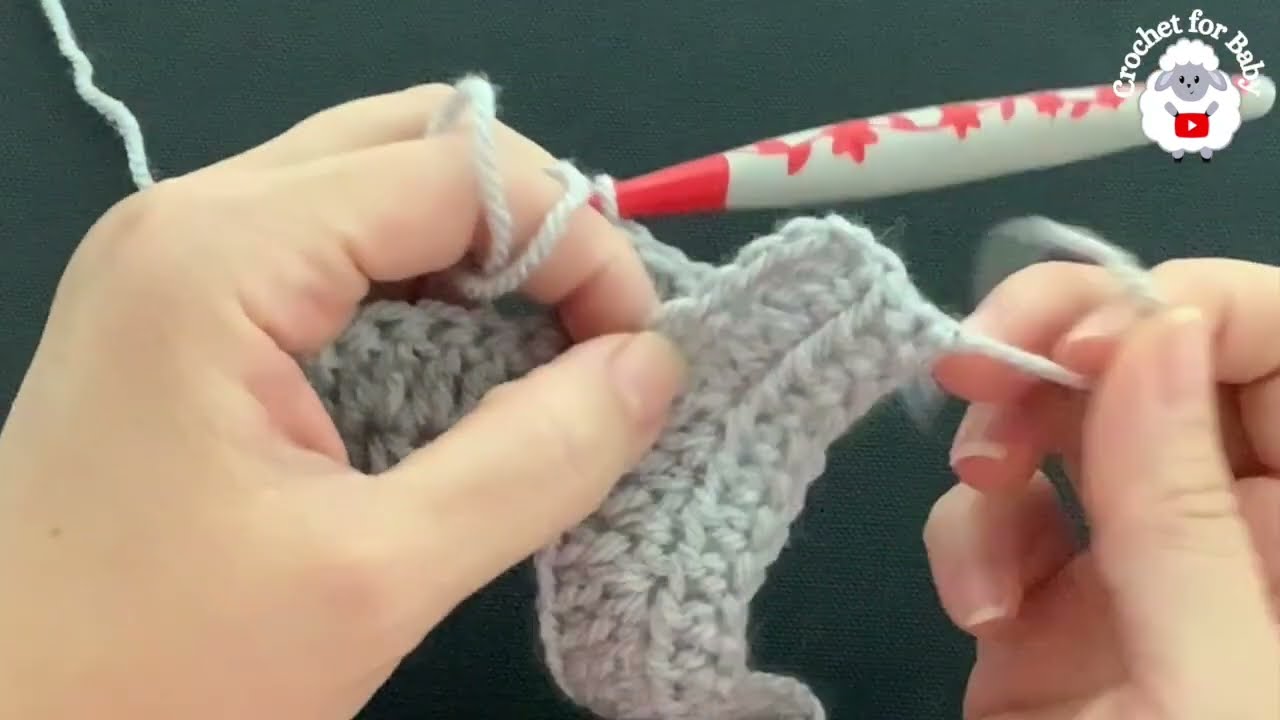
Step 5: Assembly
-
Lay panels flat, right sides facing each other
-
Sew shoulders (about 3–4” on each side of neckline)
-
Attach sleeves to body:
-
Fold sleeves in half to find center
-
Align center with shoulder seam
-
Sew across top of sleeve to body panel
-
-
Sew side seams and underarms
-
From wrist to armpit to bottom of sweater
-
Turn right side out.
Step 6: Neckline (Optional Ribbing)
Join yarn to neckline.
Round 1: Sc evenly around neckline. Join with sl st.
Round 2–4: Ch 1, sc in each st around.
→ For a ribbed look: use front loop only (FLO) or back loop only (BLO)
Fasten off, weave in ends.
✅ Optional: Bottom Ribbing & Cuffs
Attach yarn to bottom hem or sleeve ends and work 3–5 rounds of sc in BLO for a stretchy finish.
Customization Ideas:
-
Add stripes or color blocking
-
Use different stitch patterns (e.g., moss stitch or waffle)
-
Add a pocket or hood
-
Make it oversized for layering
Care Instructions:
Most worsted weight yarns are machine washable, but always check the yarn label.
-
Wash cold, gentle cycle
-
Lay flat to dry for best results
Watch tutorial: