 by
by Absolutely! I’ll break this down into three detailed crochet bag tutorials: an easy shell stitch bag, a ribbed bag, and a basket-style bag. I’ll provide step-by-step instructions, stitch guidance, and tips for beginners.
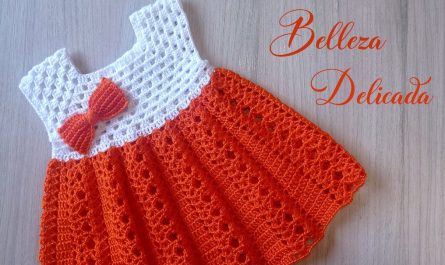
1. Easy Crochet Shell Bag
Materials Needed:
-
Medium-weight yarn (worsted weight)
-
Crochet hook (usually 5–6 mm / H-8)
-
Scissors
-
Yarn needle
-
Optional: bag lining fabric and sewing needle
Abbreviations:
-
ch = chain
-
sc = single crochet
-
dc = double crochet
-
sl st = slip stitch
-
st(s) = stitch(es)
Instructions:
Step 1: Base of the Bag
-
Chain 31 (or desired width).
-
Row 1: Sc in second ch from hook and across. Turn.
-
Row 2–5: Ch 1, sc across. (This creates a solid base.)
Step 2: Body with Shell Stitch
-
Row 6: Ch 3 (counts as dc), skip 2 sts, 5 dc in next st (shell made), skip 2 sts, dc in next st, repeat across, ending with dc. Turn.
-
Row 7: Ch 3, shell in middle dc of previous shell, dc in next dc, repeat across.
-
Continue this pattern until your bag reaches desired height.
Step 3: Handles
-
For handles, chain the desired length and attach to the opposite side with a sc or sl st.
-
Reinforce by crocheting around the handle base with sc.
Tips:
-
Add a lining to make it more sturdy.
-
You can make a flap closure by continuing shell stitches for a few more rows, folding over the top, and sewing buttons or snaps.
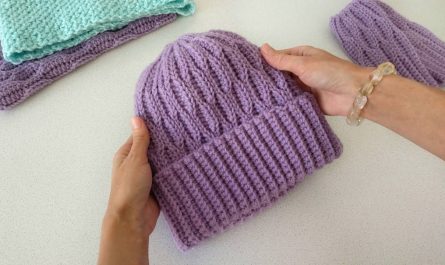
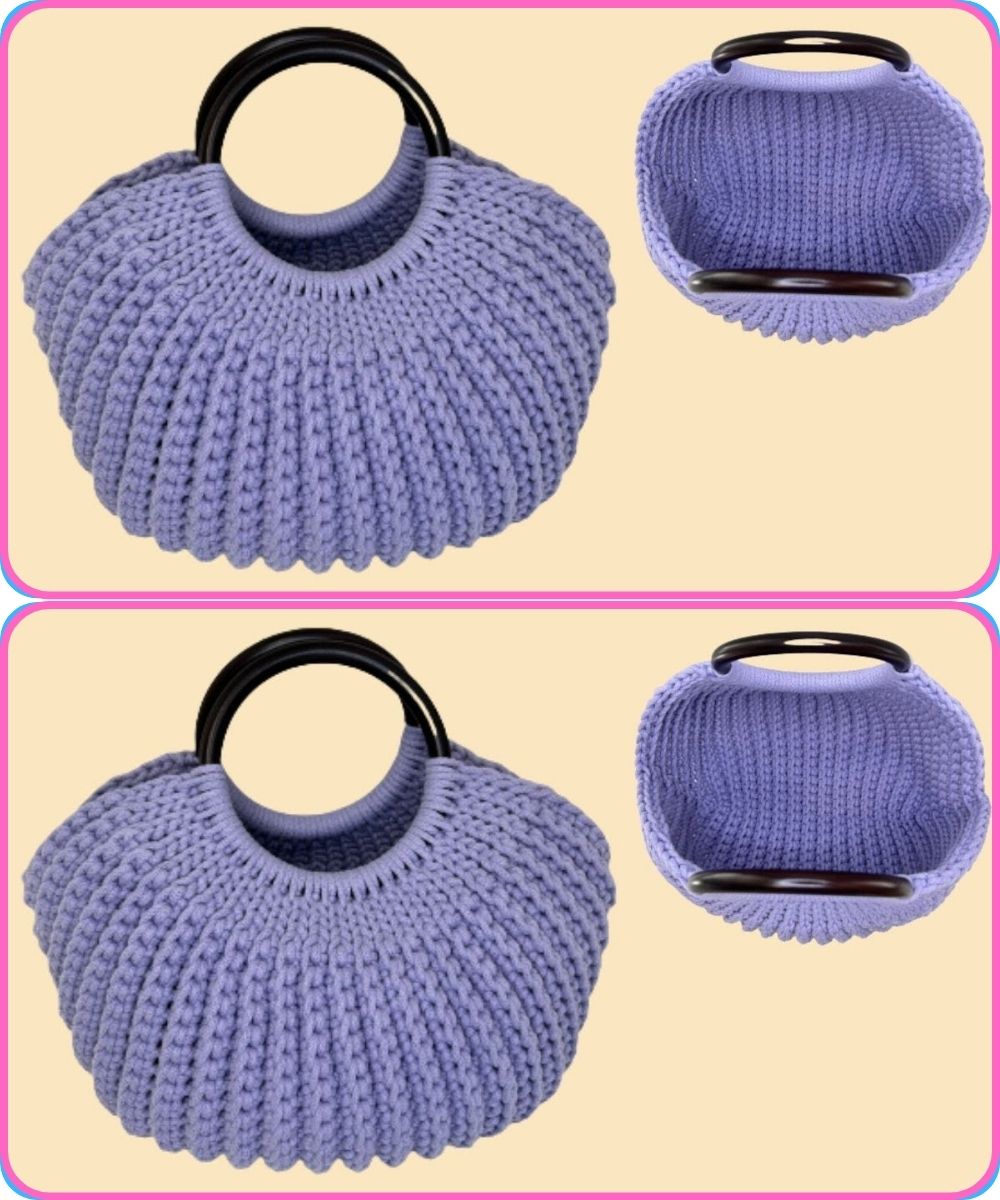
2. Crochet Ribbed Bag (Front & Back Post Stitches)
Materials Needed:
-
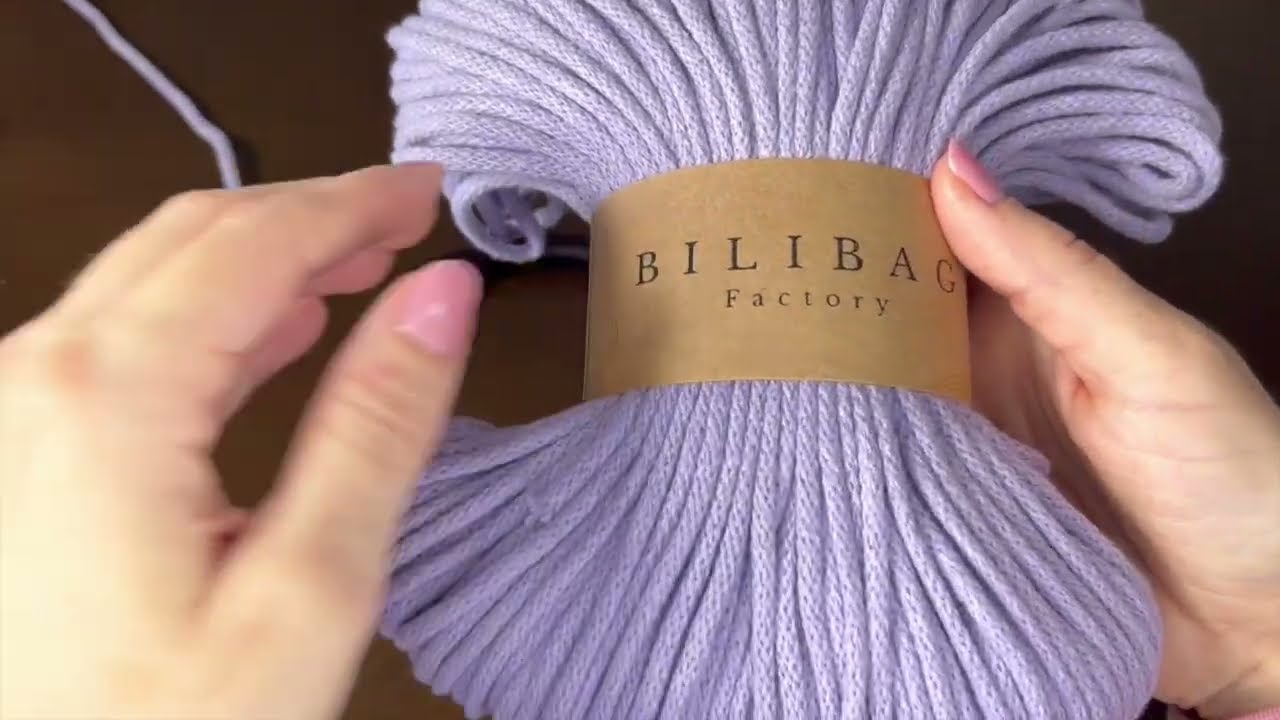
Medium-weight yarn
-
Crochet hook (5–6 mm)
-
Yarn needle
Abbreviations:
-
fpdc = front post double crochet
-
bpdc = back post double crochet
Instructions:
Step 1: Base
-
Ch 31 (or width of bag).
-
Row 1: Sc across. Turn.
-
Row 2: Ch 2, dc across.
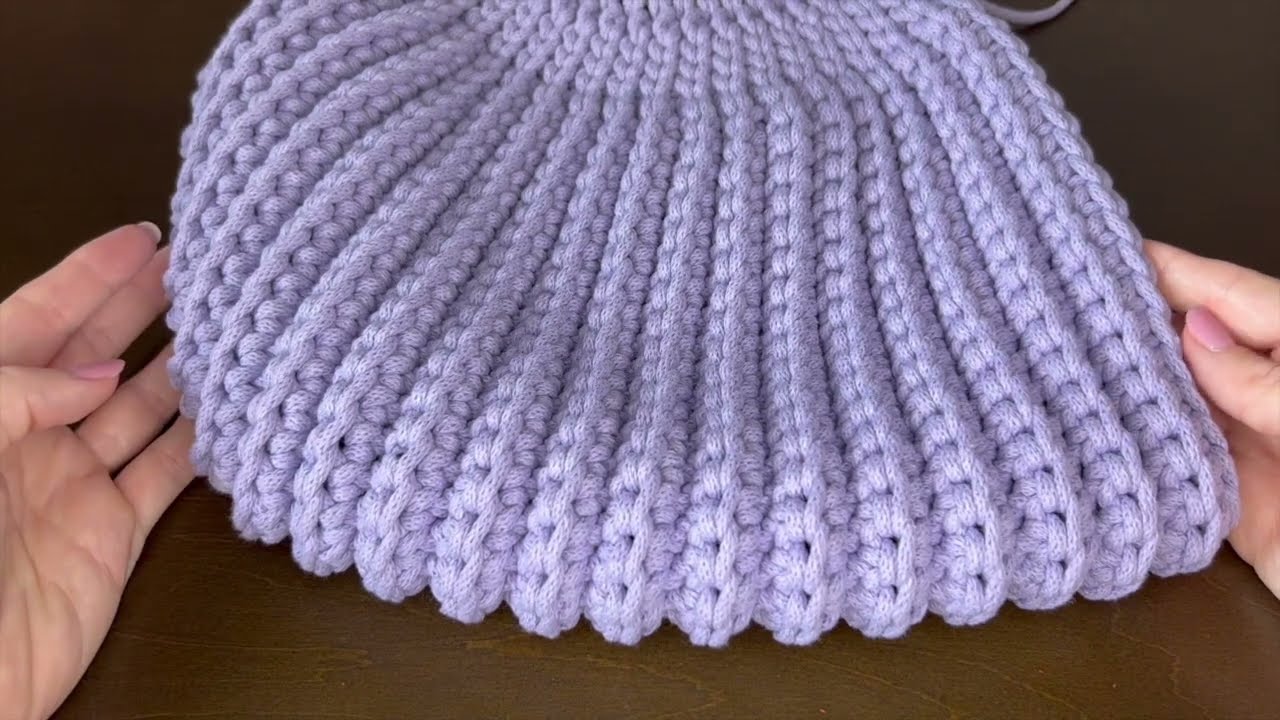
Step 2: Ribbed Pattern
-
Row 3: Ch 2, fpdc around next st, bpdc around next st, repeat across.
-
Repeat Row 3 until bag reaches desired height.
Step 3: Handles
-
Ch 40 (or desired length) and attach to opposite side. Reinforce with sc stitches around base.
Tips:
-
Ribbing creates a stretchy, textured look.
-
Works well with thicker yarn for a structured bag.
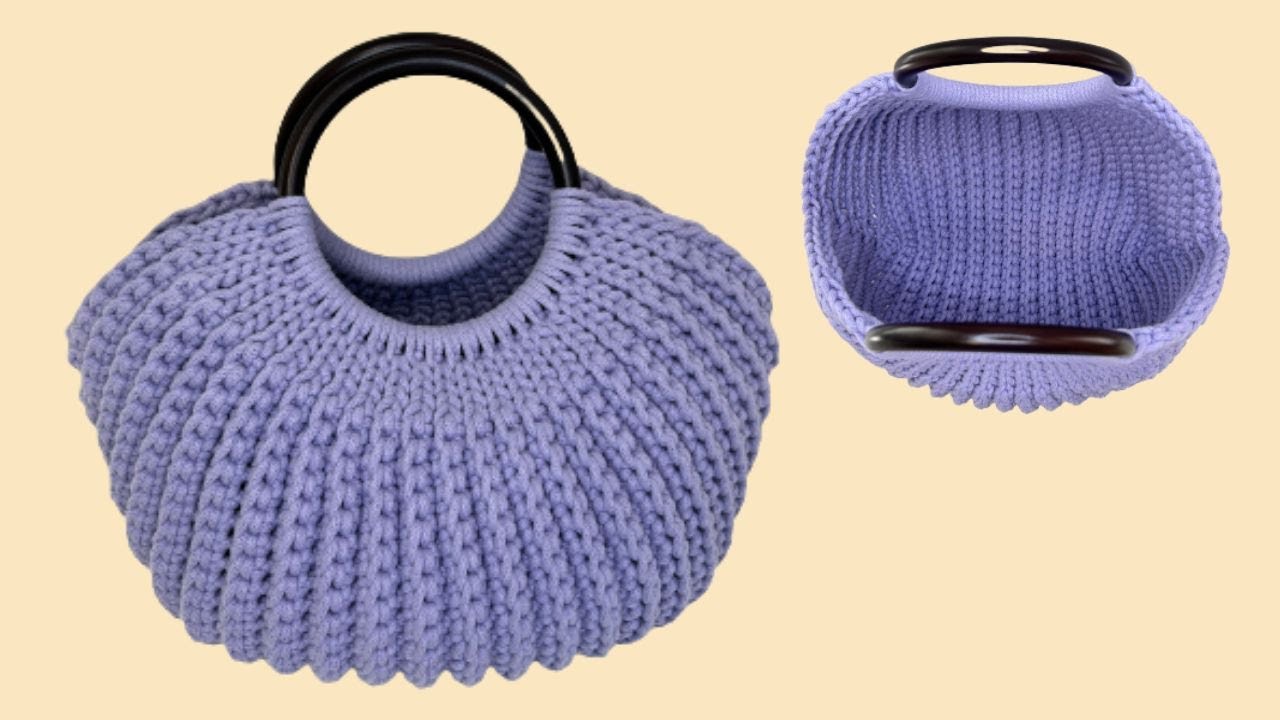
3. Basket-Style Crochet Bag (Structured Bag)
Materials Needed:
-
Bulky yarn or cotton rope
-
Large crochet hook (8–10 mm)
-
Stitch markers
-
Yarn needle
Instructions:
Step 1: Bottom (Circular Base)
-
Magic ring, ch 2 (counts as dc), 10 dc in ring. Pull tight.
-
Round 2: 2 dc in each st around (20 dc).
-
Round 3: 1 dc in next st, 2 dc in next st, repeat around (30 dc).
-
Continue increasing until base is desired diameter.
Step 2: Sides
-
Once base is done, do 1 dc in back loop only for all stitches to start forming sides (this helps bag stay upright).
-
Continue dc rounds without increasing until desired height.
Step 3: Handles
-
Leave gaps in the round for handles: ch 5–8, skip same number of stitches, dc across remaining sts, repeat for opposite side.
-
Reinforce handles with an extra round of sc.
Tips:
-
Cotton rope or bulky yarn gives a firm, basket-like structure.
-
Works well for tote bags or beach bags.
✅ Extra Tips for All Bags:
-
Block your bag after finishing for a neat shape.
-
Add linings if using soft yarn to prevent stretching.
-
You can embellish with buttons, tassels, or appliqué for a personal touch.
If you want, I can draw clear diagrams showing the shell stitch pattern, ribbed stitch pattern, and basket base layout for visual guidance—it makes it much easier to follow.
Watch tutorial: