 by
by Here is a detailed, beginner-friendly tutorial for making:
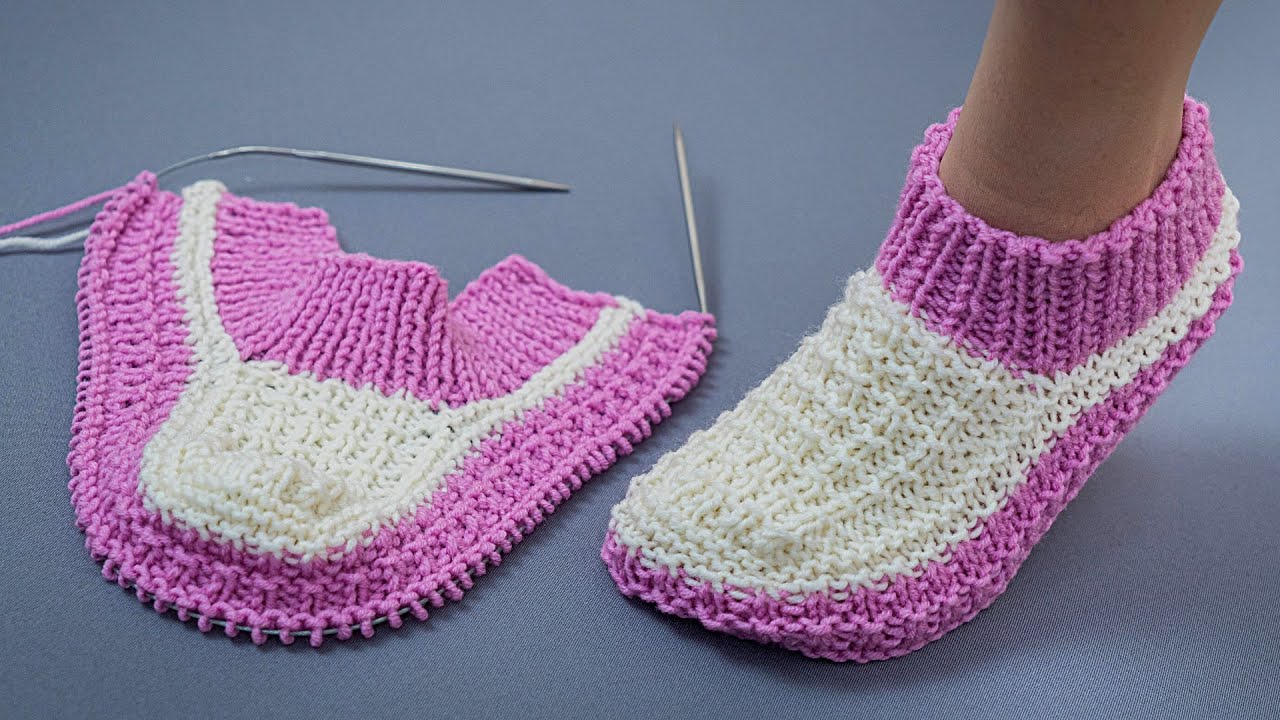
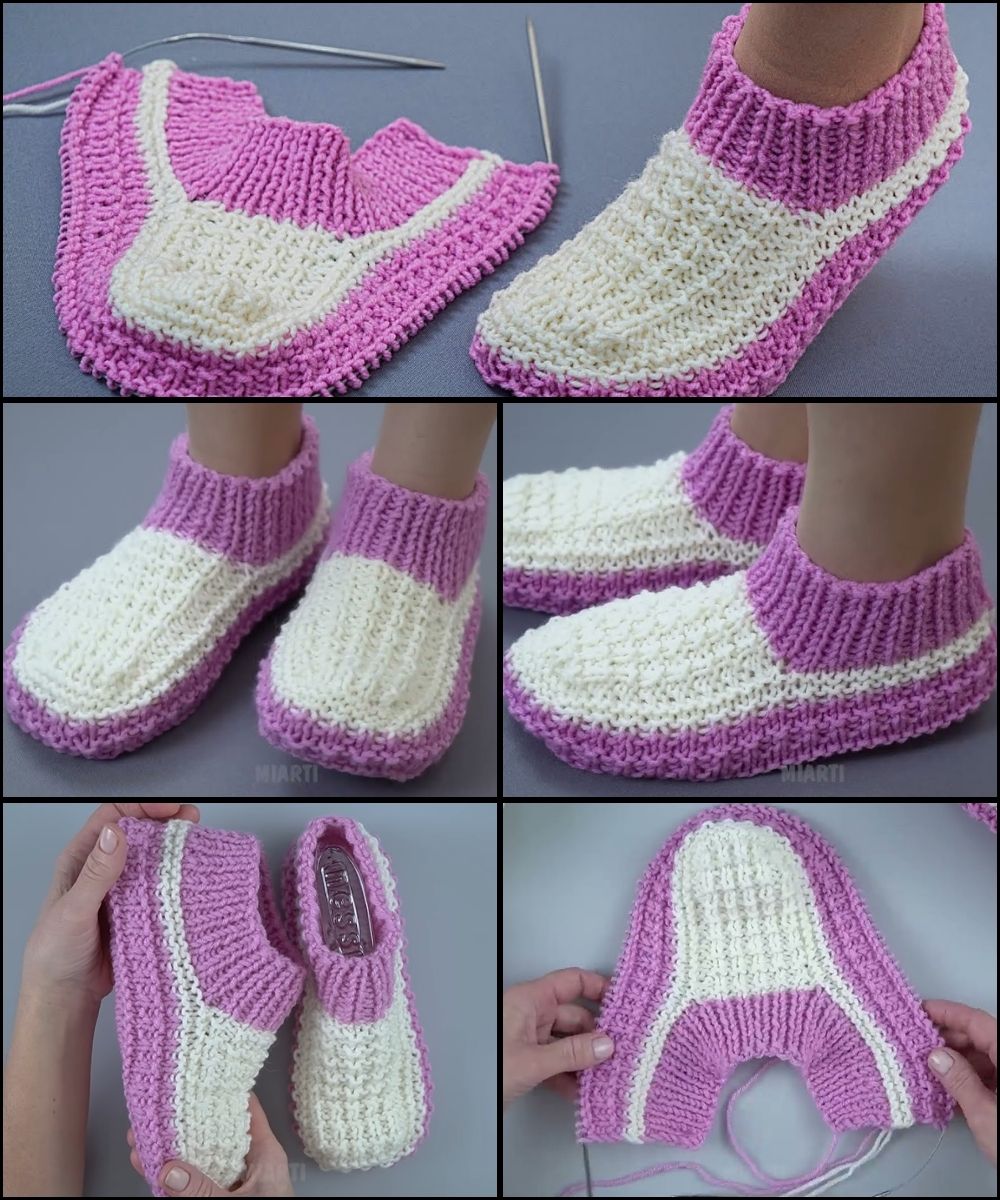
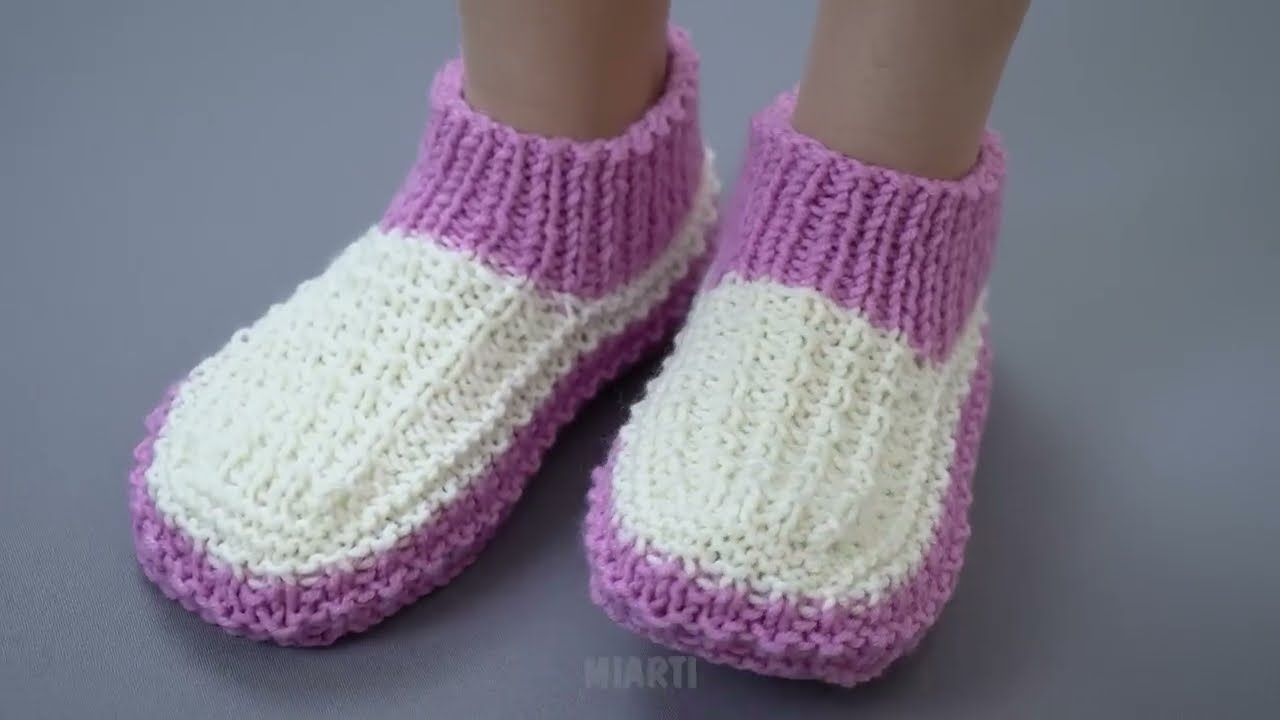
🧶 How to Make Knitted Slippers Without a Seam on the Sole
“Orchid” Model – Even Beginners Can Handle It!
This “Orchid” model is soft, elegant, and very comfortable because there is no seam under the foot. The sole is knitted in one piece, so you won’t feel any bump while walking.
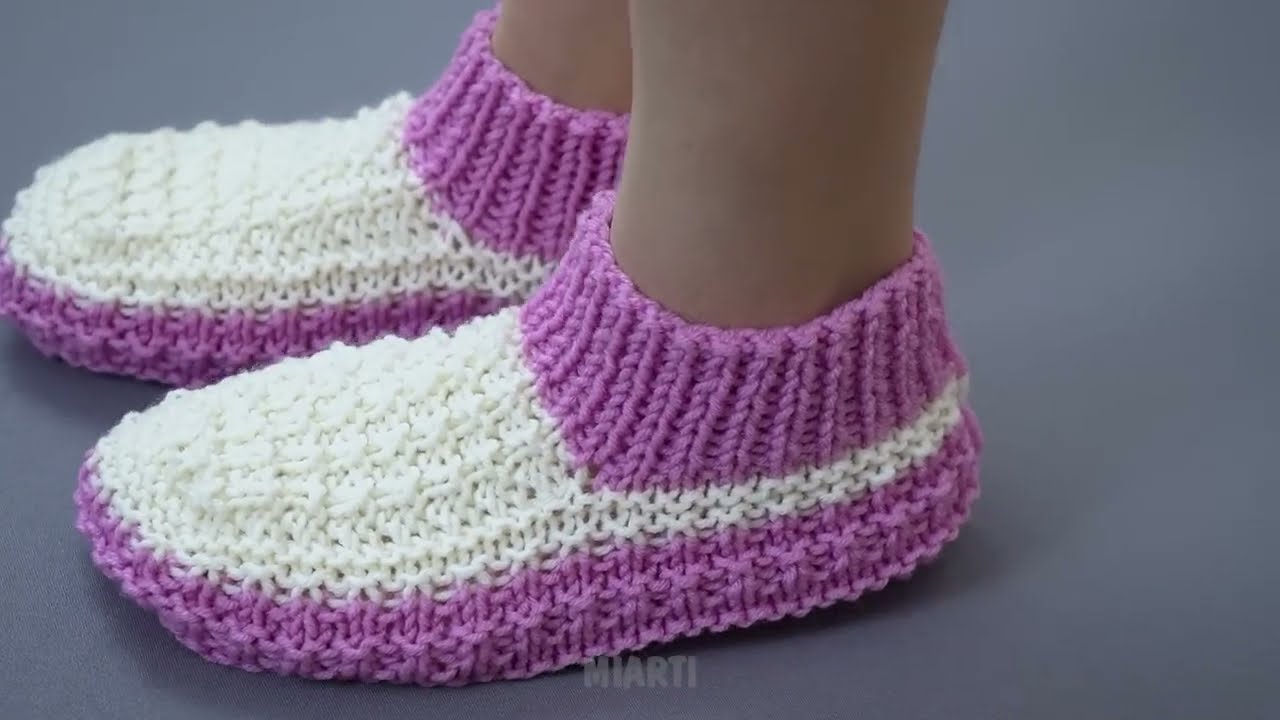
Perfect for home, gifts, or handmade sales 🌸
✨ Why You’ll Love This Model
-
✅ No seam on the sole (super comfortable)
-
✅ Very simple construction
-
✅ Minimal shaping
-
✅ Easy to adjust size
-
✅ Beautiful rounded “orchid” toe look
🧵 Materials Needed
-
100–150g worsted or DK weight yarn
-
4–5 mm knitting needles (straight or circular)
-
Yarn needle
-
Scissors
-
Stitch markers (optional)
-
Measuring tape
📏 Sizes (Easy to Adjust)
| Size | Cast On | Foot Length |
|---|---|---|
| Small (EU 36–37) | 32 sts | 22–23 cm |
| Medium (EU 38–39) | 36 sts | 24–25 cm |
| Large (EU 40–41) | 40 sts | 26–27 cm |
👉 Add or subtract 4 stitches to resize.
🧶 Stitches Used
-
Knit (K)
-
Purl (P)
-
Knit 2 together (K2tog)
-
Slip, slip, knit (SSK) – optional
-
Yarn over (YO) – optional decorative touch
If you can knit and purl, you can make this!
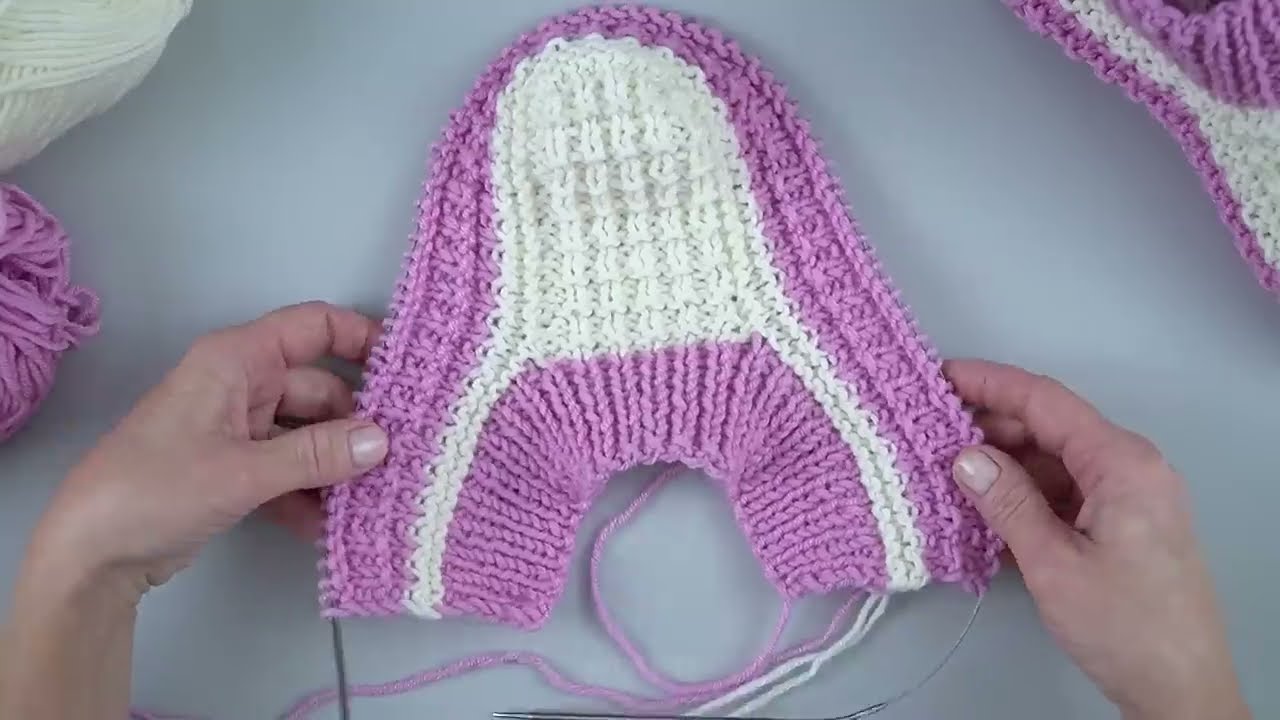
🪡 Construction Overview
This slipper is knitted:
-
From the sole upward
-
Shaped at the toe
-
Closed at the heel
-
Finished with a soft top edge
And the best part?
👉 The sole remains seamless!
🪡 Step 1: Knit the Sole (Flat, No Seam)
-
Cast on required stitches.
-
Work in garter stitch (knit every row).
-
Knit until piece measures from heel to base of toes
(about 75% of full foot length).
Example for Medium size:
-
Foot = 24 cm
-
Knit until 18 cm
This creates a soft, flexible base.
🪡 Step 2: Shape the Toe (Orchid Shape)
Now we create the rounded decorative toe.
Row 1:
K1, K2tog, knit to last 3 stitches, SSK, K1
Row 2:
Knit all stitches
Repeat these 2 rows until only 10–12 stitches remain.
Cut yarn, thread through remaining stitches, pull tight.
✨ This creates a gathered, flower-like toe — the “Orchid” effect.
🪡 Step 3: Pick Up Stitches for the Sides
Now we build the body of the slipper.
-
With right side facing, pick up stitches evenly along one side of the sole.
-
Pick up stitches across the toe.
-
Pick up stitches along the other side.
You now have a “U” shape around the foot.
🪡 Step 4: Knit the Upper Part
Work in stockinette stitch:
-
Round 1: Knit
-
Round 2: Purl (if knitting flat)
OR -
Knit every round (if using circular needles)
Continue for 5–7 cm.
This forms the top of the foot.
🪡 Step 5: Shape the Heel
Fold the back edges together.
Sew ONLY the back heel seam using mattress stitch.
✔ No seam under the foot
✔ Only a small heel seam
Turn right side out.
🪡 Step 6: Finish the Top Edge
Pick up stitches around opening.
Work 6–8 rows in:
-
Rib stitch (K1, P1) for stretch
OR -
Garter stitch for soft edge
Bind off loosely.
🌸 Optional “Orchid” Decorative Detail
To enhance the flower look:
-
Add a small knitted I-cord flower
-
Sew a decorative button in the toe center
-
Add a crochet flower
-
Use two colors (contrast toe)
🧼 Care Instructions
-
Hand wash preferred
-
Lay flat to dry
-
Avoid high heat
💡 Beginner Tips
✔ Count stitches after decreases
✔ Keep decreases neat for pretty toe
✔ Use wool blend for structure
✔ Don’t pull too tight when closing toe
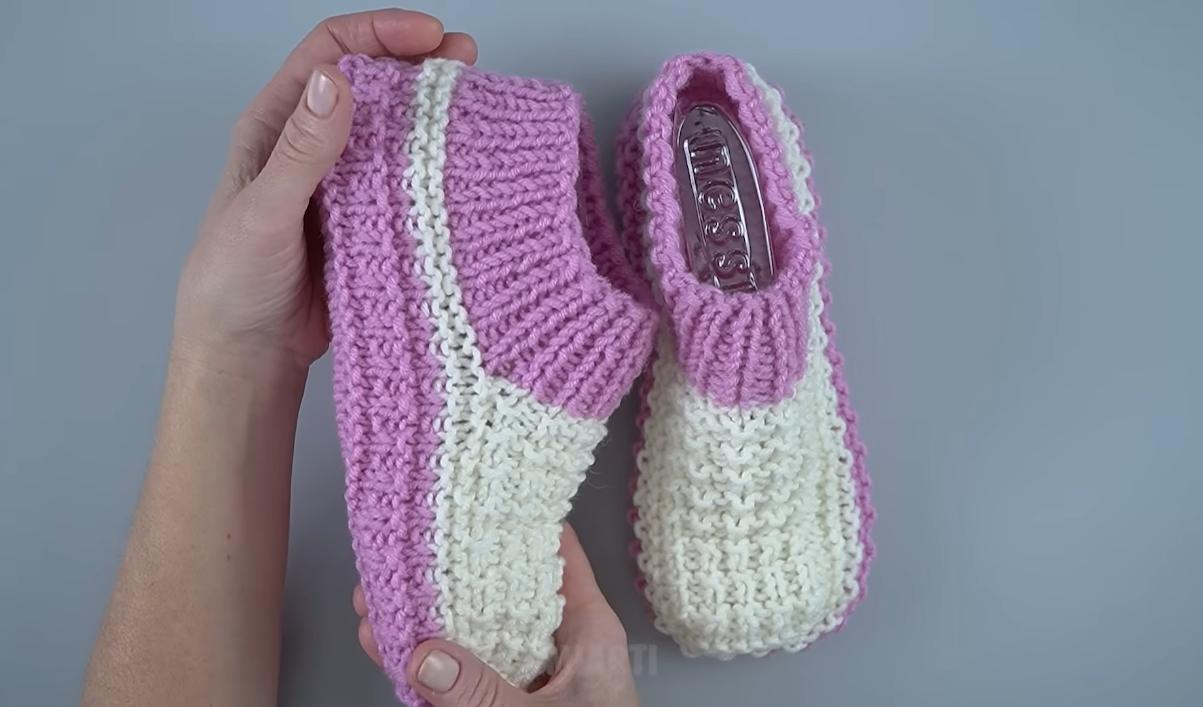
🎉 Final Result
You now have:
-
A soft
-
Seamless sole
-
Elegant rounded toe
-
Beginner-friendly slipper
-
Beautiful “Orchid” shape
Comfortable enough for everyday wear, pretty enough for gifting 💗
If you’d like, I can also:
-
Write a children’s size version
-
Create a step-by-step photo guide layout
-
Make a video tutorial script
-
Convert this into a toe-up circular version
-
Add a non-slip sole method
Watch video: