 by
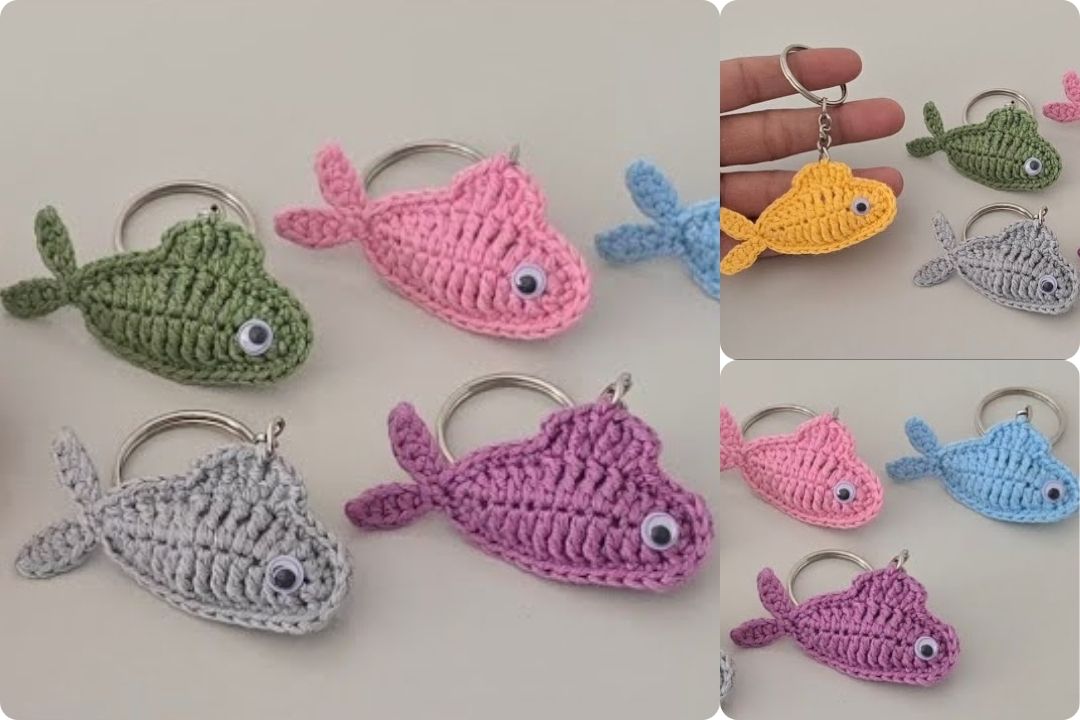
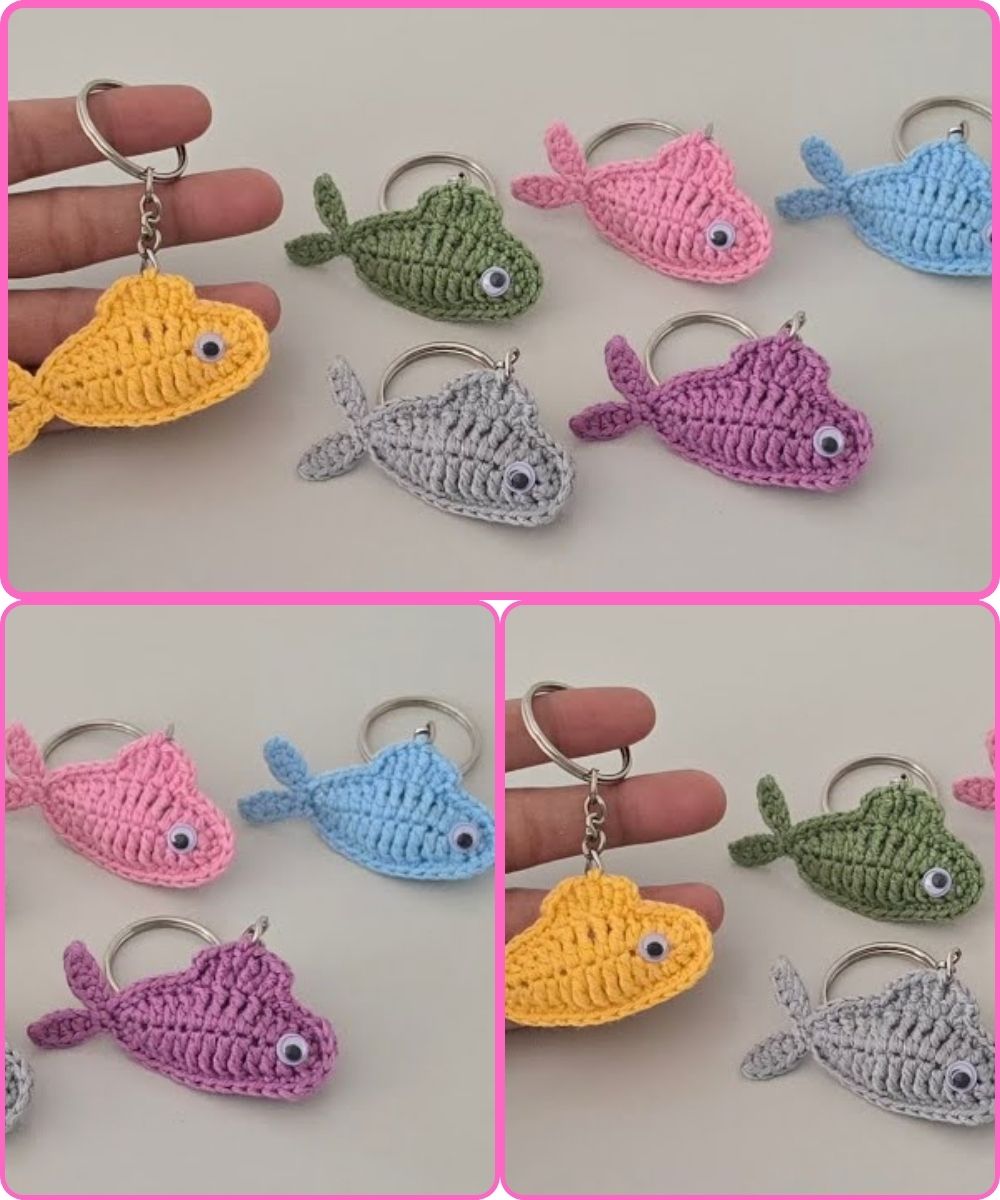
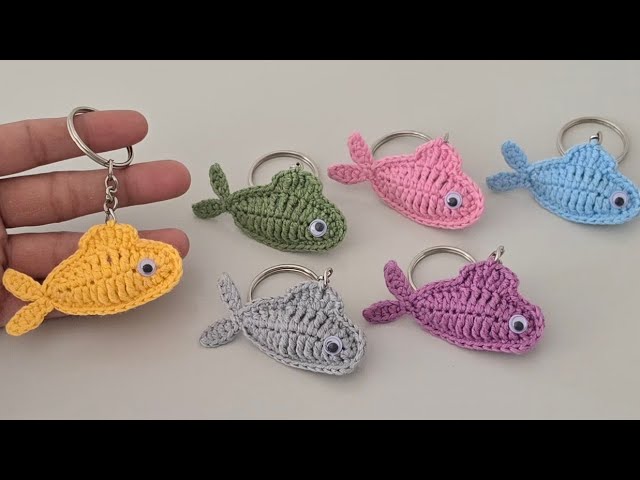
by Are you ready to dive into the delightful world of amigurumi? This guide will help you create an adorable and squishy fish keychain, perfect for beginners and a charming gift for any ocean lover. Get your hooks ready—let’s make some waves!
What You’ll Need: Your Essential Materials
Before we begin, gather your supplies. For this charming little fish, you’ll want to use:
- Yarn: Approximately 5-ply, 50% acrylic, 50% cotton yarn in your desired fishy colors.
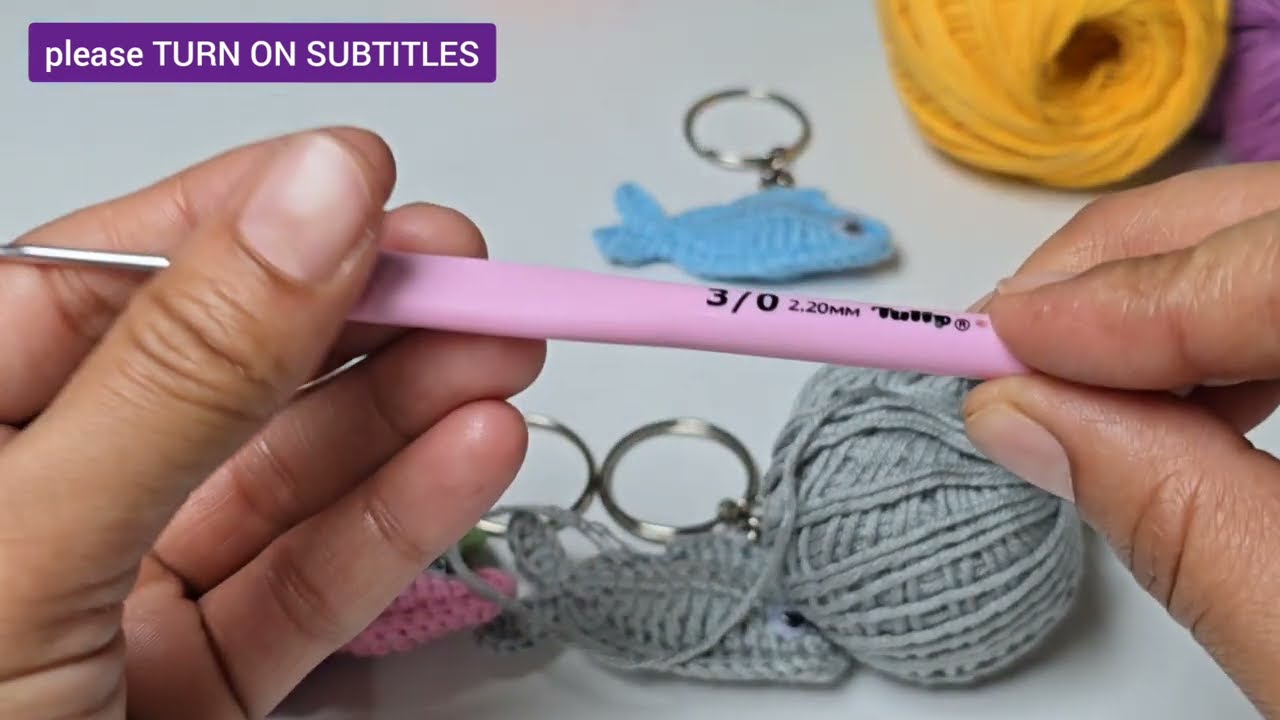
- Crochet Hook: A 2.20 mm crochet hook is ideal for achieving a tight, neat stitch that’s perfect for amigurumi.
- Stuffing: Fiber filling to give your fish its plump, cuddly shape.
- Yarn Needle: For weaving in ends and assembling.
- Scissors: For cutting yarn.
- Keychain Clip: To transform your fish into a portable accessory.
- Eyes: Small black pearls or amigurumi moving eyes for that endearing gaze. (Glue for attaching, if needed).
Fin-tastic Beginning: Starting Your Fish Body
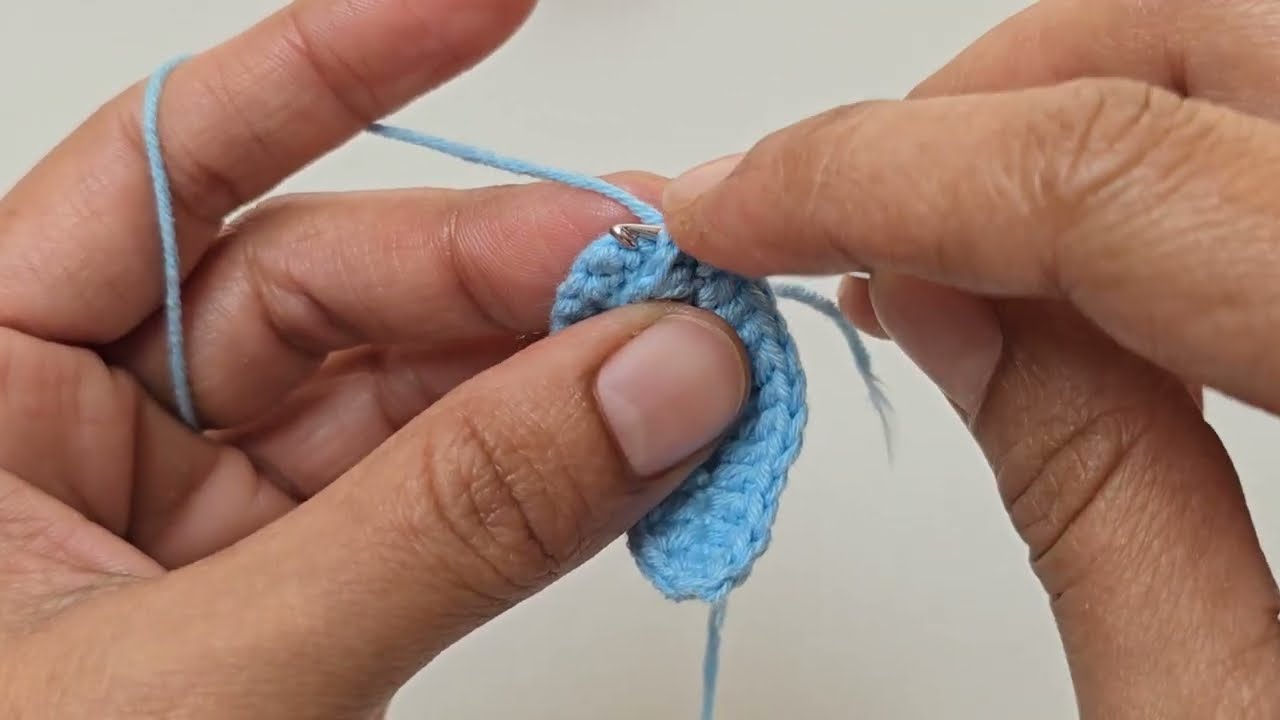
The journey to your cute fish begins with two identical body pieces.
- Chain Up: Start by making a foundation chain of 15 stitches.
- First Row Fun:
- In the 2nd chain from your hook, single crochet (sc).
- Next, half double crochet (hdc).
- Follow with 3 double crochets (dc) in the next three stitches.
- Then, make 4 double crochets (dc) in the next stitch (this forms a curve).
- Continue with 3 double crochets (dc) in the following three stitches.
- Finish this side with a half double crochet (hdc) and a single crochet (sc) in the subsequent chains.
- Flip and Repeat: Turn your work and repeat the same crochet sequence along the other side of your starting chain. This creates a symmetrical, fish-like shape.
- Seal the Shape: Complete the row with a slip stitch (sl st) into the top of your very first single crochet. Chain 1, then cut your yarn, leaving a tail for later.
Repeat these steps to create a second identical fish body piece.
Bringing Your Fish to Life: Joining & Detailing
Now it’s time to unite your two fish pieces and add those lovely details!
- Seamless Join: Take your second piece (without cutting the yarn after the slip stitch). Align it perfectly with your first piece. Single crochet (sc) through the opposite loops of both pieces, effectively joining them together.
- Shaping the Form: Continue to single crochet, working around the perimeter. Pay special attention when you reach the half double crochets from your initial rows—make 2 single crochets on top of these in both the front and back patterns to ensure a smooth, rounded shape.
- The Fin Foundation: Keep single crocheting until you reach the “quadruple crochet stitch” area (where you made 4 dc in one stitch). This spot is crucial for our fins!
Crafting the Character: Fins and Tail
These details give your fish its unique personality!
The Side Fins:
- Instructions for specific single crochet, chain, and double/triple crochet combinations will guide you to create delightful side fins that truly bring your fish to life. These will sprout from the “quadruple crochet” areas.
The Waving Tail:
- Tail Start: Make a slip stitch (sl st) to begin the tail section.
- Chain for Flow: Chain 6.
- Tail Shaping: Working back down the chain: single crochet (sc), half double crochet (hdc), double crochet (dc), half double crochet (hdc), and single crochet (sc) into the subsequent chains.
- Repeat for Fullness: Repeat this tail process once more to create a beautiful, flowing tail for your fish.

The Grand Finale: Stuffing, Closing & Accessorizing
Almost there! Time to stuff your fish and add the finishing touches.
- Stuffing Time: Leave a small opening and gently stuff your fish with fiber filling. Don’t overstuff; you want it squishy, not rigid!
- Close the Gap: Once stuffed, continue to combine the remaining loops with single crochet stitches until the opening is completely closed.
- Keychain Attachment: After making 1 chain, leave a long enough yarn tail. Use your yarn needle to guide this tail to the top-center point of your fish. Securely attach your keychain clip here.
- Adding the Sparkle: Eyes! Carefully glue on your black pearls or amigurumi moving eyes to the front face of your fish. Position them to give your fish the most endearing expression!
Your Adorable Fish Keychain Awaits!
Congratulations! You’ve just created a charming amigurumi fish keychain. This project is not only satisfying but also results in a wonderful handmade item that can be a thoughtful gift or a cute addition to your own keys or bag.
We hope you enjoyed this tutorial! Don’t forget to share your creations with us in the comments below!
Watch tutorial: