 by
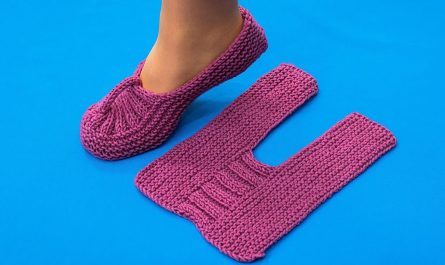
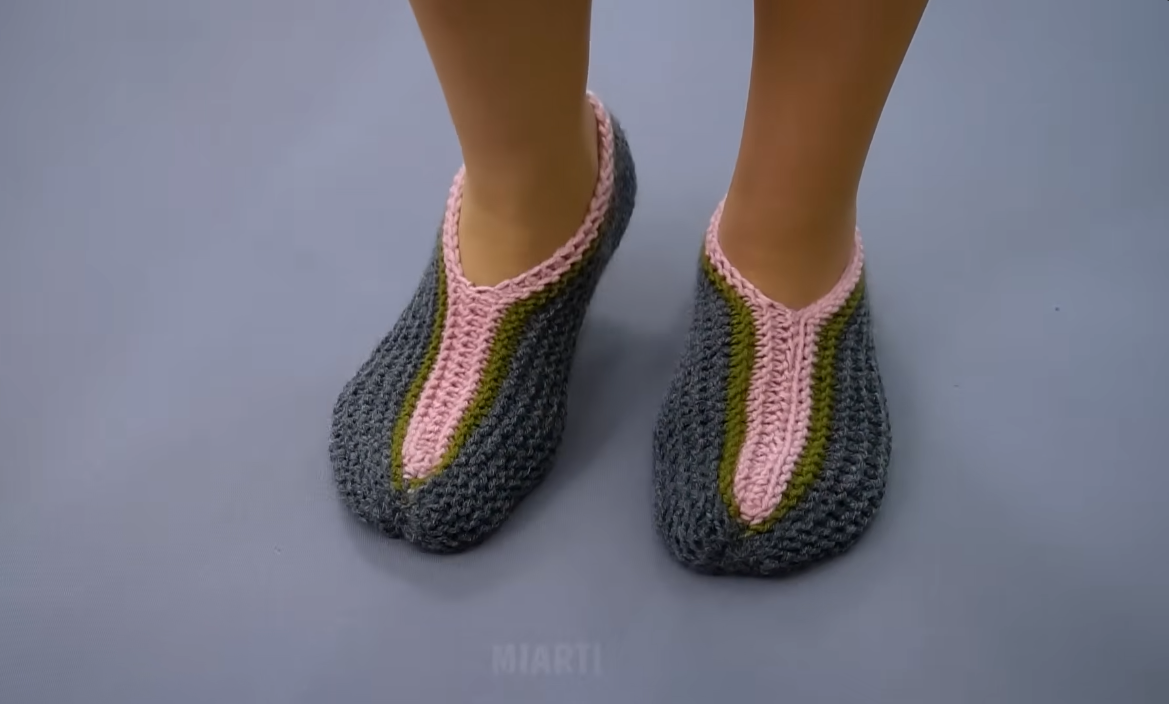
by Here’s a step-by-step detailed tutorial on how to knit seamless sole slippers using just two straight needles. This method creates slippers that are comfortable, durable, and have no seam under the foot, making them perfect for everyday home wear.
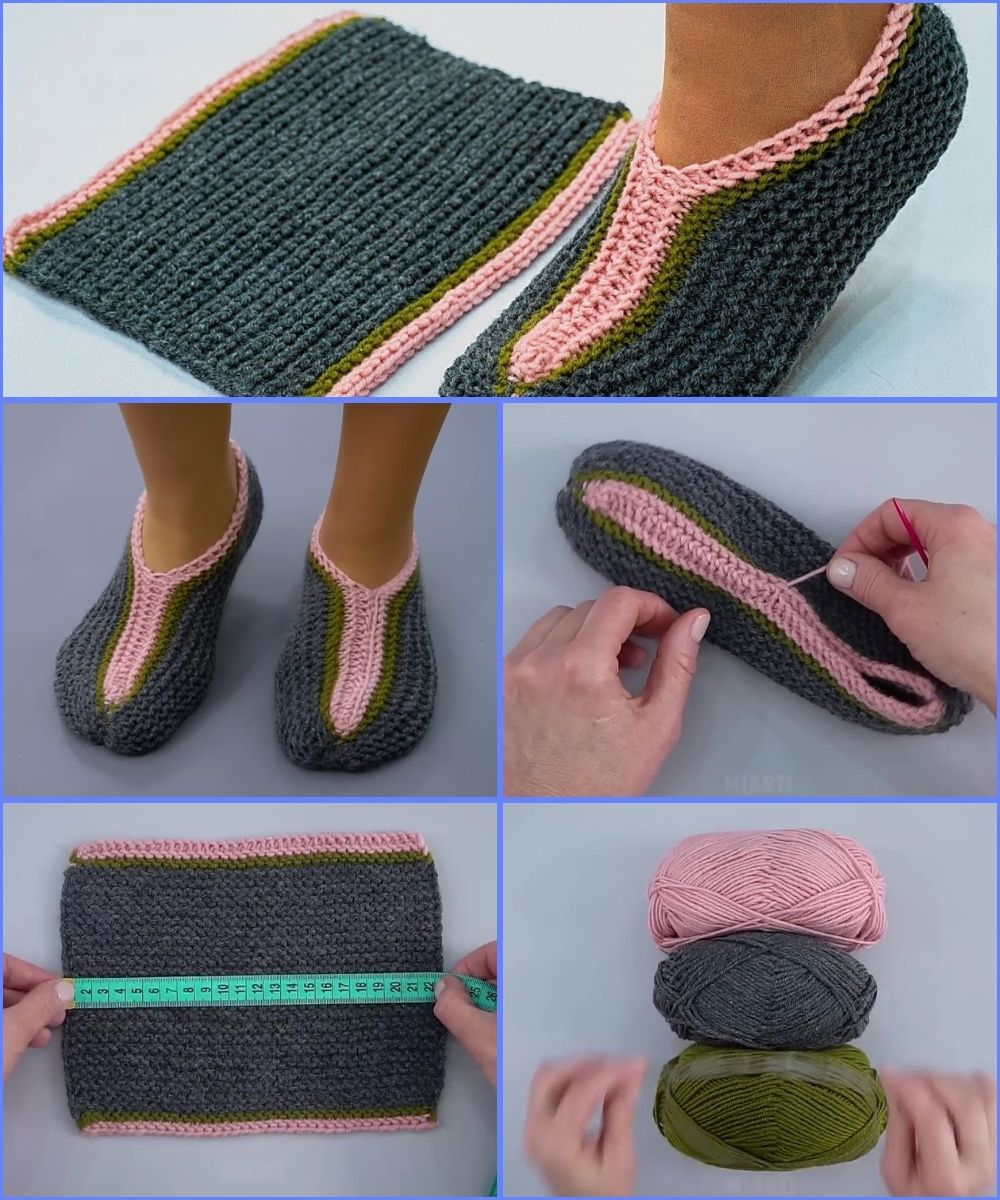
🧶 How to Make Slippers on Two Knitting Needles (No Seam on the Sole)
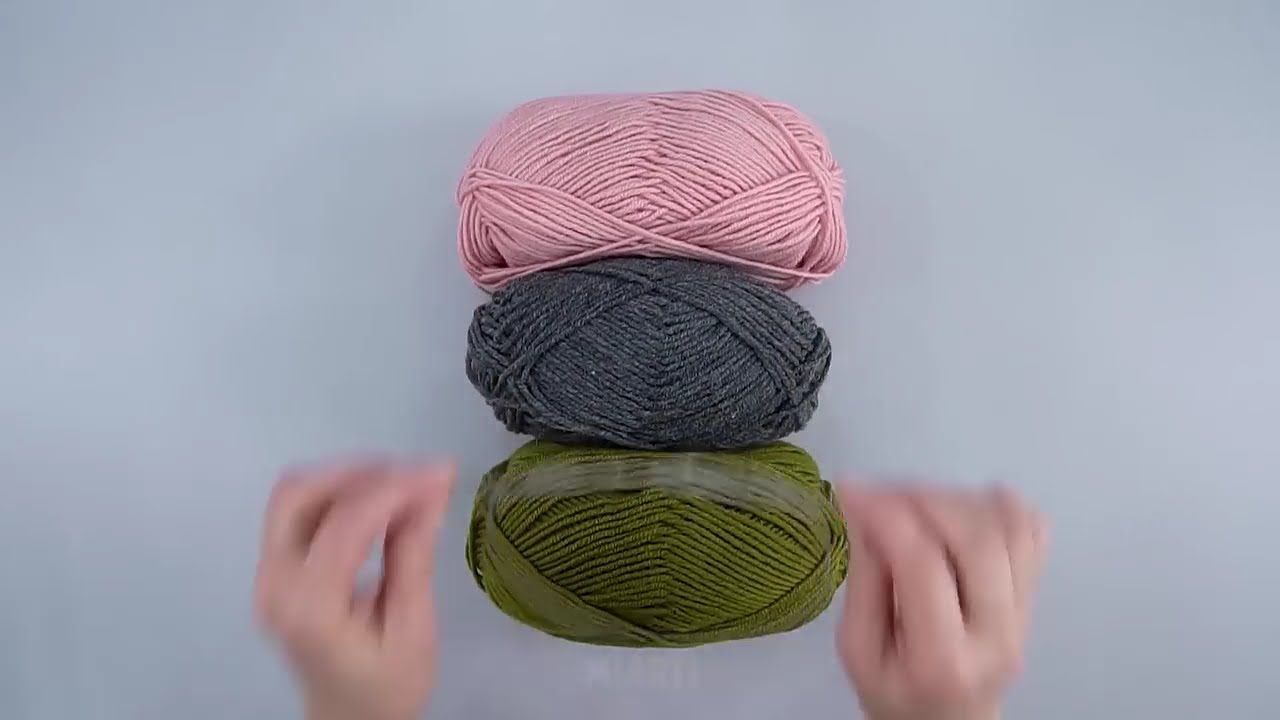
🧵 Materials You’ll Need
-
Worsted weight yarn (or chunky for warmer slippers)
-
Two straight knitting needles (size 4–6 mm / US 6–10 depending on yarn)
-
Tapestry needle
-
Scissors
-
Stitch markers (optional)
Tip: Wool or wool-blend yarn works best because it’s warm and slightly elastic.
📏 Sizes (Adjustable Pattern)
This pattern is customizable. The sample instructions below fit an average women’s size (US 7–8 / EU 38–39).
To adjust:
-
Add stitches for larger sizes
-
Remove stitches for smaller sizes
-
Length is adjustable by knitting more or fewer rows
🪡 Construction Overview
These slippers are knitted:
-
From the toe upward
-
Shaped through the foot
-
Built with short rows for the heel
-
Seamed only at the back (NO seam on the sole!)
👣 STEP 1: Cast On (Toe Section)
Cast on 8 stitches.
Knit 1 row.
Now begin increasing:
Row 1 (Increase row – RS):
K1, M1, knit to last stitch, M1, K1
Row 2 (WS):
Knit all stitches.
Repeat these two rows until you have 36 stitches (or enough to match the width of your foot).
You now have a rounded toe shape.
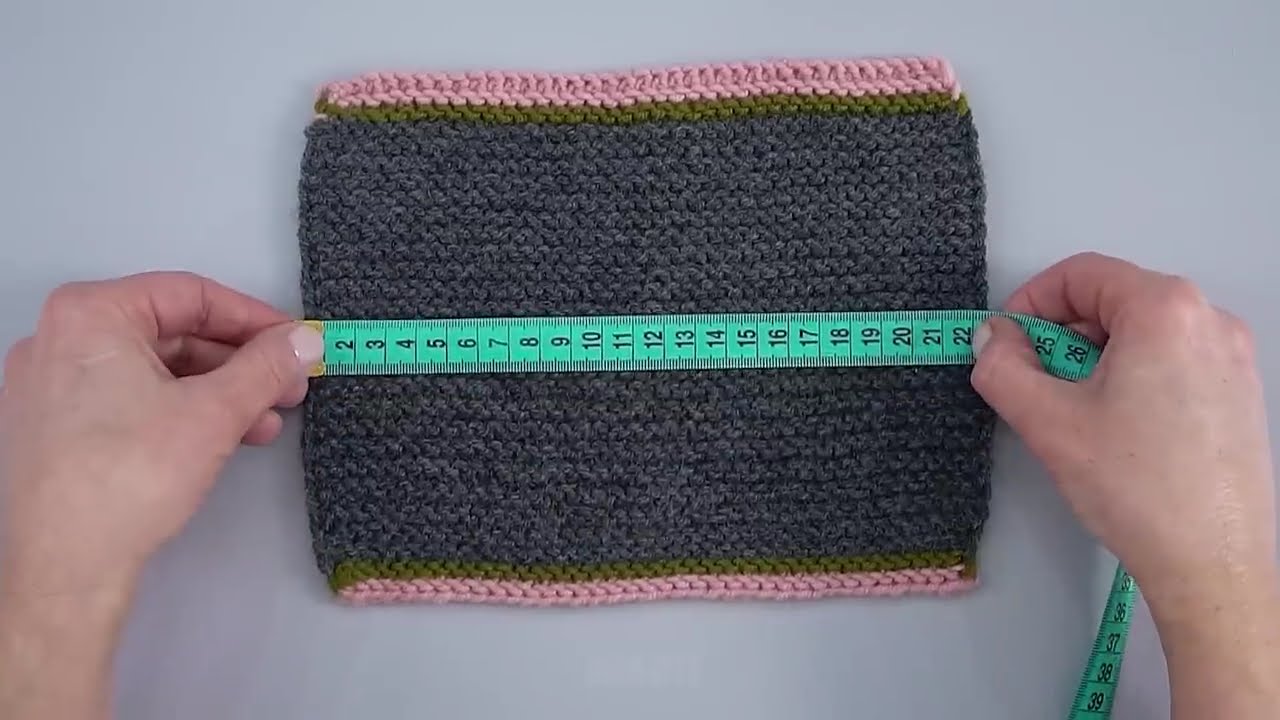
👟 STEP 2: Knit the Foot
Once you’ve reached desired width:
Knit every row (garter stitch) until the piece measures:
-
About 2 inches (5 cm) less than your total foot length
Example:
If foot length = 9.5 inches
Knit until piece measures 7.5 inches from toe.
🦶 STEP 3: Shape the Heel (Short Rows – No Sole Seam)
This creates a rounded heel cup.
Setup:
You should have 36 stitches on the needle.
Row 1 (RS):
Knit 24 stitches, turn work.
Row 2 (WS):
Knit 12 stitches, turn.
Row 3:
Knit 13 stitches, turn.
Row 4:
Knit 14 stitches, turn.
Continue this way, knitting 1 stitch more each row, until all stitches are worked again.
This forms the heel cup without cutting yarn.
🪢 STEP 4: Knit the Ankle Edge
Now knit 6–10 rows in garter stitch for a simple cuff.
Optional:
-
Switch to rib stitch (K1, P1) for stretchy edge
-
Or add decorative pattern
🧵 STEP 5: Bind Off
Bind off loosely so the slipper isn’t tight around the ankle.
Cut yarn, leaving a long tail.
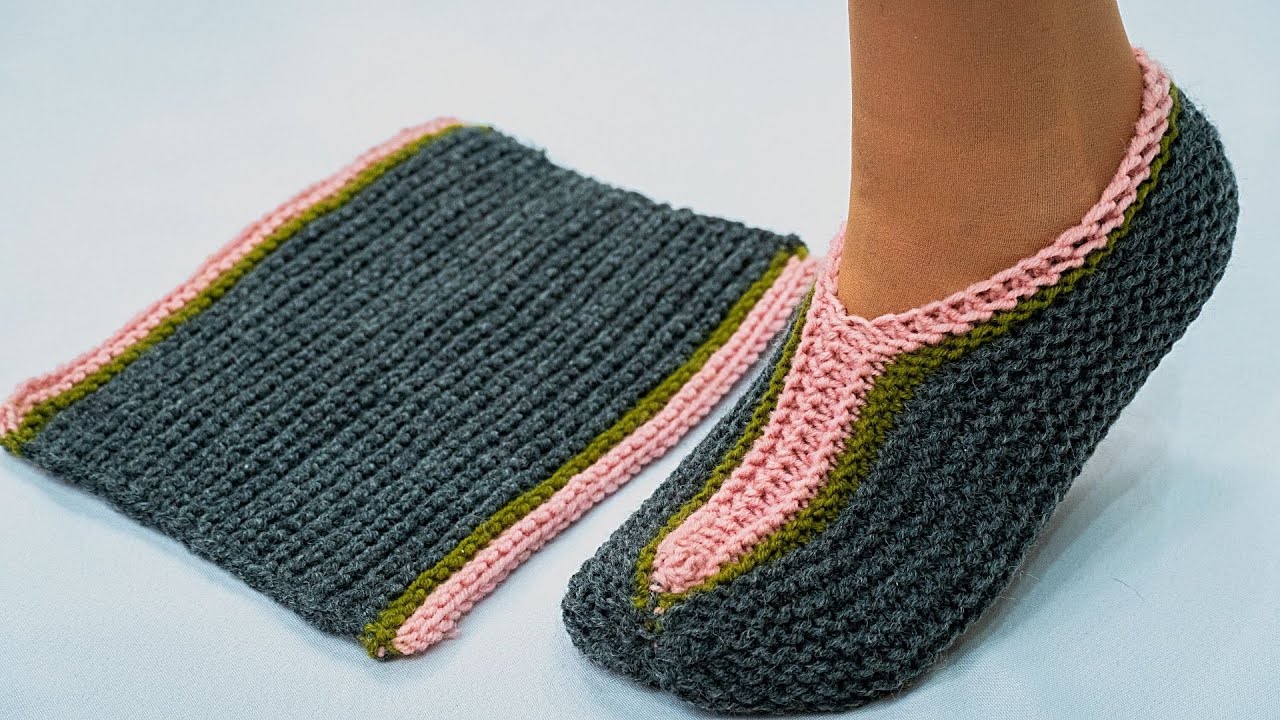
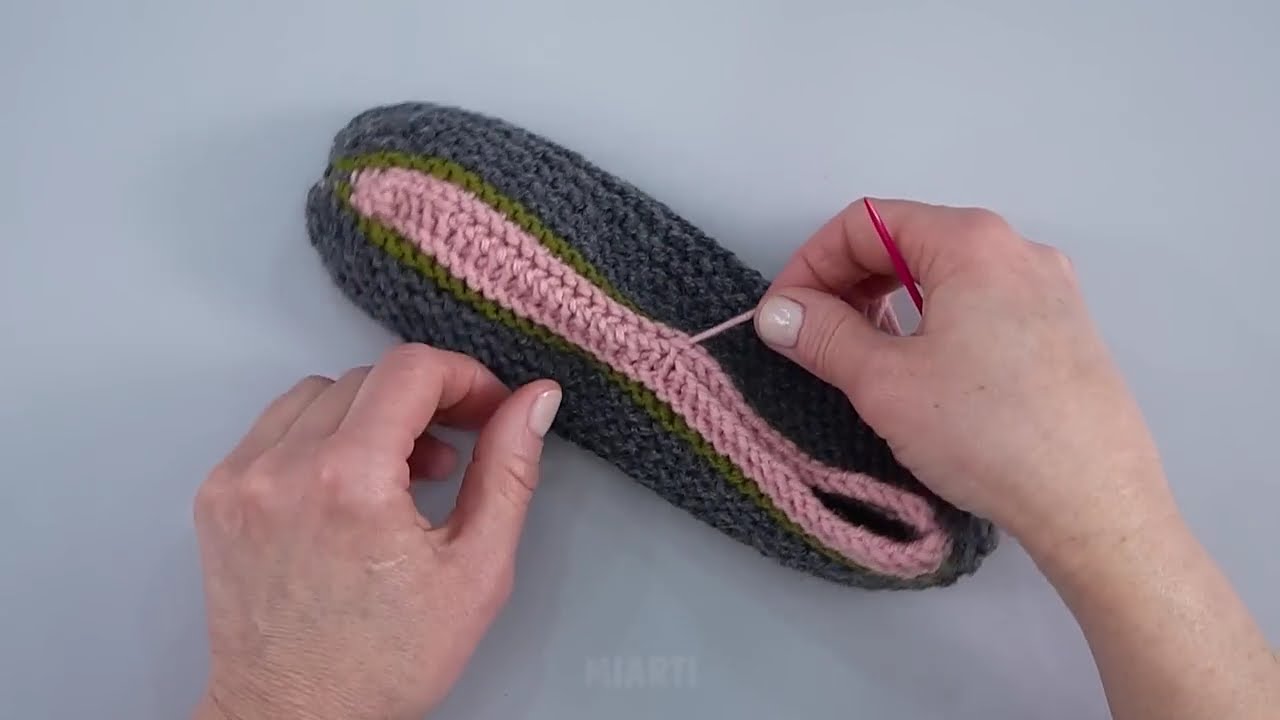
✂️ STEP 6: Seam Only the Back
Fold slipper in half (right sides facing out).
Using mattress stitch or whip stitch:
-
Sew ONLY the back heel seam.
✔ There is NO seam along the bottom
✔ Sole remains smooth and comfortable
🧦 Optional Additions
🧶 Add Non-Slip Bottom
-
Apply puff paint dots
-
Sew suede patch
-
Add silicone grip lines
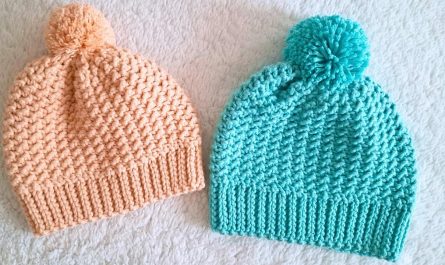
🎀 Add Decoration
-
Pom-poms
-
Buttons
-
Small knitted flower
📐 Size Adjustment Guide
| Foot Length | Stitches (Approx.) |
|---|---|
| Small | 32 sts |
| Medium | 36 sts |
| Large | 40 sts |
For wider feet → increase more at toe stage
For narrow feet → stop increasing earlier
🧡 Helpful Tips
-
Knit tightly for durability.
-
Double strand yarn for winter slippers.
-
Always try on before starting heel shaping.
-
If heel feels loose → work fewer short rows.
🧶 Skill Level
Beginner to Advanced Beginner
Requires:
-
Knit stitch
-
Increasing (M1)
-
Basic short rows
-
Simple seaming
If you’d like, I can also:
-
Create a print-friendly PDF layout
-
Make a men’s size version
-
Convert this into a video-style script tutorial
-
Add photos/diagram explanations**
-
Or write a ribbed / cable version**
Just tell me what you prefer 😊
Watch tutorial: