 by
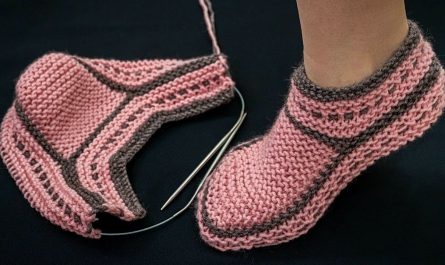
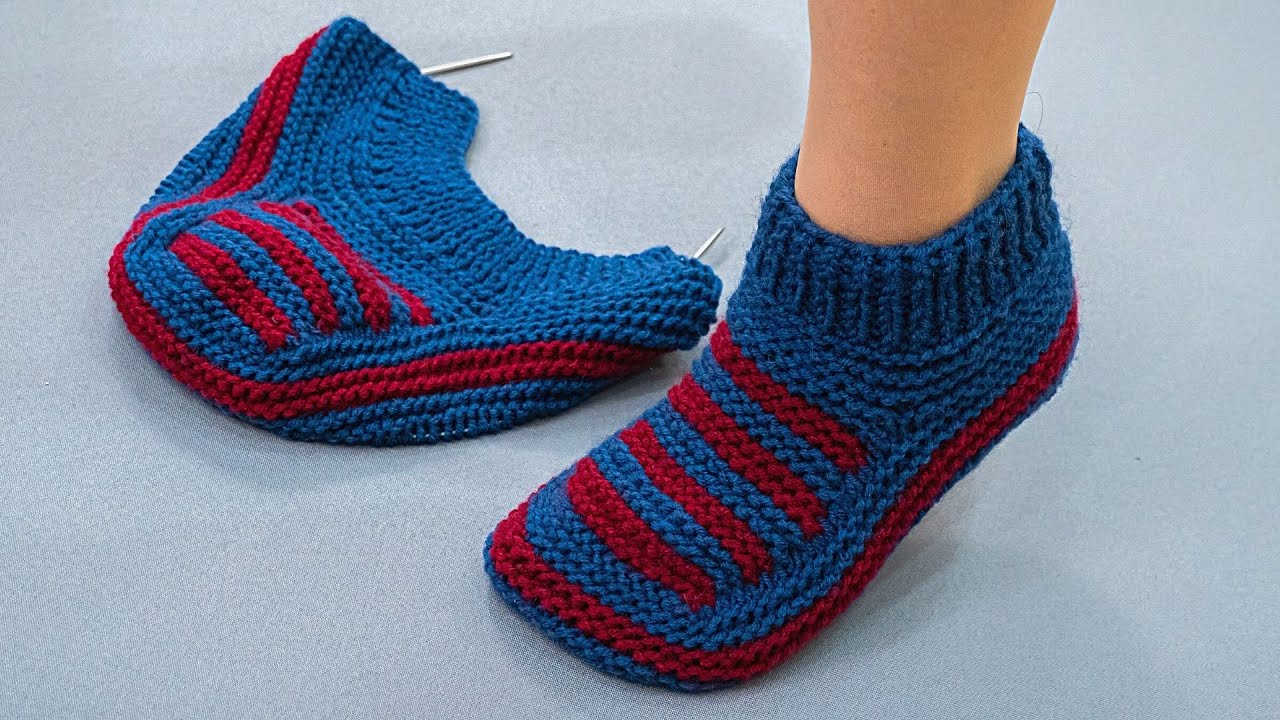
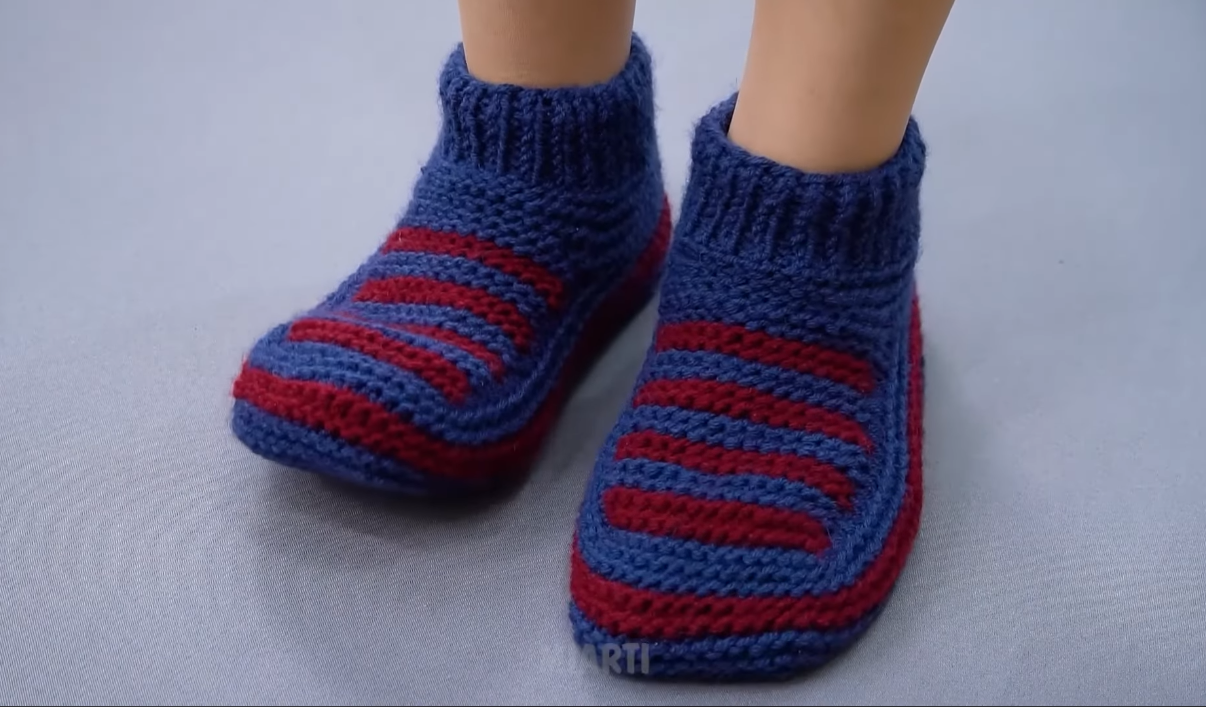
by Here’s a detailed, beginner-friendly guide to making simple knitted slippers with no seam on the sole.
This pattern is worked mostly in one piece, and the sole stays completely seamless for maximum comfort.
🧶 Simple Seamless Knitted Slippers (No Sole Seam!)
Why This Pattern Is Great
✔ No seam under your foot
✔ Beginner friendly
✔ Uses basic stitches
✔ Quick project (great weekend knit!)
✔ Perfect for gifting
🧵 Materials
-
Worsted weight yarn (100–150g)
-
4.5–5 mm (US 7–8) straight needles
(or circular needles if you prefer) -
Stitch marker
-
Tapestry needle
-
Scissors
Optional:
-
Non-slip fabric paint for grip
-
Wool for felting (if you want thicker slippers)
📏 Basic Adult Size (Medium)
-
Cast on: 32 stitches
-
Fits US women’s 7–9 (adjust notes included below)
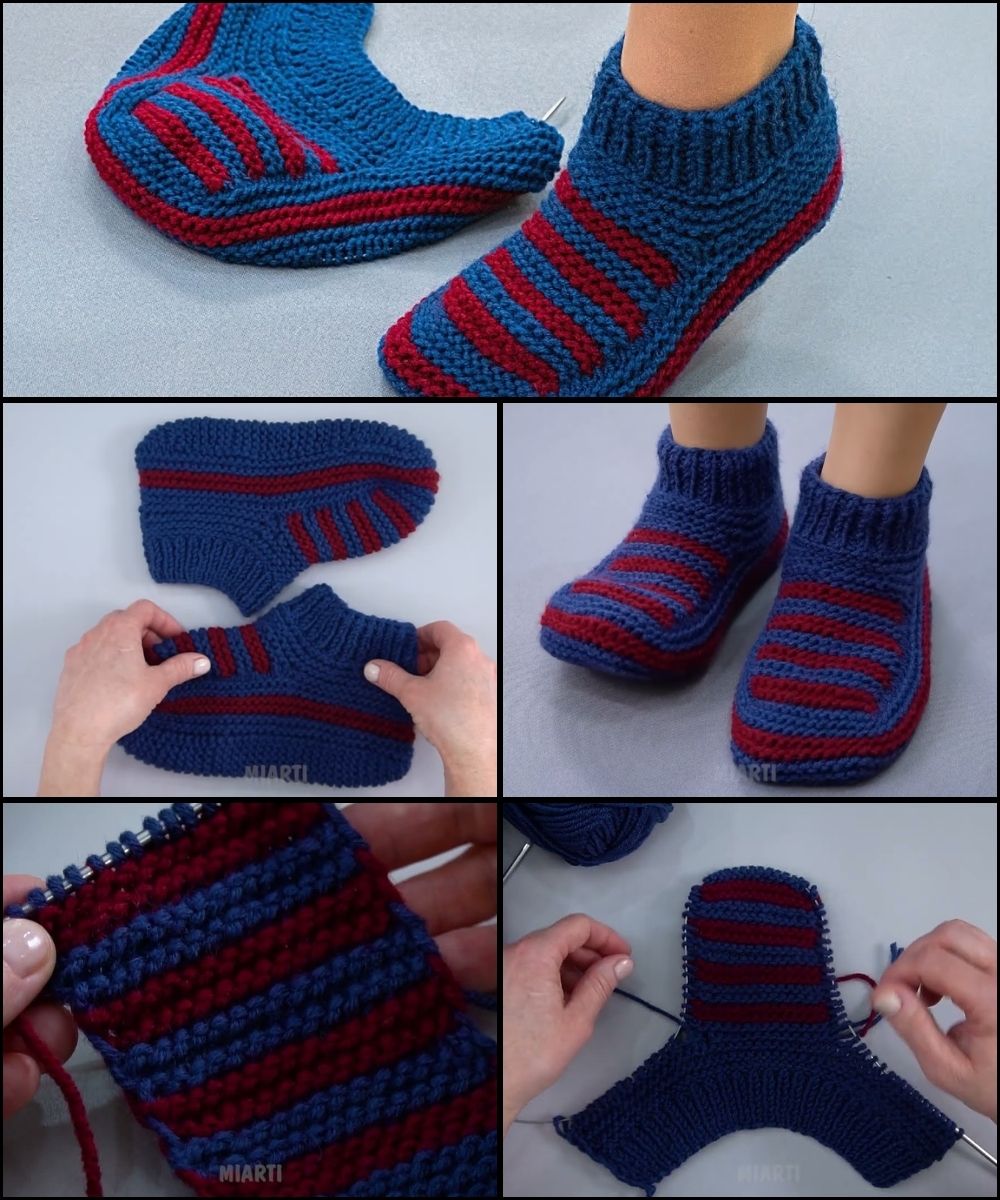
🧦 Construction Overview
You will:
-
Knit the sole flat
-
Pick up stitches around it
-
Knit the sides and top in one piece
-
Shape the toe
-
Seam only the back heel
The sole remains completely seamless.
🪡 Step-By-Step Instructions
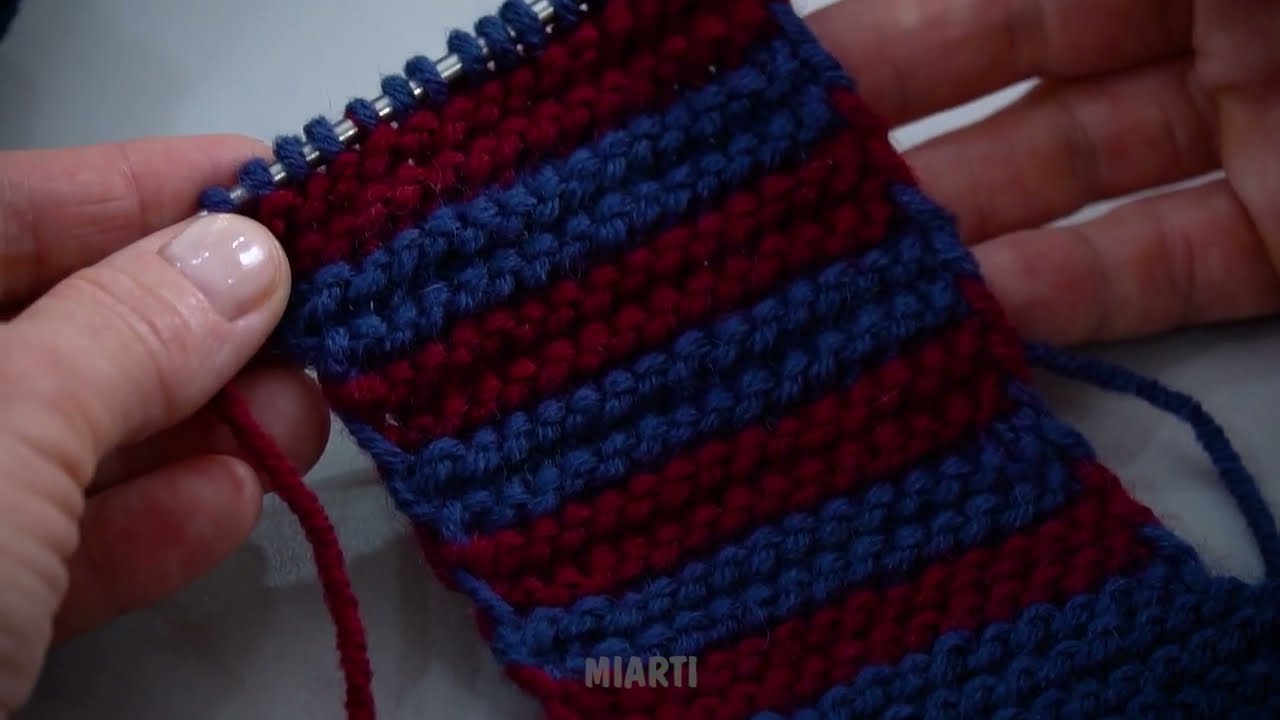
1️⃣ Knit the Sole (Flat Piece)
Cast on 32 stitches
Work in garter stitch (knit every row) for:
-
7–9 inches
-
Or until it measures about 1 inch shorter than your foot length
This forms the base of the slipper.
Do NOT bind off.
2️⃣ Pick Up Stitches Around the Sole
Now you’ll build the slipper upward.
Turn your work so you’re ready to knit along the side edge.
Pick up and knit:
-
About 16 stitches along first side
-
Knit across the 32 sole stitches
-
Pick up 16 stitches along other side
You now have roughly 64 stitches.
Place marker at center front (optional but helpful).
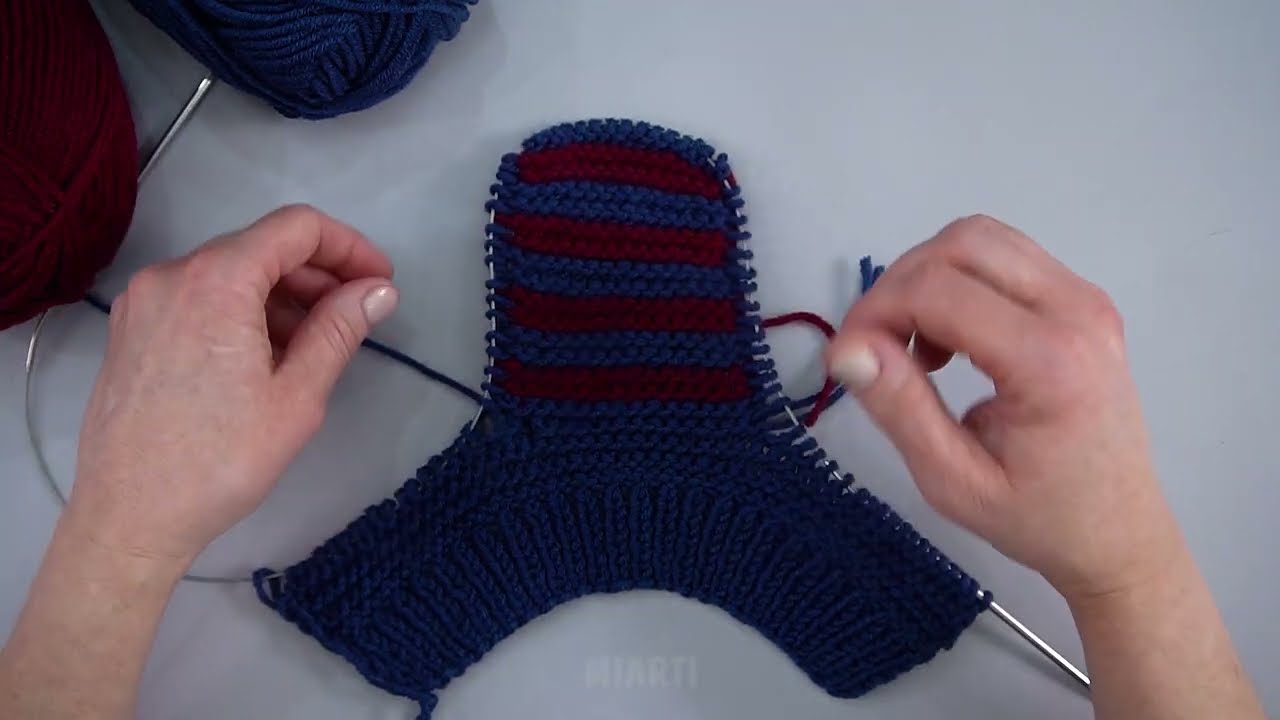
3️⃣ Knit the Body
Now work in stockinette:
-
Knit one round
-
Purl one round
Repeat for about 1.5–2 inches
This forms the sides of the slipper.
4️⃣ Shape the Toe (Simple Decrease)
We’ll decrease at the front to shape the slipper.
Decrease Round:
Knit to 3 stitches before marker
K2tog
K1
Slip marker
K1
SSK
Knit to end
Next round: Knit (or purl if maintaining stockinette)
Repeat these two rounds until:
-
About 16 stitches remain total
5️⃣ Close the Toe
Cut yarn leaving a long tail.
Thread through remaining stitches and pull tight.
Secure inside.
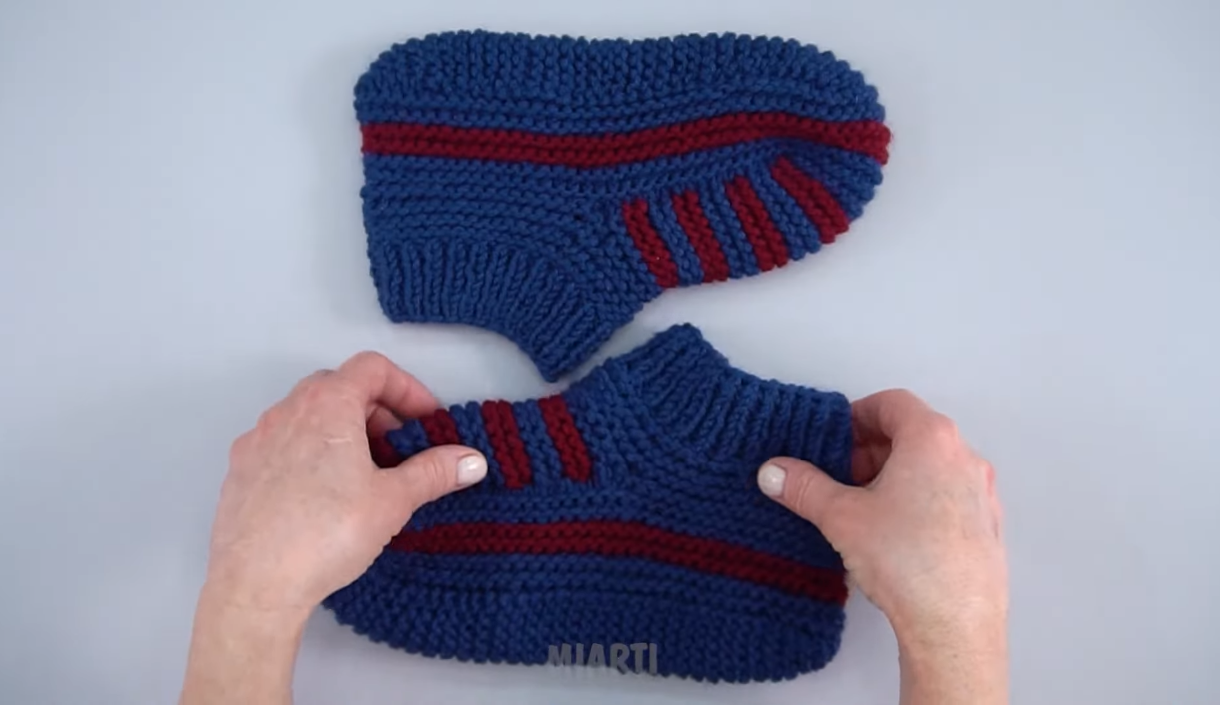
6️⃣ Seam the Heel (Back Only)
Fold slipper so heel edges meet.
Using mattress stitch, seam the back heel only.
There is no seam on the bottom — only at the back of the ankle.
🧼 Finishing
-
Weave in ends
-
Try on and adjust fit if needed
-
Add non-slip dots if desired
📐 Adjusting Size
To Make Larger:
-
Cast on 36–40 stitches
-
Knit sole longer
To Make Smaller:
-
Cast on 28 stitches
-
Knit sole shorter
🧶 Optional: Make Them Extra Warm (Felted Version)
Use 100% wool (not superwash).
After finishing:
-
Wash in warm water
-
Agitate in washing machine
-
Air dry shaped to foot
They’ll shrink slightly and become thick and cozy.
💡 Tips for Success
✔ Try on before toe shaping
✔ Use bulky yarn for super quick slippers
✔ Add ribbing at ankle if you want snug fit
✔ Write down stitch counts so second slipper matches
🌟 Why No Sole Seam Matters
-
More comfortable
-
No irritation when walking
-
Better for sensitive feet
-
More durable
If you’d like, I can also provide:
-
A version worked completely in the round
-
Chunky 2-hour slippers
-
Ribbed ankle bootie style
-
Cable slipper version
-
Printable formatted pattern
Just tell me 😊
Watch video: