by
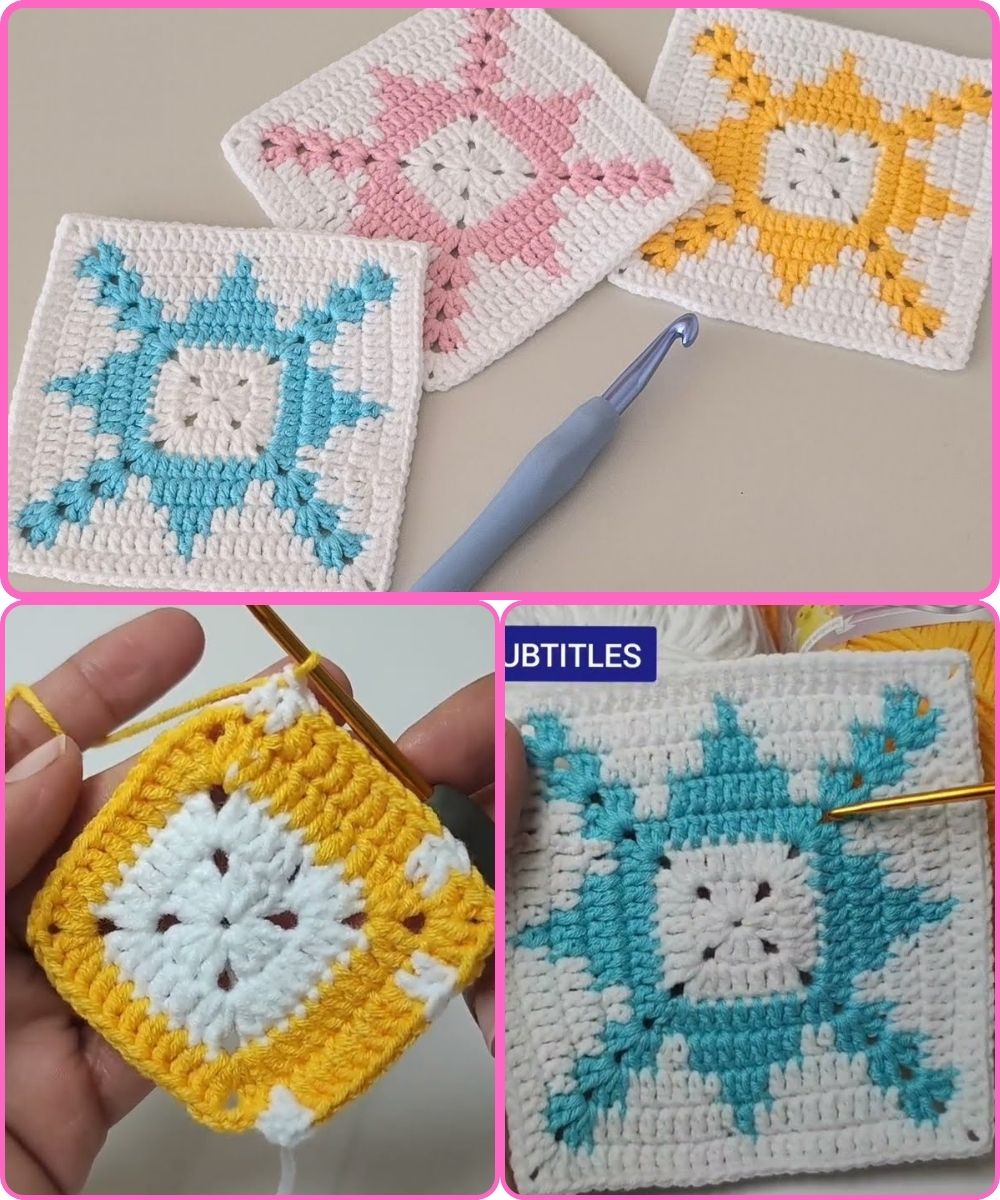
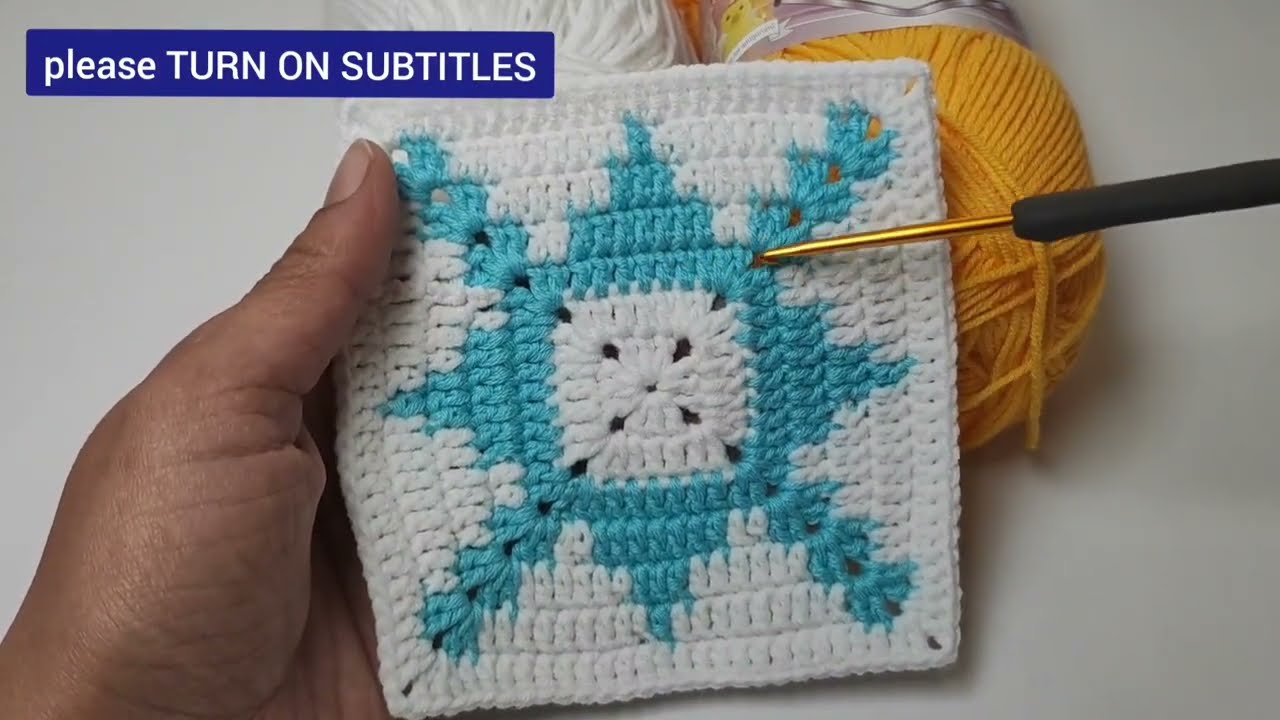
by The granny square is a cornerstone of crochet, a beloved classic that’s as versatile as it is charming. If you’re new to crochet, or simply looking to perfect your technique, this beginner-friendly tutorial is your perfect starting point. We’ll guide you through each stitch to create a beautiful granny square, approximately 9 cm by 9 cm, ready to be transformed into blankets, scarves, bags, and so much more!
Materials You’ll Need:
To embark on your granny square journey, gather these simple materials:
- Yarn: “Alize Cotton Gold” or a similar medium-weight yarn in at least two contrasting colors (e.g., white and yellow, or blue and white as shown in the video).
- Crochet Hook: 2.75mm (or a size appropriate for your chosen yarn).
- Scissors
- Tapestry Needle: For weaving in ends.
Step-by-Step Instructions:
Let’s crochet your first (or next!) granny square:

- Starting with the Magic Ring:
- Begin by creating a magic ring. This technique provides a neat, tight center for your square, preventing a hole in the middle. If you’re unfamiliar with the magic ring, there are many excellent video tutorials available to guide you.
- Round 1 (Using White Yarn):
- Attach your white yarn to the magic ring.
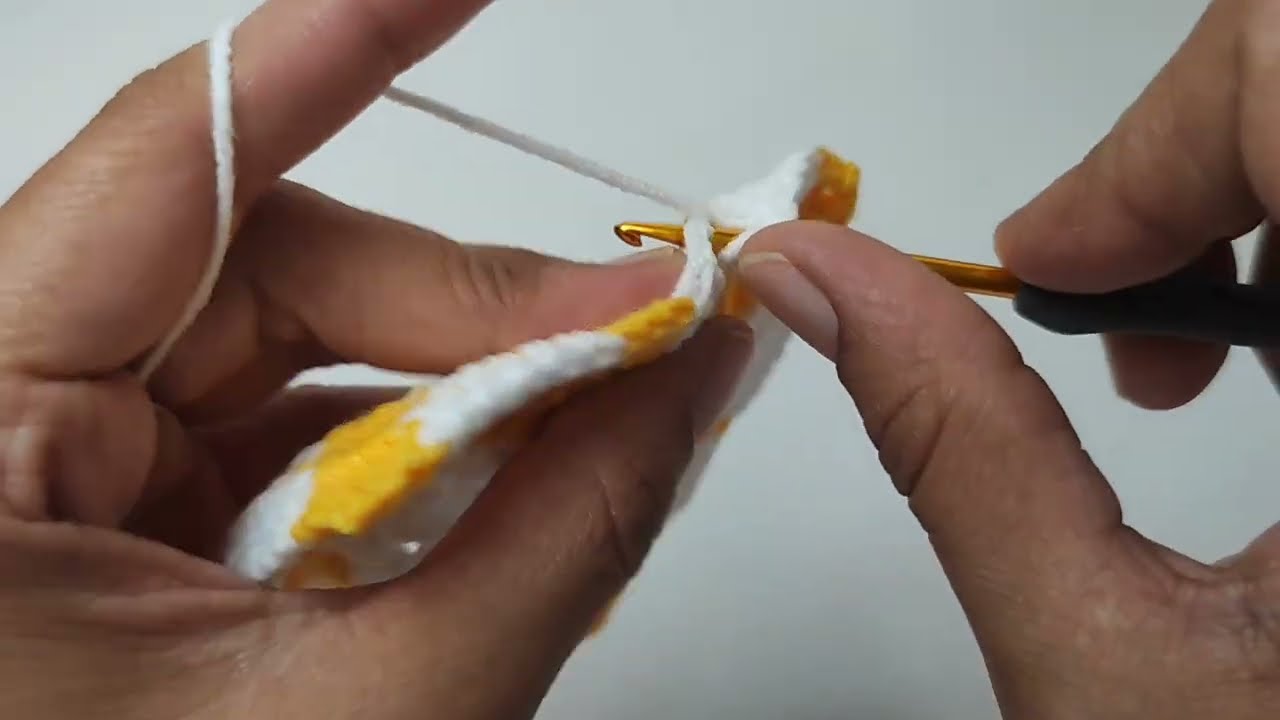
- Work your first round, typically consisting of groups of double crochets separated by chain spaces, which will form the initial corners of your square. This round sets the foundation for the classic granny square look.
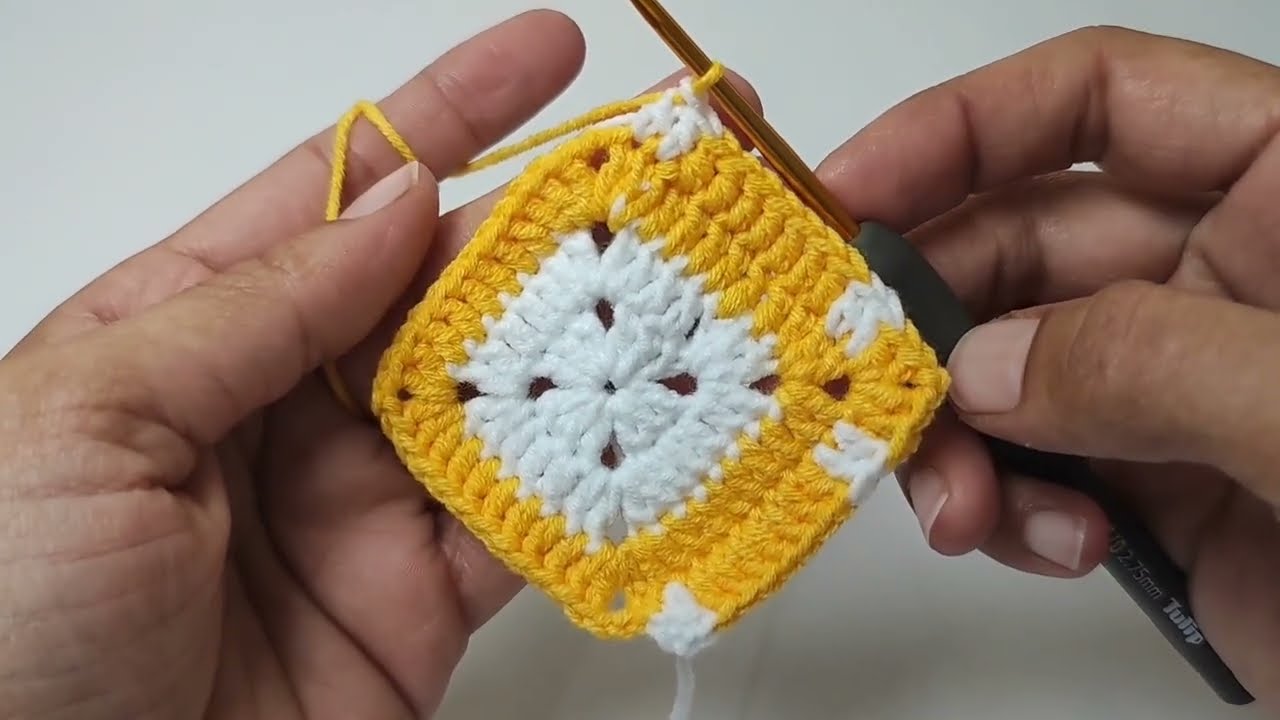
- Round 2 (Switching to Yellow Yarn):
- Fasten off your white yarn and attach your yellow yarn to a chain space from the previous round.
- In this round, you’ll continue to build upon the previous stitches, working groups of double crochets into the chain spaces and creating new chain spaces for the corners. This is where the square truly begins to take shape.
- Round 3 (Alternating Yellow and White Yarn):
- For the third round, you’ll alternate between your yellow and white yarn. This adds visual interest and defines the sections of your granny square. You’ll continue the pattern of working double crochet groups into chain spaces and forming corners.
- Final Round (Using White Yarn):
- Complete your granny square with a final round in white yarn. This round typically involves working double crochet groups into the remaining chain spaces and finishing off the edges neatly.
Your Completed Granny Square!
Congratulations! You’ve successfully crocheted a beautiful granny square. Take a moment to admire your work. You now have a versatile building block for countless crochet projects. Whether you’re making a cozy blanket, a stylish bag, or unique garments, the granny square is a fantastic skill to have in your crafting repertoire.
Conclusion:
The granny square is a testament to the beauty and simplicity of crochet. We hope this tutorial has empowered you to create your own squares and inspired you to explore the endless possibilities of this classic design. Don’t forget to share your creations with us in the comments below, and subscribe for more exciting crochet patterns and tips!
Watch tutorial: