 by
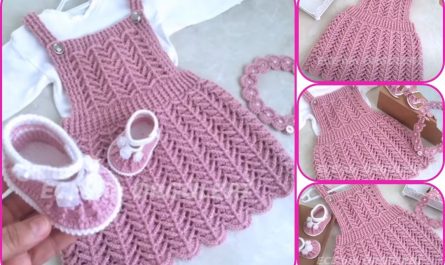
by Below is a clear, detailed, step-by-step guide on how to crochet a hooded coat for a baby girl. This is written so that even a confident beginner/intermediate crocheter can follow it. You can adapt yarn, colors, or stitch patterns as you like.
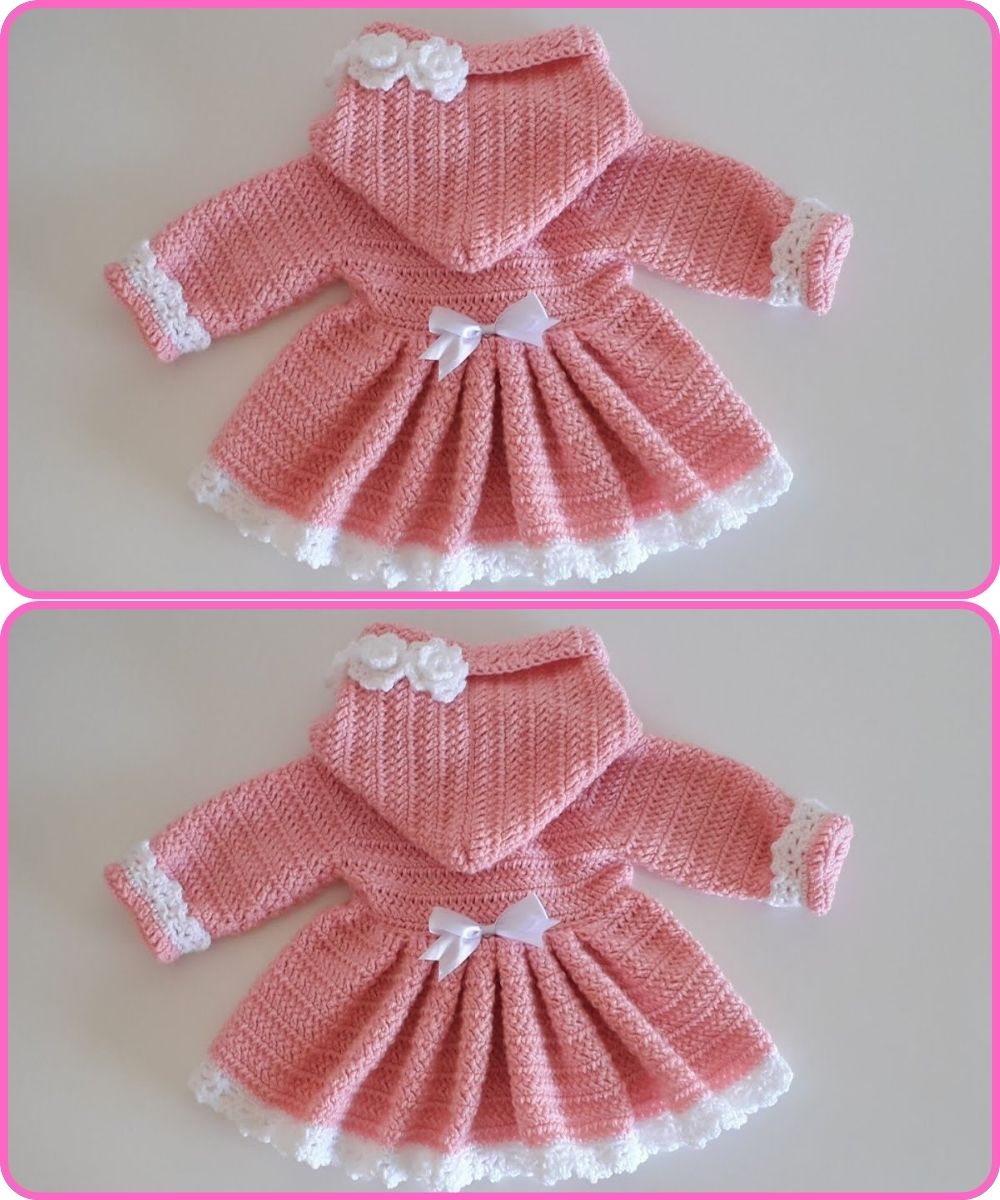
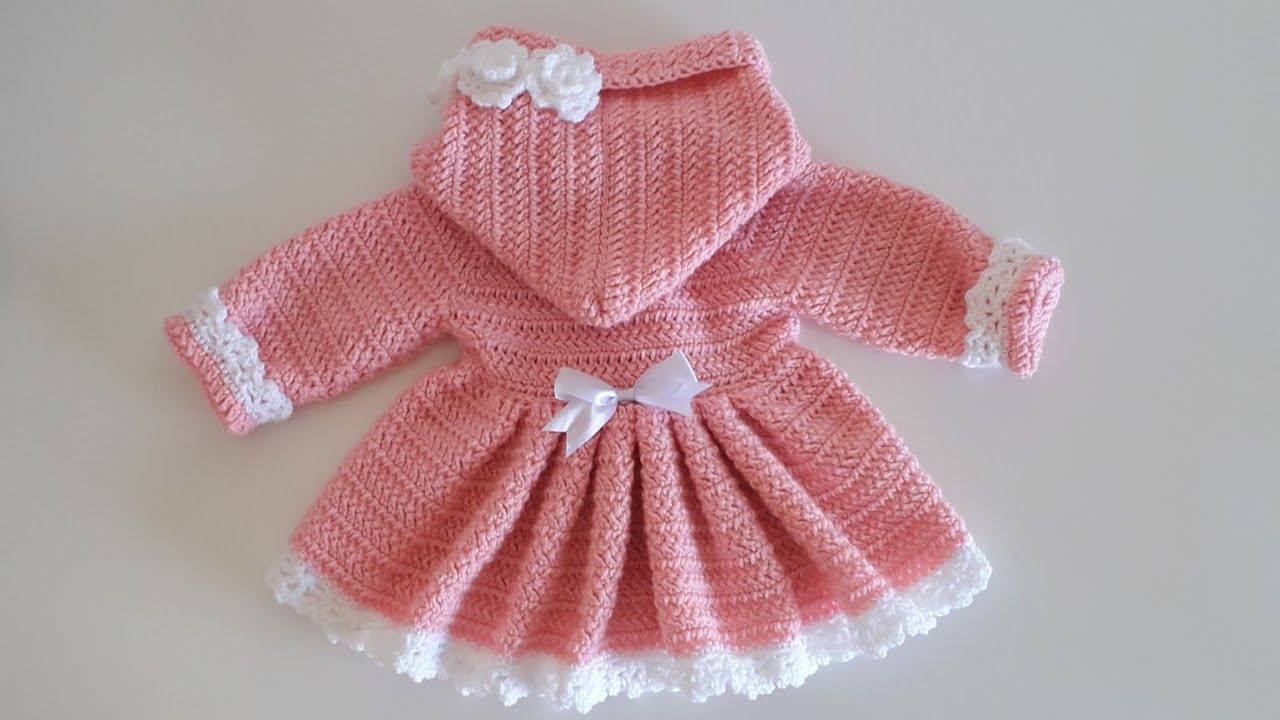
🧵 How to Crochet a Hooded Coat for a Baby Girl
(Detailed, beginner-friendly instructions)
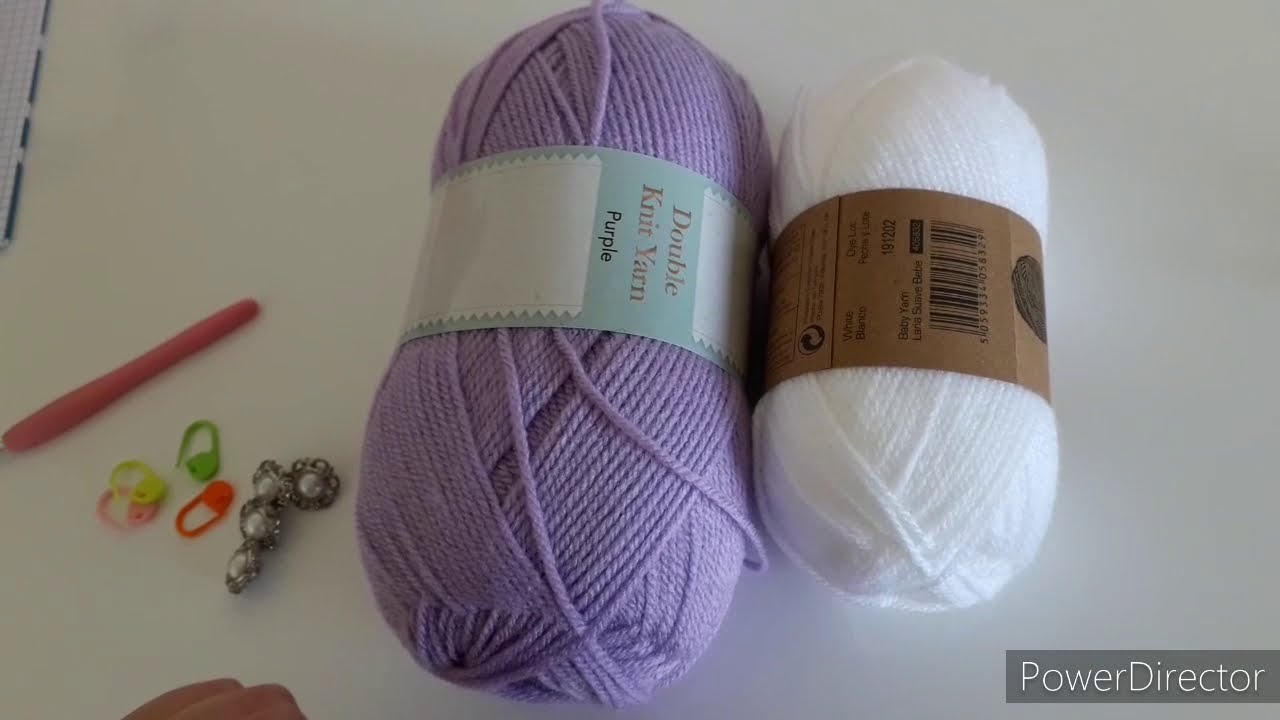
1. Materials You Will Need
-
Yarn: Soft, baby-safe yarn (DK/Light worsted #3 or worsted #4). Acrylic or cotton blends are best for washability.
-
Hook: Size recommended on your yarn label (commonly 4mm–5mm).
-
Tapestry needle for weaving ends.
-
Stitch markers (optional but helpful).
-
Buttons (2–5 depending on style).
-
Scissors.
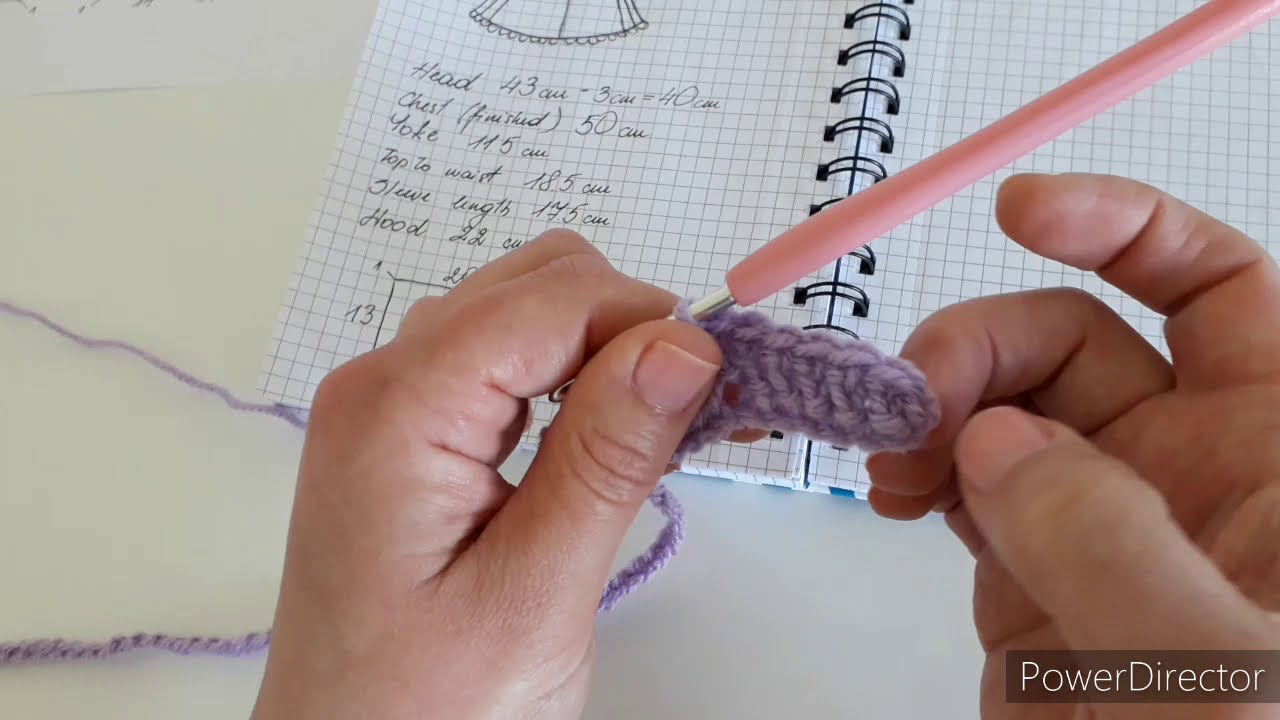
2. Measurements & Sizing
Use these approximate baby-coat chest widths:
| Age | Chest Width | Coat Length |
|---|---|---|
| 0–3 mo | 16–17 in (40–43 cm) | 9–10 in |
| 3–6 mo | 17–18 in | 10–11 in |
| 6–12 mo | 18–19 in | 11–13 in |
| 12–18 mo | 19–20 in | 13–15 in |
You can adjust by adding or subtracting rows.
3. Stitch Knowledge Needed
You only need these basics:
-
Chain (ch)
-
Slip stitch (sl st)
-
Single crochet (sc)
-
Half-double crochet (hdc) or double crochet (dc) (your choice)
-
Increasing (2 stitches in the same stitch)
-
Decreasing (sc2tog or dc2tog)
4. Construction Method
This baby coat is made in five parts:
-
Back panel
-
Two front panels
-
Sleeves
-
Hood
-
Assembly & edging
You can also crochet it in one piece (yoke-down), but this pattern uses separate panels for clarity.
5. Step-by-Step Instructions
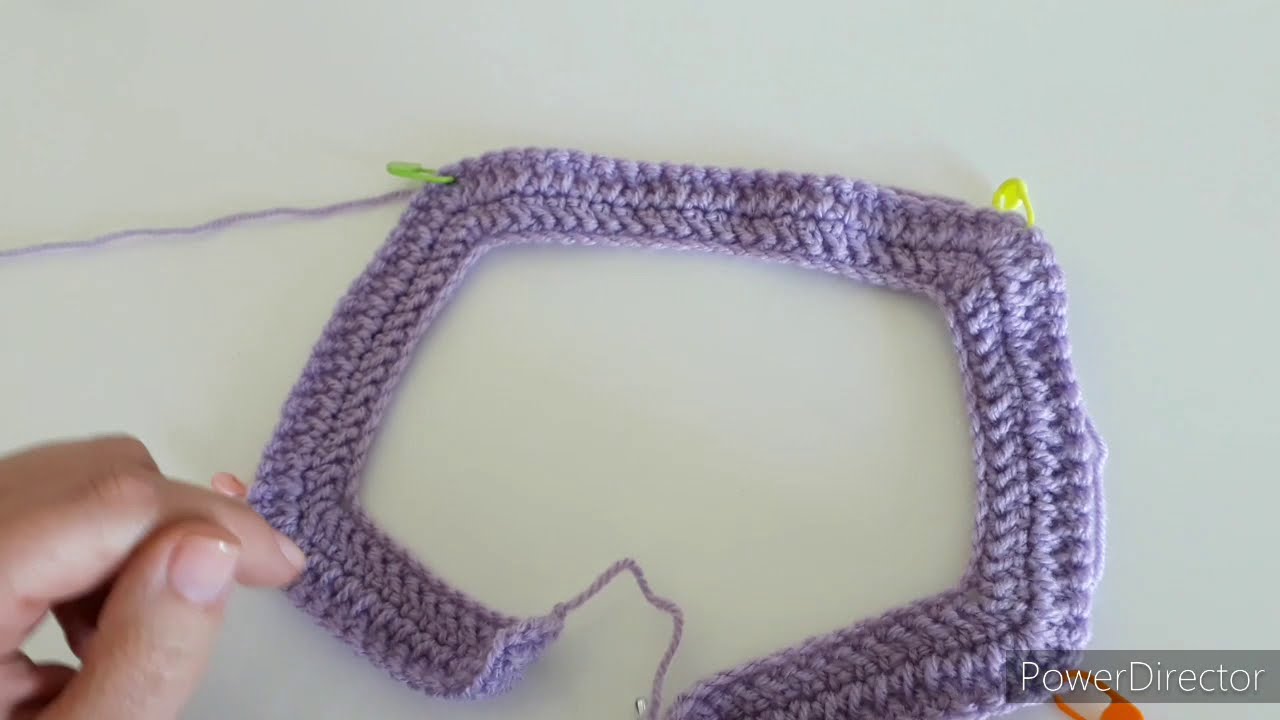
A. Back Panel
-
Foundation chain
Chain enough stitches to match the coat width.-
Example (6–12 mo): Chain 45–50.
-
-
Row 1:
Hdc in 2nd chain from hook and in each chain across. Turn. -
Rows 2–X:
Hdc in each stitch across until the back panel reaches the desired length (shoulder to bottom).-
For 6–12 mo: about 11–13 inches long.
-
-
Fasten off.
B. Left Front Panel
-
Chain half the back panel width plus 2 stitches for overlap (optional).
-
Example: Chain 22–25.
-
-
Work hdc rows until the panel matches the back panel height.
-
Shape the neckline:
-
When you reach the last 2 inches of height, stop stitching 2–3 stitches early on the neck side to round it.
-
Decrease 1 stitch every row for 3 rows.
-
-
Fasten off.
C. Right Front Panel
Make the same as the left front panel, but mirror the neckline shaping.
D. Sleeves
-
Chain enough for sleeve width.
-
Example: Chain 24–28 for 6–12 mo.
-
-
Work hdc rows.
-
Increase 1 stitch at each end every 4–5 rows to create a gentle bell or straight sleeve.
-
When the sleeve reaches 5–7 inches long (depending on age), fasten off.
E. Hood
-
Chain the width of the neck opening.
-
Usually same width as back panel or slightly less.
-
-
Work hdc/dc rows until the hood is tall enough to fold over the head.
-
Typical height: 7–9 inches.
-
-
Fold the hood rectangle in half and sew or slip-stitch the top edge closed.
6. Assembly
A. Attach the Front Panels to the Back
-
Lay pieces flat.
-
Join shoulders using whip stitch, mattress stitch, or slip stitches.
B. Attach the Sleeves
-
Find the center of the sleeve top and match it with the shoulder seam.
-
Sew or slip stitch around.
C. Sew Underarm & Side Seams
-
Fold the coat and seam from sleeve cuff to armpit, then down the sides.
D. Attach the Hood
-
Line up the hood opening with the neckline.
-
Sew or slip stitch across evenly.
7. Edging (Optional but Recommended)
Edging makes the coat look professional.
-
Using your hook, work single crochet evenly around the front edges and hood.
-
Add buttonholes by chaining 2–3 and skipping stitches.
-
Make 1–3 rows for a sturdy border.
8. Buttons or Tie Closure
-
Sew buttons securely (especially for babies).
-
Space them evenly down one front panel.
-
Ensure the buttonholes match the size.
Safety note: For newborns, consider a belt tie instead of buttons to avoid choking hazards.
9. Embellishments (Optional)
-
Crochet flowers
-
Teddy bear ears on the hood
-
Little heart appliqués
-
Decorative edging (shell, picot, crab stitch)
10. Tips for Best Results
-
Work loosely so the coat is soft and flexible.
-
Always steam-block or lightly wet-block the panels before assembly.
-
Check the fit as you go—babies grow fast!
-
Choose washable yarns only.
Would you like a full written pattern (with stitch counts for a specific age)?
I can generate one for 0–3 mo, 3–6 mo, 6–12 mo, or 12–18 mo, in any stitch style you prefer (hdc, dc, shell, etc.).
Watch tutorial: