by
by Sure! Here’s a detailed, step-by-step tutorial on how to make a DIY crochet bag, perfect for beginners or intermediate crocheters. You can adjust the size, shape, and color to your liking.
How to Make a DIY Crochet Bag | Step-by-Step Crochet Tutorial
Skill Level: Beginner to Intermediate
Time Required: 3–5 hours (depending on size and pattern complexity)
Bag Type Example: Simple Tote Bag (you can adapt it into a sling, purse, or market bag)
Materials You’ll Need:
| Item | Description |
|---|---|
| Yarn | Medium weight cotton yarn (2–3 skeins). Cotton is durable and easy to clean. |
| Crochet Hook | 4.0 mm to 5.0 mm (depending on yarn thickness) |
| ✂️ Scissors | For trimming yarn ends |
| Yarn Needle | For weaving in ends |
| Stitch Markers | To mark the beginning of rounds (optional) |
| Lining Fabric (optional) | For a more professional, sturdy finish |
| Button or Zipper (optional) | For closure |

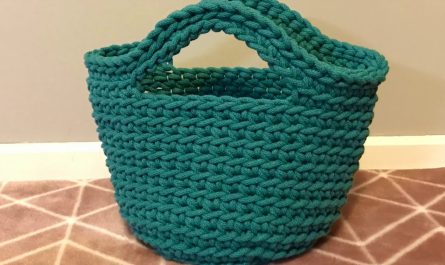
Step 1: Choose Your Pattern and Size
Decide what kind of bag you want:
-
Tote Bag: Rectangular or square base
-
Round Bag: Circular base
-
Bucket Bag: Cylindrical shape
-
Clutch: Flat rectangle
For this tutorial, we’ll make a simple rectangular tote bag.
Step 2: Make the Base
-
Foundation Chain:
-
Chain 31 stitches (for a medium tote; adjust for desired width).
-
-
Round 1:
-
Start in the second chain from hook and single crochet (sc) in each chain across.
-
When you reach the end, add 3 single crochets in the last chain to round the corner.
-
Continue along the bottom edge of the chain, working single crochet into the opposite side of each stitch.
-
Add 3 single crochets in the last stitch to form the second corner.
-
Join with a slip stitch to the first sc.
-
-
Round 2–5:
-
Continue working single crochets around the base, increasing 3 stitches at each corner every round.
-
This will help shape a flat oval or rectangle base.
-
Step 3: Build the Body of the Bag
-
Round 6:
-
Work one single crochet in each stitch around (no more increases).
-
This will cause the sides to begin turning upward.
-
-
Rounds 7–30 (or until desired height):
-
Continue working around in single crochet or half-double crochet (hdc) stitches.
-
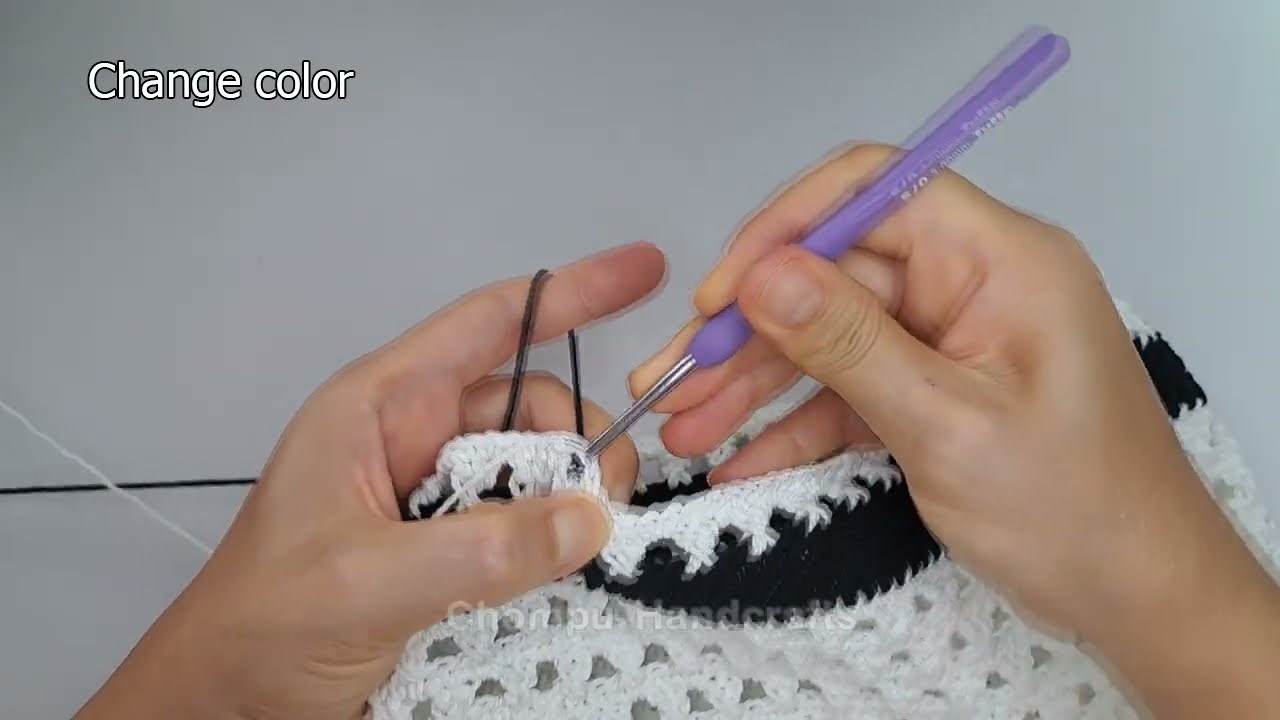
You can alternate colors, add stripes, or use different stitch patterns like:
-
Moss Stitch: (sc, ch 1, skip 1, repeat)
-
Double Crochet (dc): For a more open texture
-
-
-
Finishing the Top Edge:
-
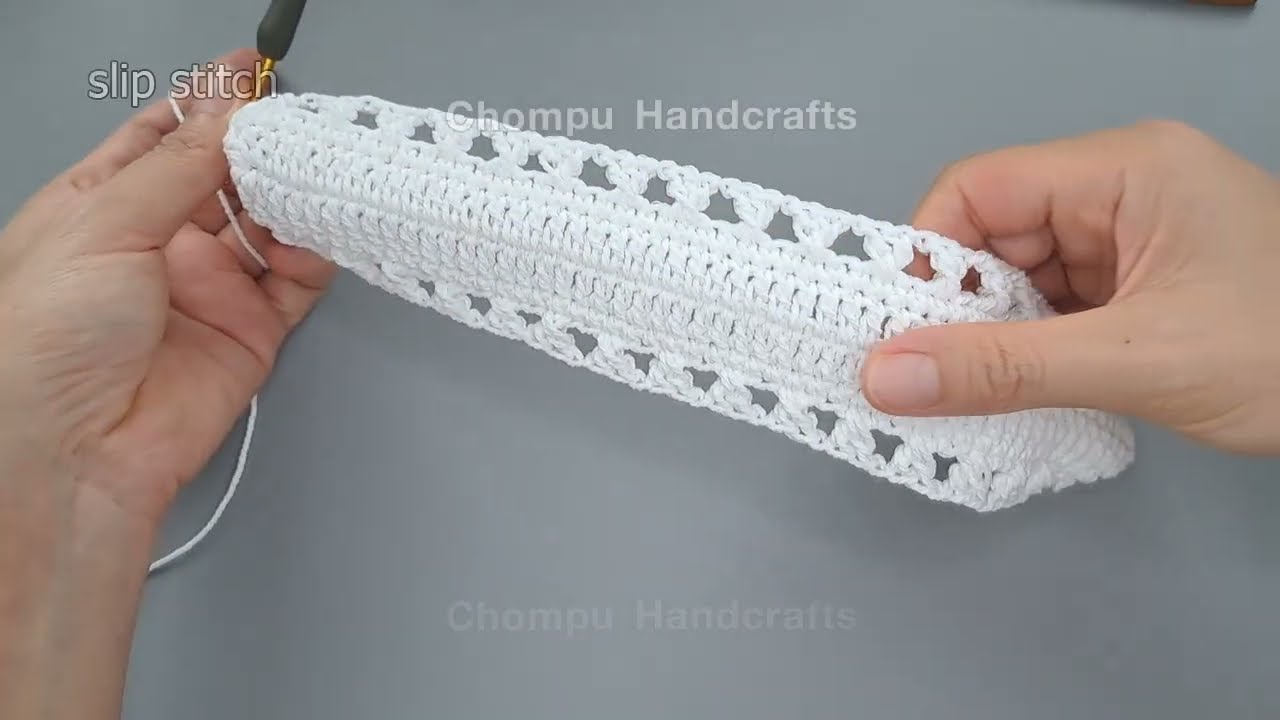
When your bag is tall enough, do one final round of slip stitches for a neat edge.
-
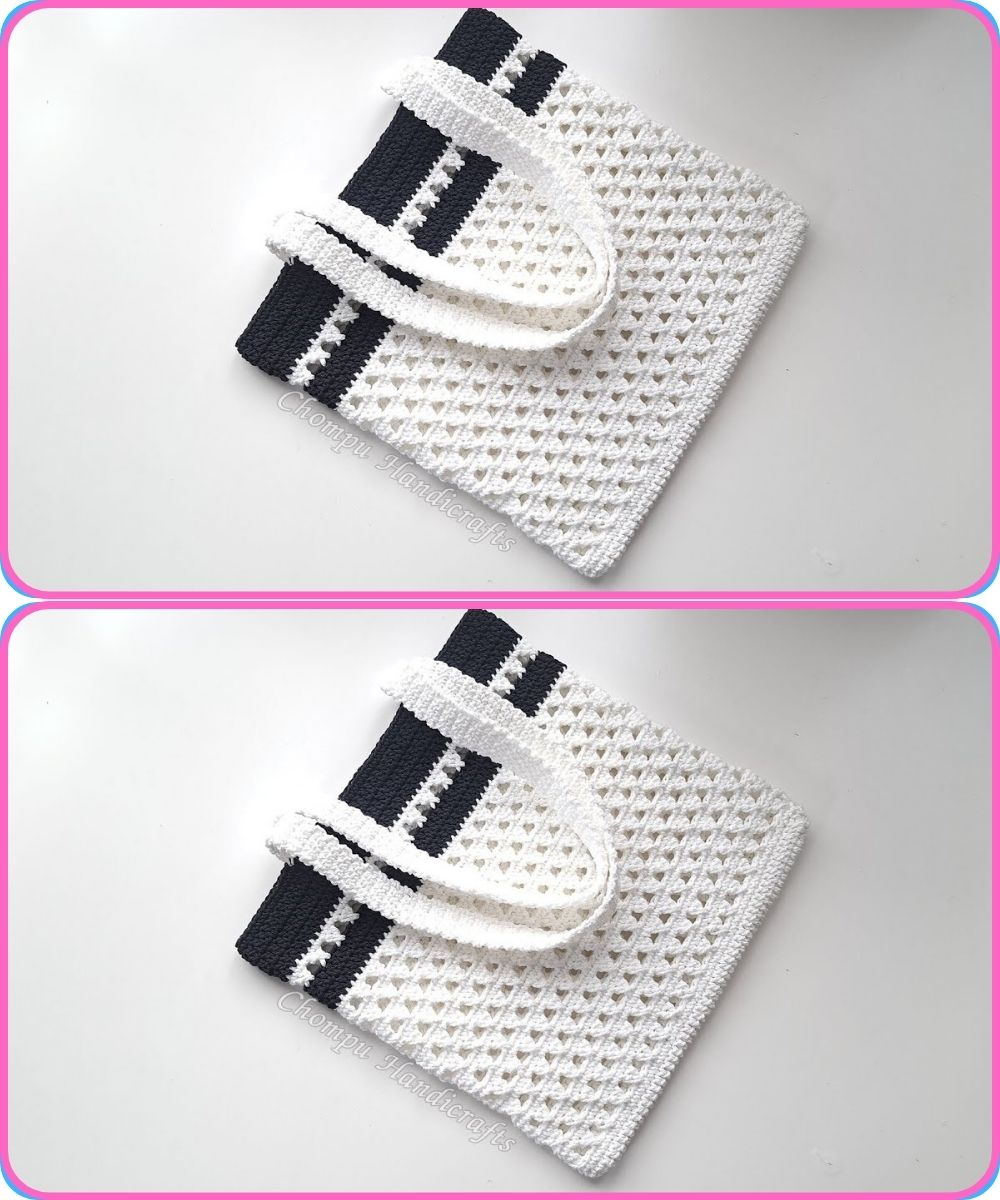
Step 4: Add Handles
Option 1: Crochet Handles
-
Chain 60 (for medium-length straps).
-
Skip about 6–8 stitches from one side of the bag and attach with a slip stitch.
-
Repeat for the other handle, making sure both are even.
-
Reinforce the base of each handle with an extra round of single crochet.
Option 2: Use Leather or Rope Handles
-
Sew or attach with metal rings for a stylish finish.
Step 5: Finishing Touches
-
Weave in All Ends:
-
Use a yarn needle to hide any loose threads inside the stitches.
-
-
Optional Lining:
-
Cut fabric to match the inside size of your bag.
-
Sew the sides and bottom, then stitch it inside the bag by hand or with a sewing machine.
-
-
Closure (Optional):
-
Add a button loop, magnetic snap, or zipper depending on your style.
-
Extra Tips:
-
Use sturdy yarn (cotton or jute) to ensure your bag keeps its shape.
-
You can stiffen the base with a piece of plastic canvas or cardboard (inside the lining).
-
For a boho look, add tassels, pom-poms, or fringe.
-
Don’t forget to block your bag (lightly shape and steam it) for a professional finish.
✨ Example Variations:
-
Beach Bag: Use open mesh stitch and bright colors.
-
Crossbody Bag: Make smaller and attach a long strap.
-
Market Bag: Use net stitch to make it stretchy and reusable.
Would you like me to include a specific pattern (with stitch counts and diagrams) for one type of bag — for example, a round crochet tote or mesh market bag? I can provide that next with exact row-by-row instructions.
Watch video: