 by
by Sure! Here’s a detailed DIY tutorial on how to crochet a mini coin purse with a zipper, perfect for beginners or intermediate crocheters. This guide walks you through all the materials, stitches, and assembly steps clearly.
DIY Tutorial: How to Crochet a Mini Coin Purse with Zipper
Overview
This cute mini coin purse is a small, functional project that’s great for storing coins, earphones, or tiny essentials. It’s crocheted in a simple stitch pattern and finished with a zipper closure for practicality. You can customize the colors, yarn type, and size.
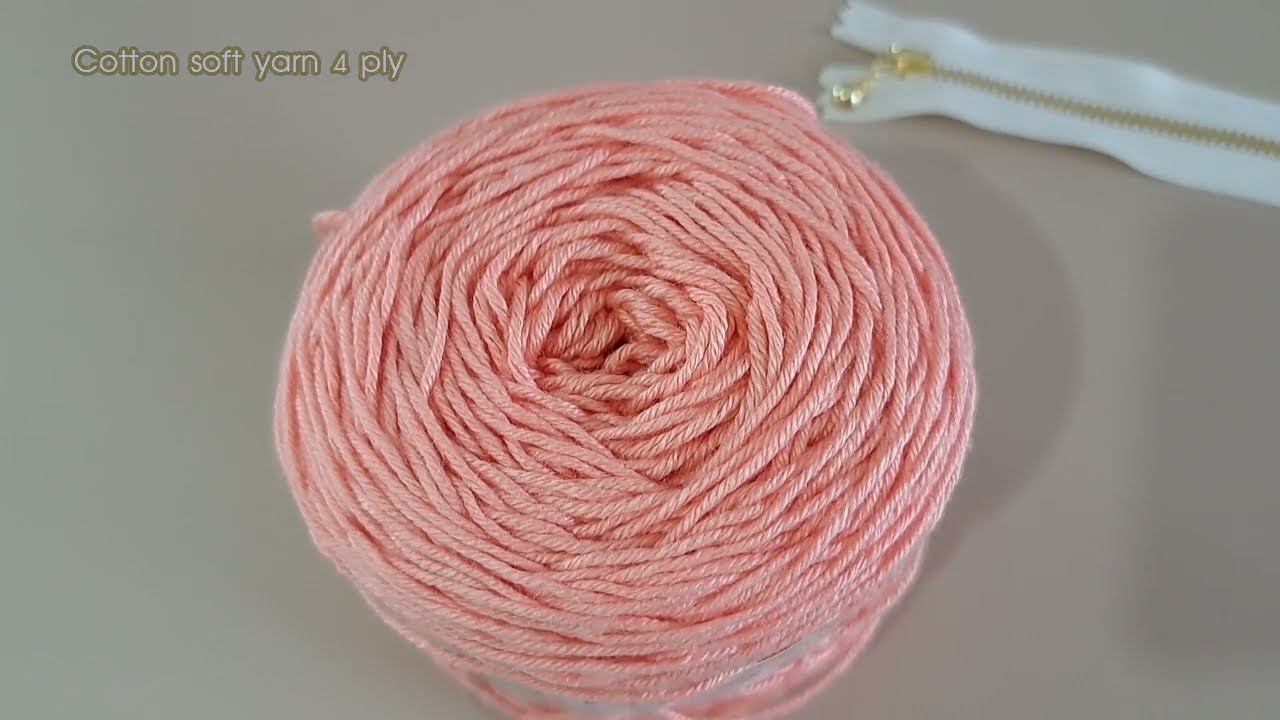
Materials Needed
| Item | Description |
|---|---|
| Yarn | Medium weight cotton yarn (Category 3 or 4) — about 25–30g |
| Crochet Hook | 3.0 mm or 3.5 mm hook (depending on yarn thickness) |
| ✂️ Scissors | For trimming yarn |
| Yarn Needle | For weaving in ends |
| Sewing Needle & Thread | To sew the zipper in place |
| Zipper | 8–10 cm (adjust to your purse width) |
| Measuring Tape | Optional, for size accuracy |
| Optional | Lining fabric for the inside (small piece) |
Abbreviations (US Terms)
| Abbreviation | Meaning |
|---|---|
| ch | Chain |
| sc | Single Crochet |
| hdc | Half Double Crochet |
| sl st | Slip Stitch |
| st(s) | Stitch(es) |
| rnd | Round |
Step-by-Step Instructions
Step 1: Create the Base
-
Chain 16 (or more if you want a wider purse).
-
Round 1:
-
Work 1 sc in the second chain from hook.
-
Continue 1 sc in each ch across (15 sc).
-
When you reach the last chain, work 3 sc in the same stitch to curve around to the other side.
-
Work 1 sc in each stitch along the opposite side of the foundation chain.
-
Add 2 sc in the last stitch (to complete the curve).
-
Join with a sl st to the first sc.
-
You now have an oval base.
-
-
Round 2:
-
Work 1 sc in each stitch around, adding increases at the curved ends if needed to keep the oval flat.
-
Join with a sl st.
-
Tip: The base should be flat like the bottom of a pouch. Adjust the number of increases depending on the yarn and hook.
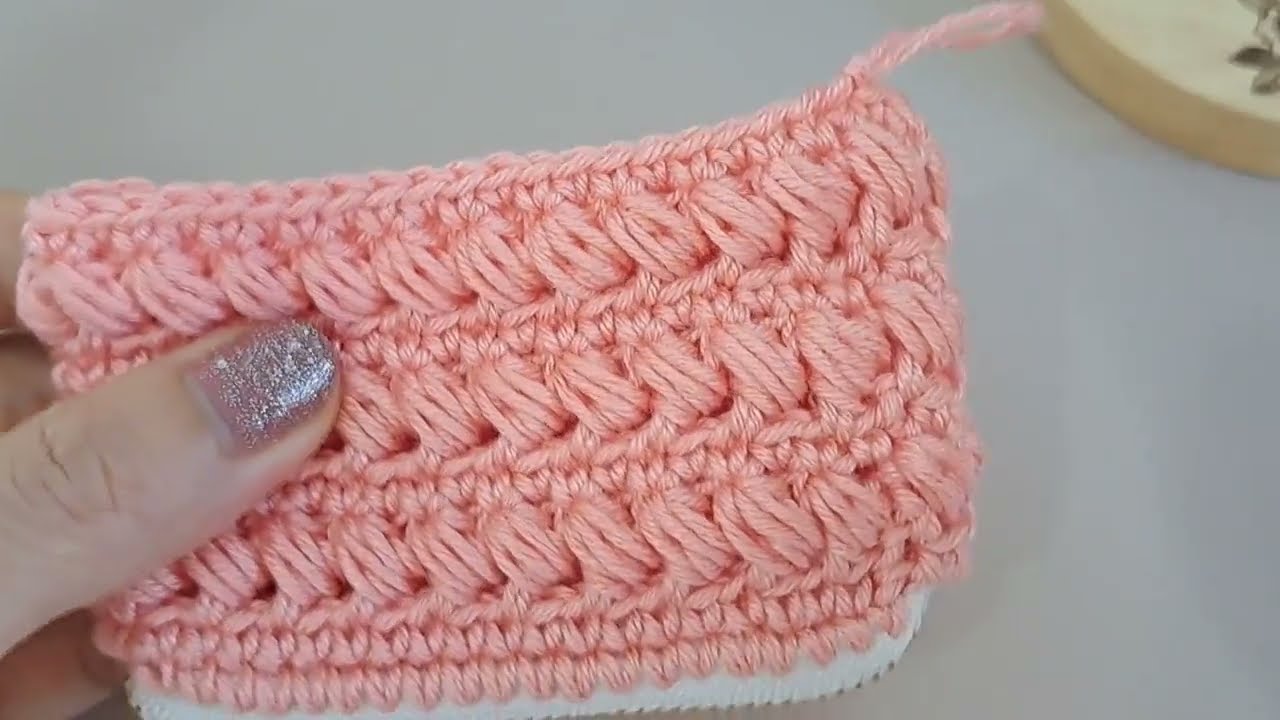
Step 2: Build the Body
-
Round 3–10 (or desired height):
-
Work 1 sc in each stitch around.
-
Do not increase — this will make the sides rise vertically.
-
Continue until the purse is about 7–8 cm tall (or as tall as you prefer).
-
-
Optional: Add color changes every few rounds for stripes or a gradient effect.
Step 3: Finishing the Crochet Part
-
Once you reach your desired height, fasten off and weave in all yarn ends with a yarn needle.
-
Block lightly if needed to shape evenly.
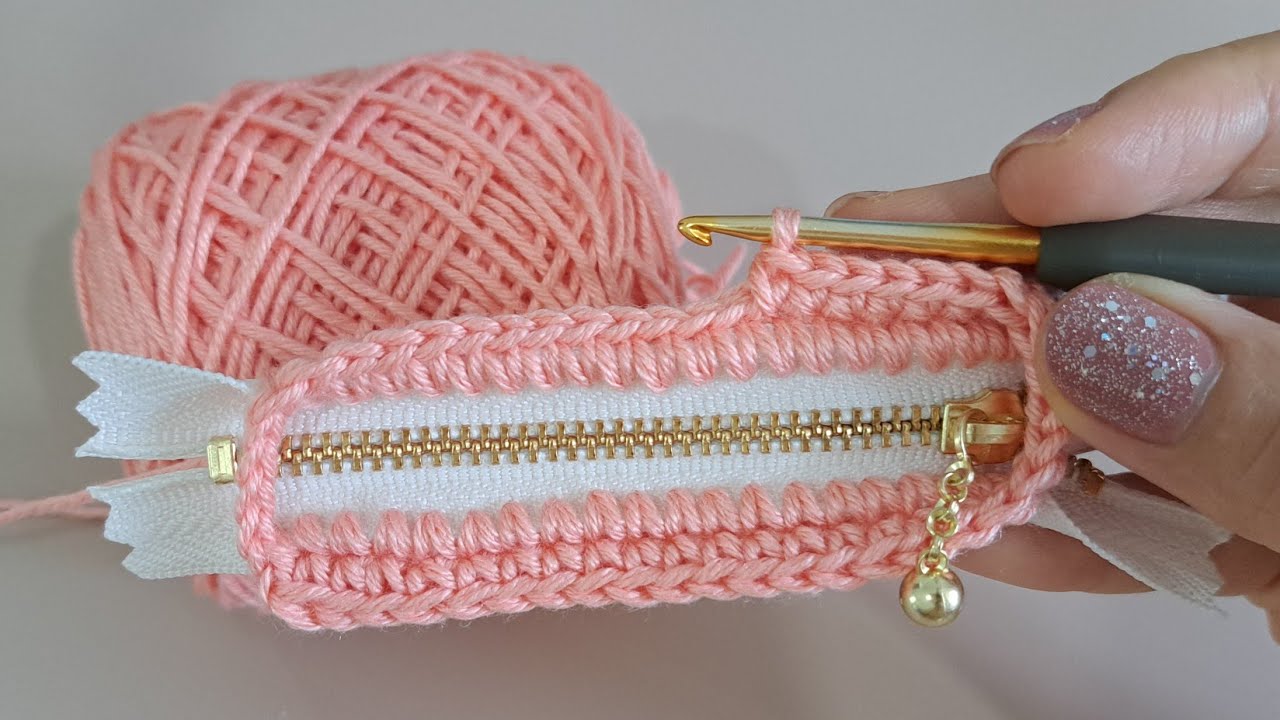
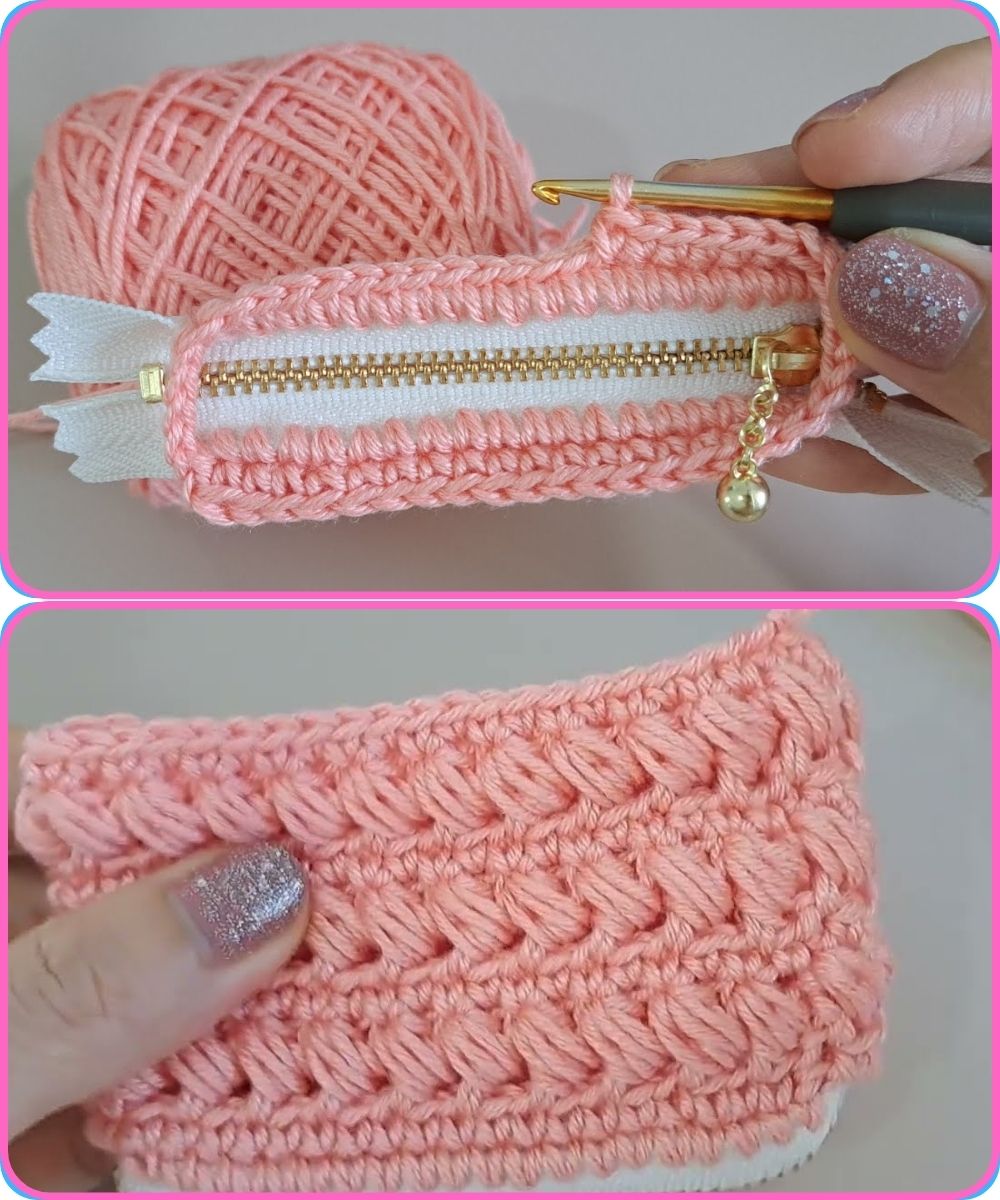
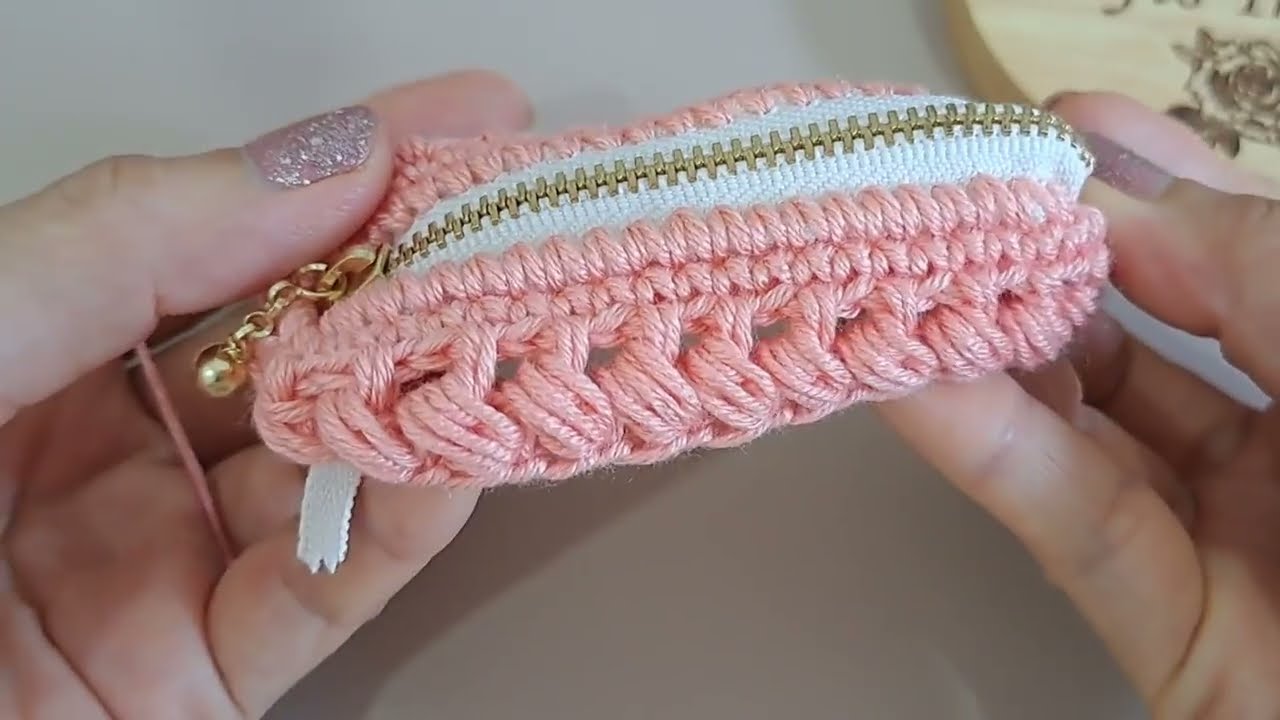
Step 4: Attaching the Zipper
-
Turn the purse inside out (so seams are hidden).
-
Position the zipper along the top edge.
-
Pin or clip it in place.
-
-
Using sewing thread and a needle (or matching yarn and small hook), sew the zipper along the top edge of the purse using small whip stitches or backstitches.
-
Make sure the zipper opens and closes smoothly.
Tip: If you prefer, hand-stitch a small fabric lining first, then sew the zipper through both the lining and crochet edge for a cleaner finish.
Step 5: Add a Finishing Touch (Optional)
-
Sew on a tiny charm or crochet flower.
-
Attach a keychain ring or wrist strap to one side.
-
Decorate with embroidery stitches or buttons.
Final Look
You’ll have a cute, sturdy, mini coin purse that’s perfect for gifting or personal use. The zipper keeps everything secure, and the crochet texture adds a handmade charm.
Care Tips
-
Hand wash gently in cold water.
-
Lay flat to dry.
-
Avoid machine drying to preserve shape.
Skill Level
Beginner to Intermediate — The hardest part is attaching the zipper neatly, but the crochet portion is easy.
Would you like me to include step-by-step photos or a diagram pattern (chart) for the base and body? I can generate those visually to go along with the written tutorial.
Watch video: