 by
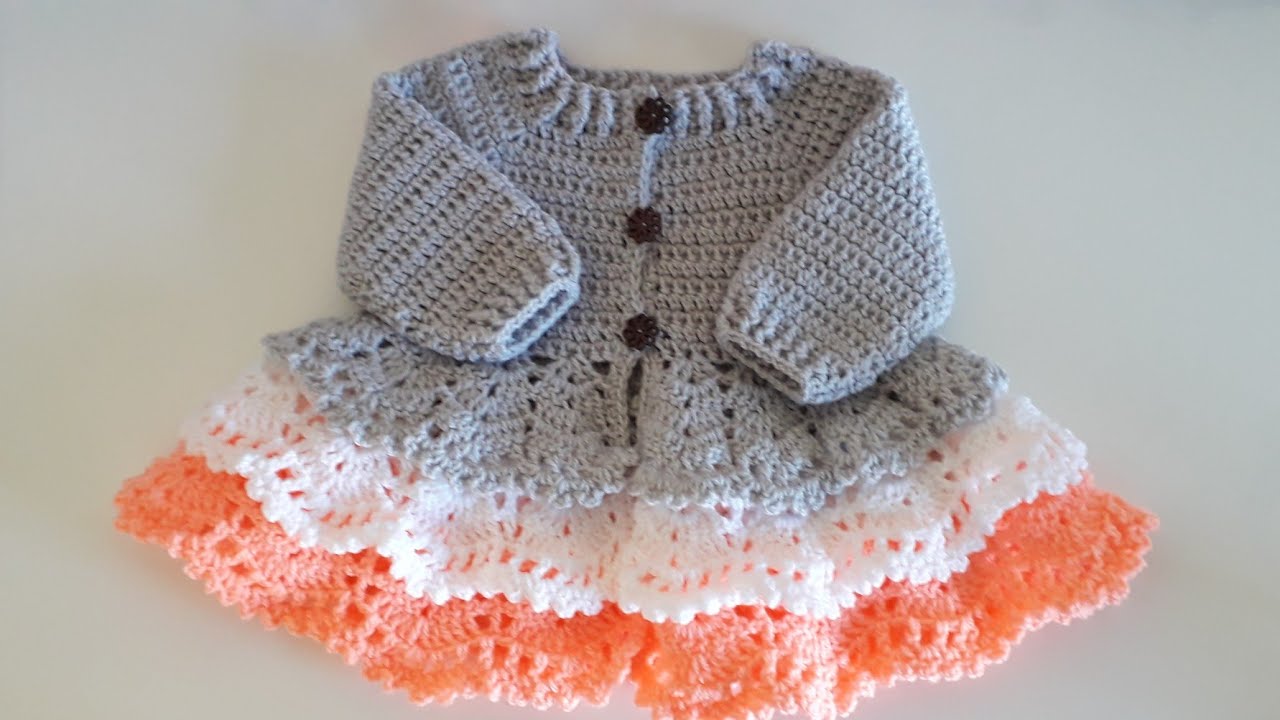
by Absolutely! Let’s break this down carefully and thoroughly. I’ll guide you through how to crochet a layered cardigan with step-by-step details, including the materials, stitches, and construction techniques. This will give you a clear blueprint to create a stylish layered cardigan.
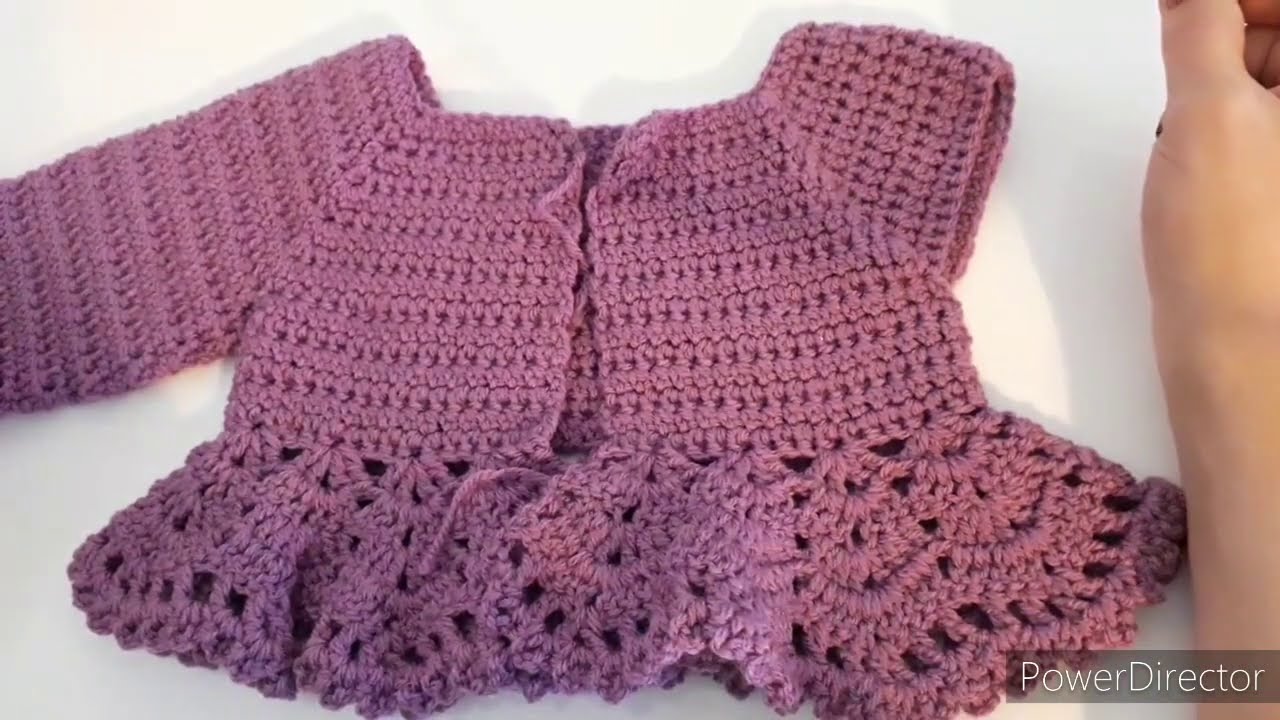
How to Crochet a Layered Cardigan
Materials Needed
-
Yarn: Medium-weight (worsted) yarn is ideal for layered cardigans. Choose a soft, drapey yarn like acrylic, cotton, or a blend.
-
Crochet Hook: Check your yarn label for the recommended hook size (usually 5–6 mm for worsted weight).
-
Scissors and tapestry needle for weaving in ends.
-
Stitch markers (optional but helpful).
-
Measuring tape for accurate sizing.
Stitches You Should Know
-
Chain (ch)
-
Slip stitch (sl st)
-
Single crochet (sc)
-
Half double crochet (hdc)
-
Double crochet (dc)
-
Shell stitch (optional, for decorative layering)
Note: The layered effect often comes from using different textures or lengths of stitches in successive rows.
Step 1: Take Your Measurements
You need:
-
Bust/chest circumference
-
Waist circumference
-
Shoulder width
-
Sleeve length (if making long sleeves)
-
Cardigan length (short, mid, or long)
This ensures your cardigan fits properly. A layered cardigan is usually slightly oversized to allow for the layering effect.
Step 2: Crochet the Base
-
Back Panel:
-
Chain a foundation chain equal to your back width + 2–4 chains for ease.
-
Work in double crochet (dc) or your preferred stitch until you reach the desired back length.
-
-
Front Panels (Left and Right):
-
Chain the width of half the front + ease.
-
Work to the same length as the back.
-
You may want to add extra length to the bottom edge for a layered effect.
-
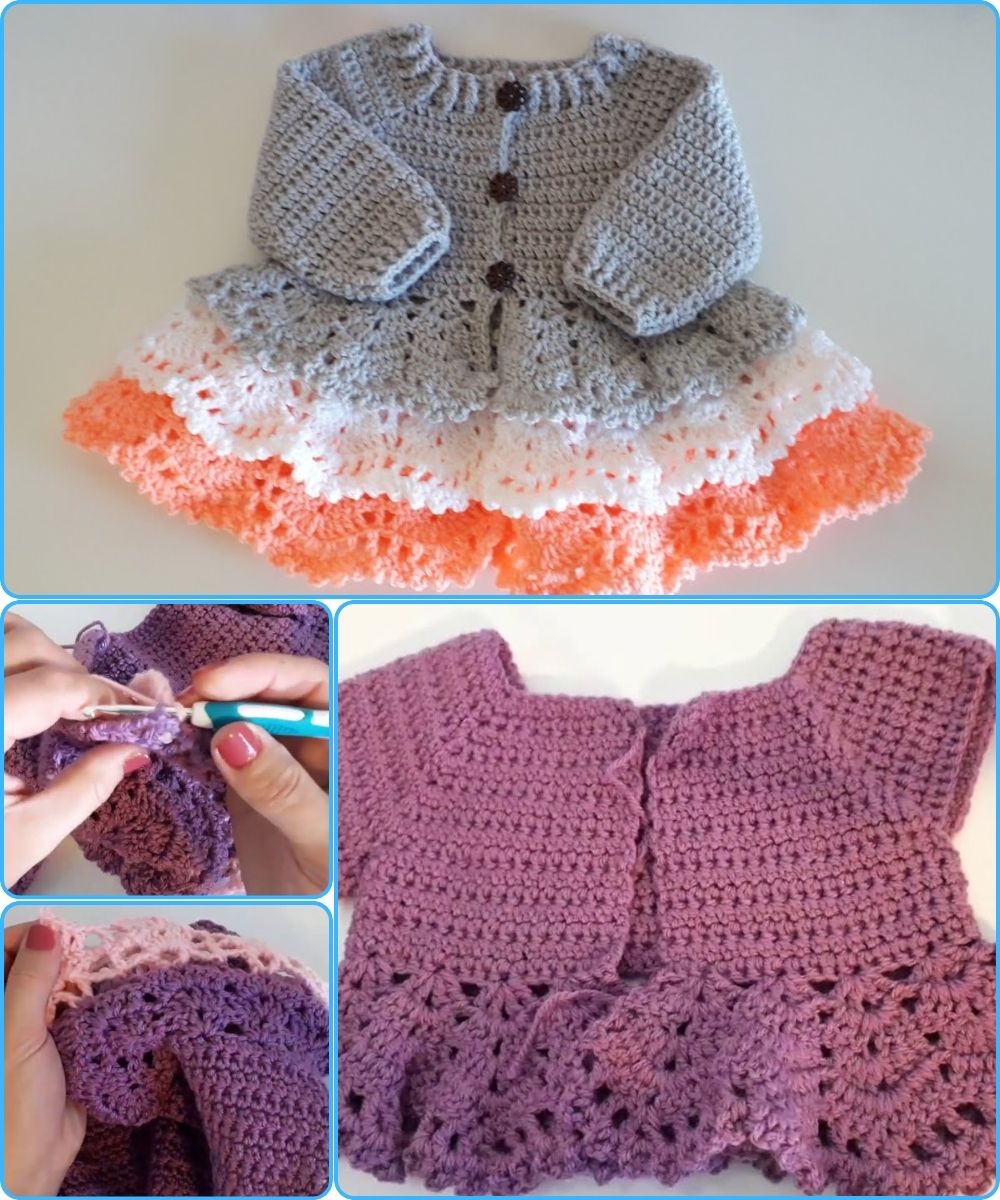
Step 3: Layered Sections
The layered look comes from creating asymmetrical or tiered edges. Here’s how:
-
Add a second layer at the hem:
-
Pick up stitches along the bottom edge of the back or front panel.
-
Crochet 4–6 rows using a longer stitch (dc or shell stitch). This forms a subtle ruffle or extended layer.
-
-
Optional: Layered Sleeves:
-
Start sleeves with the same technique.
-
Add extra rows at the cuff with a slightly larger stitch to create a layered flare.
-
-
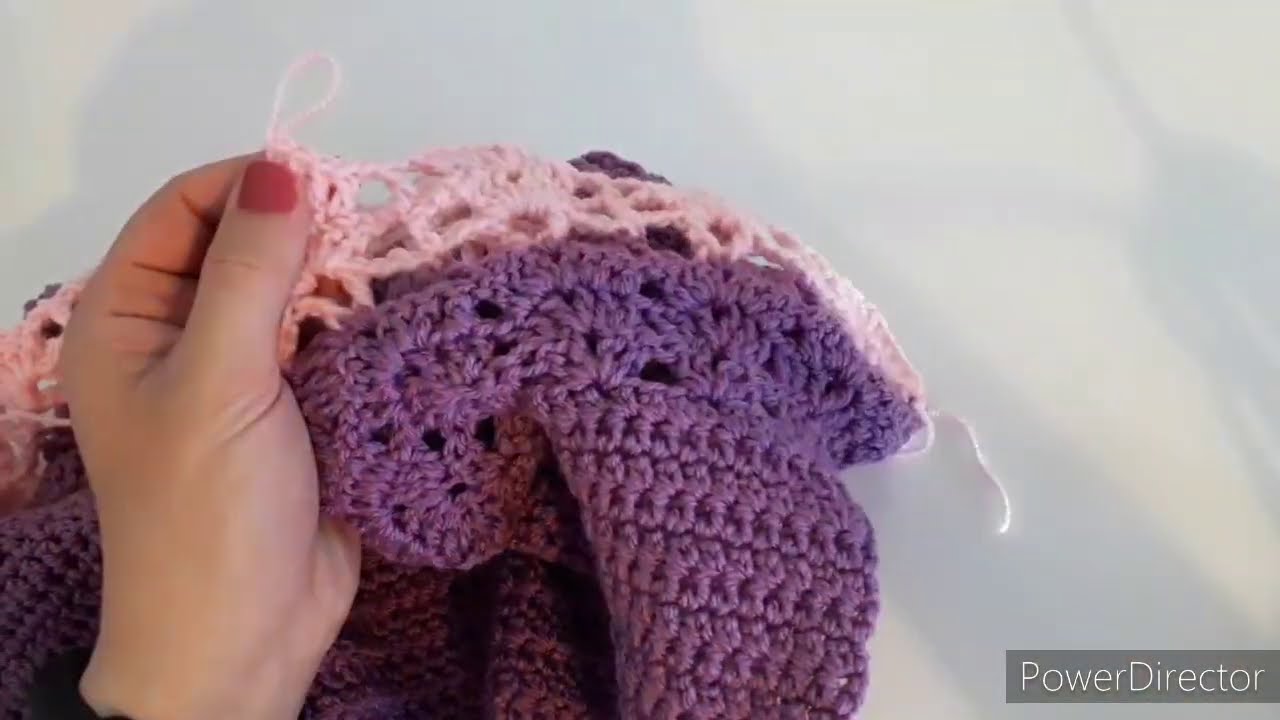
Layering with Texture:
-
Alternate dc and shell stitches to create horizontal texture layers.
-
You can use different yarn weights or colors for visual layers.
-

Step 4: Assembly
-
Place the back panel and front panels together with the right sides facing.
-
Seam shoulders: Use slip stitches or whip stitch to join.
-
Attach sleeves: Sew along the armhole edges.
-
Seam sides and sleeves: Carefully join the sides and underarms.
Step 5: Adding the Collar and Edges
-
Collar: Chain the desired length for the collar (can be draped or folded over).
-
Work a few rows of single crochet or half double crochet along the neckline.
-
Optionally, add a layered ruffle along the collar edge for extra flair.
Step 6: Finishing Touches
-
Weave in all yarn ends.
-
Block the cardigan (dampen and shape) to achieve clean layers and drape.
-
Optional: Add buttons or tie closures to the front.
Tips for a Beautiful Layered Cardigan
-
Use drapey yarn for flowy layers.
-
Longer bottom layers create a more dramatic layered effect.
-
Mix stitches (like dc and shells) for texture layers.
-
Color blocking: Different shades for each layer adds dimension.
-
Test gauge: Make a swatch first to ensure layers don’t bulk too much.
If you want, I can make a visual step-by-step pattern diagram showing how to crochet a layered cardigan from scratch, including the back panel, front panels, sleeves, and layered edges. It would make the instructions way easier to follow.
Do you want me to do that?
Watch tutorial: