 by
by Absolutely! Here’s a detailed, beginner-friendly guide on how to make a crochet tote bag. I’ll break it down step by step so it’s easy to follow even if you’re new to crochet.
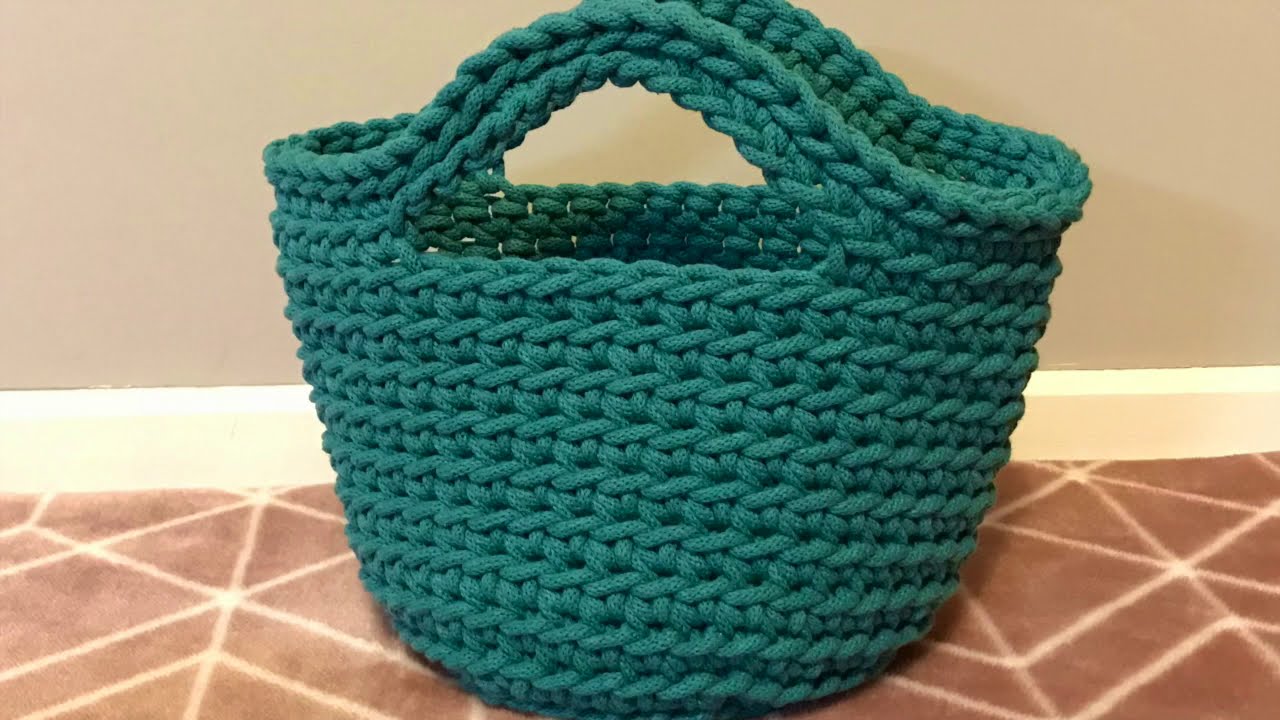
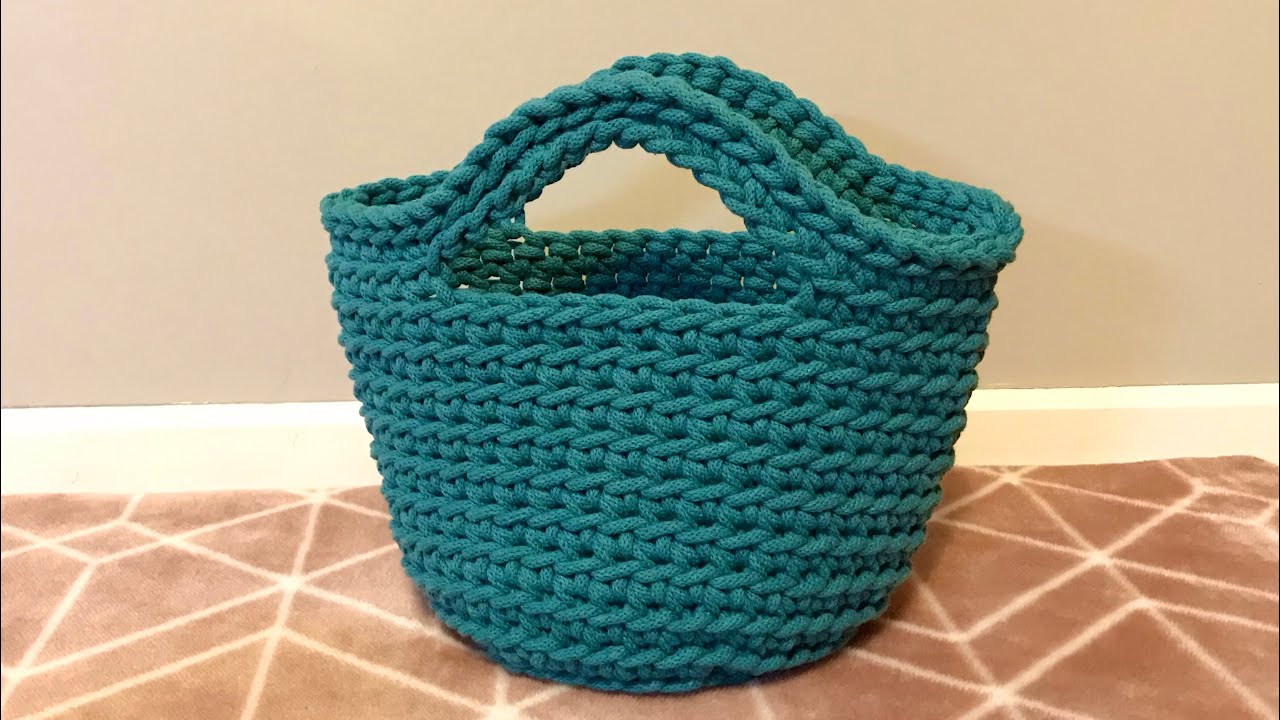
How to Make a Crochet Tote Bag (Beginner-Friendly)
Materials Needed
-
Yarn – Medium weight (worsted) cotton yarn is ideal for durability. Choose a color you like.
-
Crochet Hook – Size H/8 (5 mm) is commonly used for medium weight yarn.
-
Scissors – For cutting yarn.
-
Tapestry Needle – For weaving in ends.
-
Stitch Markers (optional) – Helpful to mark rounds or edges.
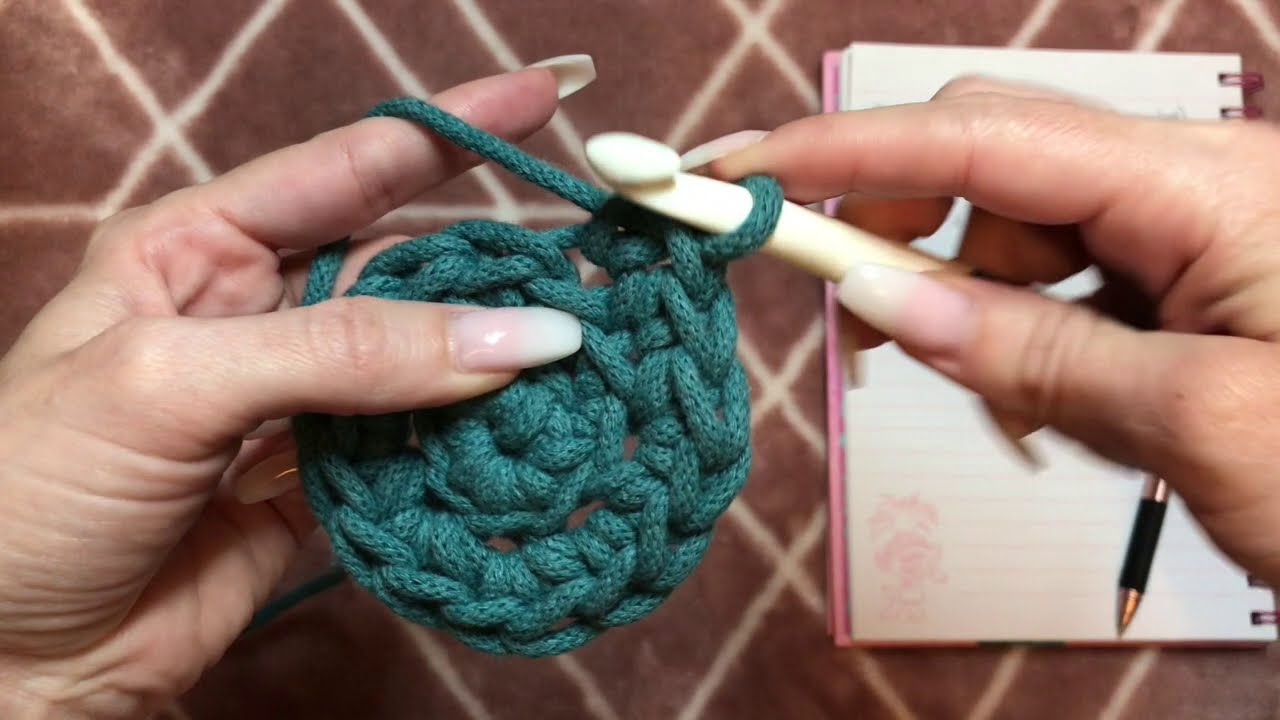
Step 1: Learn Basic Stitches
Since this is beginner-friendly, here are the main stitches you’ll use:
-
Chain (ch) – Foundation stitch.
-
Single Crochet (sc) – Tight, firm stitch.
-
Double Crochet (dc) – Taller stitch for a looser fabric.
-
Slip Stitch (sl st) – To join rounds or finish edges.
Tip: Practice these stitches a few times on scrap yarn before starting your bag.
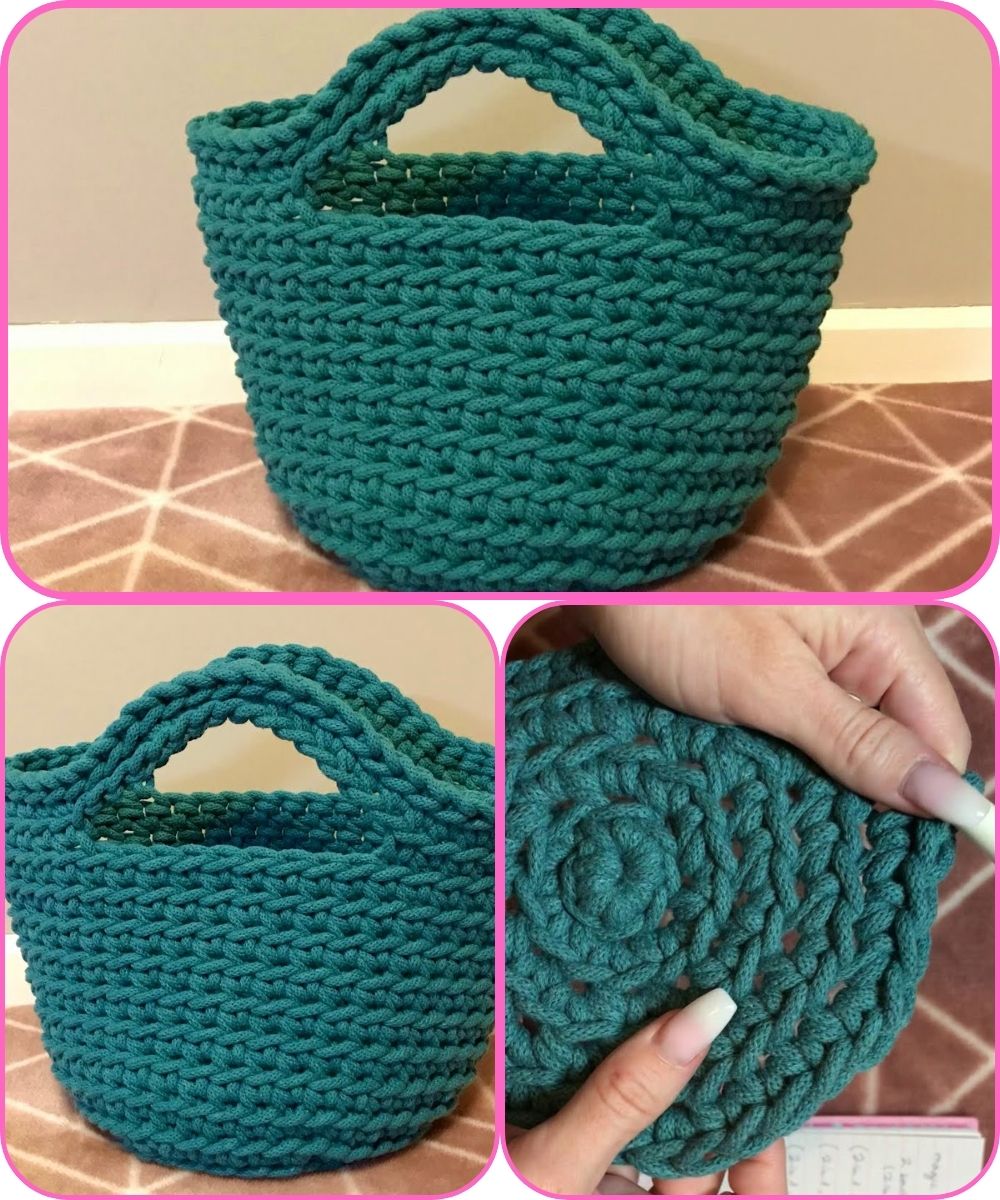
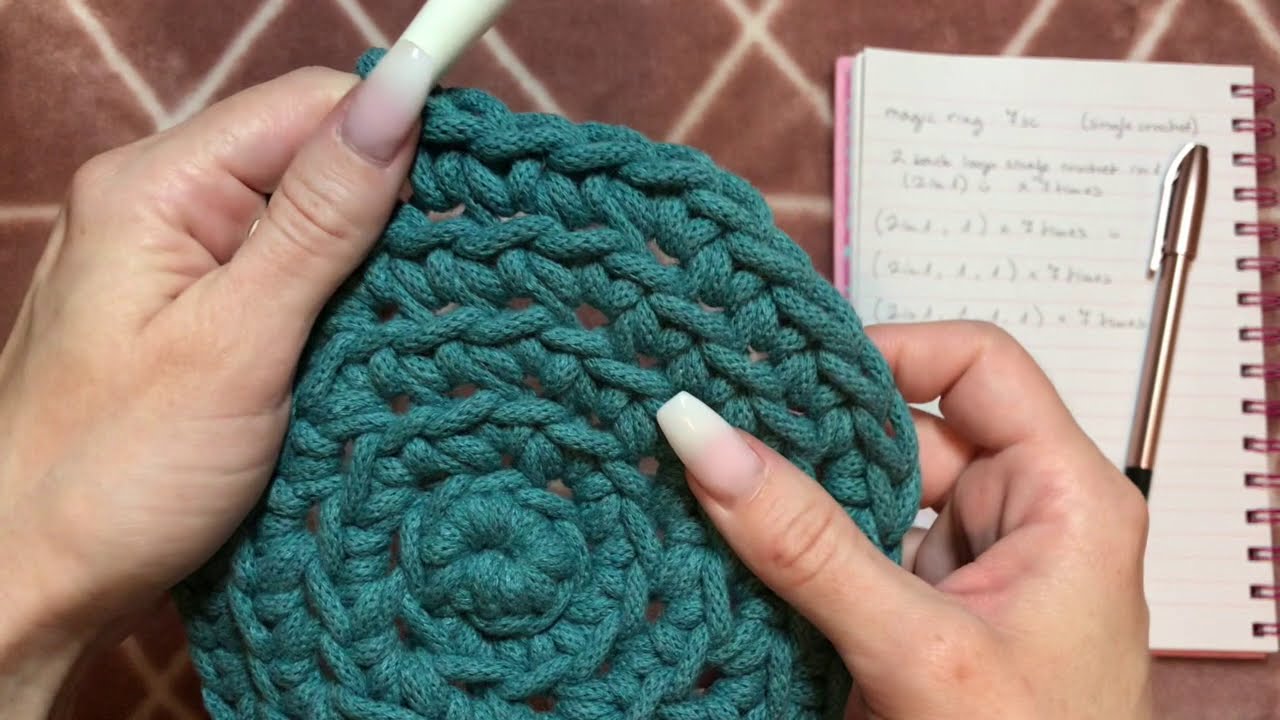
Step 2: Start the Base of the Tote Bag
-
Foundation Chain: Decide how wide you want the tote bag. For example, chain 30 (or desired width).
-
Row 1: Single crochet (sc) into the 2nd chain from the hook and across the chain. Turn.
-
Row 2: Chain 1, single crochet in each stitch across. Repeat until your base is the desired length (usually 10–12 inches for a medium tote).
Tip: Keep edges straight by counting stitches each row.
Step 3: Create the Body
-
Switch to Double Crochet (dc) for the body of the bag to give it a slightly open texture.
-
Round or Row Method:
-
Round Method: Work in continuous rounds around the base, placing 3 dc in the corners to keep it flat.
-
Row Method: Continue working in rows, turning at the end of each row until the bag reaches desired height (usually 12–15 inches).
-
-
Check Shape: Try folding the base upward as you work to see how the bag will look.
Step 4: Make Handles
-
Decide Handle Placement: Usually 3–4 inches from the sides.
-
Chain for Handle: Make a chain the desired length of your handle (e.g., 20–25 chains for a shoulder tote).
-
Attach Handle: Skip stitches on the bag, then attach with slip stitch.
-
Reinforce Handle: Single crochet along the chain back to the base to make it sturdy. Repeat for the second handle.
Tip: You can also make wide straps by working a few rows of single crochet over the chain.
Step 5: Finish the Bag
-
Edge: Optional – add a single crochet or crab stitch (reverse single crochet) around the top edge for a clean finish.
-
Weave in Ends: Use your tapestry needle to hide all loose ends.
-
Optional Lining: Sew a fabric lining inside for extra durability and to prevent items from slipping through stitches.
Step 6: Personalize Your Tote
-
Add pockets, buttons, or decorative stitches.
-
Use variegated yarn or stripes for color patterns.
-
Fringe or tassels on the sides can make it stylish.
Tips for Beginners
-
Keep your tension even; too tight makes the bag stiff, too loose makes it floppy.
-
Measure as you go to ensure the bag is the size you want.
-
If you make mistakes, don’t be afraid to unravel a row or two. It’s part of learning!
Estimated Time
-
Base: 1–2 hours
-
Body: 2–3 hours
-
Handles & finishing: 1–2 hours
Total: 4–7 hours depending on skill level.
If you want, I can also draw a simple diagram showing the base, body, and handles to make this tote bag tutorial even easier to follow visually.
Watch tutorial: